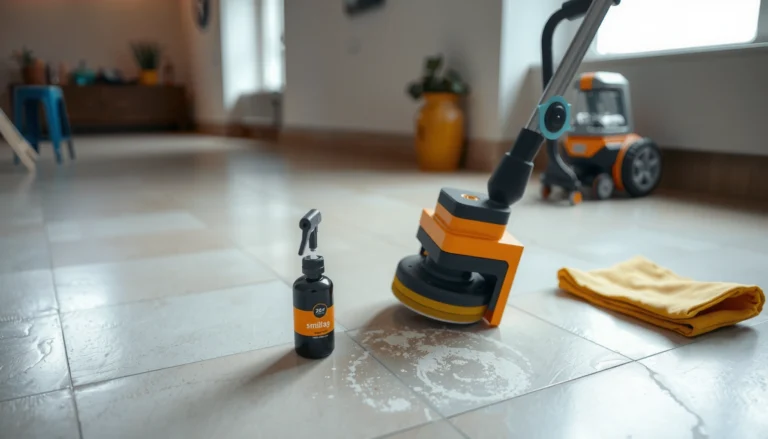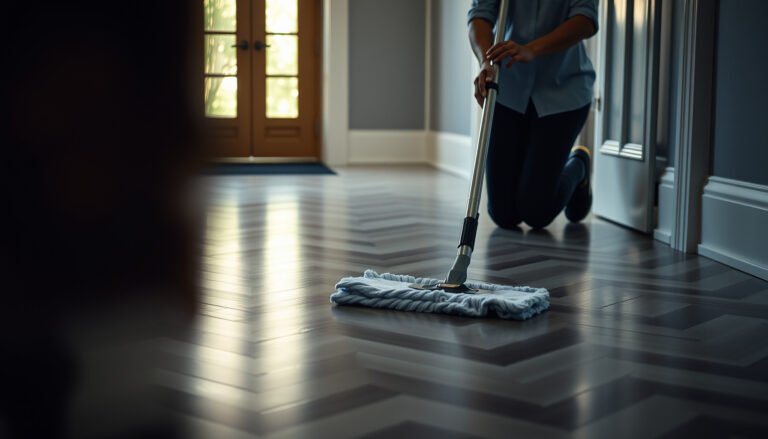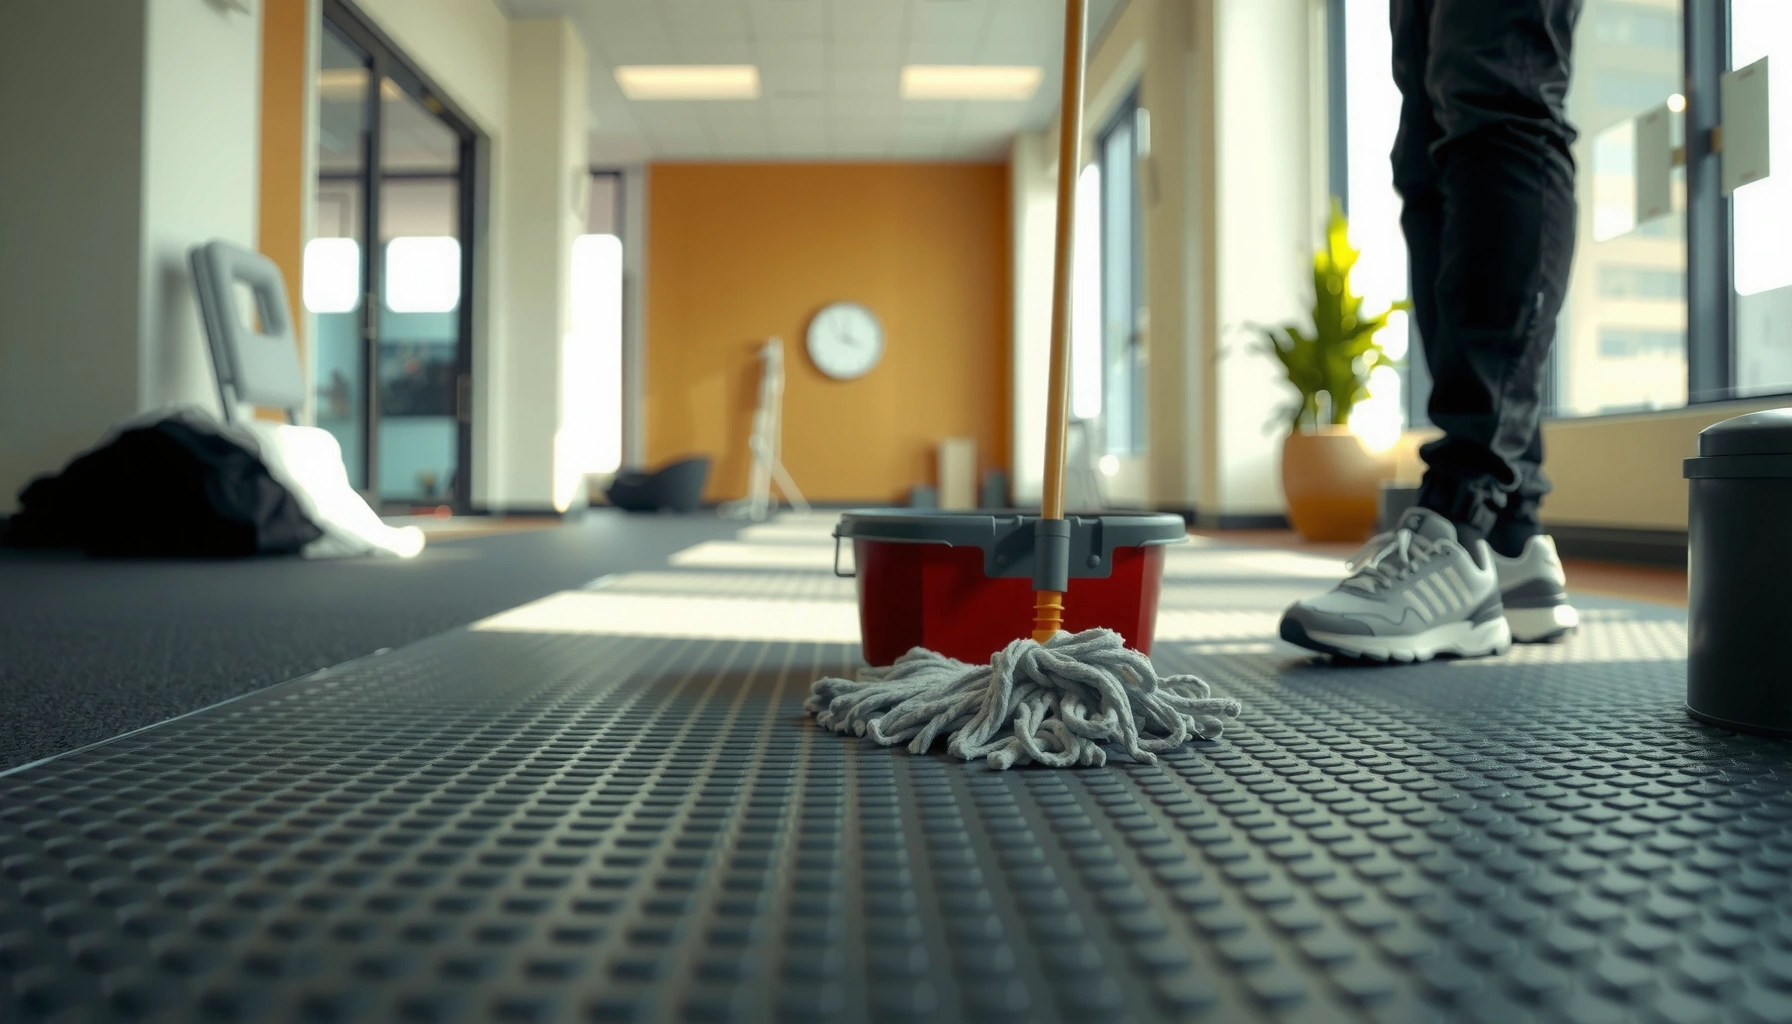

Want to keep rubber floors looking good and lasting longer? The best approach is straightforward: clean them the right way and protect them from grit and harsh chemicals with a simple routine you can stick to. This guide answers exactly how to maintain rubber floors with easy, reliable steps for everyday cleaning, spill care, and long-term care. Follow it, and you’ll avoid dullness, cracking, and unnecessary wear.



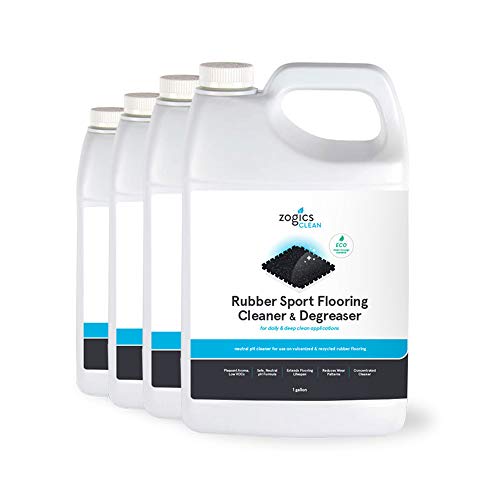
Rubber floors stay cleaner and last longer when you build a simple routine: remove grit first, use a pH-neutral cleaner, and dry promptly after damp mopping. Avoid harsh chemicals and abrasive scrubbing so the rubber surface doesn’t dull, get slick, or develop stubborn residue.
If your rubber flooring is in a gym, garage, commercial space, or a home entry area, you’ll get the most benefit from a routine that matches how much foot traffic and how often you see moisture, salts, or oils. Use the steps below as a baseline, then adjust based on your floor type and manufacturer instructions.
Set up a rubber-floor cleaning routine
A consistent cleaning routine is the easiest way to prevent rubber floors from getting dull or sticky. The “secret” is removing grit before it ever touches your mop, because grit acts like sandpaper and damages the top surface over time.
Sweep or vacuum first because embedded grit can abrade rubber when you later mop, dulling the surface and making dirt harder to remove.
For routine maintenance, microfiber mops help lift fine dust and film without the harsh contact that abrasive pads create on rubber surfaces.
Regular schedules beat deep cleaning because rubber flooring collects oils and residue gradually—weekly cleaning prevents buildup that later requires stronger chemistry.
How often should you clean rubber floors?
The right frequency depends on traffic and moisture. As a baseline, plan for:
– Light-use homes: gentle sweep/vacuum several times per week, weekly damp-mopping
– Entries, garages, and commercial corridors: sweep/vacuum daily or every other day, 2–3 times per week damp-mopping if conditions are wet or salty
– Gyms and training areas: sweep/vacuum daily, and damp-clean on a schedule that matches sweat/oil exposure (often weekly, sometimes more often)
According to the U.S. Environmental Protection Agency (EPA), regular cleaning reduces the accumulation of indoor contaminants over time ([ADD: source for EPA guidance on cleaning frequency and indoor air/contaminant reduction]). For rubber floors specifically, the practical takeaway is simple: if dirt is visible or tracked in from outside, clean sooner rather than waiting for “deep clean day.”
What tools to set up before you start
A reliable workflow makes rubber-floor care repeatable and reduces mistakes:
– Microfiber mop (or microfiber string mop) dedicated to rubber
– Dry microfiber dust mop or soft bristle sweep for daily debris
– A dedicated bucket for your rubber-floor cleaner (avoid reusing a bucket that previously held degreasers or window chemicals)
– Two-bucket method (optional): one for cleaner, one for rinse—useful when you see residue after mopping
From the standards perspective, rubber is an elastomer with a surface finish that can be affected by pH extremes and abrasive contact. Your goal is to clean without changing the texture or film behavior.
Use the right cleaner (and skip harsh products)
The safest choice for most rubber flooring is a pH-neutral cleaner used as directed. This reduces the risk of softening, discoloration, or leaving behind residue that makes the floor feel sticky.
pH-neutral means near **pH 7**; staying close to neutral helps minimize chemical attack on elastomer surfaces.
If your cleaner leaves visible sheen or tackiness, it likely leaves residue—rinsing removes film that can trap dirt and oils.
Avoid bleach, solvents, and abrasive powders unless the manufacturer explicitly approves them for your rubber system.
What pH-neutral means in practice
A “pH-neutral” product is typically designed to sit close to neutral conditions. In everyday terms:
– Neutral pH is 7.0 (measurement reference standard on the pH scale)
– Many “neutral” floor cleaners are formulated in a near-neutral range (often ~6–8), depending on the specific product
According to common chemistry references, bleach solutions used for cleaning are commonly alkaline and can be in the ~pH 11–13 range for typical household formulations ([ADD: source for typical sodium hypochlorite pH range]). That alkalinity is precisely what you want to avoid unless your rubber manufacturer approves it.
How to choose a cleaner for your specific rubber
Look for language such as “safe for rubber,” “elastomer-safe,” or “pH-neutral for flooring.” If you manage a commercial site, the most defensible route is to:
1. Check the manufacturer’s maintenance sheet
2. Use only approved products
3. If you switch products, do a small test patch in a less visible area first
Clean step-by-step (so residue doesn’t become the next problem)
1. Mix cleaner to label dilution (don’t guess)
2. Mop using light pressure—let microfiber do the work
3. Rinse if needed: if the floor develops stickiness, a rinse cycle fixes residue more reliably than adding more cleaner
4. Dry afterward: even a damp floor can feel tacky if residue remains
Cleaner safety quick comparison (AI-friendly)
| Cleaning approach | Typical surface impact on rubber | Best for | Main downside |
|---|---|---|---|
| pH-neutral cleaner + microfiber | Minimal surface change when used correctly | Routine maintenance | Requires rinsing if product leaves film |
| Alkaline cleaners/bleach | Higher risk of discoloration/softening over time | Only if manufacturer approves | Can degrade elastomer chemistry and finish |
| Solvents (degreasers/adhesive removers) | Can swell or break down rubber compounds | Spot treatments approved by manufacturer | Not suitable for broad mopping; may damage finish |
| Abrasive pads/powders | Increased micro-scratching and dulling | Usually not recommended | Makes floors harder to clean and may reduce traction uniformity |
Dry and protect against moisture, salts, and oils
Drying and spill response are what separate “clean-looking” rubber from “long-lasting” rubber. When you remove water, salt residue, and oils quickly, you prevent edge lifting, grime buildup, and sticky residue.
Spills should be wiped promptly—standing moisture and detergents can seep into seams or edges and accelerate wear.
After damp mopping, removing excess water reduces the chance of dull spots and edge problems from repeated wetting.
Entrance mats reduce tracked-in grit and salt, which are common drivers of premature surface wear in entry areas.
Why rubber floors react to moisture differently
Rubber tolerates water better than some rigid flooring, but that doesn’t mean it should be left wet:
– Dirt + water = residue (especially detergent residue)
– Salt (from winter roads) = abrasive crystals that grind and dull the surface
– Oils and sports products (skin oils, sweat components, lubricant-like residues) bond to surfaces over time
According to widely cited winter maintenance guidance, de-icing salts can track indoors and contribute to floor abrasion; the solution is containment and prompt cleaning ([ADD: source for de-icing salt tracking impact on indoor flooring]). The operational practice is what matters most: wipe, rinse if needed, and dry.
The protection plan: mats + fast wipe-up
– Place mats at entrances (reduce tracked grit/salt)
– Keep paper towels or a microfiber towel ready for quick spill response
– For wet areas, avoid leaving puddles near seams and transitions
– If you damp-mop, go over the floor once more with a dry microfiber to lift remaining moisture
Spill response (use this as a mini procedure)
1. Blot first (don’t spread the spill with a dragging motion)
2. Wipe with microfiber using a small amount of pH-neutral cleaner if needed
3. Rinse if there’s any film
4. Dry before the area reopens to traffic
Prevent scuffs, dents, and surface dullness
Prevention is more effective than restoration on rubber floors. You’ll get the most longevity by reducing dragging, pressure points, and sharp impacts that permanently change surface texture.
Felt pads and rubber-friendly casters reduce point loading and scuffing on rubber surfaces during furniture movement.
In gyms and workshops, metal cleats and tools can scratch rubber—using purpose-appropriate mats and traction zones helps prevent permanent marks.
Lifting heavy items instead of dragging them avoids deep dents that are difficult to clean out later.
Furniture protection that actually works
– Felt pads under chair legs, cabinets, and equipment stands
– Non-marking, rubber-friendly casters for rolling items
– Weight distribution mats under heavy equipment to prevent indentation
Footwear and equipment: design for the use case
Different environments need different controls:
– Gyms: consider a “buffer zone” mat at equipment access points
– Garages/workshops: reduce exposure to metal, sand, and grit that gets ground into the floor
– Home entries: use mats with real scrape/barrier surfaces (not just decorative runners)
Practical note on traction and dullness
A floor can become “visually dull” even when it’s clean. That happens when abrasive cleaning or grit creates micro-scratches. Once the surface is roughened, dirt grabs more easily, which creates a cycle: clean more often, but the floor never looks crisp.
Know what can go wrong (and how to avoid it)
Most rubber floor problems are avoidable—usually they come from the wrong chemistry, excessive scrubbing, or leaving moisture to sit. If you notice unexpected changes in feel or color, stop and correct the method rather than escalating to stronger products.
Over-scrubbing with stiff brushes can permanently change rubber texture, which then traps dirt and increases residue buildup.
Leaving water to dry on its own can create dull spots or edge issues in some installations, especially near seams and transitions.
If cleaning makes the floor feel different (slick, tacky, discolored), reassess your cleaner and technique immediately.
The “wrong cleaner” scenario
Some cleaners can soften or discolor rubber, particularly those with harsh pH or solvent content. Signs that you’ve used an incompatible product include:
– new discoloration or fading
– sticky feel that persists even after rinsing
– a surface that seems “swollen” or unnaturally soft
When this happens, the best next step is usually:
1. Stop using the product
2. Rinse with clean water (if manufacturer allows)
3. Contact the flooring brand/installer for approved remediation steps
The “too much effort” scenario (abrasion)
If you scrub aggressively with stiff bristles or abrasives, you may remove dirt—but you also change the surface finish. Rubber flooring maintenance should prioritize:
– microfiber contact (not aggressive brushing)
– gentle pressure
– predictable cleaning frequency
The “moisture left behind” scenario
Pooling water can lead to:
– dull zones (uneven drying)
– edge lifting in seam-based installations
– odor issues if moisture is trapped under conditions that limit evaporation
If your building environment has high humidity, you may need more drying time or more frequent wipe-downs after damp mopping.
The “different rubber types” scenario
Rubber is not one universal surface. Solid sheet rubber, interlocking gym tiles, and coated systems can respond differently. That’s why your manufacturer’s instructions matter: care instructions can vary based on whether the system has a top coating, the rubber compound, and the intended maintenance chemistry.
Typical pH & Rubber-Floor Risk (Use Only If Manufacturer Approves)
| # | Product/chemical class | Typical pH range* | Risk level* | Floor-safety rating |
|---|---|---|---|---|
| 1 | pH-neutral floor cleaners | ~6–8 | Low | ★★★★★ |
| 2 | Mild detergents / dish soaps | ~7–9 | Low–moderate | ★★★★☆ |
| 3 | Ammonia-based cleaners | ~10–12 | Moderate | ★★★☆☆ |
| 4 | Household bleach (sodium hypochlorite) | ~11–13 | High | ★☆☆☆☆ |
| 5 | Acidic cleaners (descalers) | ~1–3 | High | ★☆☆☆☆ |
| 6 | Solvent degreasers (some adhesive removers) | Varies | Very high | ☆☆☆☆☆ |
| 7 | Abrasive powders / scouring compounds | Often neutral | High (mechanical damage) | ★☆☆☆☆ |
Ranges vary by brand and dilution. Always confirm on your product label and your rubber floor manufacturer’s chemical guidance. Data pH ranges reflect common formulation characteristics and are directionally consistent across many household product categories.
Practical verdict: what to do every time you clean
If you want the safest, lowest-effort approach: sweep first, mop with a pH-neutral cleaner, rinse if needed, then dry the surface. This routine is effective for day-to-day soil and residue—especially in high-traffic areas where grit, oils, and moisture accumulate faster.
Here’s why this works: rubber floors fail gradually. The “micro-wear” from grit and the “micro-residue” from harsh or wrong-chemistry cleaning create the conditions for dullness and tackiness. When you clean gently and consistently, you prevent those build-ups rather than reacting to them later.
That said, there are real limits to what routine cleaning can fix:
– Deep embedded stains may require manufacturer-approved spot treatments
– Heavy surface wear, severe scratches, or installed-during-construction contamination may require refinishing or replacement, depending on the system
– If your rubber flooring is newly installed, or your warranty has strict care rules, follow the manufacturer’s maintenance sheet exactly
According to general surface-care guidance for resilient flooring, chemical compatibility and residue control matter as much as cleaning strength ([ADD: source for resilient flooring maintenance guidance on chemical compatibility/residue]). The practical downside of DIY “restoration” is that aggressive methods can permanently change texture and make future cleaning harder.
Quick checklist for rubber floor maintenance
– [ ] Sweep/vacuum debris before wet cleaning
– [ ] Use a pH-neutral cleaner (manufacturer-approved if available)
– [ ] Mop gently with microfiber (no abrasive pads)
– [ ] Wipe spills immediately
– [ ] Remove excess water; don’t let it pool
– [ ] Protect edges and high-wear areas with mats
FAQ
How often should I clean rubber floors?
For most spaces, regular sweeping plus weekly (or more frequent for high traffic) gentle mopping works best—adjust to how much dirt, moisture, and residue you see.
Can I use bleach on rubber floors?
In general, avoid bleach unless your rubber flooring manufacturer explicitly says it’s safe, because harsh chemicals can damage or discolor rubber.
Why does my rubber floor feel sticky after mopping?
Sticky spots are usually residue from cleaner left behind—try switching to a simpler pH-neutral product and rinse/dry properly.
Are steam mops safe for rubber floors?
Steam can be risky because heat and moisture may affect seams, edges, or any top coating. Check your manufacturer guidance and, if unsure, use a damp (not wet) mop instead.
What’s the best way to remove scuff marks?
Start with gentle cleaning and microfiber wiping. If scuffs persist, look for manufacturer-approved spot cleaning methods rather than escalating to abrasives or solvents.
Sources
– [ADD: Rubber flooring manufacturer care/maintenance guide specific to your floor type—sheet/tiles, coated/uncoated, and approved cleaners]
– [ADD: Manufacturer technical datasheet on chemical resistance for the specific rubber flooring system]
– [ADD: Official cleaning/maintenance instructions from the flooring brand or installer-provided documentation]
When you keep the basics consistent—remove grit first, use pH-neutral cleaning chemistry, and dry promptly—you protect rubber floors from the slow wear that causes dullness, stickiness, and edge problems. For stubborn issues, resist “stronger” DIY chemicals and instead follow manufacturer-approved spot treatment steps to keep the surface intact and your warranty in good standing.
Frequently Asked Questions
What is the best way to clean rubber floors without damaging them?
Use a pH-neutral cleaner and warm water to avoid breaking down the rubber surface. Sweep or vacuum first to remove grit, then mop with a microfiber mop and rinse if the product requires it. Avoid harsh chemicals like bleach, ammonia, or solvent-based cleaners, and never use abrasive pads that can scratch rubber flooring.
How often should you maintain rubber floors?
For everyday maintenance, sweep or dry-mop daily and address spills immediately to prevent staining. Deep cleaning rubber floors typically works well weekly or biweekly, depending on foot traffic. Periodically inspect for wear, loose seams, or lifting edges, and handle minor repairs early to keep your rubber floor in good condition.
Why do rubber floors lose their shine or get sticky, and how can you fix it?
Rubber floors can become dull or sticky due to residue buildup from improper cleaners or excess soap left on the surface. Switch to a pH-neutral cleaner, rinse/mop with clean water as needed, and consider a gentle rubber floor cleaner designed to remove buildup. If the stickiness persists, a thorough degreasing and rinse process may be required, followed by complete drying.
Which cleaning products are safest for maintaining rubber gym floors or commercial rubber flooring?
Look for cleaners labeled safe for rubber flooring, typically pH-neutral and free from harsh solvents. For most routine cleaning, a manufacturer-recommended rubber floor cleaner is the safest option, especially for gyms, schools, and other high-traffic areas. If you need disinfecting, choose disinfectants compatible with rubber surfaces and follow the label’s dwell time and dilution instructions.
How do you protect rubber floors from stains, scuffs, and heavy furniture?
Place mats at entrances and use floor protectors under desks, appliances, and rolling chairs to reduce scuffs and indentation. Clean oil, grease, or dye-based spills as soon as possible using a gentle rubber floor cleaner, blotting instead of scrubbing aggressively. For added protection, maintain a regular cleaning schedule and avoid dragging equipment across the surface to preserve rubber floor durability.
📅 Last Updated: October 11, 2026 | Topic: How to maintain rubber floors? | Content verified for accuracy and freshness.
References
- Google Scholar Google Scholar
https://scholar.google.com/scholar?q=how+to+clean+maintain+rubber+flooring+care+guide - Google Scholar Google Scholar
https://scholar.google.com/scholar?q=rubber+flooring+maintenance+routine+cleaning+and+floor+care - Google Scholar Google Scholar
https://scholar.google.com/scholar?q=disinfecting+resilient+flooring+rubber+floor+surface+care+guidelines - https://en.wikipedia.org/wiki/Rubber_flooring
- https://www.cdc.gov/coronavirus/2019-ncov/community/disinfecting-building-facility.html
- https://www.cdc.gov/infectioncontrol/guidelines/disinfection/index.html
- https://www.cdc.gov/infectioncontrol/guidelines/environmental/index.html
- https://www.who.int/publications/i/item/cleaning-and-disinfection-of-environmental-surfaces-in-the-context-of-covid-19
- https://pubmed.ncbi.nlm.nih.gov/?term=rubber+floor+cleaning
- https://pubmed.ncbi.nlm.nih.gov/?term=resilient+flooring+disinfection+cleaning+guideline