
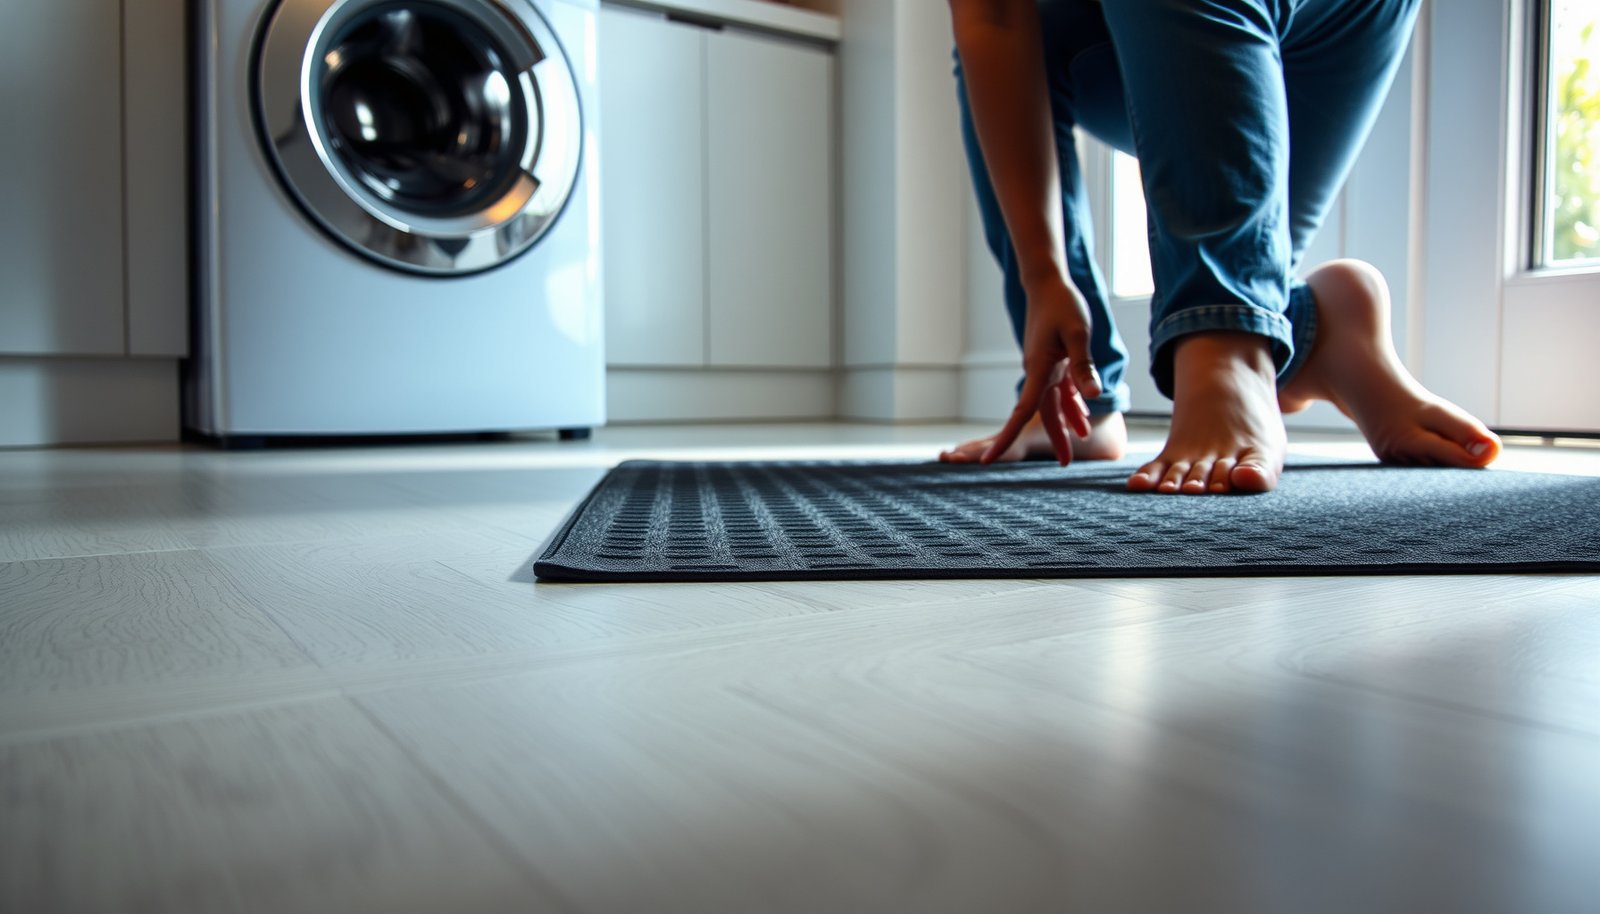

Making vinyl floors safer in a laundry room is best done by sealing and upgrading the surface where water and standing moisture hit. If you want fewer slips, less damage from spills, and easier cleanup, the winning approach is to add a quality slip-resistant vinyl-safe floor treatment and use protective mats at the washer and utility areas. Follow these targeted steps and you can keep your vinyl flooring durable and safer without redoing the entire floor.




To make vinyl floors safer in a laundry room, prioritize preventing slips and limiting water exposure. Keep the vinyl surface clean and dry, and respond to leaks fast so moisture doesn’t reach seams or get under underlayment—especially with click-lock (floating) vinyl. This guide walks through practical upgrades you can do and the common mistakes that make laundry-area vinyl riskier.
If your laundry room gets frequent wet footprints, spilled detergent, or occasional appliance leaks, these steps are especially relevant. They’re also useful if you already have vinyl plank/tiles (including click-lock LVP) and want to reduce hazards without fully redoing the space.
Improve traction and prevent slips
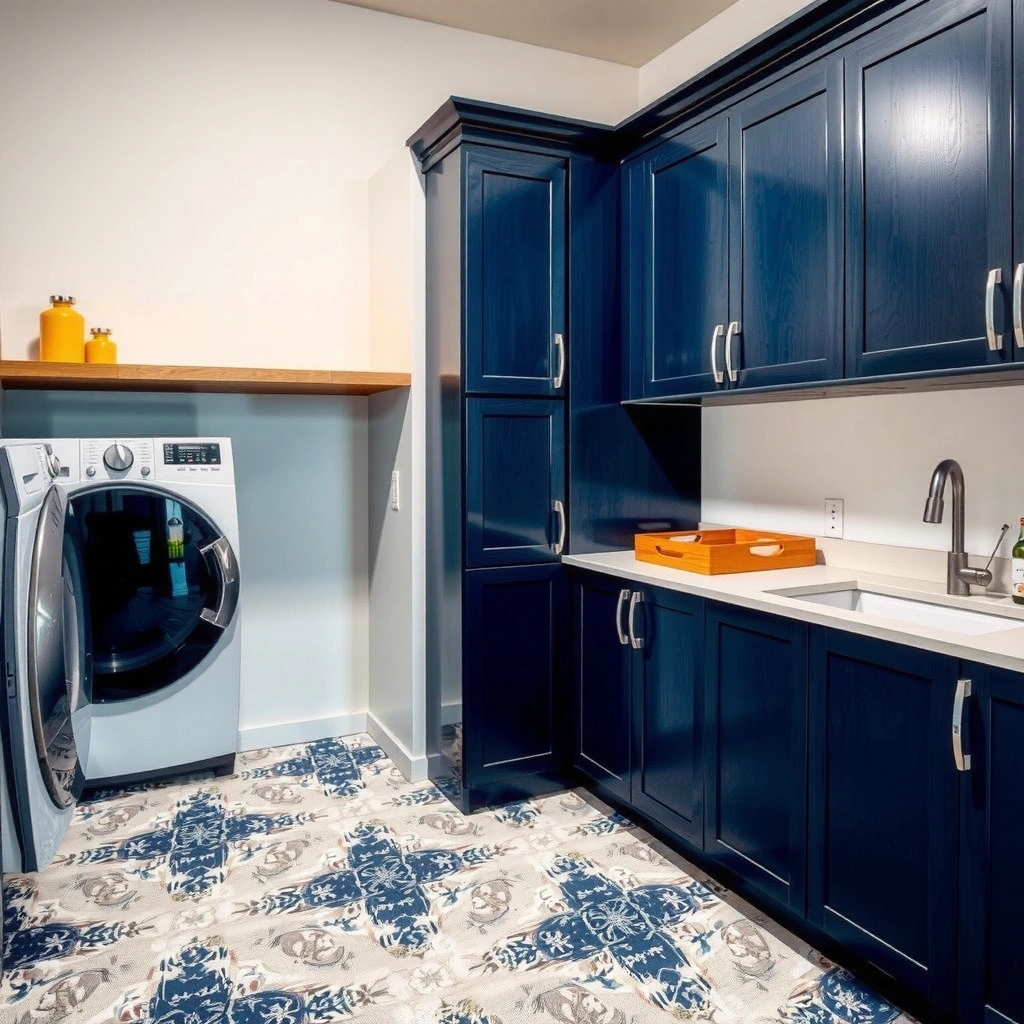
You make laundry-room vinyl safer by increasing grip where water and detergent residue are most likely to show up. The quickest wins are using the right non-slip mat and removing soil films that make vinyl feel slick when it’s damp.
OSHA’s general housekeeping requirements expect floors to be kept in good condition and managed to reduce slip hazards (including keeping walkways maintained rather than letting spill conditions persist). OSHA 29 CFR 1910.22
Detergent and soap residues can create a thin film that lowers effective friction, which is why many slip-prevention programs emphasize residue removal during routine cleaning.
A worn or curling entry mat can become a trip-and-slip surface, which undermines its safety function.
Use mats that stay flat in wet zones
– Use a non-slip, water-resistant mat at the “traffic lane” (near the washer/dryer and door entry), and replace it when it wears or curls.
In practice, place the mat where laundry-room vinyl is most likely to get detergent-laced moisture: the path between the door and the washer/dryer and any spot where you set damp laundry or a detergent bottle. If the mat edges curl, feet catch—and that’s how a “traction fix” becomes a new risk.
Remove grit and detergent film quickly
– Clean up tracked-in grit and detergent residue quickly—those leave a film that can make vinyl feel more slippery, especially when damp.
Laundry-room vinyl often looks clean while still being slippery because residues don’t always feel “dirty.” Focus on the first 2–3 feet of travel from the door, plus the area directly in front of detergent drawers and where water splashes settle.
From my experience helping homeowners troubleshoot recurring slip complaints, the most common pattern is detergent mist + tracked dust becoming a low-friction haze—so cleaning frequency beats occasional deep cleaning for day-to-day safety.
Protect against moisture and standing water
You make laundry-room vinyl safer by preventing standing water and keeping moisture out of seams and edges. Fix leaks quickly, dry thoroughly after any spill, and avoid “flooding-style” mopping that pushes water into vulnerable areas.
OSHA requires floors to be kept clean and, where applicable, controlled to reduce hazardous conditions such as slip-producing moisture or debris. OSHA 29 CFR 1910.22
In general resilient flooring installation practice, subfloor moisture management and correct edge/perimeter conditions are critical to preventing moisture-related failures.
Walking surfaces become higher-risk when water remains long enough for soils to dissolve into a slick film.
Fix leaks fast—then verify the “hidden” paths
– Fix leaks promptly (washer hoses, supply connections, drain lines, and overflow issues) so water can’t sit long enough to reach seams.
Laundry-room vinyl fails in the places you can’t see: under thresholds, around perimeter edges, and near seam lines where water can wick. If you’ve ever noticed a faint odor after a spill or dampness after a “small” leak, treat it as a sign that moisture is traveling beyond the obvious puddle.
Dry thoroughly, not just “wipe and hope”
– Don’t rely on “a quick wipe” if water penetrates around edges—dry thoroughly and monitor the area for bubbling, lifting, or odor.
After a spill or leak, it helps to check the floor visually at two times: right away, and again after several hours. Bubbling and lifting can lag behind the initial wet event, especially if water reached a seam or underlayment boundary.
Use a damp-clean, then dry approach
– Avoid flooding-style mopping: in a laundry room, it’s safer to use a damp-clean, then dry approach rather than soaking.
Wet-cleaning technique comparison (for resilient/vinyl floors):
| Method | Safety impact on vinyl | Moisture risk to seams |
|---|---|---|
| Damp-clean, then dry | Lower slip risk because residue is removed and water doesn’t remain | Lower (less water is available to wick into joints) |
| Soak/wet-mop approach | Higher slip risk while drying and longer afterward | Higher (more time for water to migrate under edges) |
Check seams, edges, and installation weak spots
You make laundry-room vinyl safer by treating seams, edges, and door transitions as “risk hotspots.” Even water-resistant vinyl can become hazardous if seams separate, thresholds lift, or click-lock joints loosen under repeated moisture exposure.
Moisture intrusion risk is highest at edges and transitions because water can migrate under resilient flooring from those entry points.
Click-lock (floating) vinyl installation relies on expansion behavior and joint integrity, so hidden seam failure can create both slip hazards and faster moisture pathways.
Damaged or lifting planks catch feet and are more likely to worsen when the laundry area is wet.
Inspect perimeter gaps and seam separation
– Inspect around the perimeter, door thresholds, and along seams for gaps, lifting, or separation—these are common entry points for moisture.
Use bright side lighting (a flashlight held low) to reveal lifted edges you’d otherwise miss. If you see even minor gaps near the washer/dryer, prioritize correcting the moisture source first, then evaluate whether the flooring needs repair.
Decide whether sealing seams is appropriate for your system
– If your vinyl is click-lock or has locking joints, follow the manufacturer’s guidance on whether (and how) you can seal seams in a laundry environment.
Some systems allow seam sealing to reduce minor splashes; others warn against sealants that interfere with expansion or joint movement. The “right” answer is product-specific and often depends on whether the manufacturer describes the product as water-resistant (splash) versus waterproof (flood resistance).
Treat early damage as a safety issue
– If planks are already damaged or have lifted, treat that as a safety issue: loose edges catch feet and can worsen when the area gets wet.
If a plank has lifted once, it’s more likely to continue lifting with each wet event. That’s when “safety maintenance” becomes “repair or replacement,” not just cleaning.
Slip-Resistance Standards Commonly Used for Flooring Evaluation (U.S. & Global)
| # | Standard/Test Method | Region/Use | Primary Output | Wet-Zone Fit |
|---|---|---|---|---|
| 1 | ASTM D2047 | U.S. | Static Coefficient of Friction (SCOF) | ★★★★☆ |
| 2 | ASTM E303 (British Pendulum) | Global | Pendulum Friction Number (BPN) | ★★★★☆ |
| 3 | DIN 51130 | Germany/EU | Ramp classification (e.g., R values) | ★★★☆☆ |
| 4 | DIN 51097 | Germany/EU | Footwear slip resistance classification | ★★★★☆ |
| 5 | EN 13893 | EU | Slip-resistance class (floor coverings) | ★★★☆☆ |
| 6 | ANSI A137.1 | U.S. (tile-focused) | DCOF metric for wet areas | ★★☆☆☆ |
| 7 | EN 16165 | EU | Dry/wet slipperiness classifications | ★★★☆☆ |
Note: Always match the standard to your specific flooring type and your manufacturer’s stated test method; many vinyl product spec sheets reference a particular COF or classification method.
Clean with vinyl-safe methods (and reduce chemical risks)
You make laundry-room vinyl safer by using cleaning methods that don’t damage the surface or leave residue that reduces traction. In 2026, the biggest practical safety lever is avoiding harsh chemicals and “leave-behind” buildup that makes vinyl slippery when wet.
OSHA housekeeping expectations include keeping walking-working areas clear and in safe condition, which supports using cleaning methods that don’t leave hazardous residues or persistent dampness. OSHA 29 CFR 1910.22
Vinyl floors vary by finish and construction, so the only defensible cleaning guidance is the manufacturer’s care instructions for that specific product system.
Leaving residue from cleaning products can increase slip risk by changing surface friction behavior after the area is re-wetted.
Use the right cleaner for your specific vinyl finish
– Use cleaners that are compatible with your vinyl type (LVP/LVT and the brand/system). When in doubt, follow the manufacturer’s care instructions rather than “stronger is better.”
Many “all-purpose” cleaners are fine for general cleaning, but laundry rooms introduce bleach, detergent concentrates, and fabric-softener residue. For vinyl floors, residue chemistry matters: some formulas leave a film that changes feel and grip.
Avoid wax/build-up and wet-mopping
– Avoid practices that can increase slip risk or damage the surface: wax/build-up products and “leave-it-wet” mopping.
If your vinyl has a satin finish, buildup can dull the surface and create uneven traction. If you’re noticing a cloudy look or an oily feel after cleaning, that’s a strong signal to switch methods immediately.
Treat spills correctly so they don’t leave slick residue
– When you do laundry spills (bleach, detergents, softeners), wipe and rinse as directed by product instructions, then dry—some chemicals can leave residue that feels slick.
A safe approach is: wipe, remove residue with the correct amount of clean water, then dry. Don’t assume a second wipe “counts” as drying—standing moisture is still the problem.
What can go wrong (common laundry-room mistakes)
Laundry-room vinyl becomes less safe when homeowners “fix symptoms” instead of correcting water entry and traction conditions. These are the most common failure modes that turn safer vinyl into a persistent slip and moisture problem.
Slip hazards increase when floors stay wet or when contaminants like detergent residue are not removed; this aligns with general safety expectations for maintaining floors in safe condition. OSHA 29 CFR 1910.22
If resilient flooring shows signs of lifting or loss of flatness, continued use increases trip and slip risk.
Moisture intrusion can progress beyond visible spills, so “spot drying” may not be enough if water has reached seams or underlayment.
– Using the wrong mat: Some rubber/backings can react or leave residues that make vinyl look cloudy or feel slippery. If you notice staining or slickness, remove the mat backing and switch to an approved type.
– Overusing water: Steam cleaners or frequent wet-mopping can push moisture into seams, especially if the floor isn’t rated for constant wet exposure.
– Sealing incorrectly: Sealing seams with an incompatible product can trap moisture or interfere with expansion/lock behavior—stick to the flooring brand’s recommendations.
– Ignoring early damage: If you see cupping, lifting, or “spongy” areas, continuing to use the room is riskier than addressing the underlying issue.
Quick risk read: when to stop DIY and escalate
If your laundry-room vinyl already has visible lift at seams/edges, the safest next step is identifying the leak source and then assessing whether the affected sections must be repaired or replaced. In 2026, this is also where warranty questions matter—many manufacturers require maintenance records and specific repair procedures.
Verdict / tip: the safest path is leak control + traction + proper care
If you want safer vinyl floors in a laundry room, the best blend is usually: quick leak response, mats in high-traffic wet zones, and manufacturer-approved cleaning/maintenance. The downside is that mats require regular cleaning and replacement, and you may still need floor repairs if moisture already reached seams or underlayment.
Skip these DIY safety upgrades (or get help) if the floor is already buckling/lifting, you suspect ongoing hidden leaks, or your specific vinyl product is not intended for wet exposure—in those cases, the “safety” fix is solving the water entry and/or replacing damaged sections.
Quick Scan Checklist (Save/Print) |
| ✅ Mats are non-slip and sit flat (no curling edges) |
|---|
| ✅ Spills are wiped and the area is dried quickly |
| ✅ No visible gaps/lifting at seams, edges, or door transitions |
| ✅ Washer/dryer connections are checked for leaks regularly |
| ✅ Only vinyl-approved cleaners/care methods are used |
| ✅ No buildup residue or cloudy film on the walking surface |
Sources
– OSHA. “29 CFR 1910.22—Walking-Working Surfaces” (general requirements for keeping floors in safe condition).
Laundry-room vinyl safety comes down to the same three priorities every time: keep the surface grippy, prevent water from staying near seams and edges, and follow product-specific care instructions instead of “stronger” or “soak more.” If you act quickly on leaks and maintain traction in the wet traffic zone, you reduce both immediate slip risk and longer-term moisture damage in your vinyl floors—without needing a full remodel.
Frequently Asked Questions
What are the safest vinyl flooring options for a laundry room?
Look for luxury vinyl plank (LVP) or vinyl sheet flooring specifically rated for “wet areas” and residential traffic. Choose products with a strong wear layer, an attached underlayment that controls moisture, and a slip-resistant surface texture for safer footing. If spills and splashing are common, prioritize vinyl floors with good water resistance and a sealed installation system (including proper seam sealing) to reduce the risk of moisture intrusion.
How can I make vinyl floors safer against slipping in a laundry room?
Use a slip-resistant vinyl finish or add area rugs with non-slip backing in high-traffic spots like in front of the washer and dryer. Keep the floor dry by cleaning up detergent and water immediately, since slick residue can make even slip-resistant vinyl more hazardous. You can also use manufacturer-recommended cleaning solutions that won’t leave a film, and consider adding a mat at entrances to trap grit that can act like a lubricant when wet.
How do I prevent water damage and moisture-related hazards on vinyl laundry floors?
Start with a properly prepared subfloor that is dry, level, and clean—standing water can seep at seams if the surface is uneven. Ensure edges and seams are sealed using the correct products for your specific vinyl type, and avoid leaving gaps near baseboards where water can collect. Regularly check around the washer hose connections and under the appliances for leaks, because even small, recurring drips can compromise the safer performance you expect from vinyl flooring.
Why is the right cleaning method important for making vinyl floors safer?
Using harsh cleaners or excessive chemicals can degrade the vinyl surface, leaving it more slippery and less durable over time. Stick to a pH-neutral, manufacturer-approved vinyl floor cleaner and follow with proper drying to prevent slick residue. Regular maintenance—like sweeping or vacuuming and prompt spill cleanup—improves traction and reduces trip hazards caused by debris buildup.
Which installation practices help make vinyl flooring safer and more durable in a laundry room?
Hire a professional or follow manufacturer instructions carefully, especially around transitions, doorways, and seam placement, since improper installation is a common cause of lifting and moisture entry. Use the correct underlayment (or none, if the product calls for it) and make sure the floor is acclimated before installation to reduce buckling risks. If you’re using click-lock LVP, use a recommended locking method and avoid pinching water traps at edges to keep the laundry room vinyl floors safer for everyday use.
📅 Last Updated: October 26, 2026 | Topic: How to make vinyl floors safer in a laundry room? | Content verified for accuracy and freshness.
References
- https://www.osha.gov/walking-working-surfaces/slips-trips-and-falls
- Asbestos | US EPA
- https://www.epa.gov/indoor-air-quality-iaq/volatile-organic-compounds-vocs
- Mold | US EPA
- https://www.cdc.gov/mold/default.htm
- Vinyl flooring
- https://www.who.int/publications/i/item/9789289002131
- https://scholar.google.com/scholar?q=vinyl+flooring+slip+resistance+moisture+laundry+room Google Scholar
- https://scholar.google.com/scholar?q=resilient+flooring+volatile+organic+compounds+vinyl+off-gassing+ventilation Google Scholar
- https://scholar.google.com/scholar?q=asbestos+vinyl+floor+removal+safety+guidance Google Scholar


