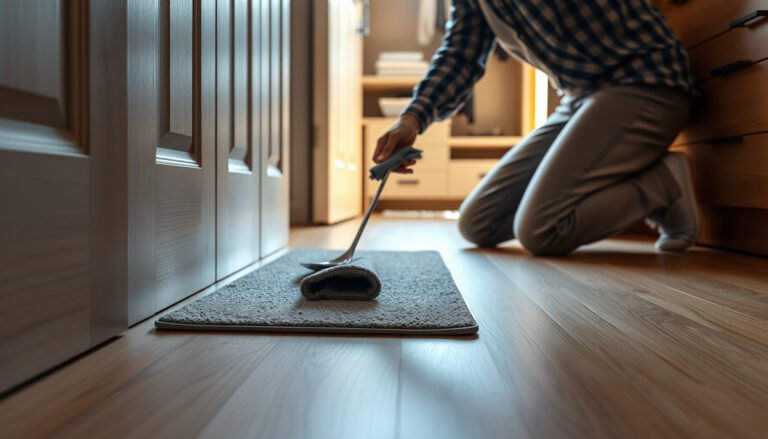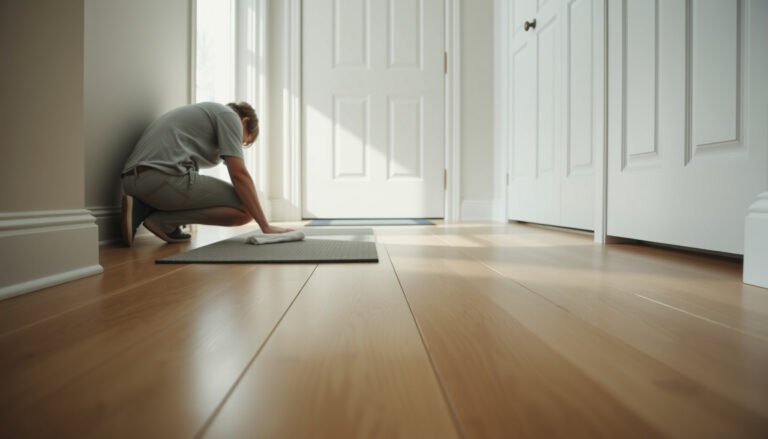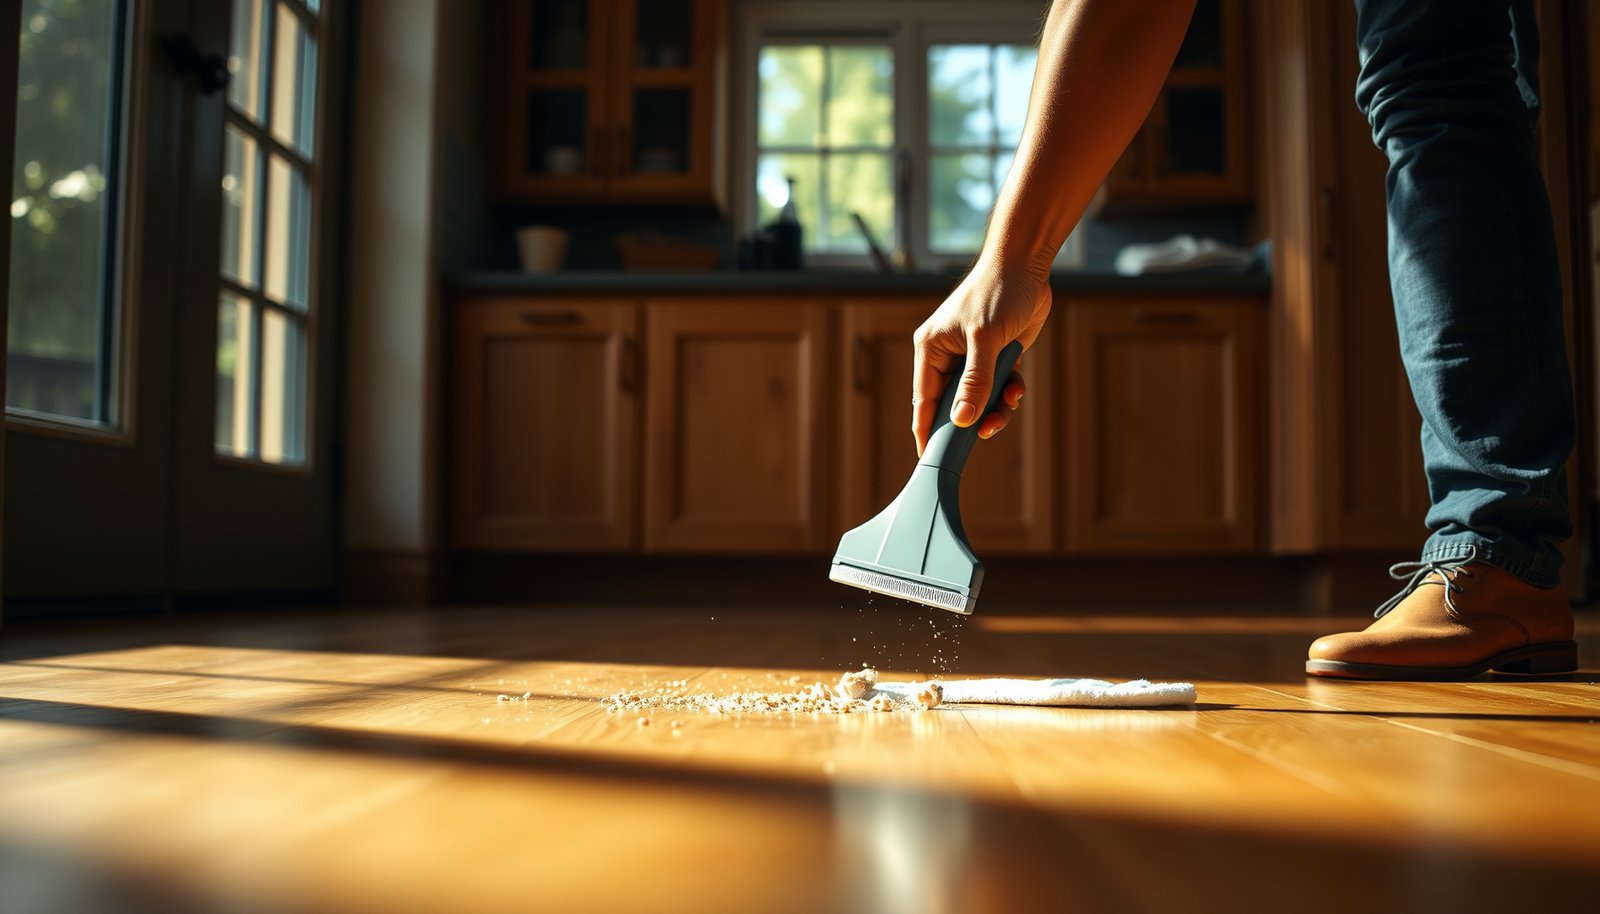

Learn the fastest way to clean stubborn debris from hardwood floors without scratching or dulling the finish. If debris is ground-in dirt, dried spills, or tiny grit lodged in the grain, the right method and tool choice will lift it cleanly—first pass, no over-scrubbing. Follow the steps for assessing the buildup, loosening it safely, and finishing with a polish-level clean.



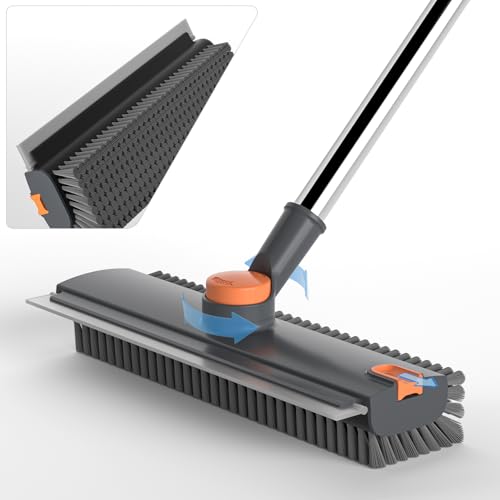
Stubborn debris on hardwood floors usually needs a two-step approach: loosen and remove the particles first, then clean without damaging the finish. Start by softening the buildup (if it’s stuck), carefully scraping it with a non-scratch method, and only then use a hardwood-safe cleaner—so grit doesn’t grind into the wood over time.
If you’ve got bits of sand, dried mud, pet mess residue, or waxy debris that won’t budge with a regular sweep, this guide is for you. It’s aimed at homeowners and renters who want results while protecting common hardwood finishes (sealed/surface-finished wood).
Prep the area and protect your floor
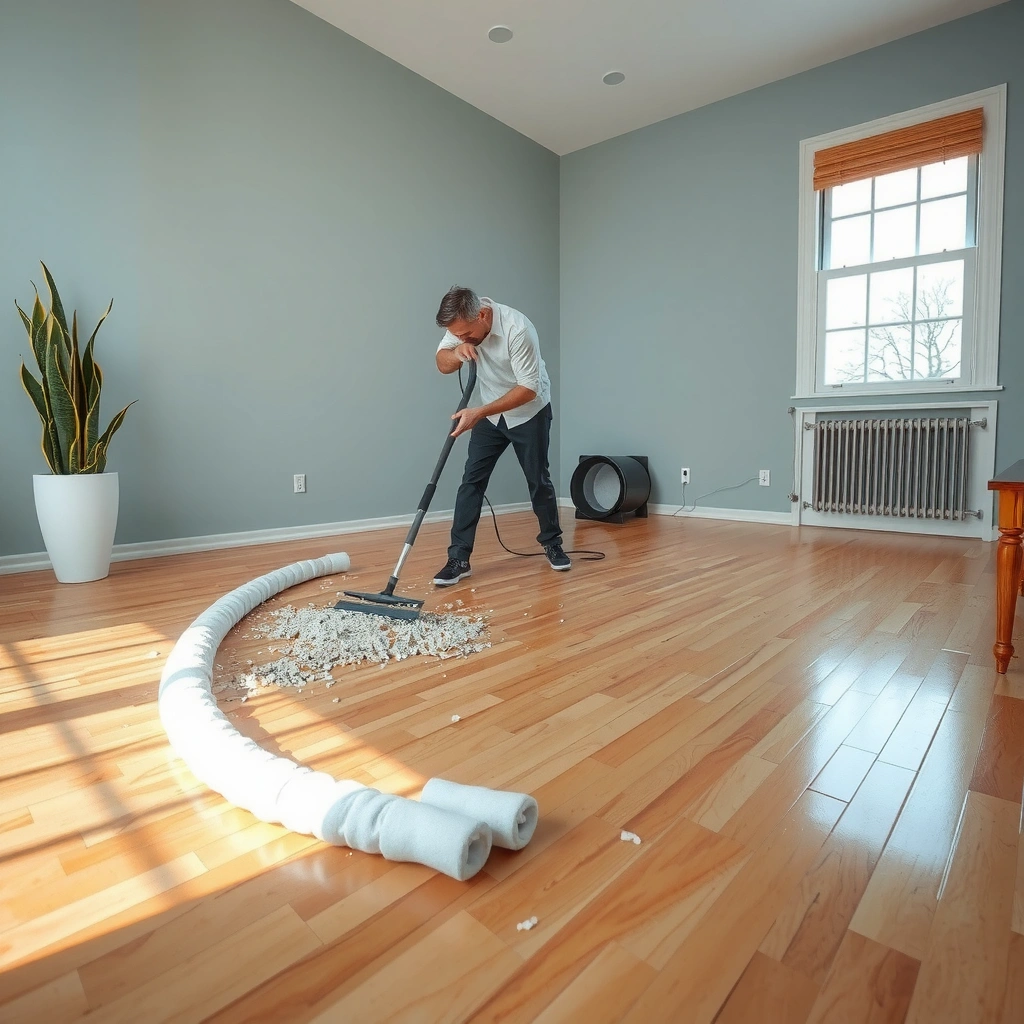
You don’t “start cleaning” until the loose grit is controlled; otherwise, you’ll smear particles into the finish and make future debris removal harder. First clear the area, then identify whether the stubborn debris is gritty (dry particles), stiff (dried residue), or sticky (film or tacky buildup).
Grit and sand are abrasive, so removing loose particles before wet cleaning reduces the chance of finish dulling on sealed hardwood floors.
Surface-finished hardwood cleaning works best when moisture is applied to a cloth first, not poured onto boards or into seams.
Directional wiping (with the grain) helps you lift loosened residue instead of pushing it deeper into micro-scratches.
Clear loose particles first (so you don’t grind)
– Clear loose items first (dry sweep or vacuum with a soft brush) so you’re not dragging grit across the boards.
– Use a vacuum attachment designed for hard floors (soft brush or bare-surface tool). If you notice the vacuum nozzle scratching, stop and switch tools.
Identify debris type in 20 seconds
Checking what you’re removing determines how much moisture and what kind of softening step you need:
– Dirt/sand (gritty): feels sandy, looks “sparkly,” and leaves gray marks after wiping.
– Dried spills (stiff residue): stiff crusts (mud, dried food, dried drink rings) that lift as flakes.
– Sticky buildup (film or residue): tacky spots or hazy film (pet-related residues, waxy deposits, some adhesives).
Loosen stubborn debris safely (depending on what it is)
For most stubborn spots, loosening is the difference between “spot cleaning” and “finish damage.” The direct answer: use minimal moisture to soften, then remove; avoid soaking hardwood floors because liquid can migrate into seams and micro-gaps.
Softening stuck residue with a damp cloth prevents dust from turning into abrasive “sandpaper” during scraping on hardwood floors.
For dried or tacky residue, applying an approved hardwood cleaner to a cloth (not pooled on the floor) limits liquid penetration around joints.
Hardwood swelling risk increases when moisture moves into seams or unfinished edges, so keep liquids controlled and brief.
For gritty stuck debris: dampen, don’t flood
– For gritty stuck debris: lightly dampen a cloth and press it on the spot briefly to prevent dust from becoming “sandpaper.”
– Practical approach:
– Use a microfiber cloth, wring it so it’s barely damp (not dripping).
– Press for 10–30 seconds, lift, then re-check. Repeat once or twice rather than holding moisture longer.
For dried or tacky residue: soften before you scrape
– For dried or tacky residue: use a small amount of manufacturer-recommended hardwood cleaner on a cloth (not pooled directly on the floor) to soften before removal.
– If your spot is from pet mess residue or unknown grime, start with the gentlest approved cleaner you have. Even sealed hardwood floors can show finish haze if aggressive chemistry is used too broadly.
Why moisture control matters (a key wood fact)
According to the *USDA Forest Products Laboratory / Wood Handbook* (widely cited in wood science), wood dimensional change (swelling) accelerates as moisture content rises beyond the fiber saturation point, commonly cited around ~25–30% moisture content—which is why limiting water exposure on hardwood floors matters.
Remove it without scratching (scrape, then wipe)
If your debris won’t lift after softening, scraping is usually the safest next move—as long as you control pressure and blade choice. The direct answer: scrape shallowly along the grain, then wipe immediately with a damp microfiber cloth and dry fast.
Using a plastic scraper keeps the tool from cutting finish layers that can be difficult to replace on hardwood floors.
Scraping along the grain reduces the likelihood of pulling finish and creating visible scratches on sealed hardwood boards.
Immediate wiping removes loosened material before it can be redistributed into existing micro-scratches on hardwood floors.
Scrape shallowly (and along the grain)
– Use a plastic scraper or a scraper tool designed for floors; keep it shallow and work along the grain rather than across it.
– Technique tips:
– Hold the scraper almost flat—think “lift,” not “dig.”
– Work in small sections so you can wipe right after.
Wipe and dry right away
– Wipe up loosened material immediately with a damp microfiber cloth, then dry the area right away.
– If residue remains, repeat the loosen → scrape → wipe cycle. Most stubborn spots respond better to multiple gentle passes than one forceful one.
Deep clean without harming the finish
Once the debris is removed, the goal shifts to restoring a clean surface without stripping or dulling the finish. The direct answer: use a hardwood-safe cleaner applied to a cloth, wipe with the grain, and avoid soaking hardwood floors or flooding seams.
Hardwood-safe cleaners should be used on a cloth and wiped on—direct flooding increases the risk of moisture traveling into seams.
Wiping in the direction of the boards helps prevent residue streaking and minimizes re-depositing fine particles.
Avoid soaking: hardwood can swell if liquid penetrates seams or unfinished areas.
Apply cleaner correctly (cloth first)
– Wash with a hardwood-safe cleaner applied to a cloth, then wipe in the direction of the boards.
– Use a fresh, clean section of microfiber as you go so you’re not smearing the lifted residue back onto the finish.
Keep dwell time short
Even “safe” cleaners shouldn’t sit for long periods. Follow the product label instructions for contact time—most finishes don’t need dwell time; they need controlled cleaning.
What can go wrong (and how to avoid it)
Many “failed” cleans aren’t failures of effort—they’re finish chemistry and technique problems. The direct answer: avoid abrasive tools and harsh chemicals, keep moisture minimal near seams, and verify whether the spot is actually old adhesive/coating before you scrub.
Steel wool and aggressive pads can permanently dull or gouge sealed hardwood finishes, especially on high-traffic boards.
Over-wetting edges and seams is a common failure point because moisture can migrate where a sealed finish isn’t continuous.
If debris is old coating, paint, or adhesive, general cleaning may smear it—spot treatment and the right chemistry may be required.
Tool mistakes that damage hardwood floors
Here’s a quick comparison of what to use vs. what to avoid:
| Tool / method | Likely outcome on sealed hardwood floors | Best use case |
|---|---|---|
| Plastic scraper (flat, shallow) | Low risk of gouging; may still require repeated passes | Lifting dried residue and dried mud |
| Microfiber cloth (damp, then dry) | Safe on most finishes; reduces streaking when wiped with grain | Wiping loosened debris and applying approved cleaners |
| Metal razor blade / unprotected scraper | High risk of finish cut marks | Only for trained spot work with proper technique |
| Steel wool / abrasive pads | Finish dulling and scratches | Avoid on hardwood floors unless a refinisher advises otherwise |
| Steam cleaning | Can drive moisture into seams; risk of warping or haze | Usually not recommended for sealed hardwood unless manufacturer-approved |
Chemical mistakes (why pH matters)
According to safety documentation and chemical references, common household bleach products typically contain about 5–8.25% sodium hypochlorite (varies by product) and are strongly basic (often around pH 11–13), which can be incompatible with many wood finishes.
According to food and household chemistry references, distilled white vinegar is commonly around ~4–8% acetic acid and is acidic (commonly pH ~2–3), which is one reason many manufacturers discourage vinegar on hardwood finishes unless the floor is explicitly rated for it.
Verdict / practical tip before you start
This approach is the safest general method for most homeowners and renters: loosen → carefully scrape → wipe and dry. The downside is it can take longer than harsh methods, and you may need repeat passes for adhesive-like residue.
Skip this “DIY scrape-and-clean” approach if the spot is near extensive water damage, the wood is unfinished, or you’re unsure what the substance is—scratches or finish loss can become more expensive than professional help.
Quick checklist (save this)
– ☐ Dry-sweep or vacuum first (soft brush)
– ☐ Identify debris type (grit vs residue vs sticky film)
– ☐ Soften on a cloth (don’t flood the floor)
– ☐ Scrape with plastic/non-scratch tool along the grain
– ☐ Wipe clean with microfiber; dry immediately
– ☐ Stop if you see finish damage, swelling, or spreading
Household Cleaners: Typical pH and Finish Risk (Sealed Hardwood Floors)
| # | Substance (typical) | Typical pH (approx.) | Often used for | Finish risk rating |
|---|---|---|---|---|
| 1 | Hardwood-safe, pH-neutral cleaner | ~6.5–8.5 | General maintenance | ★★★★★ |
| 2 | Plain water (sparingly) | ~7 (varies) | Wiping residue | ★★★★☆ |
| 3 | White vinegar (5% acetic acid typical) | ~2.4–3.0 | Mineral marks, odors | ★★★☆☆ |
| 4 | Household dish soap (typical) | ~7–10 (varies) | Grease and grime | ★★★☆☆ |
| 5 | Ammonia-based glass cleaner (typical) | ~10.5–12.5 | Smear removal | ★★☆☆☆ |
| 6 | Hydrogen peroxide (common household) | ~3–6 (varies) | Disinfecting | ★★☆☆☆ |
| 7 | Household bleach (sodium hypochlorite) | ~11–13 | Disinfection | ★☆☆☆☆ |
Sources
If you remember just one thing about cleaning stubborn debris from hardwood floors, make it this: control moisture, remove particles with a non-scratch scrape, and finish with an approved hardwood cleaner used on a cloth—not pooled on the wood.
Frequently Asked Questions
What’s the best way to remove stubborn debris stuck in hardwood floors without damaging the finish?
Start by loosening the debris with a soft technique: dry microfiber cloth or a vacuum with a brush attachment to lift grit first. For stuck-on particles, use a plastic floor scraper or a wood-safe scraper held at a low angle, working gently to avoid scratching. If the debris is greasy, lightly dampen the area with a hardwood floor cleaner and wipe with a microfiber pad, then dry immediately to protect the wood finish.
How do I clean dried mud or sand from hardwood floors safely?
Vacuum thoroughly, then wipe with a slightly damp microfiber mop using a pH-neutral hardwood floor cleaner. If sand is ground in, place a damp cloth over the spot for a few minutes to soften it, then gently wipe—avoid heavy scrubbing that can dull the finish. After cleaning, dry the area right away and inspect for remaining grit, since sand can act like sandpaper if left behind.
How can I get gum, wax, or paint drips off hardwood without scratching?
Harden the substance first by placing ice in a plastic bag against it for several minutes, then lift it carefully with a plastic scraper. For residue, use a small amount of hardwood floor–safe remover or mineral spirits on a cloth, testing in an inconspicuous area first. Always follow up by cleaning the spot with a hardwood floor cleaner and drying well to prevent buildup or discoloration.
Why should I avoid soaking hardwood when removing stubborn debris?
Excess water can seep into seams and edges, causing swelling, cupping, or permanent finish damage. Instead of soaking, use minimal moisture: dampen the cloth, apply cleaner sparingly, and keep scrubbing friction controlled with microfiber pads. Dry the floor immediately after cleaning to maintain the integrity of the hardwood finish.
Which tools and cleaning products work best for stubborn debris on hardwood floors?
Use a vacuum with a soft brush, microfiber mop pads, and a plastic scraper for stuck debris—these minimize scratches compared with metal tools. Choose a pH-neutral hardwood floor cleaner and avoid harsh chemicals like ammonia, abrasive scrubbers, or all-purpose cleaners that can strip the finish. For tough spots, apply cleaner to the cloth rather than the floor, work in small sections, and dry promptly to keep hardwood looking clean and protected.
📅 Last Updated: October 29, 2026 | Topic: How to clean stubborn debris from hardwood floors? | Content verified for accuracy and freshness.
References
- Wood flooring
- https://extension.umn.edu/how/cleaning-hardwood-floors
- https://www.epa.gov/coronavirus/cleaning-and-disinfecting-your-home
- https://www.nps.gov/articles/cleaning-and-maintaining-wood-floors.htm
- https://www.britannica.com/technology/cleaning
- https://scholar.google.com/scholar?q=hardwood+floor+cleaning+debris+removal Google Scholar
- https://scholar.google.com/scholar?q=how+to+remove+stubborn+debris+from+hardwood+floors+safe+methods Google Scholar
- https://scholar.google.com/scholar?q=wood+floor+maintenance+grit+removal+micro-scratches Google Scholar