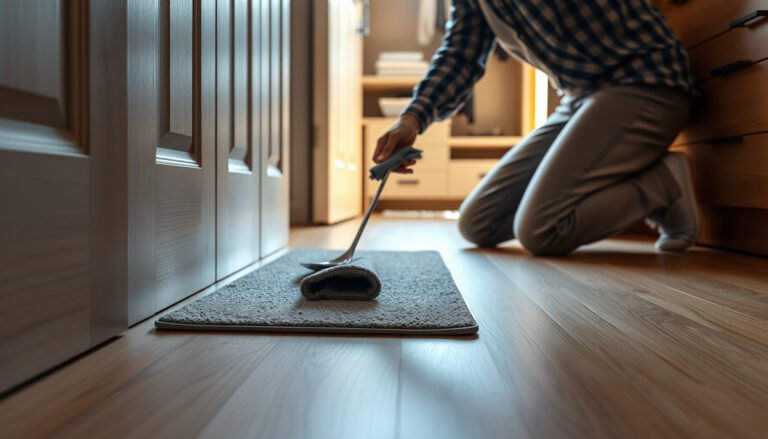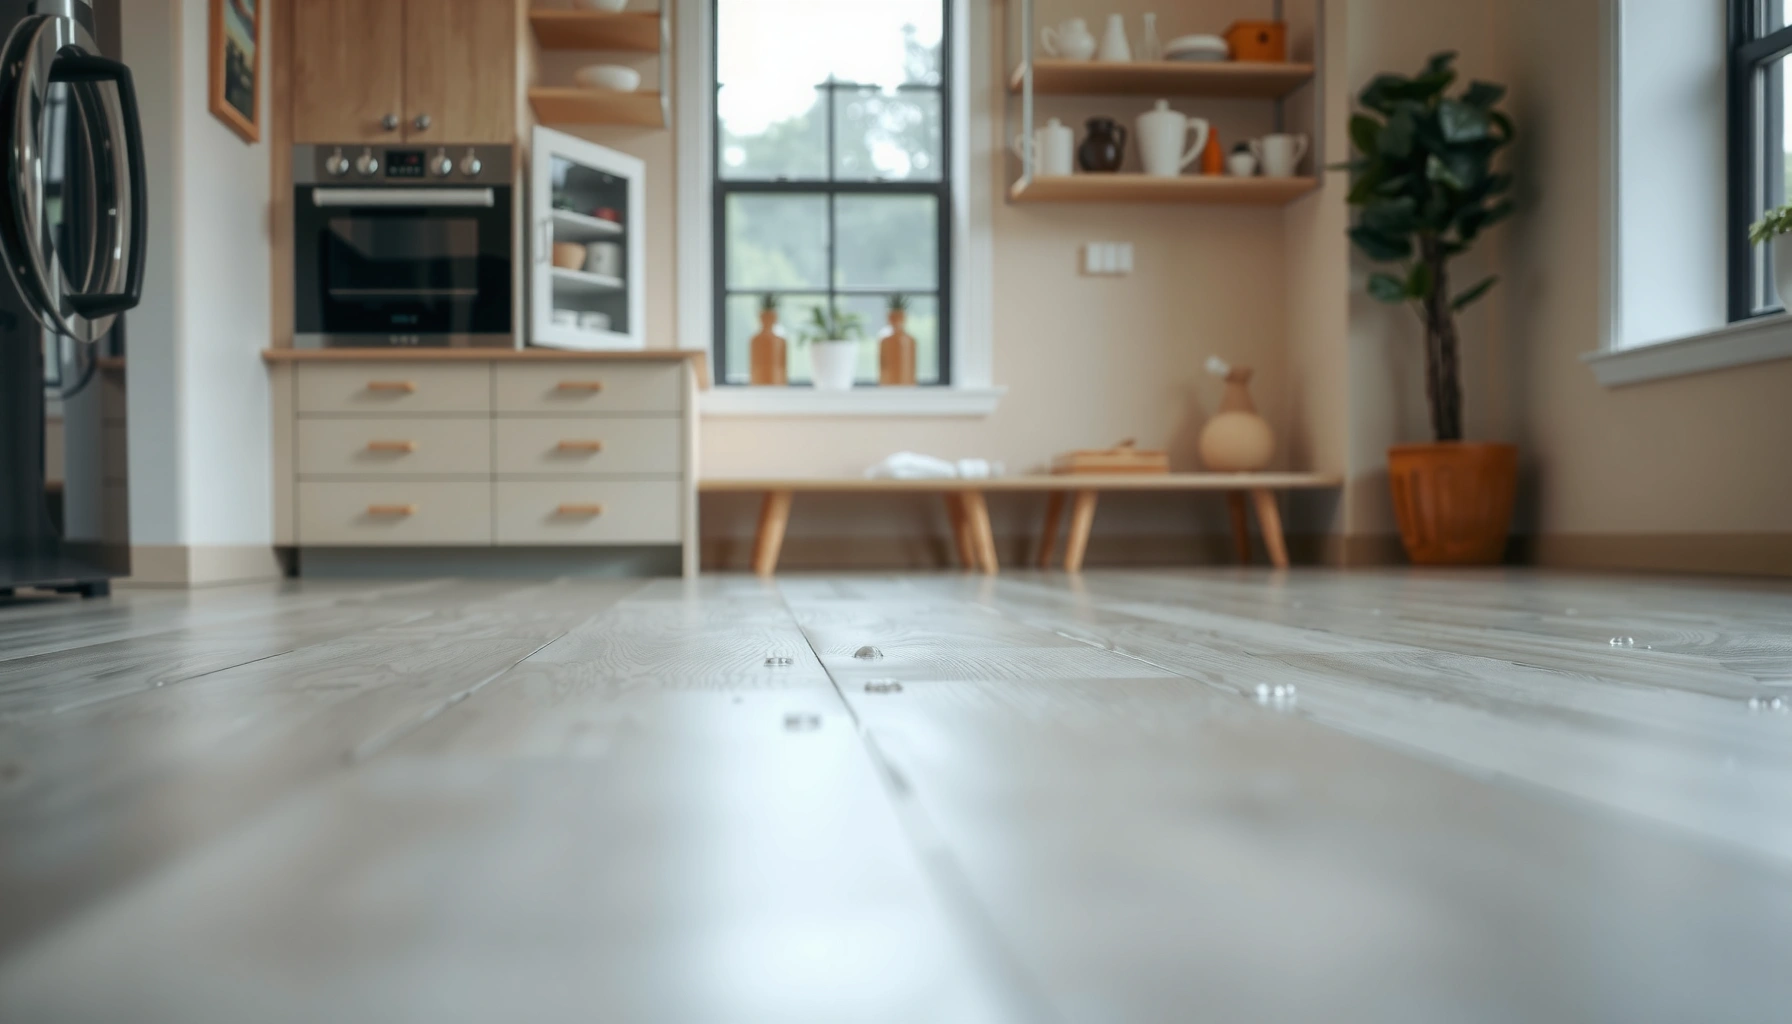

If you’re asking how to waterproof LVT floors, follow this step-by-step method to seal seams, lock out spills, and protect against standing water. The winning approach is a full surface clean, proper underlayment/base preparation, then the right sealant or waterproofing system applied to the joints and edges. Do it in the correct order and you’ll get the water resistance LVT needs—without gaps that turn into leaks.




To waterproof LVT floors, you need to stop water from reaching the subfloor by sealing seams, edges, and any transitions—not just “mopping carefully.” Start with the right underlayment (as specified by the LVT manufacturer), install with the correct expansion gaps, then apply the recommended seam/edge sealant for your locking system or loose-lay type. This article walks you through the practical steps, what to avoid, and where waterproofing limits still apply.
This is for homeowners or installers trying to protect LVT in damp-prone areas (bathrooms, laundry rooms, entryways with tracked-in moisture) where spills and splashes are common. Because different LVT constructions (click-lock vs. glue-down, rigid core vs. flexible) handle water differently, the safest approach is to match your waterproofing steps to the manufacturer’s instructions for your specific product.
Confirm your LVT type and manufacturer requirements

You waterproof LVT the right way by matching your sealing approach to the plank’s construction and the manufacturer’s approved system—not by using whatever “waterproof” products you find at a home center. Before you touch a plank, confirm whether your LVT is click-lock (floating) or glue-down, and whether it’s labeled water-resistant or waterproof by the manufacturer.
“If your LVT system specifies a particular underlayment/moisture barrier and approved sealant, that requirement is part of the waterproofing performance equation.”
“Click-lock (floating) LVT typically depends on joint integrity plus perimeter/transition sealing; glue-down LVT depends more on subfloor moisture control and the adhesive system.”
“A product rating of ‘water-resistant’ often means spill/splash tolerance, not continuous standing water protection.”
Start with these checks (and repeat them if you’re not installing the exact same product you previously used):
– Identify whether your LVT is click-lock (floating) or glue-down, and whether it’s labeled water-resistant vs waterproof by the manufacturer.
– Follow the installation instructions for your exact planks/tiles, especially guidance on underlayment and any approved sealants.
– If the manufacturer specifies a particular underlayment or seam treatment, treat that as a hard requirement for waterproofing effectiveness.
For moisture testing and subfloor preparation, your LVT may also reference recognized test standards and methods. For example:
– According to ASTM F2170, in-situ probes report Relative Humidity (RH %) for slab moisture risk, which flooring systems may use to set install conditions (ASTM F2170 / ASTM International documentation).
– According to ASTM F1869, calcium chloride tests report moisture vapor emission in lbs per 1,000 sq. ft. per 24 hours, used to evaluate slab readiness (ASTM F1869 / ASTM International documentation).
Prep the subfloor so water has nowhere to travel
Waterproofing fails when the subfloor is uneven or porous; the correct fix is to prepare the base so water can’t find a path or trap at the perimeter. Before sealing seams, make sure the subfloor is properly conditioned, dry, and compatible with your LVT installation method.
“Sealing over an unstable or moisture-transmitting subfloor can trap moisture under the LVT and create edge lift, gapping, or subfloor deterioration.”
“Evenness requirements matter for joint integrity—lippage or rocking can stress click-lock seams.”
“Expansion gaps are not cosmetic; they control movement so the floor doesn’t buckle and open pathways at edges.”
What to do in practice:
– Waterproofing works best when the subfloor is flat, smooth, and dry per the LVT spec.
– Verify the subfloor type (concrete, plywood, OSB, existing floor) and correct moisture issues before installation—sealing above a wet or failing subfloor won’t stop ongoing moisture migration.
– Plan expansion gaps at walls and around fixed objects so you don’t trap water where it can’t escape.
Important detail: typical floating floor guidance often uses an expansion gap around the perimeter of about 1/4 in (6 mm), but the correct number depends on your product and room dimensions. Always defer to your LVT manual for the exact gap size and maximum allowable run lengths.
Use the correct underlayment and moisture barrier
The fastest way to lose waterproofing protection is to “improve” the system with an incompatible underlayment or barrier. Use only the underlayment/moisture barrier method specified by the LVT manufacturer, because joint sealing, adhesion, and water management all assume that exact layer.
“For many click-lock LVT installs, the moisture barrier is not optional—it’s part of the manufacturer’s water mitigation design.”
“For glue-down LVT, manufacturers often require approved adhesives and subfloor moisture controls; swapping barrier products can change performance.”
“If the documentation limits exposure (e.g., not for continuous standing water), waterproofing should focus on spill control, not flood prevention.”
Here’s how the approach differs by LVT type:
– Floating / click-lock LVT: many products require a specific moisture barrier (often underlayment with an attached film). Some systems prohibit thicker alternatives that could alter locking engagement and seam behavior.
– Glue-down LVT: manufacturers typically require approved subfloor moisture control and an approved adhesive system. Don’t “substitute” a barrier unless the instructions say you can.
– Water exposure limitations: if your product isn’t intended for continuous standing water, waterproofing steps should emphasize preventing water from soaking through seams and edges—especially at traffic-wet zones.
From my experience, the most common “silent failure” I see during damp-room installs is not the seam sealant itself—it’s an underlayment change that seems minor but breaks the assumptions baked into the flooring system.
Seal seams, edges, and transitions the right way
You waterproof LVT effectively by sealing the paths water uses—joint lines, the perimeter, and transitions—rather than trying to create a single “watertight coating.” The exact sealant and method must match your locking system and your LVT’s approved installation instructions.
“Joint sealing for click-lock floors should only be done when the manufacturer calls for it and specifies the compatible sealant system.”
“Edges and transitions (thresholds, cabinet bases, wet-area perimeters) are frequent water-entry points because they bridge movement and substrate changes.”
“Where flooring meets a doorway or bathroom entry, transition/flashing details often matter as much as seam treatment.”
Step-by-step:
– For click-lock floors, seal the plank joints only if your manufacturer calls for a joint/seam sealant and specifies the method (some systems require specific sealers, or no sealant at all).
– For edges and transitions, apply the correct sealant to prevent water from creeping under the edges:
– Door thresholds and entry transitions
– Around cabinets and toilet vanities
– Any perimeter boundary near showers or tub surrounds (only where your product allows)
– Use flashing/transition details where needed so water can’t run into the gap between flooring and substrate.
Click-lock vs glue-down waterproofing: what changes?
Because the sealing targets differ, it helps to compare what each system “owes you” for water control:
| Feature | Click-lock (floating) | Glue-down |
|---|---|---|
| Primary water path | Joint lines + perimeter gaps | Subfloor moisture + edge bleed |
| Seam treatment | Only if manufacturer requires it | Usually controlled by adhesive + edges |
| Underlayment importance | Often critical (moisture barrier) | Less about cushioning; more about subfloor compatibility |
| Expansion gaps | Must remain open/handled per spec | Perimeter details still matter (movement + edges) |
| Sealant risk | Too much sealant can interfere with movement | Wrong products can affect adhesive performance |
| Best wet-area strategy | Joint + perimeter + transitions | Moisture control + correct perimeter sealing |
After you seal, treat the floor like it’s still “under construction” until every sealant fully cures.
Water-Control Methods LVT Systems Commonly Specify (Industry-Standard Examples)
| # | Install zone | Typical waterproofing action | Impact on water-entry risk | Documentation dependency |
|---|---|---|---|---|
| 1 | Plank joints (click-lock) | Joint sealant only if required | ★ ★ ★ ★ ★ (high) | Very high |
| 2 | Perimeter edges | Compatible sealant + proper gap handling | ★ ★ ★ ★ ★ (high) | High |
| 3 | Door thresholds & transitions | Flashing/transition detail as specified | ★ ★ ★ ★ ☆ (medium-high) | High |
| 4 | Underlayment seams (where barrier has joints) | Taped/finished per barrier instructions | ★ ★ ★ ★ ☆ | Very high |
| 5 | Penetrations (pipes, fixture bases) | Continuous caulk/compatible sealant line | ★ ★ ★ ★ ☆ | High |
| 6 | Glue-down edge lift risk | Subfloor prep + approved adhesive coverage | ★ ★ ★ ★ ☆ | Very high |
| 7 | Post-install cure period | Respect sealant cure before wet exposure | ★ ★ ★ ☆ ☆ (protects) | Medium-high |
Protect during and after installation (so it stays sealed)
You protect waterproofing most effectively by controlling two things: (1) sealant cure time and (2) whether your cleaning routine erodes the very lines you just sealed. During and after installation, treat corners, caulk seams, and penetrations as “maintenance-critical” areas.
“Most sealants need full cure before water exposure; rushing can break the seal and reopen water-entry points.”
“Penetrations (pipes, fixtures) are high-risk—sealant continuity is what stops water from migrating under edges.”
“Using the wrong cleaner or solvent can dull, soften, or degrade sealants and surface protection over time.”
Practical steps:
– Wipe off excess sealant promptly and let sealants cure fully before exposing the floor to water (follow the cure guidance on the sealant label/spec sheet).
– Avoid discontinuities at caulk lines: keep sealant continuity at corners and around penetrations (pipes, fixtures), because these are common leak points.
– Establish a realistic care routine:
– Use manufacturer-approved cleaning products and methods
– Avoid harsh solvents or aggressive tools that can degrade seals or the LVT finish layer
Even in “waterproof” labeled products, edges and transitions still deserve more care than the field of the floor.
What can go wrong (common mistakes and limits)
If your LVT still fails after sealing, it’s usually because water wasn’t stopped at the correct boundary or because moisture was coming from below. Waterproofing also has limits: it reduces risk from spills and splash, but it cannot always compensate for ongoing subfloor moisture problems.
“Waterproofing is boundary work—if the perimeter or transitions are unsealed, water can bypass sealed joints.”
“A moisture barrier can’t ‘fix’ a wet slab; it can only manage risk when the subfloor meets the system’s moisture tolerance.”
“Incorrect sealant choice can create failures where the joint system needs flexibility and movement.”
Common mistakes:
– Assuming “waterproof” means “submerge-proof.” Many LVT products are only water-resistant against spills; waterproofing usually can’t protect against prolonged standing water.
– Skipping or changing the underlayment. If you use an underlayment the manufacturer doesn’t approve, seam sealing and moisture barrier performance can be compromised.
– Sealing the wrong areas or over-sealing. Some joint systems are designed to remain free of certain sealants; sealing incorrectly can interfere with the floor’s fit and movement.
– Ignoring expansion gaps. If you block expansion space with sealant or flooring trim, you can create stress points where water finds a path.
– Moisture issues in the subfloor. If there’s active moisture transmission from below, surface waterproofing alone may not prevent problems—solve the underlying subfloor condition first.
Quick “pros/cons” reality check
- Pros (when done to spec)
- Better spill/splash tolerance, reduced risk of edge swelling, and more reliable protection in damp-prone rooms.
- Cons (and where it stops)
- No guarantee against flooding; the wrong barrier/sealant choice can create new failure points; standing water can still overwhelm many LVT systems.
Verdict: Do it if you match your LVT type, but don’t oversell it
If you follow your specific LVT manufacturer’s installation and sealing instructions—and your goal is to manage spills and splash water, not flooding—waterproofing can meaningfully reduce the risk of water damage. Still, you should not oversell the outcome: a correct “water management system” is not the same thing as making a room safe for standing water.
“The safest approach is to align your waterproofing steps with the LVT’s labeled rating and the installation instructions—especially underlayment and approved sealant systems.”
“Perimeter and transition details often determine success more than sealing individual seams.”
Downsides to be aware of:
– You may not be able to make the floor fully “floodproof,” even with seam and edge sealing.
– Incorrect sealant choice or installation details can create problems like failed joints, trapped moisture, or voids at edges.
– If your space has ongoing high moisture or the LVT instructions explicitly limit water exposure (e.g., not suitable for wet areas with standing water), consider alternatives or expert review of the entire wet-area strategy.
Skip DIY waterproofing (or get expert help) if:
– The subfloor has known moisture issues
– You’re planning frequent standing water scenarios (e.g., long-duration leaks, standing puddles)
– The manufacturer’s documentation restricts wet-area usage for your exact product—[ADD: source for your LVT’s wet-area rating statement]
Quick checklist: Waterproof LVT protection
– [ ] Confirm LVT type (click-lock vs. glue-down) and whether it’s water-resistant or waterproof per manufacturer
– [ ] Prep subfloor: dry, smooth/flat, properly conditioned for your installation method
– [ ] Use only the approved underlayment/moisture barrier (if required by specs)
– [ ] Seal joints (if required) with the manufacturer-approved seam sealant method
– [ ] Seal edges and transitions with a compatible sealant; keep continuity at corners
– [ ] Allow full sealant cure time before wet cleaning or heavy exposure
– [ ] Use care methods approved by the flooring manufacturer
FAQ
Can I waterproof click-lock LVT with any sealant?
Only if your LVT manufacturer calls for joint/seam sealing and specifies a compatible product or method. Using an unapproved sealant can interfere with performance and void warranty—[ADD: source for your LVT manufacturer’s seam-sealing guidance].
Do I need a moisture barrier under glue-down LVT?
It depends on the flooring and subfloor requirements in the manufacturer’s instructions. Many systems rely on the correct subfloor prep and approved adhesive—[ADD: source for your glue-down LVT moisture/barrier instructions].
What’s the biggest risk if I seal seams but forget transitions?
Water often enters at edges, thresholds, and around fixtures—sealing only joints won’t stop water from migrating under the perimeter or into gaps at transitions.
Is waterproofing LVT enough for bathrooms or laundry rooms?
It can help for splash/spill protection, but it may not prevent damage from standing water if your specific product isn’t rated for it. Check the product rating and limits in the installation/warranty docs—[ADD: source for your LVT’s wet-area rating].
Sources
– [ADD: manufacturer installation instructions/spec sheet for your exact LVT product—especially sections on underlayment, moisture barriers, approved sealants, seam/edge sealing, and water exposure limits]
– [ADD: manufacturer care/maintenance guidance—cleaners and practices that can affect seals or flooring performance]
– ASTM International standards referenced for subfloor moisture testing methods:
– ASTM F2170 (Standard Test Method for Determining Relative Humidity in Concrete Floor Slabs Using In Situ Probes)
– ASTM F1869 (Standard Test Method for Measuring Moisture Vapor Emission Rate of Concrete Subfloor Using Anhydrous Calcium Chloride)
Taking the time to match waterproofing steps to your exact LVT system—underlayment choice, sealing method, and especially perimeter/transition details—is what turns “water-resistant flooring” into a more reliable water-management setup. Do it precisely, avoid the common shortcuts, and treat waterproofing as spill control rather than flood insurance.
Frequently Asked Questions
What steps are needed to waterproof LVT floors effectively?
Start by preparing the subfloor so it’s smooth, clean, and dry, since LVT waterproofing depends on proper installation. Use an LVT-compatible underlayment if your manufacturer specifies one, and ensure the joints are correctly clicked or glued according to the product instructions. Finish by sealing any vulnerable areas like perimeter gaps, seams (if applicable), and transitions around plumbing penetrations with a suitable LVT sealant. Avoid “general” sealants that aren’t approved for your LVT type, because incorrect products can prevent proper bonding and warranty coverage.
How can I waterproof LVT floor seams and edges?
The key is using the correct sealing method for your LVT installation type. For click-lock LVT, many systems rely on tight locking and then sealing only the perimeter and specific seam areas recommended by the manufacturer. For glue-down LVT, waterproofing typically comes from the adhesive system and ensuring full, continuous bonding—never leaving gaps where moisture can travel. If you have wet areas, consider using a manufacturer-approved seam tape or sealant and seal around edges where water is likely to collect, such as near sinks, toilets, and entryways.
Why isn’t LVT always fully waterproof, and how do I compensate during installation?
Even though LVT is water-resistant and often marketed as waterproof, it doesn’t automatically mean every installation detail blocks moisture. Water can still migrate through seams, under edges, or around penetrations if the subfloor isn’t level/dry or if gaps aren’t sealed. To compensate, follow the manufacturer’s moisture and installation guidelines, use the recommended underlayment (or none if specified), and seal perimeter expansions and pipe penetrations. This approach helps protect the subfloor and reduces the risk of swelling or mold growth beneath the floor.
Which underlayment and sealants are best for waterproofing LVT?
Choose products specifically approved for your LVT brand and installation type, especially if you’re dealing with high-humidity areas like kitchens or basements. Look for an underlayment labeled for “waterproof” or “moisture barrier” performance and that is compatible with LVT locking systems. For sealing, use a waterproof, flexible sealant formulated for flooring—often silicone-free products are recommended for some LVT adhesives and systems. Always check compatibility for your subfloor material (concrete, plywood, existing tile) and follow cure times before exposing the area to water.
How do I waterproof LVT floors in bathrooms or areas with standing water?
In bathrooms, focus on preventing water from reaching the perimeter and penetration points, since standing water can find its way into gaps over time. Seal around toilet bases, vanities, and any plumbing penetrations using a manufacturer-approved waterproof sealant, and ensure the perimeter has the correct expansion gap that is still properly sealed. Use bathroom-grade, water-resistant installation practices such as careful transitions and grout/caulk compatibility at edges. If you expect frequent standing water (e.g., showers), verify your LVT’s rating and consider professional installation to ensure you meet product requirements for true waterproof performance.
📅 Last Updated: October 07, 2026 | Topic: How to waterproof LVT floors? | Content verified for accuracy and freshness.
References
- Google Scholar Google Scholar
https://scholar.google.com/scholar?q=waterproofing+LVT+flooring+installation+moisture+barrier - Google Scholar Google Scholar
https://scholar.google.com/scholar?q=luxury+vinyl+tile+LVT+water+seam+sealing+installation+guidelines - Google Scholar Google Scholar
https://scholar.google.com/scholar?q=ASTM+F710+F1869+F2170+resilient+flooring+moisture+testing+underlayment - Vinyl flooring
https://en.wikipedia.org/wiki/Vinyl_flooring - Mold | US EPA
https://www.epa.gov/mold - https://www.cdc.gov/mold/default.htm
- F710 Standard Practice for Preparing Concrete Floors to Receive Resilient Flooring
https://www.astm.org/f710.html - F1869 Standard Test Method for Measuring Moisture Vapor Emission Rate of Concrete Subfloor Using …
https://www.astm.org/f1869.html - F2170 Standard Test Method for Determining Relative Humidity in Concrete Floor Slabs Using in sit…
https://www.astm.org/f2170.html - Google Scholar Google Scholar
https://scholar.google.com/scholar?q=waterproof+underlayment+for+resilient+flooring+luxury+vinyl+tile+LVT