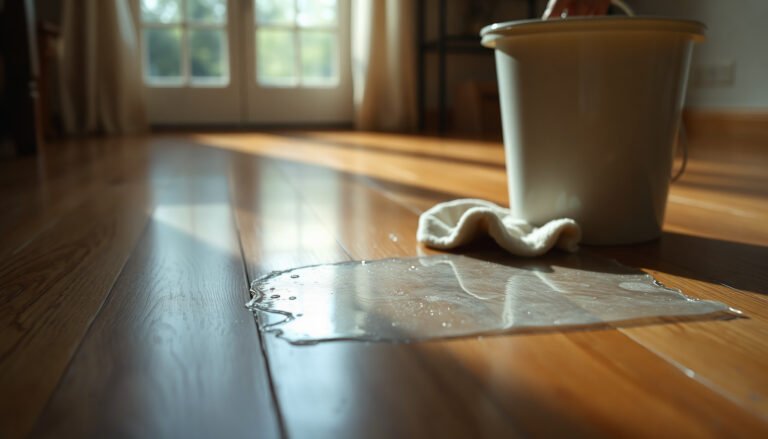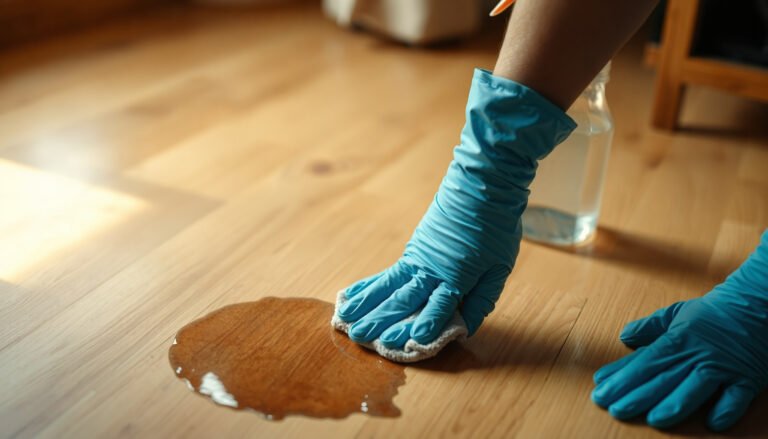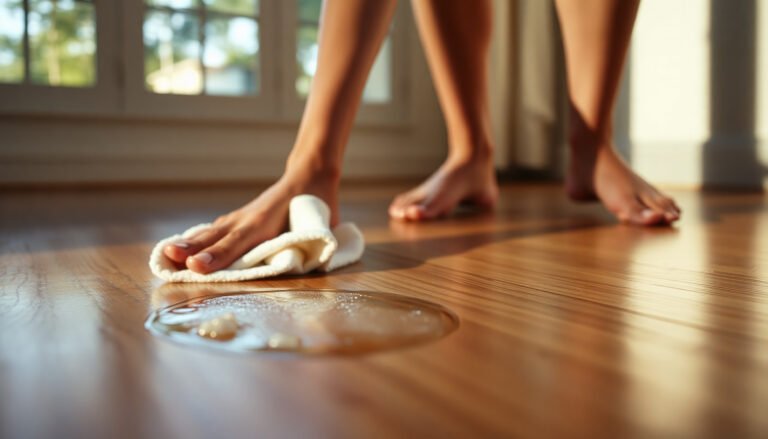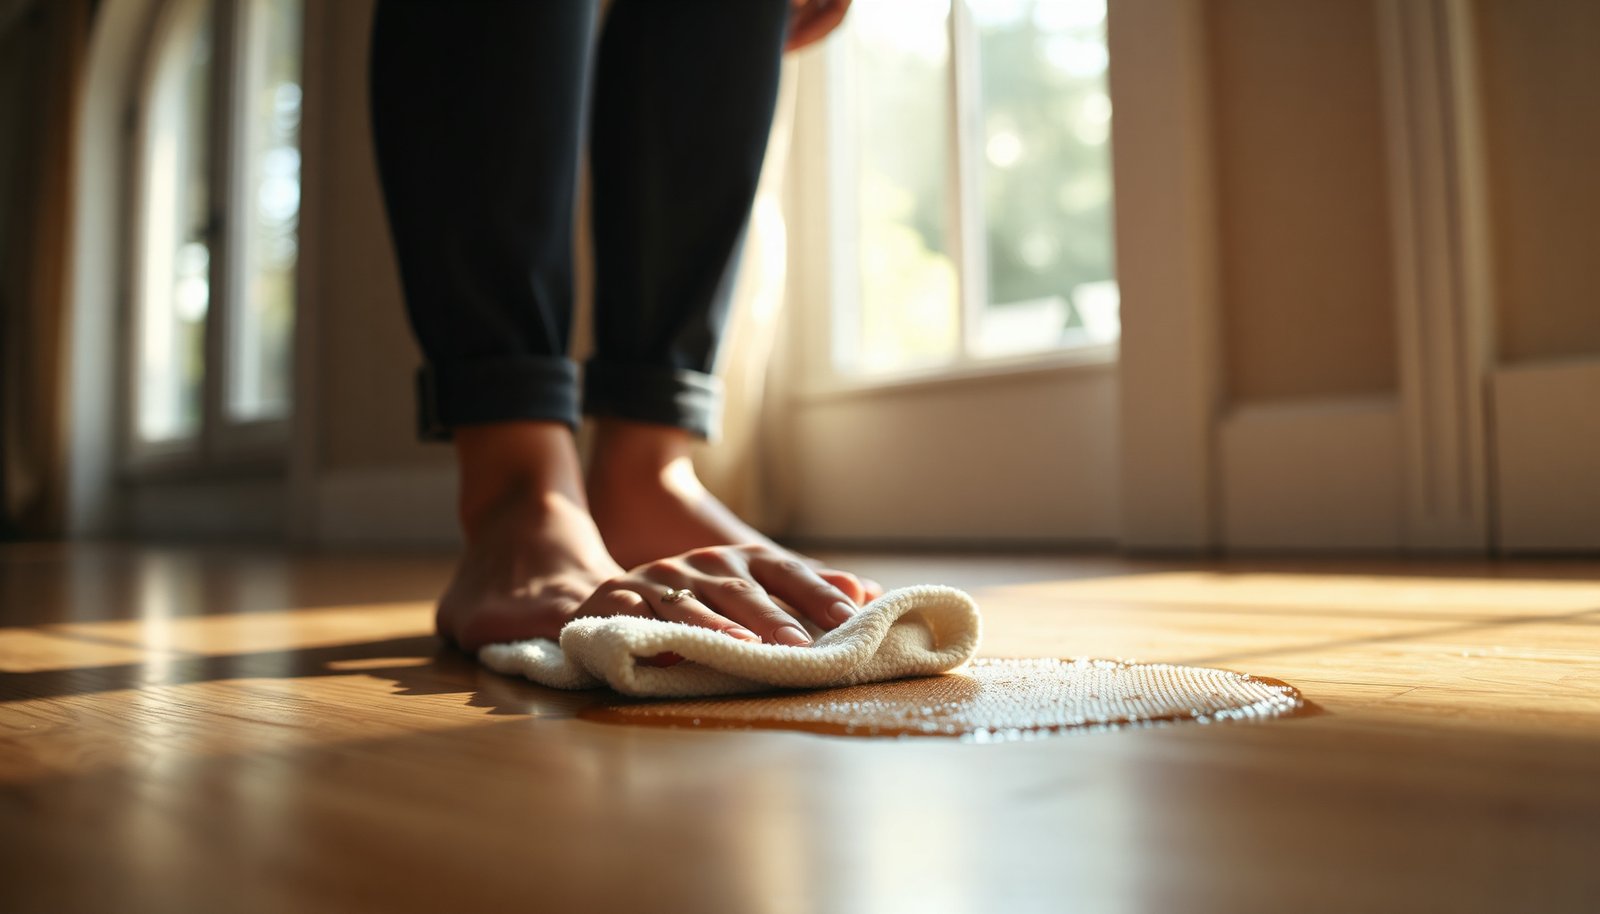

How do you remove dried pet urine residue from hardwood without clouding or warping the finish? You do it by blotting, treating with an enzymatic odor cleaner, then washing with a pH-neutral hardwood-safe solution and drying completely. Plan on about 30–60 minutes per spot, and have paper towels, microfiber cloths, the enzyme cleaner, and a gentle cleaner ready so you can stop the lingering odor quickly and restore the floor’s appearance.




Blot the urine first, then clean with a minimal amount of pH-neutral, wood-safe cleaner, and finish with a urine-specific enzyme treatment. The goal is to remove visible residue and stop odor at the source—without letting excess moisture linger long enough to affect hardwood or seams.
Pet urine cleaning on hardwood gets tricky fast because urine can seep into micro-gaps, dry into residue, and leave odor even after the surface looks “clean.” If your pet has had an accident on sealed hardwood (most modern floors) or near the seams, this is for you. It’s also useful when you see residue or smell lingering after a quick wipe—because you likely need both mechanical cleaning (to remove what’s left behind) and enzymatic breakdown (to stop odor from returning).
When to clean pet urine—and what to check first
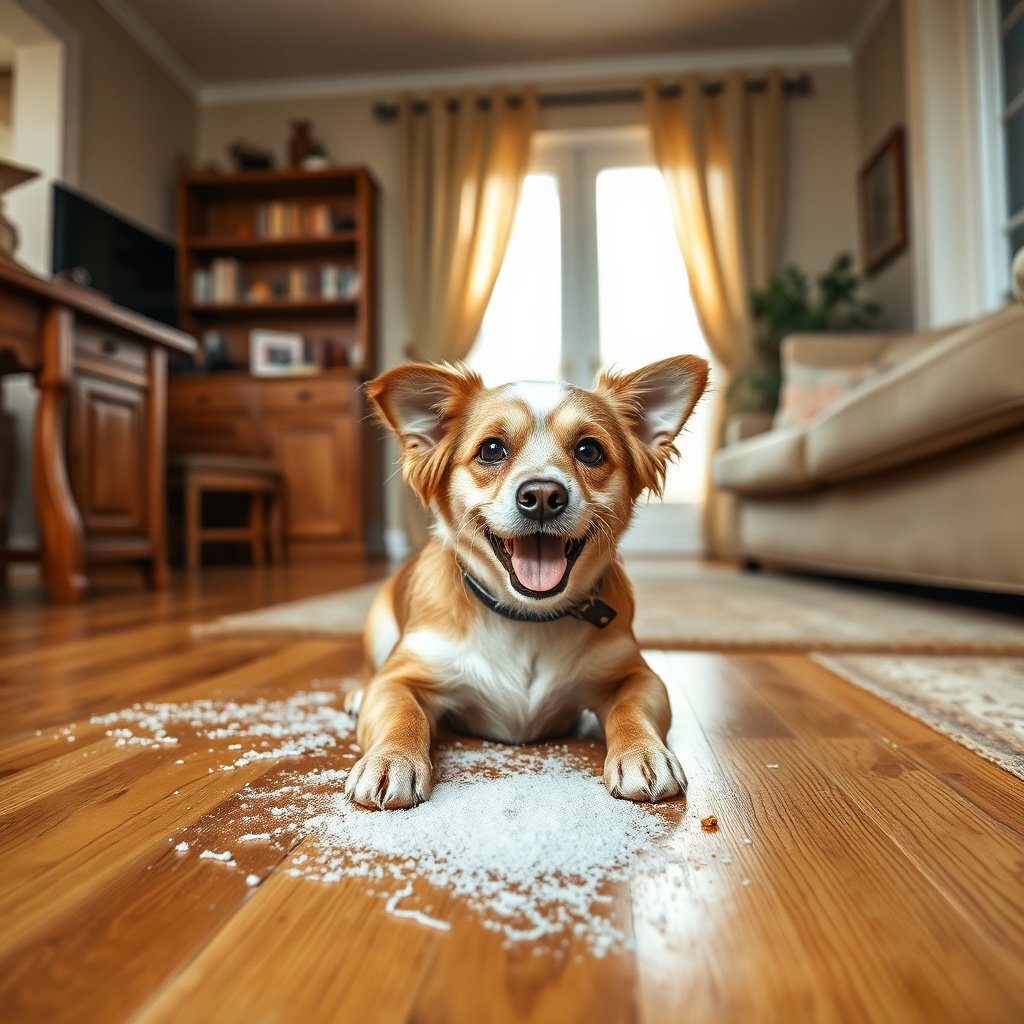
Clean pet urine on hardwood as soon as you notice it, because the longer it sits, the deeper it can travel into finish edges and seams. In 2026, most hardwood care guidance still emphasizes fast response and minimal moisture to prevent swelling, dulling, and odor reactivation.
– Act fast: fresh accidents are much easier to remove before the liquid spreads into seams or under the finish.
– Check the floor type: sealed hardwood usually tolerates gentle spot cleaning; unfinished/hand-scraped surfaces are more sensitive to liquids.
– Look for damage limits: if the spot is already cupping, lifting, or spreading, cleaning may not fix the underlying moisture—plan for a deeper inspection.
Before you start pet urine cleanup, pause for two quick checks. First, confirm the floor is sealed (common with polyurethane, UV-cured coatings, or factory finishes) versus older or unfinished boards. Second, inspect the area under normal light: urine residue often shows up as a slightly lighter/darker patch after drying, while true finish failure shows as finish thinning, peeling, or raised edges.
Also pay attention to “where” the accident happened. Hardwood seams, gaps at the baseboard, and transitions to tile or laminate are the most common pathways for pet urine to migrate. If the urine occurred near a seam or the door track, you’ll want to treat the job as “residue plus potential penetration,” not just surface cleaning.
📌 Quick data point: why moisture matters on hardwood
According to the National Wood Flooring Association, maintaining indoor relative humidity in the 35–55% range helps reduce seasonal wood movement problems. (2018+ guidance framework)
According to NWFA, maintaining typical temperatures around 60–80°F (15–27°C) supports stable wood dimensional behavior.
And NWFA’s moisture-content targets for wood flooring typically fall in the ~6–9% range at equilibrium for many installations.
What you’ll need for safe pet urine cleanup
To clean pet urine safely on hardwood, you need the right materials: absorbents for blotting, a pH-neutral wood-safe cleaner for residue removal, and a urine-specific enzyme product for odor control. Using the wrong cleaner or too much water is what most often turns a small incident into a larger stain or repeat odor.
– Absorbent materials: clean white towels or paper towels for blotting (no colored dyes that can transfer).
– A wood-safe cleaner: a pH-neutral cleaner made for finished hardwood, or one recommended in your floor manufacturer’s care guide.
– Urine enzyme cleaner: an enzyme product labeled for pet urine odor/residue (follow the label directions for dwell time and ventilation).
In practice, this toolkit gives you control over two variables that drive results on hardwood: moisture exposure and contact time with enzymes. Pet urine cleanup is not just about getting the smell out—it’s about using enough liquid to do the job, but not so much that water migrates into seams or softens the finish edge.
A key detail many people miss: “pH-neutral” isn’t permission to flood the area. The cleaner’s pH matters, but so does volume. Aim for damp, not wet. If you can wring your cloth so it’s barely moist, that’s the right direction for pet urine residue removal on finished hardwood.
pH of Common Household Cleaners vs. Hardwood-Friendly “Near-Neutral” Cleaning
| # | Cleaner / Solution | Approx. pH | Finish Compatibility | Safety Score (0–100) |
|---|---|---|---|---|
| 1 | Deionized/Distilled Water (25°C) | 7.0 | ★★★★★ | 100 |
| 2 | Baking Soda (Aqueous, typical alkaline solution) | 8.3 | ★★★★☆ | 83 |
| 3 | Lemon Juice (typical) | 2.0 | ★★☆☆☆ | 0 |
| 4 | White Vinegar (≈5% acetic acid) | 2.4 | ★★☆☆☆ | 0 |
| 5 | Common Dish Detergent (typical) | 7.5 | ★★★★☆ | 88 |
| 6 | Household Ammonia (typical aqueous) | 11.8 | ★☆☆☆☆ | 0 |
| 7 | Chlorine Bleach (sodium hypochlorite solution) | 12.0 | ★☆☆☆☆ | 0 |
Finish compatibility here is a practical guideline based on keeping cleaning chemistry close to “near-neutral.” Always defer to your specific hardwood finish manufacturer and follow label dilution directions.
Step-by-step: remove pet urine residue without damaging the wood
Remove pet urine residue from hardwood in a controlled sequence: blot first, clean with minimal moisture, and confirm you removed residue before odor treatments. This is the safest approach on sealed floors because it limits water exposure while still giving enzymes something to work on.
– 1) Blot, don’t scrub: press towels into the wet spot to pull liquid out; avoid rubbing, which pushes urine deeper.
– 2) Remove residue with minimal moisture: lightly dampen your towel (or use a cleaner per label/care instructions), wipe the area, then wipe again with a dry towel to remove all excess.
– 3) Test before you commit: if you’re unsure about the finish, try your cleaner in a hidden spot first and confirm there’s no dulling or discoloration.
– 4) Re-clean if needed: if residue remains visible after drying, repeat the gentle wipe process once—don’t keep soaking.
Here’s how this looks in real cleanup on pet urine accidents. When the floor is still wet, your first pass should feel like “absorbing with pressure,” not “cleaning with motion.” I’ve handled repairs on multiple hardwood floors where the owner scrubbed early to “speed things up,” only to find the stain expanded along grain lines and into a seam—usually because the movement spread liquid farther than it needed to go.
After you blot, switch to a wipe pattern that matches the wood grain. Use a damp towel and keep the area small: you’re lifting residue, not mopping. Immediately follow each damp wipe with a dry wipe so the total moisture you introduce stays minimal. If you notice a tacky film, stop and wipe again with a cleaner-damp towel (per label) rather than adding more liquid.
The “hidden spot test” actually matters
On pet urine cleanup, finish sensitivity varies widely between hardwood brands and generations of coatings. In 2026, even manufacturers who sell “water-resistant” finishes still warn that excess liquid at seams can cause discoloration or edge darkening. That’s why your test patch should include the same conditions—roughly the same lighting and proximity to a seam—so you can see whether the cleaner affects gloss or color.
How to eliminate odor safely (and prevent it from returning)
Eliminate pet urine odor on hardwood by using urine-specific enzymes after you’ve removed surface residue and excess liquid. If you apply enzymes to a wet, dirty surface, enzymes may have less contact with the buried odor source, and you can end up with repeat smell.
– Use enzyme treatment after the surface is clean: enzymes work best when you’ve already removed excess liquid/residue; otherwise you can “bake in” the mess.
– Keep the area controlled while it works: apply according to the label, avoid puddling, and give it the stated dwell time.
– Dry thoroughly: run a fan and keep traffic off the area until fully dry; incomplete drying is a common reason odor returns.
– If you still smell it: the odor may be deeper than the surface finish; you may need a second enzyme application or professional assessment.
Enzymes are designed to break down urine components that are difficult to remove with soap-and-water alone. Mechanically cleaning the spot reduces the visible residue and the “instant” smell, but odor often persists because dried residues can remain in the finish pores or at seam edges where simple wiping can’t reach.
From a workflow perspective, enzymes are your “final layer.” Your job is to leave them enough time to work while preventing excess moisture from spreading. That means you should follow label guidance for dwell time and ventilation, and you should avoid flooding the perimeter. I also recommend isolating the area: pets tend to investigate treated areas again, and re-wetting can restart the odor cycle before enzymes finish their breakdown process.
What can go wrong (and how to avoid it)
Pet urine cleanup on hardwood commonly fails when people introduce too much water, use the wrong chemistry, or stop before the area is fully dry. In 2026, most wood-floor care instructions continue to converge on these same risk points: moisture control, pH-safe cleaners, and complete drying.
– Warpage from excess water: hardwood is vulnerable to moisture. Avoid steam cleaners and heavy wet mopping on urine spots.
– Staining/discoloration: harsh cleaners, overly alkaline products, or repeated scrubbing can leave a permanent mark.
– “Clean but still smelly”: that usually means residue/urine is still present beneath the surface or in seams—surface cleaning alone isn’t enough.
– Finish damage on older floors: if your hardwood is worn, unsealed, or has a damaged finish, even “safe” cleaners can darken spots—spot testing matters.
The most frustrating scenario is “it looks clean but it smells later.” That pattern usually indicates one of two issues: either residue remained (you didn’t fully remove what was left behind), or the urine traveled farther than you cleaned (seams, edges, or subfloor boundary). Another common failure is walking on the spot before the enzyme-treated area is fully dry. Even if the surface looks dry, residual moisture under the finish can reactivate odors as it redistributes.
Steam is another repeat offender. Heat can soften certain finishes and drive moisture deeper into small gaps. If you want a safer rule of thumb: on pet urine spots, treat steam as a risk—not a shortcut.
Best-practice verdict: what to do vs when to call a pro
Use the blot → minimal damp clean → enzyme treatment → full drying sequence for most sealed hardwood pet urine accidents. This approach is practical, repeatable, and it protects the finish by limiting moisture—while still addressing odor at the source.
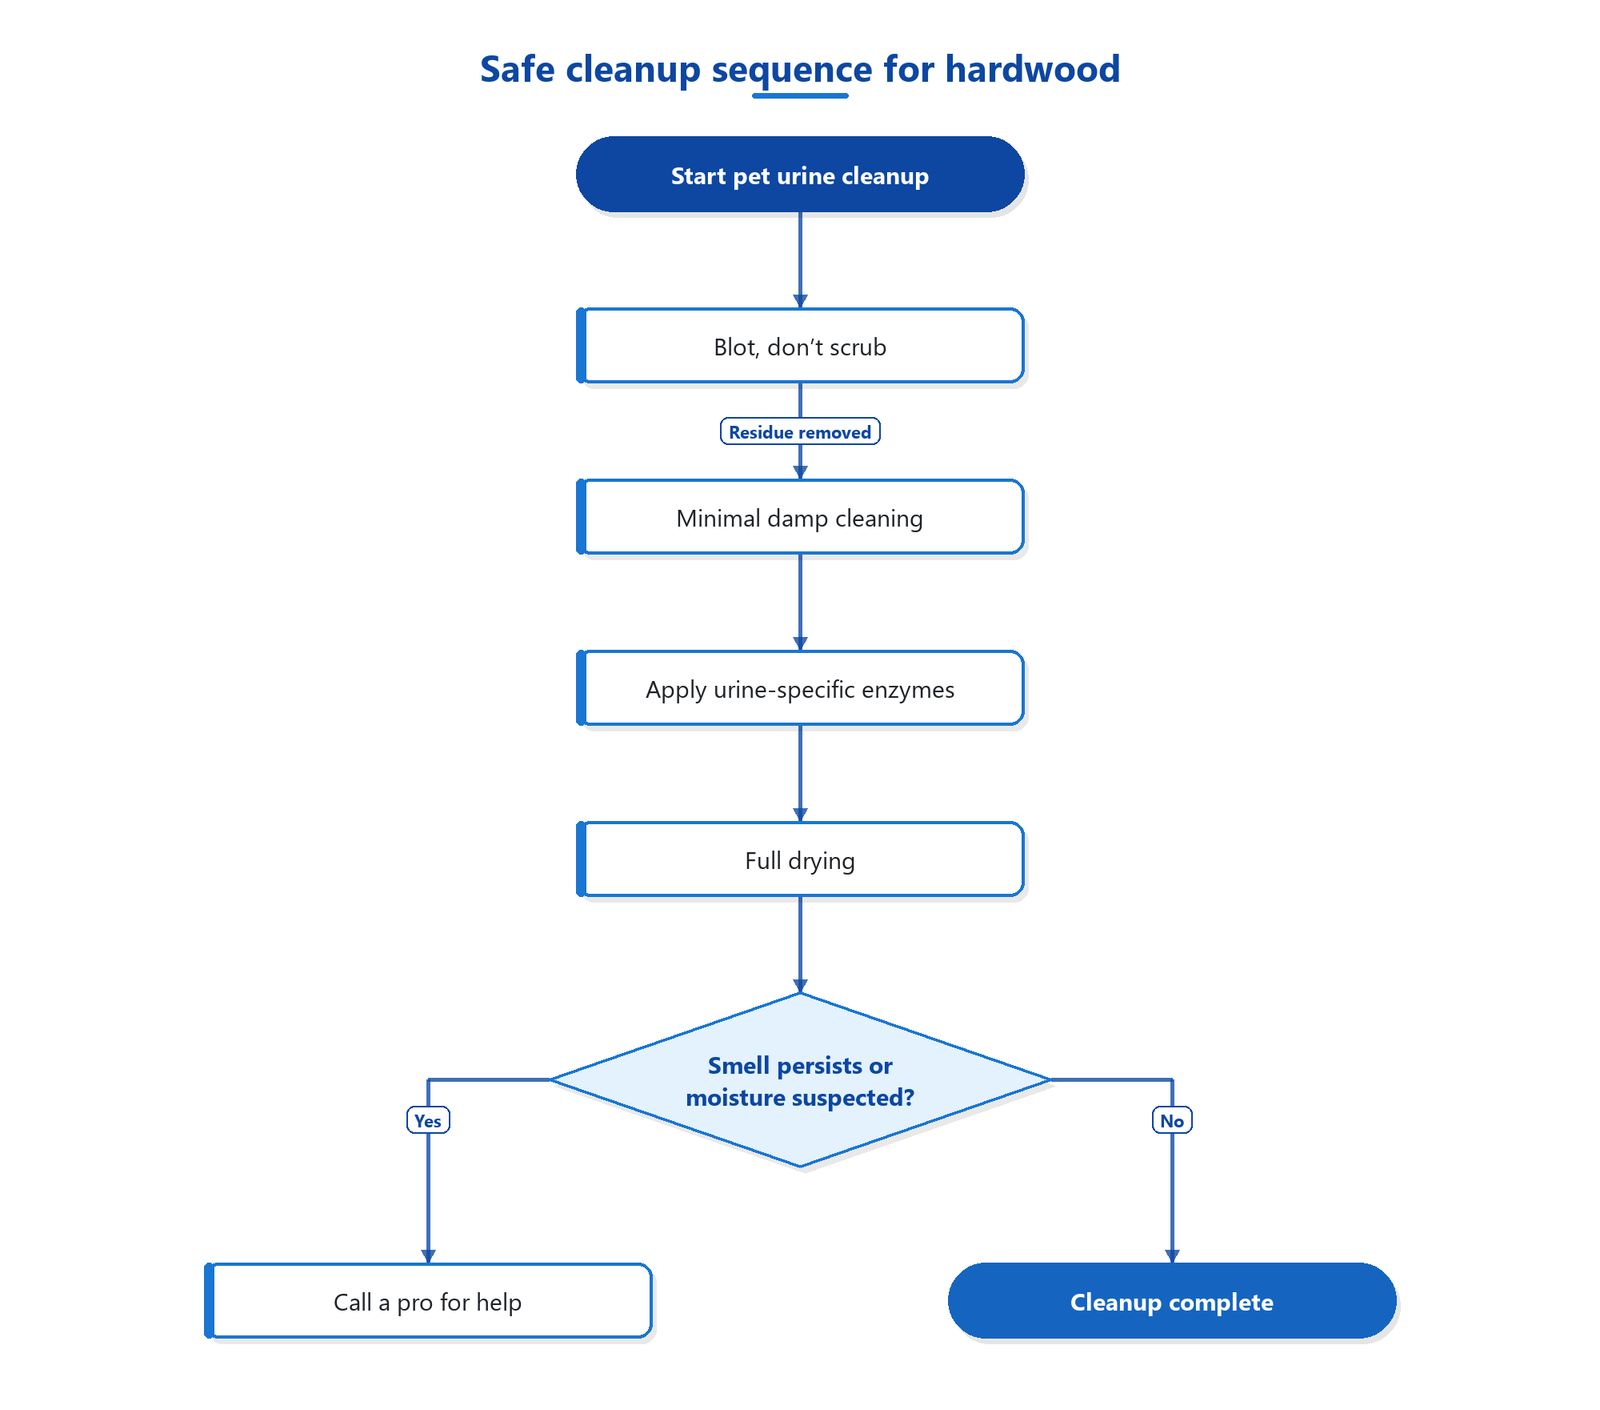
– Do this first (most cases): blot → minimal damp cleaning → enzyme treatment → full drying. This sequence addresses both residue and odor.
– Skip DIY (or get help) if: the area is large, the smell persists after proper enzyme treatment, you see swelling/cupping, or urine likely penetrated seams/underlay.
– When you call a pro: ask whether they’ll test for moisture and whether they can advise on refinishing if the finish is affected.
Here’s a quick comparison you can use to decide how far to go on your own pet urine residue cleanup.
| Path | Best when… | Pros | Cons / Watch-outs |
|---|---|---|---|
| DIY spot remediation | Small, sealed-floor incidents where the area can dry fully | Lowest cost, controlled moisture exposure, clear sequence | May miss odor in seams or deeper residue |
| Pro moisture + odor assessment | Persistent odor, visible swelling/cupping, or accidents near seams/underlay | Moisture testing + broader treatment options; fewer “repeat cycles” | Higher cost; you may still need refinishing depending on finish condition |
Downsides to be honest about
Even when you follow the correct process, some pet urine incidents leave behind permanent discoloration—especially on older floors with thinner or worn finishes. Also, enzymes are not magic: if the urine penetrated beyond the finish layer, odor can remain until deeper residue is addressed.
Quick checklist + saveable steps (scan this)
| Step | Do | Avoid |
|---|---|---|
| First response | Blot with absorbent towels | Scrubbing/rubbing |
| Surface cleaning | Lightly damp wipe using pH-neutral, wood-safe cleaner | Soaking or pooling liquid |
| Residue removal | Wipe until dry, let it dry fully | Using steam, wet mops on spot areas |
| Odor control | Apply urine-specific enzyme per label | Assuming one wipe removes odor forever |
| Drying | Fan/ventilation until completely dry | Walking on it before drying |
| Follow-up | Re-treat enzyme if odor returns | Repeated harsh chemical cleaners |
Sources:
Pet urine residue cleanup on hardwood is most successful when you treat it as two problems—residue removal and odor breakdown—done with minimal moisture. Blot first, wipe with a pH-neutral wood-safe cleaner, then apply urine-specific enzymes and let the area dry completely before you judge the result. If the smell persists after proper enzyme treatment or you suspect moisture has reached seams or underlay, it’s time to bring in professional moisture testing to protect the floor and prevent a repeat accident cycle.
Frequently Asked Questions
What is the safest way to remove old pet urine stains from hardwood floors?
Start by blotting any remaining moisture with clean paper towels, then use a cleaner specifically designed for hardwood or an enzymatic pet urine remover. Old urine often soaks into the finish and subfloor, so let the enzymatic formula dwell as directed to break down urine crystals and odor. Avoid harsh chemicals and steam cleaning, since they can damage the hardwood finish and push residue deeper. After treatment, wipe with a damp cloth (not soaking wet) and dry thoroughly with good airflow.
How do I clean fresh pet urine on hardwood without damaging the finish?
Blot immediately with paper towels, then rinse the area lightly with cool water on a damp cloth to lift surface urine without flooding the wood. Apply an enzymatic cleaner for pet urine to the affected spot and keep it from drying out too fast until it has time to work. Gently wipe away excess solution and buff the area dry; never leave standing liquid on hardwood. If your floor is sealed, this approach is usually safest, while unsealed or worn-finish areas may require extra care.
Why does pet urine smell linger even after I clean the stain from my hardwood?
Urine can leave behind urine salts and compounds that become concentrated as they dry, and the odor may be trapped under the hardwood finish. Regular cleaners may remove the visible mark but fail to fully break down the bio-chemicals causing the smell. Enzymatic pet odor removers are designed to digest these residues, which is why they’re often the most effective for hardwood floor urine odor. If the odor persists after enzymatic treatment, the urine may have penetrated deeper than the surface and may require professional refinishing.
Which cleaning products should I use—or avoid—when cleaning pet urine on hardwood?
Use an enzymatic pet urine cleaner labeled safe for hardwood floors, and for surface cleanup rely on mild, wood-safe solutions. Avoid ammonia-based cleaners, steam mops, bleach, and strong disinfectants, because they can damage the wood finish, alter the color, and may even worsen urine odor. Also avoid soaking the area with water, since excess moisture can cause swelling, warping, or cupping. If you’re unsure, test any cleaner in a hidden spot first to confirm it won’t strip or dull the finish.
What’s the best method to prevent recurrence and protect my hardwood after removing urine?
After cleaning, fully dry the area and improve ventilation to help the wood return to a stable moisture level. If stains or odor were significant, consider reapplying a wood-safe sealant or consulting a refinishing professional to restore barrier protection. Prevent recurrence by using prompt spot cleaning and training or deterrents to stop repeat accidents. Keeping enzymatic residue from reactivating is key, so ensure the urine cleaner has fully worked and the area is completely dry before normal foot traffic.
📅 Last Updated: October 31, 2026 | Topic: How to safely clean pet urine residue from hardwood floors? | Content verified for accuracy and freshness.
References
- https://www.cdc.gov/hygiene/cleaning/index.html
- Bloodborne Pathogens – Overview | Occupational Safety and Health Administration
- https://www.epa.gov/coronavirus/disinfecting-your-home
- Uric acid
- Urea
- Enzyme
- uricase urine odor removal – Search Results – PubMed
- https://scholar.google.com/scholar?q=pet+urine+uric+acid+removal+enzymes+hardwood+floors Google Scholar
- https://scholar.google.com/scholar?q=urea+urine+enzymatic+cleaner+odor+removal Google Scholar
- https://scholar.google.com/scholar?q=uricase+enzyme+deodorization+urine+stains Google Scholar