
Choosing hardwood floors for a bathroom comes down to one question: which type can handle moisture, temperature swings, and daily splashes without warping? Under bathroom conditions, engineered hardwood—properly sealed and installed with water-resistant underlayment—is the clear winner. If you want the look of real wood with the lowest risk, the right finish, warranty-rated water resistance, and correct installation details matter more than the species alone.




Choosing hardwood floors for a bathroom usually comes down to moisture control: use engineered hardwood (not typical solid planks) and pair it with a finish that’s designed for humid, splash-prone rooms. Then confirm the install plan—subfloor prep, moisture barrier/underlayment, and sealing details—before you buy. This guide shows what to check so your floor can handle bathroom humidity without warping or gaps.
If you’re planning a bathroom remodel (especially near showers/tubs), this is for you. It’s also helpful if you already love the look of wood but want the safety checks that make the difference.
What to prioritize for bathroom hardwood floors
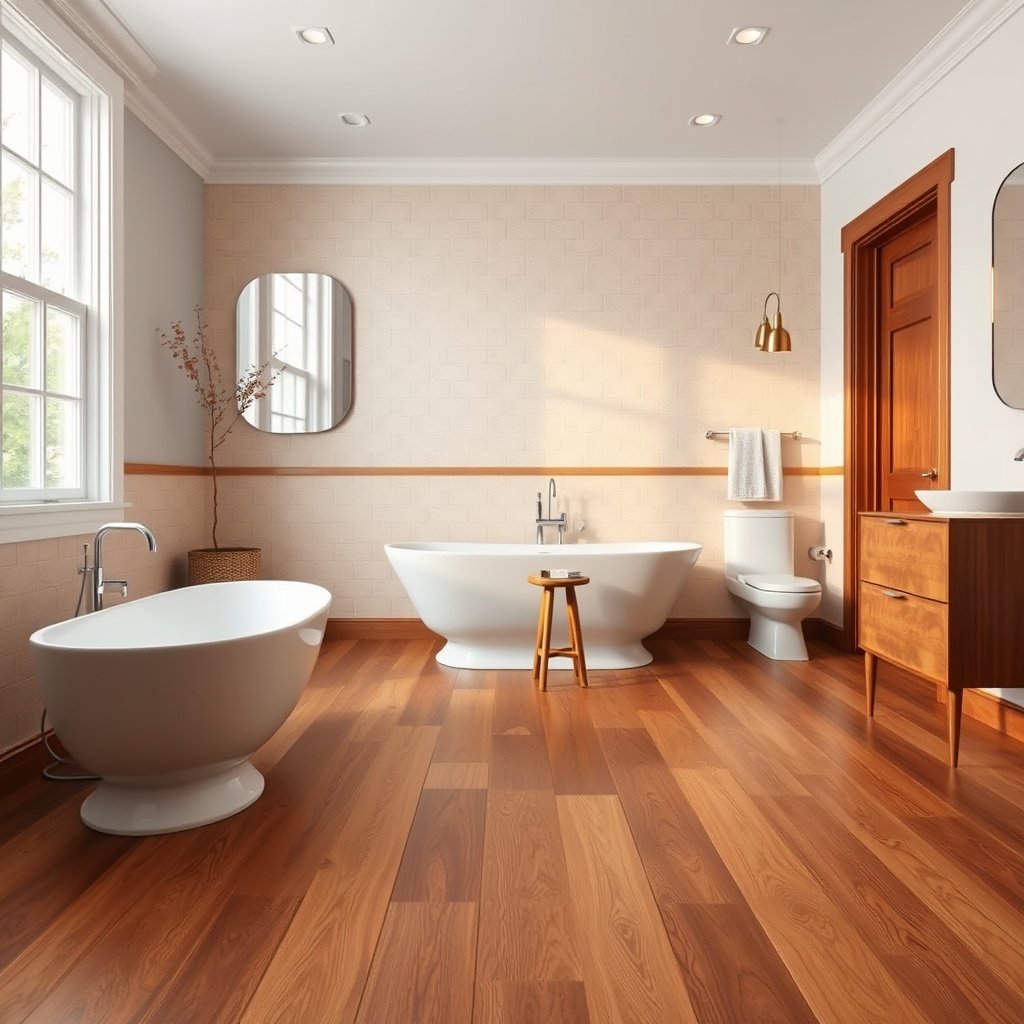
The fastest way to choose the right bathroom hardwood floor is to map where water actually goes, then design around that “wet zone” with stable products and an install that won’t trap moisture. As of 2026, most flooring failures in bathrooms trace back to either uncontrolled humidity spikes or details at seams, edges, and transitions—not to the wood’s appearance.
Bathroom hardwood performance is driven more by where moisture reaches the floor (wet zone) than by the floor’s color or plank design.
Engineered hardwood is generally favored over solid hardwood because its layered construction resists movement from humidity swings.
Before you pick a box of planks, do three quick assessments that directly influence whether bathroom hardwood floors stay flat over time:
1) Decide how “wet” your bathroom is (real exposure, not ideal conditions).
Look at your shower setup (curtain vs. glass), how the space is ventilated, and whether splashes land near the perimeter. A small bath with a weak fan that runs slowly is a different environment than a well-vented ensuite with minimal overspray. Even with a good shower door, fine mist often travels farther than people expect.
2) Focus on stability first: humidity swings are the enemy.
Wood flooring expands and contracts with moisture content. In a bathroom, the moisture source isn’t just standing water—it’s also damp air after showers. A “stable” bathroom hardwood floor choice is one that can handle repeated cycles without buckling or opening gaps.
3) Plan for water management around the wet zone.
Your layout should include how water will be stopped at boundaries: thresholds at doorways, caulk lines at wall edges, and the sealing details around transitions to tile or waterproof flooring. Without this plan, even a strong floor product can fail at the points where wood movement concentrates.
Pick the right hardwood type (engineered vs. solid)
If you want hardwood in a bathroom, engineered hardwood is the safer default because it tolerates humidity variability better than solid planks. Solid hardwood can work in limited scenarios, but you must follow the exact product documentation and you still need strong ventilation and wet-zone protection.
Many flooring manufacturers recommend or limit bathroom installations based on whether the product is engineered and how its layers are constructed.
Solid hardwood is generally more vulnerable to dimensional movement in bathrooms because it contains a single piece of wood.
Engineered hardwood vs. solid hardwood: what changes in bathroom performance?
Here’s the practical difference for bathroom hardwood floors:
– Engineered hardwood typically uses a layered core (often plywood or laminated wood) with a surface wear layer. Those layers reduce the degree of movement compared with solid planks, especially when the bathroom sees repeated humidity cycles.
– Solid hardwood uses one solid piece of wood through the thickness. That makes it more responsive to seasonal indoor humidity—and bathrooms amplify humidity spikes.
Choose based on your layout’s water paths
Bathroom hardwood floors don’t “average out” moisture. If your shower door directs mist toward one side of the room, that area experiences more frequent wet/damp events. Consider:
– Direct splash paths (near tubs, shower thresholds, or where curtains billow)
– Indirect exposure (steam lingering after a shower)
– Perimeter exposure (water that wicks along baseboards, thresholds, and edges)
Use documentation—not marketing claims
A product’s marketing might say “water-resistant finish,” but the deciding factor for bathroom suitability is the installation and warranty language from the manufacturer.
Comparison (engineered vs. solid) for bathroom hardwood floors
| Feature / Risk (bathroom-focused) | Engineered hardwood | Solid hardwood |
|---|---|---|
| Tolerance to humidity swings | Generally higher due to layered construction | Generally lower due to single-piece movement |
| Typical failure mode in bathrooms | Gaps/edge issues if seams aren’t sealed or if subfloor prep is off | More frequent cupping/crowning risk under unstable moisture |
| What “goes wrong” at the wet zone | Often transitions, edges, and trapped moisture under the system | Often dimensional movement across the full plank length |
| Install requirements matter? | Critical (still must meet moisture, underlayment, spacing) | Critical—and often stricter in real warranties |
| Who should consider skipping it | DIYers who can’t control ventilation or follow install steps | Most bathrooms with frequent overspray or poor fan performance |
Finish and sealing that actually matter
A bathroom-ready finish is one that your specific engineered hardwood product explicitly allows for humid/splash-prone environments and that you maintain the way the manufacturer instructs. The finish helps, but it cannot compensate for missing moisture management beneath the floor or poor edge/transition protection.
Even when the top finish resists spills, bathroom hardwood floors still depend on approved installation methods to prevent moisture trapped below from reaching the wood.
Manufacturer care instructions (cleaners, recoat timing, and maintenance) can be part of whether a bathroom installation remains within warranty.
What to look for in finish systems
When you evaluate finish and sealing for bathroom hardwood floors:
– Check whether the manufacturer allows bathroom use (not just “residential use”). Some systems are designed for kitchens and general living spaces but exclude bathrooms due to higher humidity cycling.
– Understand the finish type and performance claims.
Many prefinished engineered floors use factory-applied coatings designed to resist daily wear. Some site-finished systems can be extremely durable too, but you must confirm the full system is allowed for bathroom exposure.
Maintenance impacts protection (more than people expect)
Bathroom hardwood floors live with soap residue, humidity, and occasional splashes. Follow the finish’s care guidance for:
– Approved cleaners only (avoid products that leave residue or excessive water)
– Recoat or maintenance schedules (if your system requires it)
– How to treat seams and joints (even with a good finish, movement can expose micro-gaps that need the right sealing approach)
Treat edges and transitions as high-risk points
Edges are where water control fails first. Common weak points include:
– Perimeter edges where baseboards meet the floor
– Transitions between wood and tile/waterproof flooring
– Thresholds at doors where water can accumulate during wet cleaning or splashes
A robust finish reduces risk, but it can’t “seal” gaps caused by expansion and contraction. That’s why sealing and installation details are a system, not separate steps.
Installation details that prevent moisture problems
The best engineered hardwood for a bathroom still won’t succeed without a moisture-aware install plan. Before any planks go down, confirm subfloor prep, the correct moisture barrier/underlayment pairing, and spacing rules that allow the floor to move safely.
For wood flooring, failures in moisture-prone rooms commonly start with subfloor moisture conditions and inadequate preparation—not the decorative layer.
Using an underlayment or moisture barrier that the flooring manufacturer hasn’t approved can change how moisture behaves under the system.
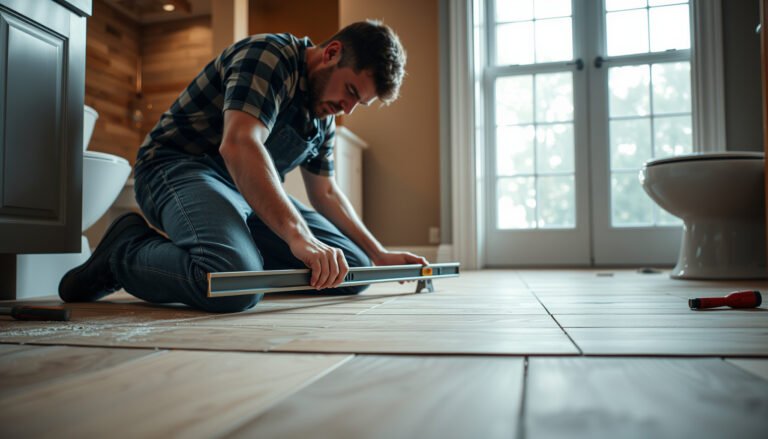
1) Verify subfloor flatness and moisture conditions
Bathroom hardwood floors need a stable base. If the subfloor is out of plane or too damp, you invite movement problems:
– Flatness matters for preventing hollow spots that amplify stress at joints.
– Moisture limits matter because trapped moisture can raise the risk of cupping, gaps, or odor under the flooring system.
2) Use only approved moisture barriers/underlayment pairings
This is one of the biggest “gotchas” with bathroom hardwood floors:
– Some products require a specific barrier type or thickness.
– Some floating systems allow certain underlayments; others explicitly prohibit alternatives.
– The barrier needs to match the manufacturer’s vapor-management approach for that product.
If you want this to go smoothly, plan the install around the manufacturer’s installation requirements for your exact engineered hardwood model.
3) Maintain expansion gaps and follow spacing rules
Wood moves. In bathrooms, movement cycles repeat quickly after showers. If you don’t leave proper spacing:
– The floor can buckle
– Joints can pull apart
– Moisture can find pathways where movement stresses the system
Quick moisture-health framing (real-world humidity targets)
To keep bathroom hardwood floors within a reasonable indoor environment, many building-health references recommend controlling indoor relative humidity. For example, according to the U.S. EPA, indoor relative humidity should generally be maintained around 30–50% to help reduce mold risk (U.S. Environmental Protection Agency (EPA), indoor humidity guidance). For wood floors specifically, manufacturers and industry bodies often give tighter comfort ranges—always follow your product’s guidance in addition to general humidity targets.
Seven Moisture-Control Checkpoints for Bathroom Hardwood Floors
| # | Checkpoint | Acceptance target (common guidance) | Why it matters | Stability impact |
|---|---|---|---|---|
| 1 | Indoor relative humidity (RH) control | ~30–50% RH | Limits wood movement cycles | ★★★★★ |
| 2 | Temperature during acclimation | ~60–80°F (15–27°C) | Supports predictable acclimation | ★★★★☆ |
| 3 | Concrete moisture vapor emission (CaCl₂ test, if applicable) | ≤3.0 lb/1000 sq ft/24 hr | Reduces risk of trapped moisture | ★★★★★ |
| 4 | In-situ concrete RH testing (probes, if applicable) | ≤75% RH (common limit) | Predicts moisture drive through slab | ★★★★★ |
| 5 | Moisture barrier/performance class (when used) | Very low permeance (e.g., ~0.06 perms for 6-mil poly) | Helps limit vapor migration upward | ★★★★☆ |
| 6 | Perimeter expansion gap (follow product rules) | Often ~1/2 in (12 mm) | Allows seasonal dimensional change | ★★★☆☆ |
| 7 | Wet-zone transitions + sealing strategy | Threshold/tile junction protected per plan | Prevents water from entering gaps | ★★☆☆☆ |
Note: the table lists common acceptance targets and practical checkpoints. Your engineered hardwood manufacturer’s written limits and approved underlayment/moisture barrier requirements should always override generic ranges.
What can go wrong (and why)
Bathroom hardwood floors fail most often because the install plan doesn’t match the product’s requirements—or because water reaches the seams anyway. If you want engineered hardwood to last, treat the bathroom as a moisture-managed environment, not a normal interior room.
Moisture damage often begins at edges and transitions because these areas experience the greatest movement and the easiest paths for water entry.
Using non-approved underlayment or moisture barriers can trap vapor and worsen the very condition the system was meant to prevent.
Here are the most common failure patterns and the “why” behind them:
– Picking the wrong product:
Solid hardwood installed without matching bathroom allowances can cup, crown, or open gaps as the wood expands and contracts. Even engineered hardwood can fail if your chosen model doesn’t support humid-room installation.
– Skipping the wet-zone strategy:
A stable bathroom hardwood floor can still fail if the shower overspray consistently reaches seams, thresholds, or transition points. In many remodels, people plan tile waterproofing but forget the “landing zone” where water drifts after it leaves the shower.
– Using “compatible” materials that aren’t actually specified:
Underlayment and moisture barriers are not interchangeable. A barrier that changes vapor transmission behavior can increase moisture buildup beneath the flooring system. Always confirm the approved pairing for your exact product.
A quick pros/cons reality check for bathrooms
When people choose bathroom hardwood, the decision is rarely purely technical—it’s tradeoffs.
– Pros of bathroom hardwood floors (when done correctly):
– Warm underfoot feel compared with many cold-surface options
– A wood look that can elevate design cohesion
– Engineered construction can outperform solid in humidity cycling
– Cons and limitations:
– Requires tighter ventilation and wet-zone control than most “dry room” floors
– Installation must match manufacturer requirements for moisture barriers, spacing, and sealing
– Maintenance expectations can be higher (cleaning habits matter)
Verdict + scan-ready checklist
If you want hardwood in a bathroom, the best practical path is engineered hardwood plus a manufacturer-approved installation plan that handles moisture and movement. The downside is straightforward: you still must control humidity (fan/venting), keep splash exposure reasonable, and protect edges and transitions—this is not a “set and forget” flooring choice.
In moisture-prone rooms, the safest approach is to follow the flooring manufacturer’s installation specs for moisture limits, approved underlayment/moisture barrier, and spacing—especially at seams and transitions.
General indoor humidity guidance (often around 30–50% RH) supports wood stability, but the bathroom wet zone requires additional practical protection.
Skip this approach if you can’t reliably control humidity (poor fan/venting, frequent shower overspray, or standing-water conditions) or if you’re unwilling to follow the installation and maintenance requirements for your exact product.
Quick checklist (scan/save):
| What to check | What you want to see |
|---|---|
| Floor type | Engineered hardwood recommended/allowed for bathroom use by manufacturer |
| Wet-zone exposure | Clear plan for shower/tub splashes and transitions |
| Finish & care | Finish system + cleaning products approved for that product |
| Install specs | Subfloor prep, moisture limits, spacing, and approved underlayment/moisture barrier |
| Maintenance reality | You can follow the cleaning/recoat guidance and keep water from sitting |
Sources
If you remember one thing, make it this: engineered hardwood can be a smart bathroom choice when the “wet zone” is managed and the installation details match the product’s written specs—otherwise, the failure points are predictable and hard to hide after the fact.
Frequently Asked Questions
What hardwood flooring is best for a bathroom?
Look for engineered hardwood floors rather than solid hardwood, since they handle moisture and dimensional changes better. Choose materials with a strong water-resistant finish (often multi-layer urethane) and consider species known for stability, like oak or hickory, for bathroom hardwood flooring. If you expect frequent splashes, prioritize engineered planks with a tight click-lock or tongue-and-groove system that helps reduce water intrusion at the seams.
How do I choose a water-resistant finish for bathroom hardwood floors?
Select a finish specifically designed for high-moisture areas, such as a waterproof or water-resistant polyurethane/topcoat, and verify it has good abrasion resistance for everyday bathroom traffic. Ask about whether the finish is factory-cured and how it performs against humidity, not just spills. Even with a quality seal, use bath mats and wipe standing water quickly to protect the edges and joints.
Which wood species work best in bathrooms with humidity?
More stable hardwood species tend to perform better where bathroom humidity fluctuates, so oak, teak (where available), and hickory are common choices for hardwood in wet areas. Avoid very soft or highly moisture-sensitive woods if your bathroom lacks strong ventilation. Regardless of species, ensure the subfloor is dry and properly prepared before installing bathroom hardwood to reduce cupping or gaps.
How do I prepare the subfloor before installing hardwood in a bathroom?
Start with moisture testing of the subfloor and confirm it meets the installation requirements for engineered hardwood (often including a specific moisture level). The subfloor should be level, clean, and dry, because unevenness can stress the wood and compromise the water-resistant top layer. For bathrooms, use an appropriate underlayment and consider a vapor barrier if recommended for your flooring type to help prevent moisture from reaching the planks.
Why is proper installation and ventilation critical for hardwood floors in bathrooms?
Bathrooms experience humidity spikes that can cause hardwood floors to expand and contract, so correct installation details—like allowing expansion gaps and sealing transitions—help prevent moisture problems. Good ventilation (a strong exhaust fan) reduces recurring dampness that can damage the finish and lead to warping. Follow the manufacturer’s guidelines for bathroom flooring installation, including any seam sealing or maintenance routines, to keep your hardwood looking great long-term.
📅 Last Updated: October 16, 2026 | Topic: How to choose hardwood floors for a bathroom? | Content verified for accuracy and freshness.