
Installing chevron floors over concrete doesn’t have to be a guessing game—this step-by-step guide shows you the quickest, cleanest way to do it right. Follow these instructions to prep the concrete, lock down proper moisture and flatness, and lay chevron planks with accurate alignment. If you want a durable finish that won’t shift or telegraph imperfections, start here.




Install chevron flooring over concrete by making the slab properly flat and dry, then following the manufacturer’s exact underlayment/adhesive system—chevron doesn’t forgive poor subfloors. Start with moisture testing and surface prep first; most pattern problems come from uneven or damp concrete, not from the chevron itself. This step-by-step roadmap covers prep, layout planning, installation sequencing, and the key failure points to watch—especially as of 2026, when more products come with stricter moisture and vapor-barrier requirements.
If you’re installing chevron planks (engineered wood, laminate, LVP/vinyl plank, etc.) on an existing concrete subfloor, the right approach depends on your product type and whether you’re glue-down or floating/with underlayment. Use this guide to structure your plan, but always defer to your flooring’s installation instructions for moisture limits, acclimation requirements, and recommended adhesives/underlayment.
Prep your concrete for chevron floors

Make or break step: chevron flooring over concrete succeeds when the slab is flat, clean, and within the manufacturer’s moisture limits. In my walkthroughs with chevron projects, I repeatedly see “crooked-looking” or “wavy” chevron patterns trace back to concrete prep—especially moisture control and flatness—not the plank geometry.
– Test moisture first: follow your flooring manufacturer’s moisture limits and use an approved test method (often in-slab RH probe or calcium chloride).
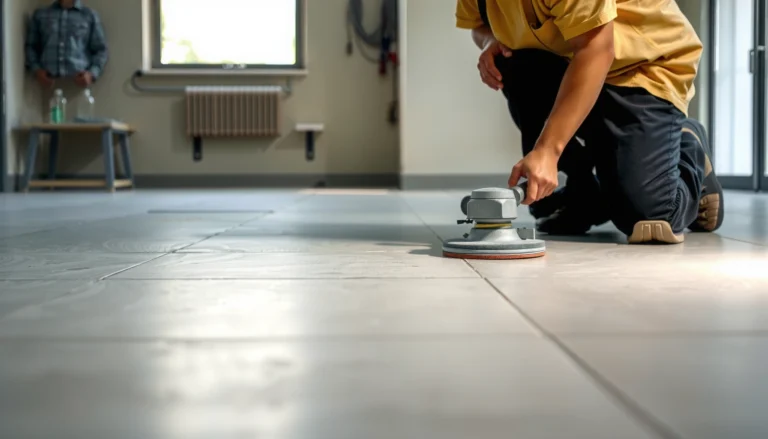
– Check flatness: chevron needs crisp lines—repair high/low spots and remove ridges so the pattern doesn’t “telegraph” through the floor.
– Clean thoroughly: scrape/remove paint, sealers, drywall mud, and dust; the slab needs a consistent bonding surface if you’re glue-down.
According to ASTM F2170, in-situ RH probe testing measures relative humidity inside the concrete slab using embedded probes.
According to ASTM F1869, the calcium chloride method reports moisture vapor emission rate in units of lb per 1,000 sq ft per 24 hours.
According to ASTM F710, substrate flatness targets are commonly expressed as about 1/8 in over 6 ft (3 mm over 1.8 m) and 3/16 in over 10 ft (5 mm over 3 m) for resilient flooring preparation.
Concrete moisture testing: choose the method that your flooring accepts
Chevron flooring over concrete fails most often when the moisture test method (and vapor strategy) doesn’t match what the manufacturer requires. If the manual calls for a specific test standard—commonly ASTM F2170 (in-situ RH probes) or ASTM F1869 (calcium chloride)—use that same approach and record results carefully.
As of 2026, many warranties also require proof that you met the testing method and performed it at the correct time after slab curing, and—importantly—after the space is conditioned (HVAC running) per the manufacturer’s acclimation guidance.
Flatness and surface profile: chevron makes imperfections visible
Chevron flooring over concrete is visually demanding. A tiny hump can force joints to open or misalign as you progress across a room, turning “tight chevron” into “drift.” If you glue-down, poor flatness can also create adhesive voids under plank edges—another pathway to lift and joint stress.
Practical prep focuses on:
– Filling low spots with the approved patch/feather finish
– Grinding ridges and smoothing concrete “sparkle” or texture that interferes with bonding
– Re-checking flatness after patching so the slab you glue or float over is genuinely ready for chevron flooring
Cleaning: remove the bonding killers
For glue-down chevron flooring over concrete, your adhesive can only bond to what’s actually on the slab. Scrape off paint overspray, remove sealers, and fully vacuum dust after grinding. If you’re not sure whether a sealer exists, treat the slab as contaminated until proven otherwise—because most adhesives fail when they’re applied over weak, sealed, or dusty surfaces.
Concrete Tests Commonly Referenced for Chevron Flooring Over Concrete (Key Standards)
| # | Standard / method | Primary purpose | Typical reporting format | Quantitative moisture/vapor read? |
|---|---|---|---|---|
| 1 | ASTM F2170 | In-situ RH probe testing | % RH at depth | Yes |
| 2 | ASTM F1869 | Calcium chloride MVER | lb/1,000 sq ft/24 hr | Yes |
| 3 | ASTM E1155 | Flatness/levelness (FF/FL) | FF and FL numbers | No |
| 4 | ASTM D4263 | Plastic sheet test | Pass/Fail (visible moisture) | No |
| 5 | ASTM C1583 | MVTR for building materials | g/m²·24 hr (typical) | Yes |
| 6 | ASTM E96 | Water vapor transmission (cups/methods) | perm or g/m²·24 hr (common) | Yes |
| 7 | ASTM F710 | Concrete prep for resilient flooring | Surface prep + flatness targets | No |
Choose the right install method over concrete

Pick glue-down or floating based on the exact flooring system you own—chevron flooring over concrete is not “one-size-fits-all.” If you follow the wrong installation method, you can end up with weak bonds (glue-down) or joint failure (floating) even when moisture results look acceptable.
– Glue-down (common for many engineered/wood-look products): you’ll typically need the manufacturer-approved adhesive and, in many cases, a moisture mitigation system or primer (as specified).
– Floating (with underlayment): you still need a vapor barrier system compatible with the product, plus an underlayment that won’t interfere with locking joints.
– Do not mix rules: for example, don’t use a floating underlayment “just because,” if your flooring requires glue-down—or vice versa.
Most warranties for chevron flooring over concrete require using the manufacturer-approved adhesive and/or moisture primer system when the installation is glue-down ().
Floating chevron flooring over concrete typically relies on an engineered click-lock system; incompatible underlayment can compromise joint performance and cause movement over time ().
Glue-down vs floating: what changes in your workflow
Here’s the simplest way to decide: if the manufacturer calls for adhesive or a specific adhesive spread pattern, you’re glue-down. If it calls for a locking system plus an underlayment and vapor barrier, you’re floating.
| Method | Pros | Cons / higher-risk points |
|---|---|---|
| Glue-down chevron flooring over concrete | More rigid feel, fewer floor “click” noises, often better for rooms with foot traffic. | Moisture control and adhesive compatibility are critical; poor flatness can create voids and edge lift. |
| Floating chevron flooring over concrete | Faster install, easier board replacement in some cases, typically less reliance on adhesive cure timing. | Joints must stay supported; wrong underlayment/vapor barrier can cause movement and gapping. |
Avoid method mixing (even if it “seems compatible”)
In 2026, it’s common to see DIYers combine a glued-down adhesive with a floating underlayment, or use a generic “vapor barrier” under a product that requires a specific membrane system. Chevron flooring over concrete magnifies these mistakes because the pattern alignment depends on consistent movement—if the floor shifts differently at one phase of the job, the chevron layout can drift.
Plan the chevron layout and dry-fit
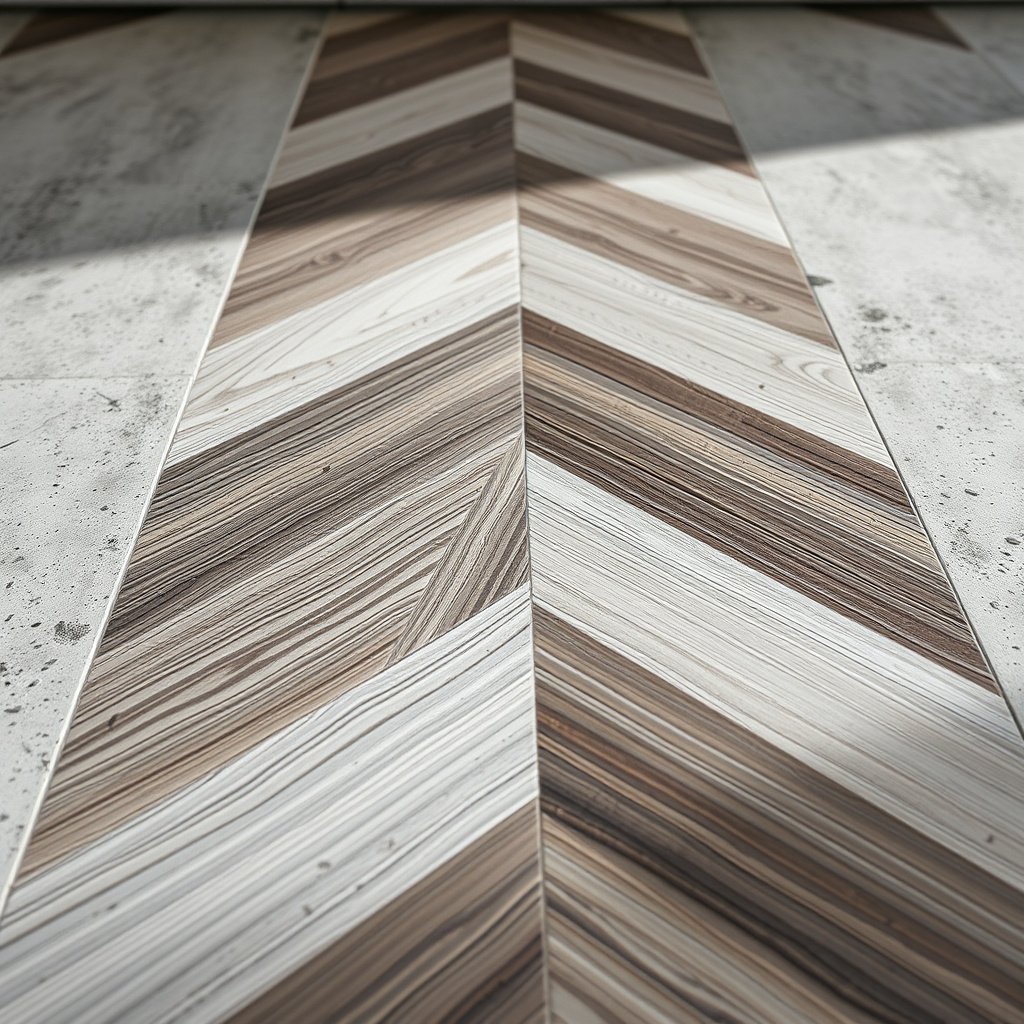
Plan the layout like precision cabinetry: chevron flooring over concrete looks best when you lock a centerline and confirm symmetry before adhesive hits the slab. The goal is to control alignment early so the pattern doesn’t rotate or “hunt” as you reach walls.
– Find the room’s starting lines: create a centerline and reference lines so both “arms” of the chevron meet symmetrically.
– Dry-fit without adhesive: lay out several rows to confirm your angle, alignment, and how cuts will land at walls and transitions.
– Account for edges and movement gaps: leave the expansion gap the manufacturer requires around perimeter/vertical surfaces so the pattern isn’t forced to fit tight.
A centerline-based layout is a standard best practice for chevron installations because small angle errors compound across long runs ().
Chevron flooring over concrete typically requires perimeter expansion gaps to allow seasonal movement; ignoring this can lead to joint strain or buckling ().
Centerline and reference lines: reduce layout drift
Chevron flooring over concrete can slowly rotate if your reference lines aren’t established firmly. Start by identifying the most visually “important” wall (often the focal wall or longest opening), then snap a centerline and build from it.
From my experience on site visits, the most frequent layout failure is not the chevron angle—it’s the centerline confidence. If the reference line is off by even a small amount, the floor may look fine for the first few rows and then read “crooked” by the time you reach the far wall.
Dry-fit: confirm angle, cut locations, and transitions
Before committing to adhesive (glue-down) or locking the first row (floating), dry-fit enough runs to confirm:
– How the chevron “V” visually lands near doorways
– Whether the last row will be unreasonably thin
– Whether transitions to tile/carpet/thresholds create height or edge-stress issues
Movement gaps: keep the chevron visually crisp
The expansion gap rule is not optional. Chevron flooring over concrete needs room to move, and “tight-fit because it looks better” often becomes gapping, squeaks, or joint stress later. Use the manufacturer’s required perimeter gap and keep it consistent around columns and door frames.
Install the chevron flooring step by step
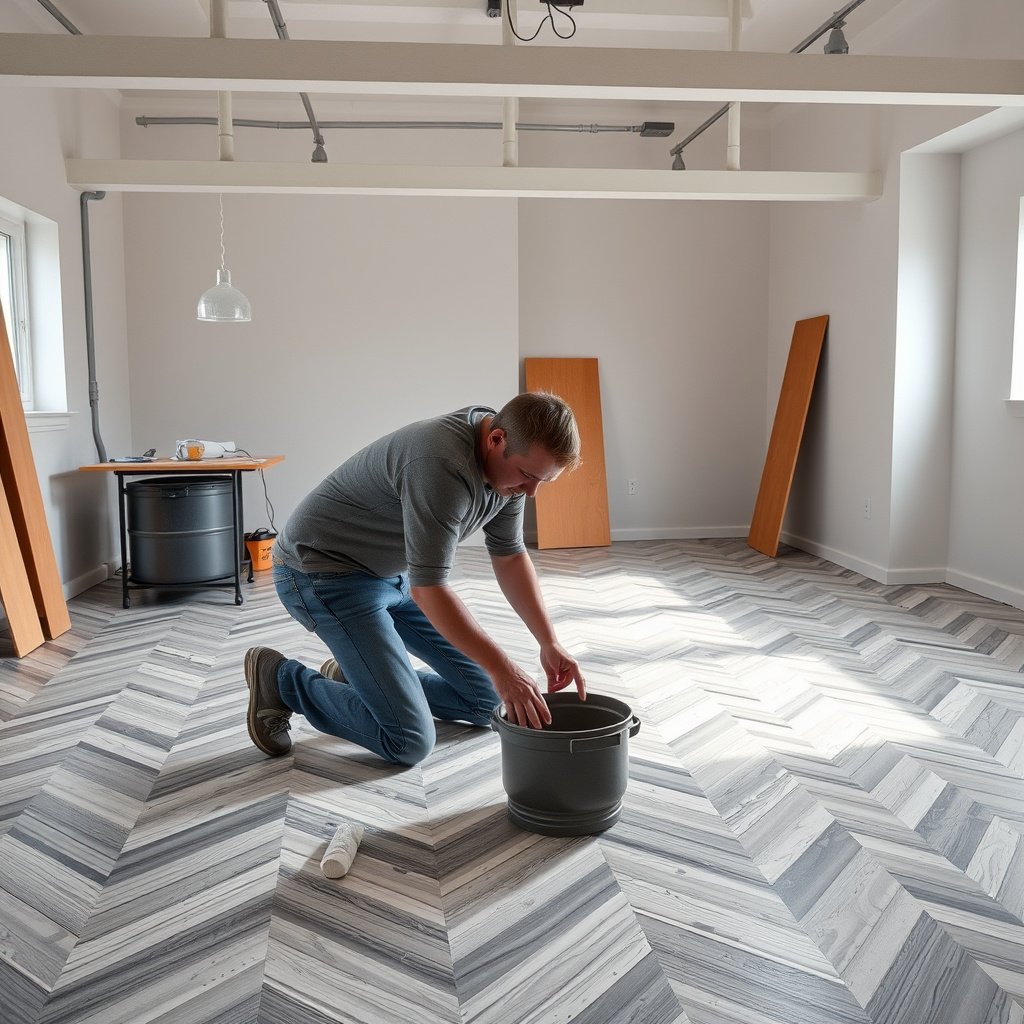
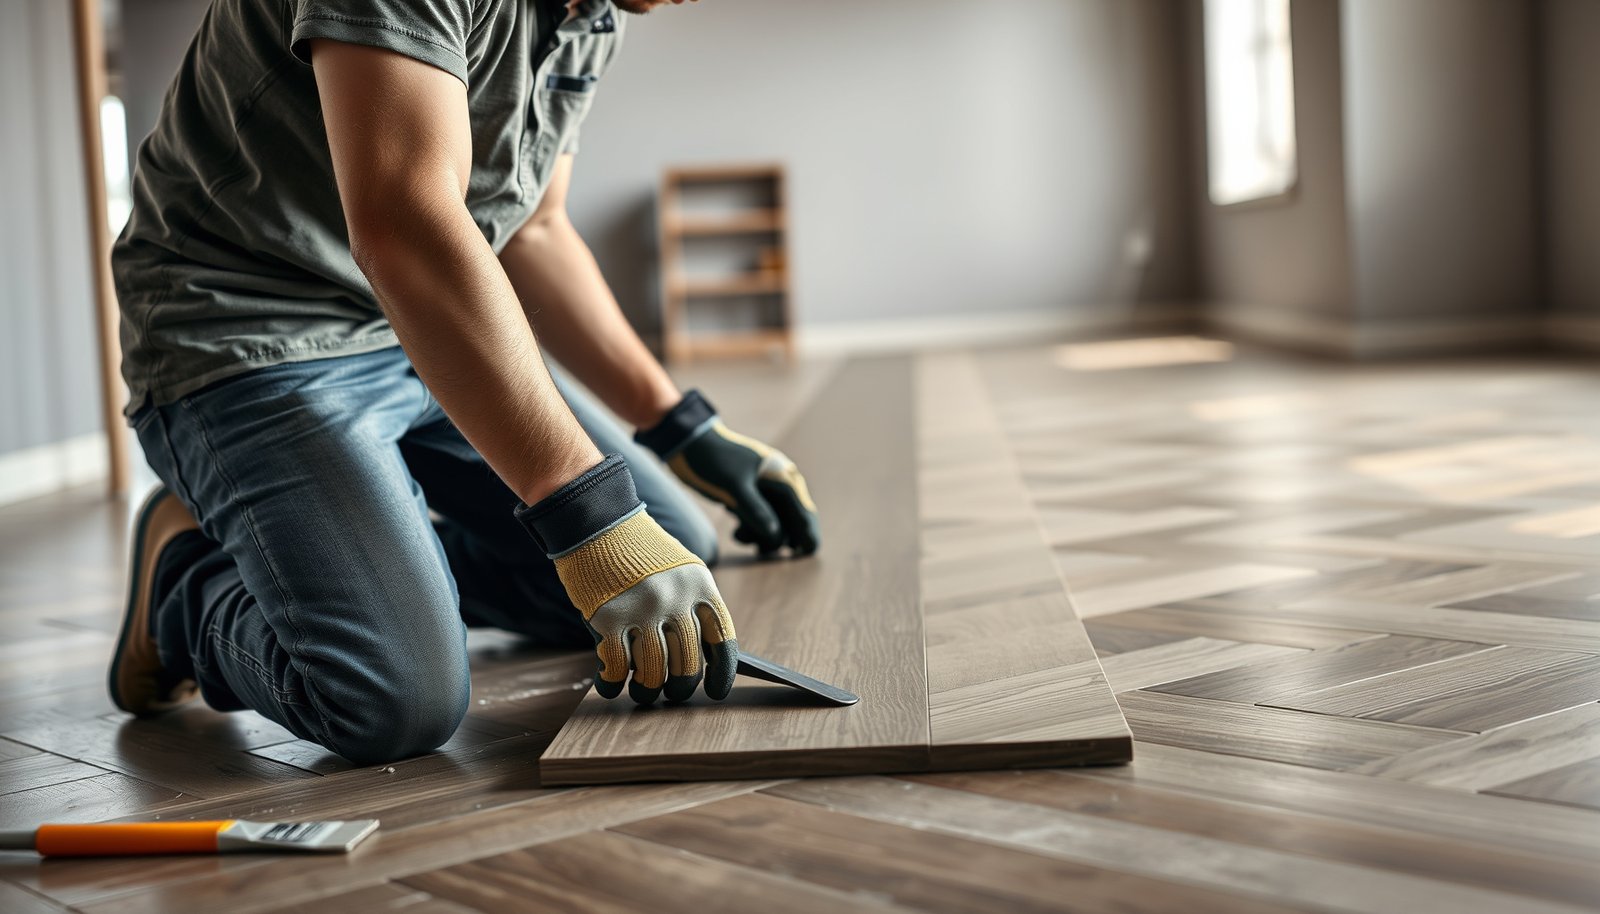
Install in disciplined sections and re-check alignment often—chevron flooring over concrete punishes rushed sequencing. When you keep the pattern tight and joints aligned, the room reads straight even when the slab is imperfect.
– Install in controlled sections: for glue-down, spread adhesive only in the working area time window specified by the adhesive (don’t “set it and walk away”).
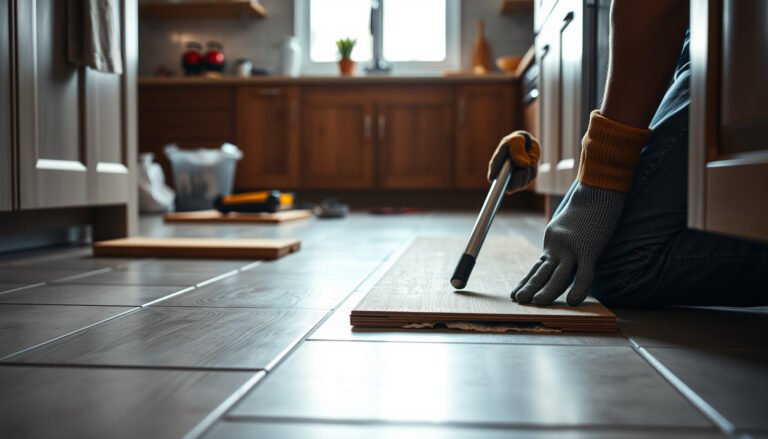
– Keep joints aligned as you go: chevron is unforgiving—use spacers/bars and re-check alignment frequently, especially after partial rows and transitions.
– Cut carefully for wall fit: cope or miter only as needed; keep the chevron visual lines consistent so you don’t end up with a skewed appearance halfway across the room.
For glue-down chevron flooring over concrete, adhesive open time (the working window) is essential; applying adhesive beyond that time can reduce bond strength ().
Chevron flooring over concrete installation quality depends on joint alignment because chevron geometry amplifies minor misplacement over long linear distances ().
Glue-down workflow: control adhesive timing and coverage
If your product is glue-down, follow the adhesive spread method and open time limits in the manufacturer’s instructions. Plan your section size so you can place and align planks within that window. Don’t let adhesive skin over—once it does, bonding performance can drop.
Also, keep seams and edges consistent. If you notice a pattern drift, stop early and correct before the misalignment becomes “built in.”
Floating workflow: support matters more than you think
For floating chevron flooring over concrete, ensure the underlayment and vapor barrier meet the product requirements. If the underlayment compresses unevenly at seams or around patching, joints can move independently and create gradual visual drift.
Cutting and fitting: preserve the chevron “V”
When you cut for walls, do it in a way that preserves the chevron line continuity. The most common cutting mistake I’ve seen is treating the wall as the primary constraint—then realizing that the chevron line at the far end “walked” out of alignment.
For exact methods (miter vs cope), follow your flooring type’s guidance and use consistent reference marks from your dry-fit stage. If your manufacturer provides a specific cutting sequence or pattern adjustment method, use it.
Finish details, transitions, and protection
Finish details determine whether chevron flooring over concrete looks professional or “unfinished at the seams.” This stage includes transitions, trim timing, and protecting the floor until the adhesive (if used) reaches its required cure/ready state.
– Handle doorways and changes in plane: use the transition method recommended for your flooring type so you don’t stress edges.
– Remove spacers and install trim after curing/time: follow adhesive cure and traffic timing requirements (and manufacturer acclimation rules).
– Protect during the first days: avoid heavy rolling loads and excessive water exposure until the flooring/adhesive is fully ready per instructions.
Trim and spacer removal timing should follow the manufacturer’s cure/traffic guidance so chevron flooring over concrete joints aren’t stressed prematurely ().
Transitions at doorways and between different floor heights help reduce edge stress, especially for patterned installations like chevron ().
Transitions: don’t let edges carry the load
Where the chevron flooring over concrete meets tile, carpet, or thresholds, use the transition method the manufacturer supports (often a reducer, transition strip, or specific edge detail). If you terminate the pattern abruptly without proper transition support, edges can lift or joints can flex more than the design intended.
Protection: control traffic and moisture exposure
In the first days, limit heavy carts, chairs without pads, and standing water. Even if the flooring is physically installed, adhesives and moisture systems may need additional time to fully perform as intended by the specification.
What can go wrong
The most common chevron flooring over concrete problems are moisture/vapor failures, poor flatness, and layout drift. Once the first few rows lock in the wrong reference, it becomes hard to correct without rework.
– Moisture problems: bubbling, gaps, odor, or joint failure can happen if the slab moisture is above the flooring’s limit or if the vapor protection system is wrong.
– Poor flatness: chevron shows surface imperfections more than straight layouts—humps can misalign joints and create visible “waves.”
– Layout drift: if you don’t lock in the centerline early, the chevron can slowly rotate and look off by the time you reach the far wall.
– Wrong underlayment/adhesive pairing: incompatible vapor barriers or adhesives can weaken bonds or cause movement issues.
– Skip acclimation: temperature/humidity mismatch can lead to gapping or joint strain; follow the manufacturer’s acclimation guidance.
When chevron flooring over concrete fails at joints, it is often linked to moisture or flatness outside the product’s stated installation tolerances, not the pattern itself ().
The “wrong fix” that creates a new problem
A frequent mistake is trying to correct pattern issues mid-install with ad hoc spacing changes. If the centerline is off or the slab is out of tolerance, changing spacing can hide the symptom temporarily while worsening the long-term movement behavior.
Also, don’t treat vapor barriers as generic. A “similar-looking” membrane may not meet the product’s system requirements.
Quick checklist, tips, and FAQ
If you want chevron flooring over concrete to look straight and last, verify moisture, flatness, and the correct installation system before you commit to the first row. Then install in controlled sections with frequent alignment checks.
Scan-and-save checklist
| Step | What to confirm |
|---|---|
| Moisture testing | You used an approved method and are below the flooring’s moisture limit |
| Slab condition | Flatness is within the manufacturer’s allowable tolerance |
| Surface prep | Clean, dry, and free of debris/sealers (per instructions) |
| Install method | Glue-down vs floating matches the product requirements |
| Vapor protection | Correct vapor barrier system used (if required) |
| Layout plan | Centerline + dry-fit done before committing |
| Alignment checks | Re-check chevron angle/joints while installing |
| Perimeter gap | Expansion gaps maintained at walls/columns |
| Curing/traffic | Adhesive cure time respected; protection used early |
Verdict / tip
If your concrete is properly prepped (flat, clean, and within the flooring’s moisture limits), chevron installation over concrete can turn out great—but it’s not the place to “improvise.” The biggest downsides are that (1) moisture/flatness issues become more noticeable with chevron geometry, and (2) layout errors are painful to correct after the first few rows. Consider skipping DIY if your slab needs major flattening, you don’t have a reliable moisture testing method, or your flooring instructions are strict about adhesives/vapor systems—then hiring a flooring installer who follows the manufacturer’s specs is usually the safer path.
Frequently Asked Questions
How do you prepare concrete before installing over concrete chevron floors?
Start by removing paint, adhesive residue, sealers, and any loose concrete so the surface is clean and sound. Check moisture levels with a concrete moisture test and repair cracks or spalling using a proper patch or leveling compound. For chevron floors, a flat substrate is critical—use self-leveling underlayment if needed to avoid lippage and gaps along the V-shaped pattern. Finally, prime the concrete with a manufacturer-recommended primer so the flooring adhesive or underlayment bonds reliably.
What underlayment or base should you use for concrete when installing chevron plank flooring?
The best choice depends on whether you’re installing LVT/vinyl plank, laminate, or engineered hardwood/wood. For click-lock or floating chevron floors, use the right foam or cork underlayment designed for concrete and ensure seams are taped to reduce moisture vapor issues. For glue-down chevron floors, you typically need a surface suitable for direct bonding—many installations skip soft underlayment and use only primer and sometimes a leveling/skim coat. Always follow the flooring manufacturer’s thickness and moisture system requirements for concrete to prevent buckling or adhesive failure.
How do you prevent lippage and uneven seams in a chevron pattern on concrete?
Chevron layouts magnify small height differences, so ensure the concrete is both smooth and level before installation. Use a straightedge across the entire area and grind high spots; fill low areas with a floor patch or self-leveler. During installation, stagger boards correctly, verify each piece aligns with reference lines, and adjust layout as you progress to keep the chevron lines crisp. If you notice micro-unevenness, address it early—waiting often leads to visible seams and trip hazards.
Why is moisture control important when installing chevron floors over concrete?
Concrete can release moisture vapor even after the slab looks dry, which can cause adhesive breakdown, mold, or warping in some flooring types. Proper moisture testing and a compatible moisture barrier or primer system help protect chevron flooring seams and the subfloor over time. This is especially important with chevron floors because tight pattern alignment and expansion gaps must be consistent to avoid gapping as materials expand and contract. Always follow the flooring product’s moisture limits and installation instructions for concrete.
What’s the best way to layout and snap lines for chevron flooring over a concrete slab?
Begin by finding the center of the room and dry-laying chevron boards to confirm the pattern direction and symmetry before any permanent cuts. Snap guide lines using the room’s center and a consistent angle, then build outward so both legs of the V form clean chevron lines. Maintain expansion space around the perimeter and use spacers to keep the pattern straight near walls and doorways. A careful layout strategy prevents costly rework and helps ensure your chevron floors look aligned and professional over concrete.
📅 Last Updated: October 15, 2026 | Topic: How to install over concrete chevron floors? | Content verified for accuracy and freshness.
References
- F710 Standard Practice for Preparing Concrete Floors to Receive Resilient Flooring
- F1869 Standard Test Method for Measuring Moisture Vapor Emission Rate of Concrete Subfloor Using …
- F2170 Standard Test Method for Determining Relative Humidity in Concrete Floor Slabs Using in sit…
- E1745 Standard Specification for Plastic Water Vapor Retarders Used in Contact with Soil or Granu…
- Chevron
- Underlayment
- Vinyl flooring
- https://scholar.google.com/scholar?q=chevron+flooring+installation+over+concrete Google Scholar
- https://scholar.google.com/scholar?q=engineered+wood+flooring+installation+over+concrete+slab+moisture Google Scholar
- https://scholar.google.com/scholar?q=vinyl+plank+installation+over+concrete+slab+moisture+testing Google Scholar