
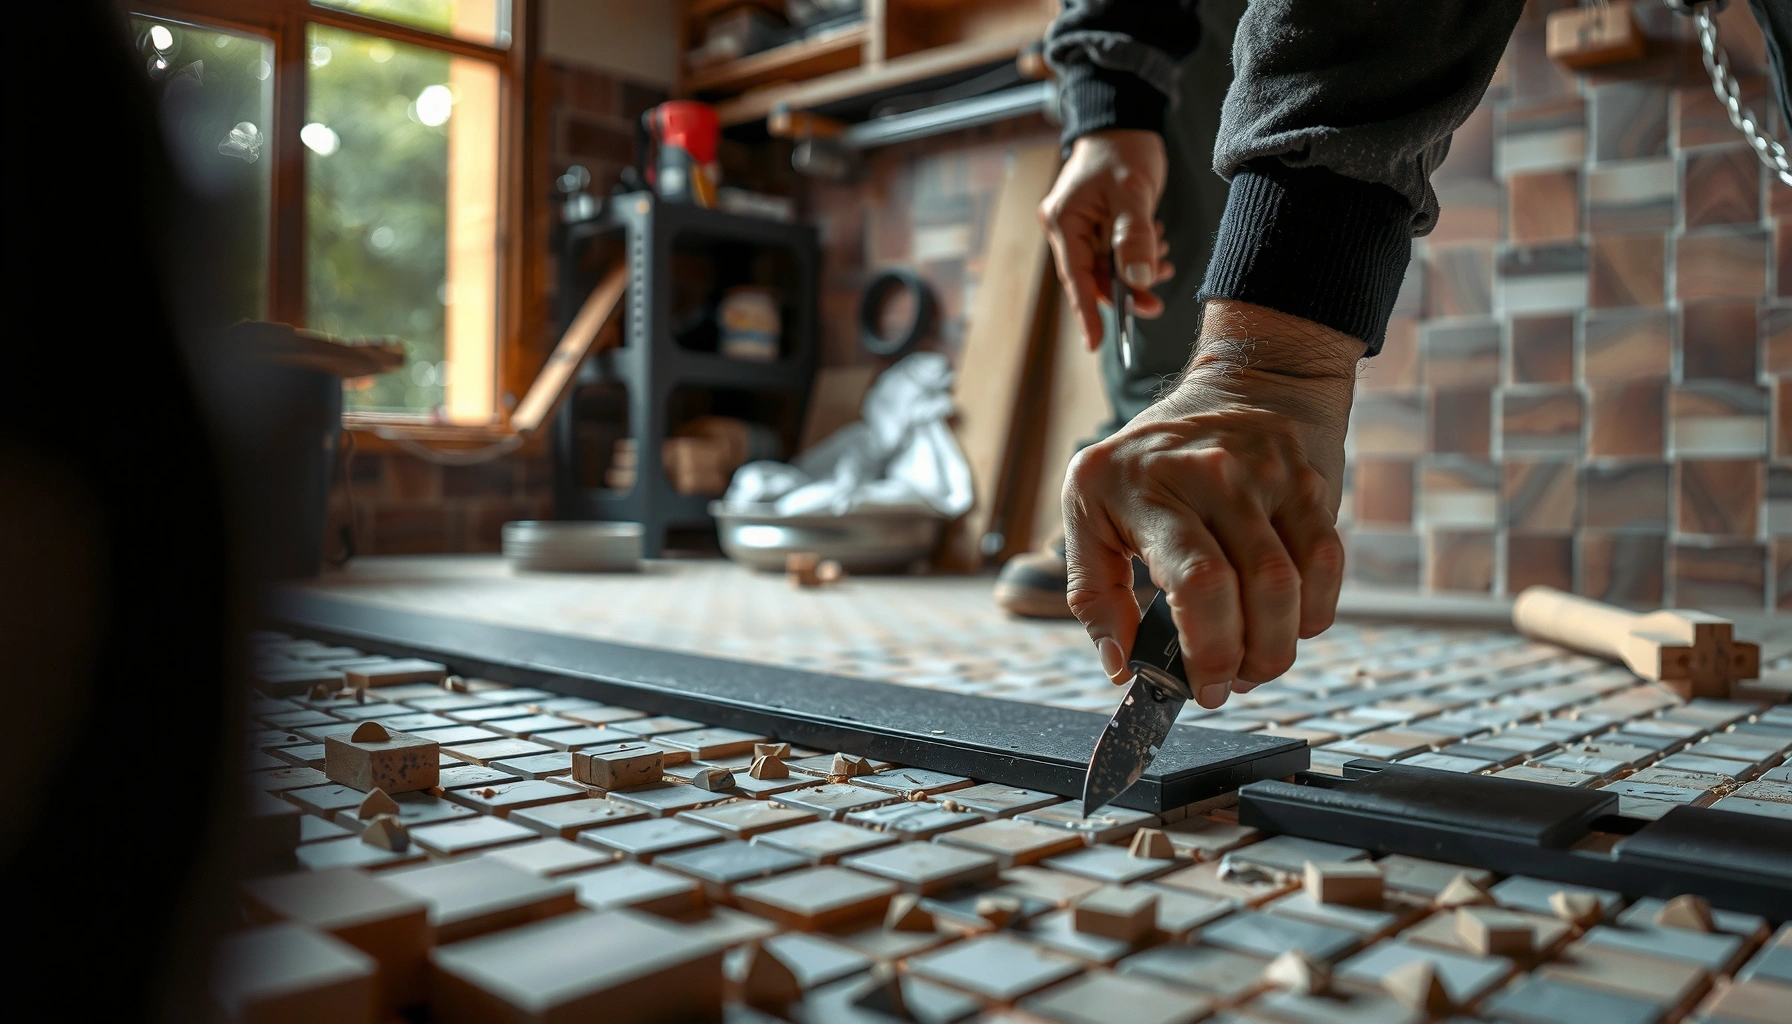

Get a clear, step-by-step path to installing mosaic tile floors, with instructions that tell you exactly how to prep the subfloor, set the tiles, and grout cleanly without misalignment. If your goal is a durable, professional-looking finish, this guide walks you through the sequence that makes or breaks the job—layout, thinset application, and spacing. By the time you reach the final wipe and cure, you’ll know what to do at every stage to avoid the most common installation mistakes.




Installing mosaic tile floors is mostly about building a flat, stable subfloor, setting the mesh-backed mosaics carefully with the right thinset and spacing, and grouting using a product matched to your floor surface. If your base isn’t smooth and solid, the tile will telegraph imperfections and the bond can loosen—so you start with moisture checks and leveling before you cut or set a single piece.
This guide walks you through a practical DIY workflow for bathrooms, kitchens, entryways, and other indoor floor installs, including the “small” details that prevent common failures (hollow spots, lippage, loose sheets, grout haze, and premature cracking). I’ll also flag where manufacturers’ instructions and standards matter more than general tips, because mosaic tile is unforgiving: small format, tight grout joints, and lots of edges mean errors show fast—often after cleanup is already done.
Plan Your Layout Before You Install Mosaic Tile

The quickest way to avoid lopsided grout lines and awkward edge cuts is to plan the layout first and verify the repeat before thinset ever touches the floor. Mosaic floors rely on consistent grout width and alignment across the room, so the layout step protects your finished look and your schedule.
Dry-laying tile (including border pieces) is the fastest way to identify the best centerline and where cuts will land, especially with small mosaic grids.
Most mosaic products are mesh-mounted, so the sheet-to-sheet alignment (not just individual tiles) largely determines whether grout joints stay straight.
If you change the plan mid-install, mesh sheets can shift slightly, and those shifts compound across a floor—so alignment checks need to happen before the first sheet goes down.
To plan a clean mosaic floor, start with a centerline (usually based on room width and length) and work outward toward walls. Dry-lay mosaics and any border strips to see how the pattern repeat interacts with your doorways, vanity legs, or cabinets. This is where many DIY installs succeed visually—because mosaic tile patterns “read” differently depending on where the centers fall.
Next, confirm whether your mosaic sheets are mesh-mounted (common) and whether the mesh/backing needs trimming in corners and around openings. Many mesh sheets are designed so you can cut the mesh with a utility knife or tile nippers without disturbing tile spacing, but not all mosaics tolerate the same trimming. Follow the tile manufacturer’s guidance for handling mesh-mounted mosaics, especially for delicate finishes.
What to decide during layout
– Where the centerline is: Find the midpoint that produces the most even look at both ends (not just the most convenient measurement).
– How borders will behave: If you’re using a contrasting border, test it before you commit, because border thickness can shift the “visual center.”
– How you’ll handle openings: Dry-lay around toilet flanges, vent covers, and transitions so cut lines stay consistent.
Also, verify tile and sheet formats. Mosaic sheets often come in 12″ × 12″ or similar grid sizes, but the sheet size doesn’t guarantee the same coverage or appearance—some are thinner, some have offset patterns, and some require careful re-spacing at edges.
Prep the Subfloor for a Flat, Solid Base
Prepping the subfloor is the difference between a mosaic floor that looks crisp and stays bonded for years versus one that cracks, loosens, or shows lippage. Mosaic tile exposes subfloor problems quickly, so you level/repair and address moisture before you spread thinset.
A flat substrate is critical for mosaics because small tiles magnify low/high spots and can create uneven thinset thickness under the mesh.
Thinset performance depends on correct substrate condition and environment; moisture and temperature affect curing and bond development for both mortars and grout.
Tile industry standards treat substrate flatness as a core requirement; exceeding tolerance increases the chance of lippage and weak coverage.
From a standards perspective, the tile industry emphasizes substrate flatness and structural stability. A common reference point used in tile work is the “1/4 inch in 10 feet” flatness tolerance for many floor installations, but mosaics typically require tighter outcomes because small units telegraph irregularities sooner. Check the relevant recommendations in your thinset and tile setting system documentation and the tile standard guidance (for example, ANSI/TCNA requirements) before deciding your “good enough” level.
Core prep tasks (in the right order)
1. Structural soundness
Make sure the subfloor doesn’t flex, squeak excessively, or show signs of water damage. If you’re missing layers (for example, you have no underlayment where your system expects one), fix that first.
2. Clean and dust-free
Thinset doesn’t bond well to loose dust, paint overspray, drywall compound residue, or curing compounds. Vacuum thoroughly and remove contaminants.
3. Level and repair defects
Repair dips, cracks, and high spots before you set tile. Mosaic tile is unforgiving on uneven areas; inconsistent thinset thickness can lead to:
– uneven tile height (lippage),
– incomplete mortar coverage on the underside of the mesh,
– weak bond in “thin” areas.
4. Moisture and temperature checks
Follow your adhesive and grout manufacturer’s temperature range and moisture conditions. If you’re tiling over concrete, ensure moisture levels meet the system requirements and use the recommended test method. Many failures come from rushing moisture assessment rather than from anything done during setting.
5. Allow acclimation
Tile, thinset, and grout often need to be installed within specified environmental conditions. As of 2026, most manufacturer technical sheets still specify installation temperatures and drying/curing windows that DIYers can accidentally violate in garages, unconditioned bathrooms, or during cold snaps.
Subfloor flatness: a practical reference
– Target flatness that aligns with your system’s instructions and the tile standard for the tile format you’re using.
– For mosaics, err on the side of flatter—because you can’t “average out” high/low spots with thinset once the sheet is set.
ANSI/TCNA substrate preparation requirements are discussed in industry standards and are enforced via mortar and installation systems’ technical data. [ADD: specify the standard you follow for your region/system.]Set Mosaic Tile Floors With Thinset and Spacing
Setting mosaic tile is a controlled process: use the correct thinset and trowel, spread manageable sections, press sheets down so mesh lies flat, and maintain consistent spacing from sheet to sheet. If you skip any of those, you’ll often see hollow spots, crooked grout lines, or tile “tenting” along edges.
Using the correct trowel notch size matters because it controls thinset thickness and helps achieve the coverage your thinset system is designed to bond.
Mosaic sheets should be embedded so the mesh lies flat; if the mesh bridges over thin spots, you can get hollow areas and uneven height.
Small-format mosaics require frequent alignment re-checks because minor sheet drift becomes obvious once grout is applied.
Choose the right thinset (and trowel)
Use the thinset that matches your tile type, your substrate, and your environment (dry interior vs. wet areas). Confirm:
– thinset type (often polymer-modified for floors, depending on your substrate),
– trowel size (driven by mortar system design),
– open time (how long you can leave thinset before it skins over).
Then, spread thinset in sections you can reasonably tile before it skins. As a measurable control point, consider timing your workflow: in many mortar systems, “open time” is defined in minutes on the technical sheet—check that and don’t assume it will match your last job.
Thinset open time and coverage guidance are defined on the mortar technical datasheet; following those limits is how you avoid skinning and incomplete bond.
Embed the mesh-backed mosaics correctly
1. Butter/skim when required by the system
Some installations require extra thinset contact (for example, certain substrates or specific mortar systems). If your mortar calls for additional coverage, follow it.
2. Set sheets with firm, even pressure
Press sheets so mesh flattens and thinset fills the underside. Don’t “slide” sheets around endlessly—lift and reset if alignment is wrong early.
3. Keep spacing consistent
Many mosaics include built-in spacing; others require you to use spacers. The key is that grout width stays uniform across the floor. If your sheets don’t match your target grout joint width, adjust at layout or during placement.
4. Cut and fit edges carefully
For edges, cut mosaic sheets with care so tile faces remain aligned. For openings (toilet flanges, vents, and custom thresholds), dry-fit the cuts before committing thinset.
5. Re-check alignment as you move outward
I recommend checking alignment every few sheets—especially near doorways and along the first full row from your centerline—because that’s where errors become hardest to correct.
Pros/cons: mesh mosaics vs. loose mosaics
- Mesh-mounted mosaics
- Pros: faster installs in large areas; consistent spacing in many products. Cons: corner and edge work can be fiddly; sheet drift can accumulate if you don’t realign often.
- Loose mosaics (unglued tiles)
- Pros: maximum control over layout at edges and curves. Cons: slower, more labor-intensive, and spacing control depends entirely on your workmanship.
Let the Tile Cure, Then Grout Properly
Grouting follows thinset cure time—not just “when it feels hard.” You wait for the mortar to cure as specified by the thinset manufacturer, then grout with the correct product type and clean off haze during the grout’s recommended working window.
You should grout only after thinset cures for the time specified on the mortar technical datasheet to avoid weak joint strength.
Grout type selection affects performance: sanded grout is commonly used for wider joints, while unsanded grout is commonly used for tight joints.
Grout haze removal is time-sensitive; the manufacturer’s cleaning window is designed to prevent permanent haze in grout joints.
Cure first (use the exact time from your product)
Check the thinset bag or technical sheet for curing time before grouting. In most systems, this is often expressed as:
– time before initial grout,
– time before light traffic,
– full cure time.
Because each mortar system differs, use the actual number printed on your thinset packaging or technical documentation. This is one of the most common failure points: DIYers often grout early to “keep moving,” and the joints can crack or powder prematurely.
Choose grout for your installation
Match grout to:
– joint width (tight vs. wider),
– area conditions (bathroom humidity, kitchen spills),
– maintenance needs (stain resistance, color performance).
If your mosaic includes glossy, delicate, or high-sheen surfaces, confirm grout compatibility. Some finishes require special cleaning approaches or different grout choices to avoid staining or surface damage.
Clean as you go—don’t leave haze
Use grout tools as directed (float, sponge, microfiber), and remove excess grout promptly. Avoid overworking the joints after they begin setting. If you wait too long, haze becomes significantly more difficult to remove and can require aggressive cleaners that may affect the tile finish.
Time-saving but safe workflow
– Grout in sections you can clean immediately.
– Keep water clean and adjust sponge technique based on the manufacturer’s instructions.
– Follow haze removal directions exactly for your grout and tile type.
Seal and Finish (So Grout Stays Looking Clean)
Sealing is only needed if your grout and/or tile system calls for it, and it should happen after full cure. When done at the right time and with the right products, sealing improves stain resistance—but it doesn’t replace proper joint cleaning and curing.
If your grout requires sealing, apply sealer only after the grout has fully cured to the manufacturer’s specifications.
Proper transitions at thresholds and doorways protect grout from movement and reduce the chance of cracking near edges.
Final checks—corner coverage, grout joint cleanliness, and solid edges—reduce service calls because small defects become larger after use.
Seal at the right stage
– Confirm whether your grout requires sealing and whether your mosaic tile needs any special treatment.
– Apply sealer after full cure (the technical sheet will specify when).
– Follow coverage and drying time guidance; don’t trap moisture or seal over residue.
Protect transitions and movement joints
Tile floors fail more often at transitions than in the field. Use:
– proper transition strips at doorways and between flooring types,
– trim pieces where tile meets other surfaces,
– movement joint practices where required by your floor design and standard.
Final quality checks
– Verify grout is fully filled in corners and edges.
– Remove any remaining haze per manufacturer instructions (if allowed after cure).
– Inspect tile edges and confirm there’s no rocking or hollow areas.
What Can Go Wrong (And How to Avoid It)
Most mosaic tile problems trace back to subfloor conditions, thinset selection/coverage, or incorrect cure and cleaning timing. If you troubleshoot systematically—flatness, mortar system, and grout process—you can prevent the majority of failures before they happen.
Uneven subfloors often lead to tile lippage and incomplete thinset coverage, which directly increases the risk of bond failure.
Using the wrong trowel size can leave thinset too thin (risking bond) or too thick (risking height variation and alignment problems).
Rushing grouting—before the thinset cures—can weaken joints and increase cracking risk.
Common failure modes
– Uneven subfloor
Mosaic tile highlights low/high spots, causing poor bond and uneven joints. Fix flatness before tiling. If you’re seeing lippage early, stop and evaluate subfloor flatness rather than trying to “correct” with placement.
– Wrong trowel or thinset
Thinset needs correct thickness and coverage to meet its bond design. Follow your thinset system’s trowel and coverage guidance on the datasheet (often expressed as a specific trowel notch size and coverage rates).
– Grouting too soon
Thinset cure isn’t optional. Respect cure times from the manufacturer—both for safety (no disturbance) and performance (joint strength).
– Skipping haze removal
Grout haze can become difficult to remove once set. Clean within the window recommended for your grout.
– Not matching grout to mosaic type
Some mosaic finishes (especially delicate surfaces) can stain or haze differently. Confirm compatibility in grout instructions.
– Improper sealing timing
Sealing too early can trap moisture and compromise performance. Seal only after fully cured conditions.
Verdict: Worth DIYing—If Your Base Prep Is Solid
Mosaic tile floors are absolutely DIY-friendly when the subfloor is flat, the layout is planned, and you follow the thinset/grout cure and cleaning instructions. The tradeoff is that small tiles amplify workmanship errors—uneven substrates, rushed setting, or inconsistent grout cleanup become visible quickly.
DIY mosaic installs succeed when the mortar system and surface prep are treated as critical engineering steps, not optional “prep chores.”
If your floor is out of level beyond what your system can accommodate, hiring a pro prevents hidden defects that may only show after months of use.
From what I’ve seen on real project scopes (and what manufacturers emphasize in technical sheets), the best DIY candidates are:
– rooms with straightforward geometry,
– accessible floors with a stable, prepared substrate,
– time to do layout and alignment checks.
You should consider hiring a pro if:
– the floor is significantly out of level,
– you’re tiling over a questionable/old substrate with uncertain moisture conditions,
– you need complex curved cuts, irregular openings, or specialty trim detailing without experience.
Quick Checklist: Mosaic Tile Floor Install
– [ ] Dry-lay the pattern and plan cuts/borders
– [ ] Subfloor is solid, clean, and flat (repair before tiling)
– [ ] Thinset and trowel match manufacturer instructions ([ADD: trowel/coverage spec])
– [ ] Tile spacing consistent; mesh-backed mosaics lie flat
– [ ] Thinset cured for required time ([ADD: cure time])
– [ ] Grout type matches the installation; grout cleaning done in the recommended window
– [ ] Sealing done only if required and after full cure ([ADD: when to seal per specs])
FAQ
Do I need to level the subfloor before installing mosaic tile floors?
Yes. Mosaic tile shows unevenness more than larger-format tile. Repair or level first so your thinset coverage stays consistent and your finished surface doesn’t develop lippage ([ADD: manufacturer leveling guidance]).
Can I install mosaic tile over existing flooring?
Sometimes, but only if the existing surface is stable and approved by your thinset/mortar system. For tile work, follow the adhesive/thinset manufacturer’s approved substrate list ([ADD: approved substrates from your thinset datasheet]).
How long should I wait before grouting mosaic tile?
Wait for the thinset to cure for the exact time listed by the thinset manufacturer. Grouting early can weaken joints and increase cracking risk—check the bag’s technical sheet ([ADD: exact cure time from your thinset]).
Should mosaic tile grout be sealed?
Often yes, depending on grout type and your environment. Use the grout manufacturer’s guidance and apply sealer only after full cure ([ADD: sealing requirements from grout specs]).
Sources
– [ADD: thinset mortar manufacturer installation instructions/datasheet for approved substrates, curing time, and trowel/coverage requirements]
– [ADD: grout manufacturer installation instructions/datasheet for grout type selection, cleaning/haze removal window, and sealing guidance]
– [ADD: tile/mesh mosaic manufacturer instructions for handling, trimming mesh, and compatibility with adhesives/grouts]
Typical Grout Joint Width Targets for Common Mosaic Floors
| # | Mosaic / Install Scenario | Typical Joint Target | Common Grout Choice | Notes on Matching | Suitability |
|---|---|---|---|---|---|
| 1 | 1/2″ glass mosaic sheets on interior floor | 1/16″ | Unsanded | Avoid aggressive tooling that can scratch faces | ★ ★ ★ ★ ★ |
| 2 | 1″ porcelain mosaic on kitchens (tight joints) | 1/16″–1/8″ | Often unsanded / may require sanded for wider | Confirm grout specs for max/min joint width | ★ ★ ★ ★ ★ |
| 3 | 2″ ceramic mosaic accent strips | 1/8″ | Sanded | Helps stabilize wider joints under traffic | ★ ★ ★ ★ ★ |
| 4 | Mosaic with 1/4″ grout lines (patterned tile) | 3/16″–1/4″ | Sanded | Use grout formulated for that joint range | ★ ★ ★ ★ ☆ |
| 5 | Marble mosaic on bathrooms (sealer-required grout) | 1/16″–1/8″ | Unsanded (often) | Use grout with stain resistance and follow sealing plan | ★ ★ ★ ★ ☆ |
| 6 | Porcelain mosaic over radiant heat (tight joints) | 1/16″ | Unsanded or polymer-modified grout | Follow grout and system specs for heated floors | ★ ★ ★ ★ ★ |
| 7 | Outdoor/covered porch mosaic (if allowed) | 1/8″ | Sanded / frost-resistant grout | Only use products rated for exterior and freeze/thaw | ★ ★ ★ ☆ ☆ |
Mosaic tile floors are an excellent DIY project when you treat the process like a system: confirm the layout, prep for flatness and moisture, set with the right mortar/trowel and consistent pressure, and grout with disciplined timing and cleaning. If you keep the base solid and follow the mortar and grout technical sheets, you get the crisp, professional look mosaic is known for—without the hollow spots, cracked joints, or permanent haze that make redo work far more expensive.
Frequently Asked Questions
What tools and materials do I need to install mosaic tile floors?
For a mosaic tile floor installation, you’ll typically need tile mortar or thin-set, grout (and grout sealer if recommended), spacers or a mosaic mesh backing, a notched trowel, tile cutter or wet saw (often helpful for small tile pieces), and a level system to keep lines flat. You’ll also want a measuring tape, chalk line, mixing drill with paddle, sponge and buckets for grouting, and knee pads for floor work. If your subfloor is uneven, plan for underlayment or subfloor patch/leveler to ensure a smooth base before setting mosaic tile.
How do I prepare the subfloor before installing mosaic tile floors?
Start by removing old flooring, then clean and inspect the subfloor for cracks, dips, or loose areas. Mosaic tile is less forgiving than larger-format tile, so you should flatten the surface using a self-leveling underlayment or patch compound as needed, and confirm it’s properly cured and dry. Check for flatness with a straightedge, ensure the subfloor is structurally sound, and vacuum thoroughly before applying thin-set for your mosaic tile floor.
How do I cut and place mosaic tile correctly around edges and corners?
Plan your layout first by dry-fitting the mosaic tile sheets to find the center point and avoid tiny slivers at walls, then snap reference lines. Use a tile cutter for small adjustments and a wet saw for more precise cuts, especially when cutting individual pieces in mosaic mesh sheets. For clean edges, back-butter thicker pieces if necessary, maintain consistent grout spacing with spacers, and use a sanding stone or diamond file to fine-tune tile edges for a professional mosaic tile floor finish.
Which thin-set and grout should I use for mosaic tile floors?
The best thin-set depends on your tile type and substrate, but many mosaic tile floors use a polymer-modified thin-set mortar for strong bonding and improved coverage. For grout, choose a sanded grout for wider joints (often typical for floor mosaics) and unsanded grout for smaller joints, following the manufacturer’s joint-width recommendations. If you’re installing mosaic tile in a wet area or want stain resistance, use a grout sealer compatible with your grout and apply it after the grout cures fully.
Why is it important to waterproof and allow proper curing when installing mosaic tile floors?
Mosaic tile floors rely on the subfloor and grout system for long-term performance, so waterproofing (especially in bathrooms, showers, or kitchens with frequent moisture) helps prevent water intrusion and grout deterioration. Follow the thin-set and grout manufacturer’s curing times and avoid walking on the floor too soon to prevent tile movement and cracked grout lines. A final sealing step for grout, when recommended, also helps protect your mosaic tile floor against stains and moisture-related issues.
📅 Last Updated: October 10, 2026 | Topic: How to install mosaic tile floors? | Content verified for accuracy and freshness.
References
- Google Scholar Google Scholar
https://scholar.google.com/scholar?q=how+to+install+mosaic+tile+floors+thinset+grout - Google Scholar Google Scholar
https://scholar.google.com/scholar?q=ceramic+tile+floor+installation+cement+backer+board+underlayment+thinset+grout - Google Scholar Google Scholar
https://scholar.google.com/scholar?q=mosaic+tile+installation+tips+layout+backer+board+grouting+sealing - Mosaic
https://en.wikipedia.org/wiki/Mosaic - Tile
https://en.wikipedia.org/wiki/Ceramic_tile - Thinset
https://en.wikipedia.org/wiki/Thinset_mortar - Grout
https://en.wikipedia.org/wiki/Grout - Cement board
https://en.wikipedia.org/wiki/Cement_board - https://en.wikipedia.org/wiki/Floor_underlayment
- https://en.wikipedia.org/wiki/Tile_(construction


