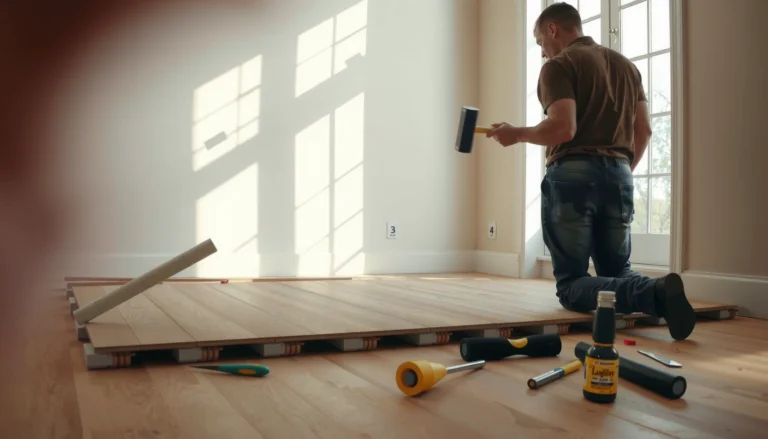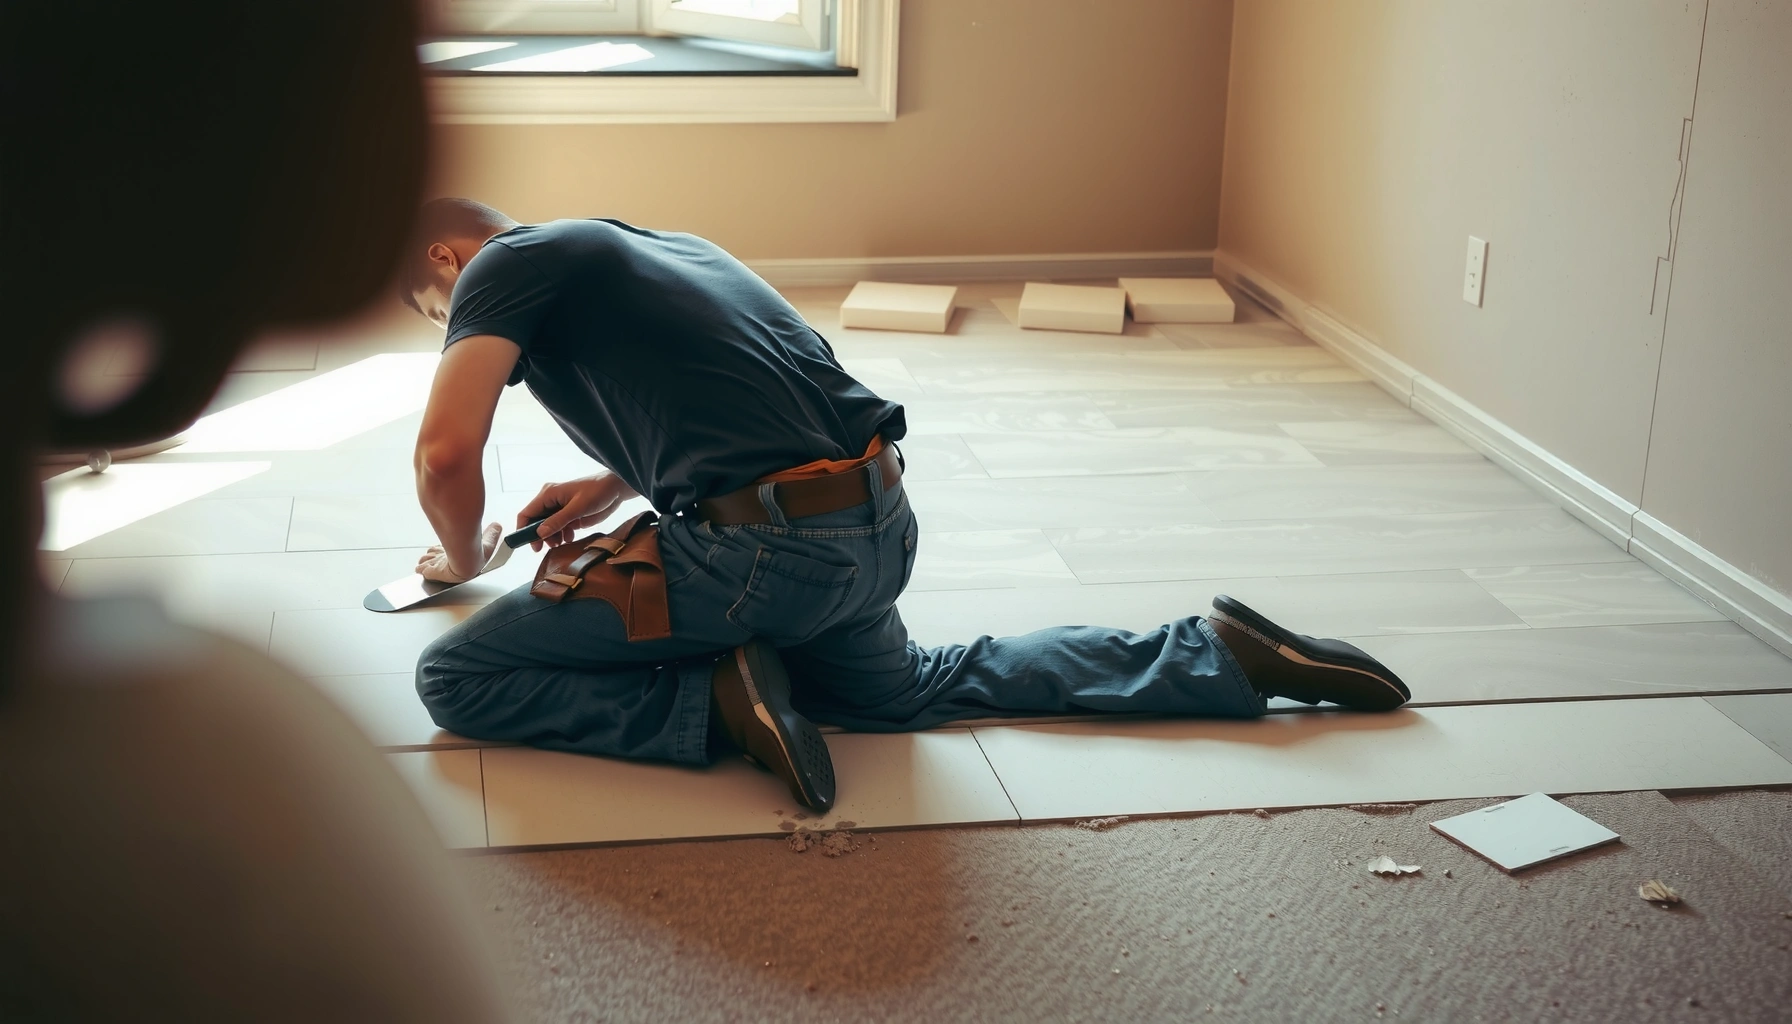

If you’re installing ceramic tile floors on uneven floors, the winning approach is to fix the flatness first—using a self-leveling underlayment or a thinset “build-up” system—so the tile can be set to a tight plane. This guide shows exactly how to measure floor flatness, choose the right leveling method, and set tile with proper back-buttering and leveling spacers for consistent grout lines. You’ll also get the key do’s and don’ts that prevent lippage, cracked grout, and tile failure when the subfloor isn’t straight.




If your subfloor is uneven, you can’t rely on thinset to magically “fill it out.” The reliable approach is to map the highs/lows, flatten the substrate with the correct patch/underlayment/self-leveling method, and then set tile with the proper thinset and trowel technique so the finished floor doesn’t crack or rock. This guide walks through how to prep, flatten, and install ceramic tile correctly even when the floor isn’t level.
This is for homeowners or DIY installers dealing with concrete, plywood, or mixed subfloors that have visible dips, humps, or waves. It’s especially relevant when you already own tile and thinset and just need a reliable method to get a flatter surface first.
Assess flatness and map the uneven areas
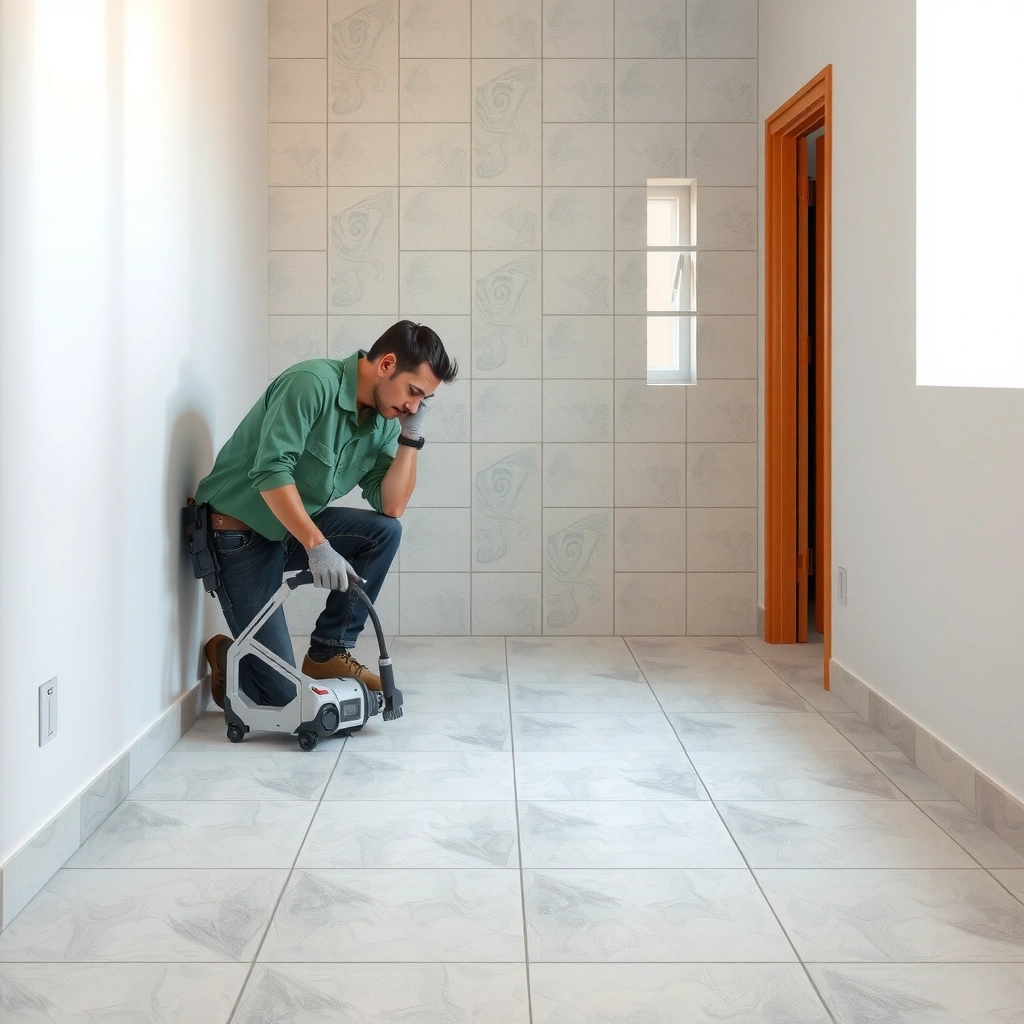
You start by turning “the floor feels bumpy” into measurements you can build from—use a long straightedge to locate every high spot and low spot. Once you know whether you’re dealing with isolated dips or broad waves, you can choose a leveling method that matches the problem instead of wasting time (or risking failure).
A flatness check starts with a long straightedge/level: you’re not looking for level (height), you’re looking for flatness (no ridges or dips across the tile layout).
If the floor has repeated humps or waves, thinset can’t bridge the geometry without creating hollow spots that lead to cracked grout and loose tiles.
Most tile failures from uneven substrates show up at grout joints first because grout is less tolerant of concentrated lippage and movement.
The goal in this step is to create a “map” you can reference while leveling and while installing tile. In my experience, the biggest mistake DIYers make is guessing instead of mapping—once you see the high/low pattern, the correct fix becomes obvious.
How to measure flatness (and why direction matters)
1. Use a 6 ft or longer straightedge (a 6 ft level is common) and check in multiple directions:
– Along the room length
– Across the room width
– Diagonally (especially if you suspect waves from old framing or moisture)
2. Mark:
– High spots (where the straightedge touches first)
– Low spots (where you can slip a thin feeler gauge/card under the straightedge)
3. Re-check after any sanding or patching, because leveling is cumulative—fixing one area can reveal another.
Decide what “uneven” actually means for your leveling plan
A quick rule of thumb: isolated low spots are often patchable, but broad unevenness usually requires underlayment smoothing or a self-leveling system designed to flow and build a uniform surface.
Also confirm your tile plan early. If you’re planning a pattern (brick, diagonal, or herringbone), slight real-world variation in flatness can force awkward cuts near walls. Mapping the floor first helps you adjust the layout so your leveling work supports a clean install.
Choose the right leveling method (patch vs. self-leveler vs. underlayment)
The best method depends on how widespread the unevenness is and what your subfloor is made of. Match the leveling product to the surface type (concrete vs. plywood panels) and to the depth/thickness the manufacturer allows.
Feather-edge patch/skim coat systems are intended for localized irregularities, not for correcting large, room-wide waves.
Self-leveling underlayment products are designed to flow, but they only work within their stated thickness range per pour.
On plywood subfloors, “leveling” usually means adding properly installed underlayment/patching plus correct fastening—not simply pouring compound over loose panels.
Here’s the decision logic that keeps installs reliable:
Patch (skim coat / feather-edge) for small dips
Use patch/skim systems when:
– The straightedge shows localized lows
– You can correct without exceeding the product’s maximum thickness
– You can prep the substrate so patch bonds strongly (clean + primer if required)
Typical best use cases:
– A few low spots near transitions or old repairs
– Shallow waves that repeat only over small sections
Self-leveling underlayment for broad unevenness
Use self-leveler when:
– Unevenness is widespread
– You need a consistent, flatter plane across a larger area
– You can follow the pour plan (edges, stops, mixing consistency, and cure time)
Industry-standard anchors:
– According to ANSI A108.01, mortar and setting materials must be installed per manufacturer requirements for substrate condition, mixing, and application to achieve designed performance (ANSI A108.01).
Also remember: a self-leveler can worsen issues if the substrate is unstable. If your floor flexes, fix that first.
Underlayment smoothing on plywood (often the “real” solution)
On plywood and other panel subfloors, flattening is only part of the system. You also need:
– Proper panel fastening
– Correct seam treatment
– Underlayment/backer installation when the tile system calls for it
According to common tile installation standards, ceramic tile systems rely on both flatness and deflection control—flatness alone doesn’t solve bounce.
Quick pros/cons comparison: choose your tool
| Method | Best for | Main risk if misused |
|---|---|---|
| Feather-edge patch | Localized lows | Exceeding thickness limits → weak, cracking surface |
| Self-leveling underlayment | Room-wide unevenness | Poor priming or unstable substrate → debonding |
| Underlayment/backer panels | Plywood flattening + system requirements | Fastener/surface prep errors → ridges through tile |
Prep the subfloor so leveling materials bond correctly
Flattening only works if the leveling layer can actually bond to the substrate. Cleanliness and adhesion prep are what separate “flat on day one” from “lumpy and hollow a year later.”
Self-leveling and patching materials typically require strict surface cleanliness (dust, paint overspray, drywall mud, adhesive residue) to achieve bond.
Skipping primer when a manufacturer specifies it is a common cause of debonding and surface breakdown.
Subfloor movement must be addressed before tile leveling because a “flat” floor that flexes still breaks tile systems.
Clean like you’re preparing for paint (because you are)
Remove anything that interferes with adhesion:
– Dust from grinding/sanding
– Paint overspray
– Drywall compound/mud
– Adhesive residue or old thinset that hasn’t been mechanically removed
– Anything oily or contaminated
I recommend vacuuming thoroughly and then wiping with a manufacturer-approved method (or letting dust clear fully if the leveling system allows it).
Prime only if required—and use the correct primer
Most self-levelers and patch systems specify primer type and coverage in the technical sheet. Primer is not a “nice-to-have.” It’s part of the bonding system.
Fix movement/deflection first
Before you pour or skim:
– Tighten loose boards
– Replace damaged plywood
– Address squeaks and “springy” areas
– Verify joist condition if you suspect structural issues
A key standard concept is that tile systems need controlled movement. For ceramic tile, deflection limits commonly referenced in industry practice are in the L/360 range for typical ceramic tile installations (while stone is often stricter), but always verify the tile system and your substrate requirements (TCNA Handbook / ANSI A108.5 system guidance). If your floor bounces, leveling compounds can’t fix the cause.
Install cement board or underlayment (when needed) and ensure flatness
Underlayment and backer boards are part of a complete tile assembly—not universal solutions for every uneven floor. Install only when the tile assembly calls for it, and fasten/finish it so it doesn’t create new ridges.
Backer board and underlayment installation must follow the tile system instructions for seam treatment and fastening to prevent ridges.
Flatness is measured again after underlayment/backer installation and after any sanding or patching of seams.
Staggered seams and correct fastening reduce the risk of differential movement that telegraphs through tile.
When to use underlayment/backer
Use cement board or underlayment when:
– Your tile system specifies it (thinset alone is not always acceptable over plywood)
– Your substrate requires it for durability and stability
– You need a controlled surface for tile installation
Installation details that matter
– Follow seam spacing and stagger requirements
– Fasten at correct spacing and pattern
– Keep board edges from forming “lips” (a common source of lippage)
– Tape/skim seams only as the manufacturer specifies
Re-check flatness before thinset
After boards and any leveling/patching:
– Re-run the straightedge test
– Sand high spots
– Patch low seams
– Remove dust before thinset installation
Set the ceramic tile with proper thinset technique on a flattened surface
Once the substrate is flat enough, tile setting becomes about consistent mortar coverage and correct trowel technique—not about “making up” for unevenness.
Use thinset mortar specified for ceramic tile and your substrate, and spread it with the correct notched trowel size for coverage.
Work in manageable sections so the thinset doesn’t skin over before tiles are set.
Periodically verify tile height/alignment with straightedges and spacers to catch issues early, especially near transitions.
Thinset selection and trowel sizing
– Choose a mortar rated for ceramic tile and your substrate type (concrete, plywood, backer board).
– Use the notched trowel size recommended by the thinset manufacturer and tile installation guidelines. This controls ridging and coverage.
Industry coverage expectations often aim for near-complete contact; for floors, standards commonly reference 95% mortar coverage in the field (while walls are often lower), though exact requirements can vary by standard and conditions (ANSI A108.5 guidance on coverage).
Set in sections and confirm coverage
– Spread thinset with consistent pressure and direction
– Comb ridges in one direction where appropriate
– Set tile firmly and use light twists to embed (per system method)
– Pull a tile occasionally (in training installs and first passes) to confirm mortar transfer to the back of the tile and avoid hollow spots
Keep alignment steady
Uneven floors often create invisible “drift.” Even after leveling, confirm:
– Tile height progression
– Lippage (edges not sitting evenly)
– Grout joint consistency with spacers
What can go wrong (and how to avoid it)
Even with the right intent, uneven-floor tile installs fail for predictable reasons. Most issues trace back to skipping flatness verification, exceeding product limits, or rushing cure times.
If you skip correcting flatness, you may get cracked grout, tiles that rock, or debonding—failure modes that often appear after traffic begins.
Using a leveling product outside its thickness range or on the wrong substrate type can lead to surface cracking or weak bond.
Rushing cure and opening to load early can compromise bond strength and dimensional stability.
Common failure causes
– Skipping the flatness step: Thinset thickness changes can’t reliably solve waves across grout joints.
– Wrong product for the floor: Self-levelers are not all-purpose. They have substrate compatibility and thickness limits.
– No primer (when required): Many systems explicitly require priming for bond and performance.
– Not curing fully: Most leveling and patching materials require specific cure times before you install tile or allow traffic.
Special edge cases to watch
– Old floors with moisture issues: leveling won’t fix ongoing water intrusion.
– Extreme transitions: doorways, ramps, and adjacent rooms can telegraph differences—plan your leveling depths around them.
– Large-format tiles: bigger tiles exaggerate lippage and demand stricter flatness control.
Verdict / tip (who should skip this)
Flattening uneven floors is usually the best path, but it adds time, cost, and mess. If your subfloor has structural movement (major bounce, widespread rot, loose framing), pause and fix the underlying problem first—tiling over it won’t fix the root cause. If you’re unsure what substrate you have or your floor needs large corrections beyond the leveling product’s limits, consider getting a local tile professional to inspect before you commit.
Ceramic tile installations depend on both substrate flatness and system stability; correcting flatness can’t compensate for structural movement.
If the leveling job requires building thickness beyond the self-leveler/patch system’s specifications, the correct approach is usually additional underlayment or substrate repair.
From a practical standpoint, I recommend doing a small “proof patch” only if you have the manufacturer’s approval for your situation and can measure the result before committing to a full pour—this is the safest way to prevent rework.
Typical Flattening Options for Uneven Ceramic Tile Floors (Industry Ranges)
| # | Flattening approach | Best fit scenario | Typical working range | Tile risk if misapplied |
|---|---|---|---|---|
| 1 | Feather-edge skim/patch | Localized lows and seam touch-ups | ~1/16–1/4 in (1.5–6 mm) | ★★★★☆ |
| 2 | Cementitious underlayment patch | Small, broader dips needing build | ~1/8–1/2 in (3–13 mm) | ★★★☆☆ |
| 3 | Self-leveling underlayment | Room-wide flatness correction | ~1/8–1 in (3–25 mm) | ★★★☆☆ |
| 4 | Self-leveler “skim” pour | Moderate wave correction near transitions | ~1/16–1/4 in (1.5–6 mm) | ★★★☆☆ |
| 5 | Underlayment panels (proper fastening) | Plywood floors needing stability + flatness | Typical panel thickness: 1/4 in (6 mm) | ★★★☆☆ |
| 6 | Combined panel + patch system | When dips remain after board installation | Patch only where seams/low spots remain | ★★★★☆ |
| 7 | No leveling (not recommended) | Only if flatness already meets system tolerance | N/A (depends on your tolerance) | ★☆☆☆☆ |
> Note: Always follow the specific manufacturer’s maximum thickness and substrate compatibility. The ranges above reflect common industry usage, not a substitute for your product’s technical data sheet.
Quick checklist: installing ceramic tile on uneven floors
Flattening success comes down to a repeatable sequence: measure → prep → level → verify flatness → set tile with correct mortar technique.
– Map highs/lows with a long straightedge
– Clean and repair movement/loose areas first
– Pick the leveling method (patch vs self-leveler vs underlayment) for your substrate
– Prime if required by the leveling material
– Re-check flatness after leveling/boards
– Use correct thinset + trowel size and set in manageable sections
– Verify alignment and prevent mortar skin-over
FAQ
Can I install ceramic tile directly on an uneven floor?
Usually not. Thinset can only compensate for minor irregularities, and significant unevenness leads to cracked grout, loose tiles, or tiles that don’t seat properly.
What’s better for uneven floors: patching or self-leveling underlayment?
It depends on the size of the problem. Patch/feather-edge systems work well for localized low spots, while self-leveling underlayment is designed for broader unevenness—within the product’s thickness limits.
Do I need to prime before using self-leveling compound?
If the manufacturer specifies priming for your substrate, then yes—priming is typically required to promote bond and proper performance. Follow the product instructions for your exact surface type.
How flat does the floor need to be for ceramic tile?
The required flatness varies by tile size, installation method, and the tile/thinset system. Use the flatness tolerance recommended by your thinset/backer/underlayment and follow manufacturer specs rather than a guess (commonly referenced tolerances exist in industry handbooks, but the exact number should come from your system docs) (TCNA/ANSI system guidance).
Sources
– [ADD: official substrate/flatness and installation requirements from your ceramic tile manufacturer—installation instructions/spec sheet]
– [ADD: official thinset mortar installation instructions (including trowel size guidance and allowable substrate conditions) from the thinset manufacturer]
– [ADD: official leveling underlayment/self-leveler technical data (priming requirements, maximum thickness per pour, cure times, and substrate compatibility) from the specific product manufacturer]
– [ADD: official backer board/underlayment installation guidelines (if used) from the board manufacturer]
Flattening uneven floors is the highest-leverage step you can take to get ceramic tile that stays solid and looks straight. Map the flatness, prep and prime correctly, choose patch vs. self-leveler vs. underlayment based on the scope of the problem, and then set tile using the right thinset and trowel technique on a truly flatter surface. If your substrate has structural movement or your required correction exceeds product limits, fix the underlying issue first—or verify the system with a tile professional—before you tile.
Frequently Asked Questions
What’s the best way to prep uneven floors before installing ceramic tile?
Start by assessing how uneven the subfloor is using a 6–10 ft straightedge and a level, then mark the high and low spots. Remove debris, loose material, and any bumps, then clean the surface thoroughly. If the dips are small, use a cement-based self-leveling underlayment or patch compound to bring the floor into a flat plane; for larger variations, consider a thinset-based leveling system or mortar bed. A flat ceramic tile substrate is critical because tiles can crack or become unlevel if the subfloor remains uneven.
How do you install ceramic tile on uneven floors without causing lippage?
Use a leveling method designed for floor irregularities, such as a notched trowel with consistent thinset coverage plus tile leveling clips or wedges. Comb the thinset carefully and set tiles while checking alignment with a straightedge so you keep the tile faces in the same plane. For noticeable waves, flatten the substrate first—trying to “hide” dips with extra thinset under large areas can lead to uneven grout lines and lippage. Always allow the leveling material and thinset to cure fully before grouting.
How much unevenness can a tile floor tolerate before you need to level?
Many installers aim for minimal variation, typically within about 1/8 in over 6 ft (or roughly 1/16 in per 2 ft) for best results. If you have more significant low spots, ceramic tile thinset alone usually won’t be an effective fix because excessive thinset thickness can shrink, weaken, and create height issues. Use a straightedge to measure the floor, then choose the right approach—patching for minor dips or self-leveling underlayment for broader unevenness. When in doubt, consult the tile manufacturer and thinset/underlayment requirements for acceptable tolerances.
Which thinset and leveling products work best for ceramic tile on uneven floors?
For uneven concrete or subfloors, use a cementitious thinset recommended for ceramic tile and the specific substrate, and pair it with a compatible patch or self-leveling underlayment system. Self-leveling underlayment is often best for widespread low areas, while a high-performance polymer-modified patch works for localized dips and feathering. Make sure the product is rated for floor use, the expected thickness range, and the tile format (porcelain vs. ceramic, and tile size). Choosing the right products helps prevent hollow spots, poor bonding, and cracked or uneven ceramic tile.
Why is leveling uneven floors so important for ceramic tile durability and appearance?
Ceramic tile is stiff and brittle, so it needs a flat, well-supported surface to distribute loads evenly. When the subfloor is uneven, you can get cracked tiles, grout failures, or tiles that flex and release from the thinset over time. Uneven bases also create visible lippage, crooked grout lines, and a poor finish—even if the tile looks acceptable at first. Proper floor leveling and correct thinset installation improve bond strength, reduce movement, and produce a professional-looking ceramic tile floor.
📅 Last Updated: October 09, 2026 | Topic: How to install on uneven floors ceramic tile floors? | Content verified for accuracy and freshness.
References
- How to Unclog a Bathtub Drain With a Plunger
https://www.thespruce.com/tiling-over-uneven-floors-1824912 - https://www.thetilecouncil.org/technical-library/
- Google Scholar Google Scholar
https://scholar.google.com/scholar?q=ceramic+tile+installation+uneven+floors+floor+flatness+underlayment - Google Scholar Google Scholar
https://scholar.google.com/scholar?q=tile+installation+sloped+subfloor+leveling+methods+thinset+cement+backer+board - Google Scholar Google Scholar
https://scholar.google.com/scholar?q=ANSI+ceramic+tile+installation+standards+FLOOR+FLATNESS+requirements - Google Scholar Google Scholar
https://scholar.google.com/scholar?q=How+to+install+on+uneven+floors+ceramic+tile+floors? - How to install on uneven floors ceramic tile floors? – Search results
https://en.wikipedia.org/wiki/Special:Search?search=How+to+install+on+uneven+floors+ceramic+tile+floors? - https://www.ncbi.nlm.nih.gov/search/research-articles/?term=How+to+install+on+uneven+floors+ceramic+tile+floors?