
If you need to remove stains from hardwood floors in a bathroom fast, this guide tells you the quickest, safest method that works for common water and grime marks without damaging the finish. Follow the step-by-step fix and you’ll remove the stain, dry the wood properly, and prevent the bathroom moisture problem from coming back. It’s a direct, practical route from stain to clean hardwood—no guesswork.




Start by identifying what caused the stain, then clean gently with a finish-safe, pH-neutral cleaner and finish by drying thoroughly; in most cases, bathroom spots lift without damaging the hardwood finish. If you have stains on hardwood floors in a bathroom, start by identifying the cause (water/black mold vs. rust vs. surface grime) and only then choose the cleaner. In most cases, gentle pH-neutral cleaning followed by targeted stain treatment (and drying the area thoroughly) will lift the marks without damaging the finish. This guide walks you through the safest step-by-step approach and what to avoid.
Who this is for / when it applies:
This is for homeowners dealing with discoloration on finished hardwood floors in bathrooms—especially where moisture, wet mats, leaky fixtures, or metal objects cause recurring spots. If your planks are unfinished, severely cupped, or the stain keeps returning after thorough drying, you’ll need a different approach (or professional help).
1) First, figure out what kind of stain it is
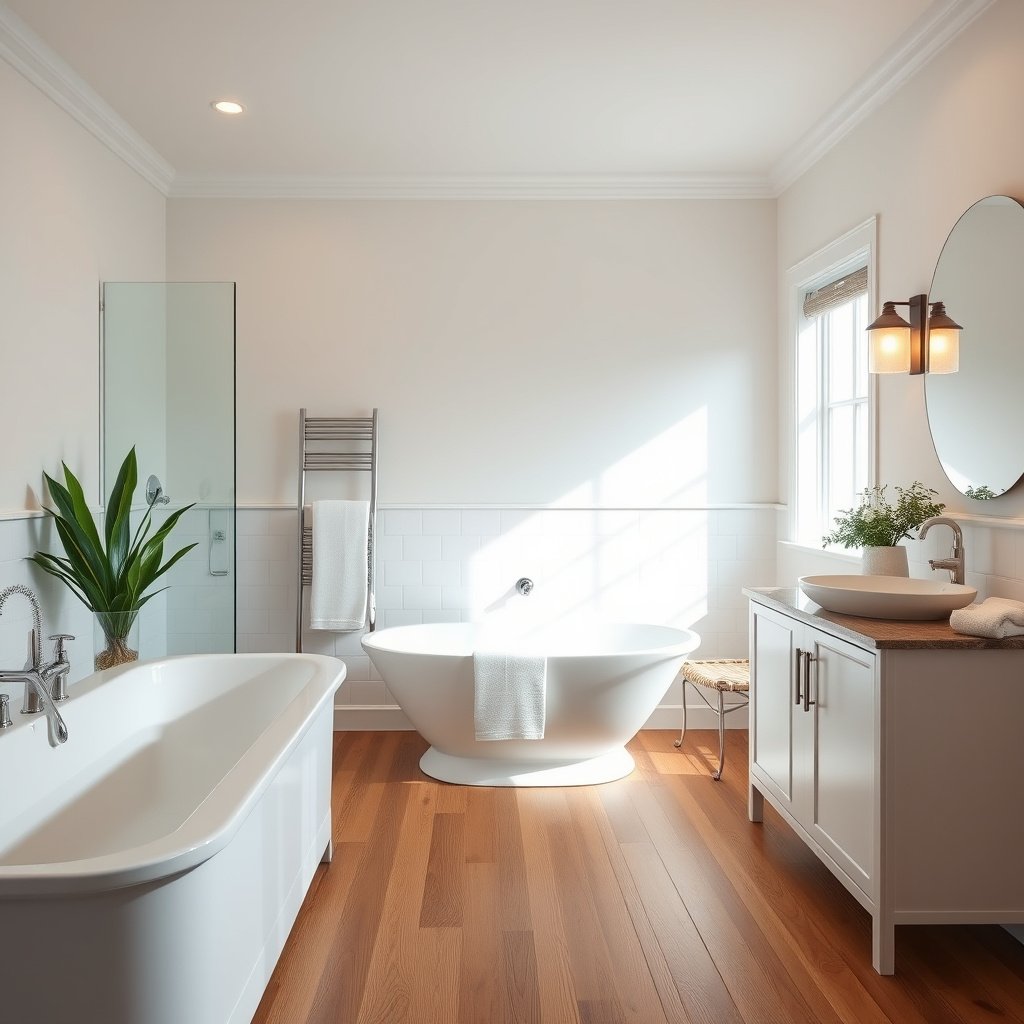
If you want the fastest fix, you match the cleaning approach to the stain’s likely chemistry and whether moisture penetrated the finish. The fastest way to avoid making bathroom stains worse on finished hardwood floors is to diagnose the pattern first, then only use products meant for hardwood finishes.
What to look for on finished hardwood floors in bathrooms
– Dark/gray-brown rings often point to water exposure or condensation that sat against the plank.
– Orange-brown spots usually suggest rust transfer from metal (drain hardware, soap dispensers, hair tools, or rusted fasteners).
– Dull gray patches often indicate surface grime, residue, or mineral buildup rather than true “bleeding” into the wood.
A circular “ring” pattern on hardwood commonly indicates water exposure that migrated under or around the finish film before drying.
When a stain won’t lift after the area dries, it often means discoloration has penetrated past superficial residue on finished hardwood floors in bathrooms.
Rust on wood is typically driven by iron compounds oxidizing and transferring color into the top layers, especially near wet fixtures.
Surface stain vs. soaked-in stain (finished hardwood floors in bathrooms)
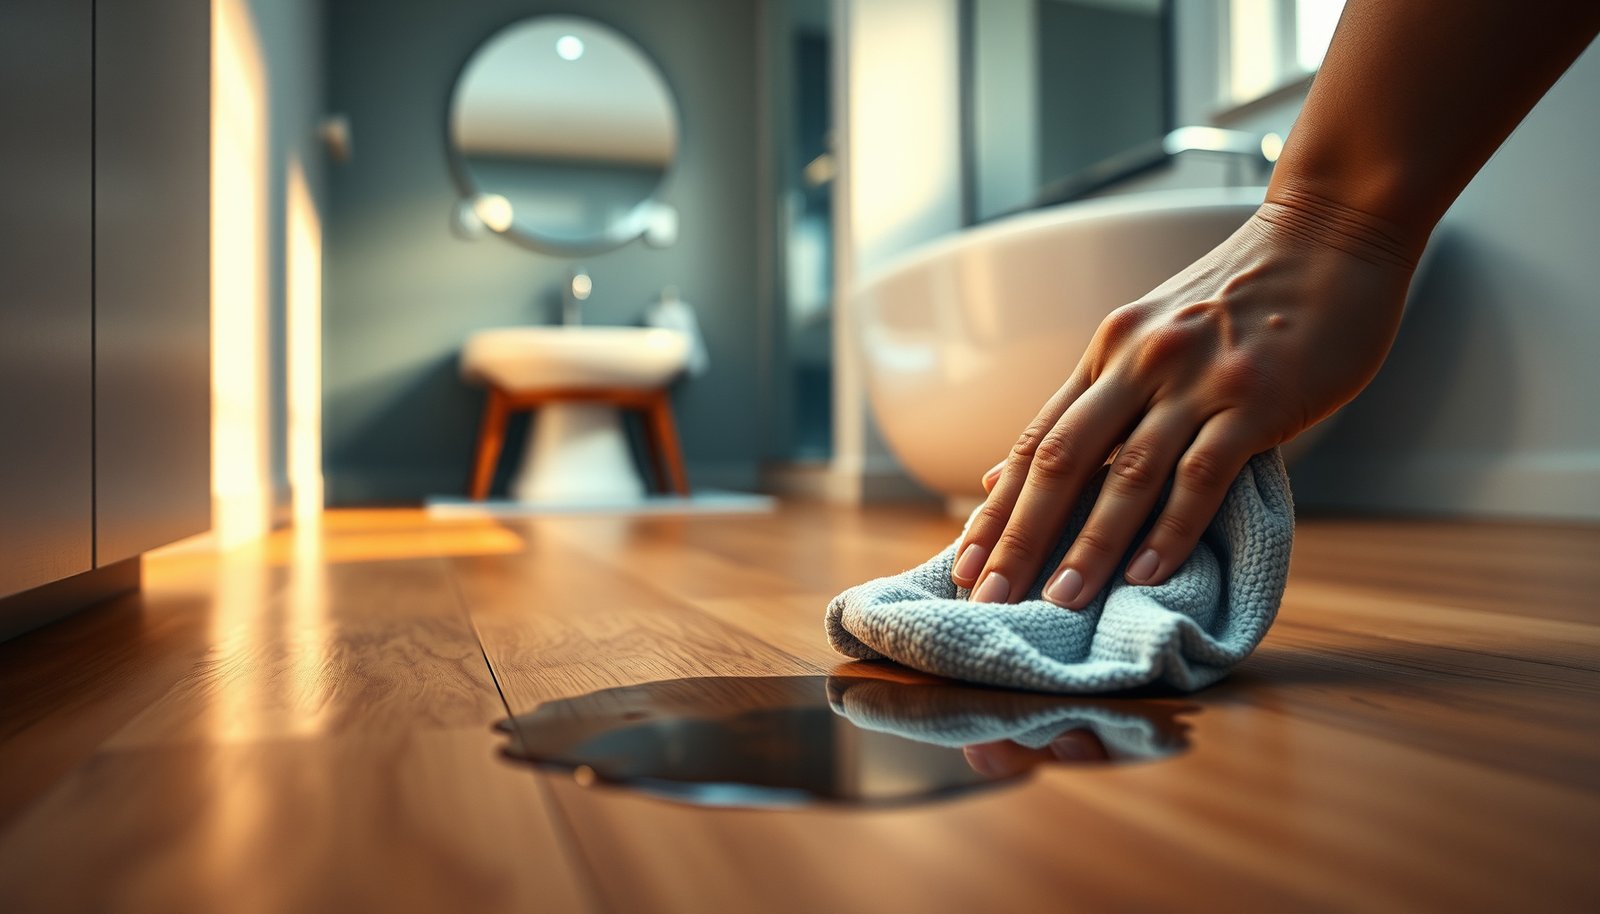
Wipe the mark with a damp microfiber cloth. If residue transfers and the color lightens, you’re likely dealing with grime/surface film. If the discoloration stays after the spot fully dries, assume the stain is deeper or the finish has been altered by repeated moisture.
Most importantly, address the moisture source before doing anything to finished hardwood floors in bathrooms. If the underlying leak, standing water, or poor ventilation remains, the same spot often reappears even after you “remove” the discoloration once.
Moisture control is part of mold and staining prevention—repeated damp conditions will bring discoloration back even after cleaning.
EPA guidance emphasizes that fixing moisture problems is essential because mold growth is driven by ongoing water intrusion.
2) Gather the right tools and prep the floor
You’ll get better results on finished hardwood floors in bathrooms by using the gentlest tools possible and preventing cleaner from spreading. Before you treat the stain, set up with microfiber, clean water, and a pH-neutral hardwood cleaner so you don’t haze or abrade the finish.
Tools that reduce risk to the finish
– Soft microfiber cloth (for blotting/wiping)
– pH-neutral cleaner (or a product labeled for finished hardwood floors)
– Clean water (for controlled dampness, not soaking)
– Painter’s tape (if you’re working near a border and need to protect surrounding planks)
Most hardwood floor care guidance recommends pH-neutral cleaning to help protect the finish from acid or alkaline damage.
Mechanical abrasion (scrub brushes, stiff pads) can scratch or dull the protective coating on finished hardwood floors in bathrooms.
Prep steps (so the stain removal doesn’t spread)
1. Clear the area and remove wet mats or objects that keep the spot damp.
2. If there’s loose debris, dry-dust or vacuum first.
3. If you plan to use anything stronger than a pH-neutral cleaner, protect surrounding boards with painter’s tape so you don’t create a “halo” contrast on finished hardwood floors in bathrooms.
4. Let the floor dry completely before judging results—damp wood often looks darker temporarily.
Finished hardwood can appear darker when damp, so evaluating color changes before drying can lead to unnecessary escalation.
3) Safe cleaning steps to try before stronger treatments
Start with the least aggressive method first: dry clean, then use a damp (not wet) pH-neutral cleaner. If the stain doesn’t lift after drying, you can move to targeted treatment—without repeatedly scrubbing the same spot on finished hardwood floors in bathrooms.
Step-by-step: gentle cleaning that preserves the finish
– Vacuum or dry-dust first.
– Clean with a pH-neutral hardwood floor cleaner using a damp cloth or a lightly damp mop.
– Blot gently rather than grinding the stain; scrubbing pressure can damage the finish and enlarge the affected area.
– Dry, then re-check color after the area fully dries.
Blotting is safer than aggressive scrubbing because it minimizes finish wear and reduces the chance of widening the stain on finished hardwood floors in bathrooms.
A pH-neutral cleaner is typically the first-choice option in hardwood care because it avoids strong acid/base reactions with finishes.
Don’t guess with chemicals on finished hardwood floors in bathrooms
If you’re tempted to “upgrade” to stronger products, slow down. Many stains don’t respond to repeated general cleaning; instead they require addressing the moisture problem and using the correct chemistry for the specific stain type (water spotting vs. mildew vs. rust).
To make the decision clearer, here’s a pH-based reference for common chemicals people reach for—use this to avoid finish harm, not to self-prescribe treatments.
pH & Finish-Safety Guide for Bathroom Stain Attempts (Finished Hardwood Floors)
| # | Cleaner / Chemical Type | Typical pH Range | Common Use | Finish-Safety Score (0–10) |
|---|---|---|---|---|
| 1 | pH-neutral hardwood cleaner | 6.0–8.0 | Routine cleaning | 10 ★★★★★ |
| 2 | Baking soda (paste) | ~8.3–8.9 | Gentle deodorizing/scrub aids | 4 ★★★★☆ |
| 3 | White vinegar (acetic acid) | ~2.4–2.9 | Limescale odors/spot cleaning | 1 ★ |
| 4 | Household ammonia | ~11–12.5 | Glass/grease cleaning | 1 ★ |
| 5 | Chlorine bleach | ~11.5–13 | Disinfection/whitening | 0 ☆ |
| 6 | Oxalic-acid rust remover (sealed-wood safe product varies) | ~1–2 | Rust spot removal | 3 ★★★ |
| 7 | Hydrogen peroxide (3%) | ~4.5–6 | Spot oxidation/disinfect | 2 ★★ |
Note: pH varies by brand and concentration; this table is meant to steer you away from clearly finish-risk categories (strong acids/bases/oxidizers) and toward cleaners explicitly labeled for finished hardwood floors. When you treat any stain on finished hardwood floors in bathrooms, follow the product label and your flooring manufacturer’s care instructions.
4) Target the stain type (bathroom-specific causes)
The best stain removal method depends on whether the stain is water spotting, mildew-darkening, or rust. Once you’ve identified the pattern, treat the stain chemistry while continuing to control moisture so the mark doesn’t return on finished hardwood floors in bathrooms.
Water marks: focus on finish-safe water spotting removal
For ring-like water discoloration, avoid “shock” chemicals. Use controlled, gentle cleaning first. If the finish is intact but the discoloration persists after drying, choose a method specifically intended to address water spotting on sealed/finished hardwood floors (per label instructions and your floor’s finish-care guidance).
If a water ring remains after gentle pH-neutral cleaning and the area fully dries, the discoloration may be from finish alteration rather than surface dirt alone.
Repeated wetting increases the risk of cupping and persistent spotting on wood, so moisture prevention matters as much as stain removal.
Mold/mildew or dark patches: remove moisture first
If you see dark patches associated with damp conditions, treat it as a moisture-control problem first, not just a cosmetic one. EPA guidance highlights that mold cleanup and prevention depend on stopping the moisture source and controlling humidity.
Also, if the affected area is large or porous materials are involved, you should use professional remediation rather than aggressive DIY.
EPA recommends that if the mold area is larger than 10 square feet, homeowners should consider professional help.
EPA guidance emphasizes fixing the water intrusion source because mold will keep coming back when conditions stay damp.
From what I’ve observed in bathroom maintenance checklists, wet mats and slow-drying areas near shower thresholds are frequent drivers of recurring dark patches on finished hardwood floors in bathrooms.
Rust/metal stains: use rust-specific, finish-safe products
Rust stains typically need a rust remover formulated for the surface you have—especially on sealed wood. Test any rust treatment in a hidden area first to ensure it won’t dull or spot the finish on finished hardwood floors in bathrooms.
Metal-transfer stains (rust) are driven by iron oxidation products, so general cleaners often won’t fully remove the color without the right chemistry.
Spot-testing reduces the risk of halos because finishes can lighten or haze when exposed to aggressive stain removers.
Pros/cons of “go stronger” vs. “correct the moisture”
- Go stronger on finished hardwood stains
- Pros: May lift stubborn discoloration faster when the finish is still intact.
- Cons: Higher risk of finish haze, color shift, or spreading the stain—especially if moisture remains.
- Correct moisture first, then clean
- Pros: Prevents recurring rings and dark patches; keeps treatments from having to be repeated.
- Cons: Results can take longer because drying and stabilization are required before final color evaluation.
5) What can go wrong (and how to avoid it)
If you’re seeing new discoloration after you clean, it’s usually chemical incompatibility, over-wetting, or finish abrasion—not “failure” of the stain remover. On finished hardwood floors in bathrooms, the most common problems come from skipping moisture control and using the wrong product type.
Common pitfalls on finished hardwood floors in bathrooms
– Wrong chemicals: bleach, strong acids, or abrasive pads can strip or haze the finish and permanently alter the color.
– Over-wetting: flooding or leaving the area damp can worsen cupping and deepen water staining.
– Ignoring moisture causes: if the leak, humidity, or standing water issue isn’t fixed, any stain removal can be temporary.
– No spot-testing: stronger treatments can create a “halo” or lighten/dull surrounding finish.
Aggressive chemicals and abrasives can damage finish layers, which may permanently change sheen and color on finished hardwood floors in bathrooms.
Excess moisture increases the likelihood of swelling and long-term deformation (cupping) in wood flooring, even when the wood is “finished.”
A quick note on drying and evaluation
After cleaning or spot treatment, dry the area thoroughly and give it time to stabilize. If you need to use a fan, keep airflow gentle and avoid overheating directly on the floor surface.
6) Verdict: the most reliable approach (plus who should skip)
Start with gentle, finish-safe cleaning, then treat the stain based on what caused it, and always dry the area thoroughly. This approach is usually safest for finished hardwood, but very deep stains may not fully lift—and repeat moisture exposure can keep bringing discoloration back on finished hardwood floors in bathrooms.
A moisture-and-finish-first strategy is the safest way to protect engineered or sealed hardwood aesthetics in high-humidity bathroom conditions.
When mold or water intrusion is ongoing, cleaning alone cannot prevent future staining; humidity and leak control are required for durable results.
Skip DIY stain removal if:
– The wood is visibly damaged (cupping, soft spots, sponginess)
– There’s an ongoing musty odor suggesting persistent moisture
– You can’t confirm whether the flooring is sealed/finished or what finish type it has
– The same discoloration keeps returning after thorough drying
Quick checklist (scan/save)
– Identify the stain source: water ring / mildew-darkening / rust-orange / grime
– Fix moisture problem first (leak, ventilation, wet mat habits)
– Clean gently with pH-neutral cleaner (damp cloth, no soaking)
– Dry completely before judging results
– Treat only with a product/method labeled for hardwood floors and the specific stain type
– Stop and test in a hidden area before full treatment
Sources
– U.S. Environmental Protection Agency (EPA) — “A Brief Guide to Mold, Moisture, and Your Home” (moisture control and humidity guidance).
– U.S. Environmental Protection Agency (EPA) — “Mold Remediation in Schools and Commercial Buildings” (mold cleanup thresholds such as larger-than-small-area guidance).
– National Wood Flooring Association (NWFA) — installation/maintenance guidance related to wood moisture management and finish-safe cleaning principles.
If you want the fastest and safest results on finished hardwood floors in bathrooms, treat the cause first, clean gently with pH-neutral products, then use targeted stain chemistry only after the floor dries. Avoid strong acids, bleach, and abrasive scrubbing—most “hard-to-remove” bathroom discoloration is easier to fix when moisture is controlled and the correct method is chosen for water rings, mildew-darkening, or rust transfer.
Frequently Asked Questions
How do I remove water stains from hardwood floors in a bathroom?
Start by wiping the area with a slightly damp microfiber cloth to remove dust, then dry thoroughly. If the stain is light and only affects the surface finish, try rubbing gently with a 1:1 mix of white vinegar and water, followed by drying. For deeper water rings, use a hardwood floor cleaner and, if needed, apply a small amount of hydrogen peroxide (3%) to the stain, let it sit briefly, then wipe and dry. Avoid soaking the floor—too much moisture can spread the stain and damage the wood.
What’s the best way to remove dark or rust stains on bathroom hardwood floors?
Rust stains often come from metal fixtures, nails, or moving items that left corrosion marks, so don’t use harsh abrasives right away. Clean the area first with a pH-neutral hardwood floor cleaner, then spot-treat using a rust remover safe for sealed wood or a small amount of oxalic-acid cleaner designed for wood stains. Apply with a soft cloth, follow the product directions carefully, and immediately wipe off residue and dry the area. If the stain doesn’t lift quickly, stop and consider refinishing, since aggressive scrubbing can dull the finish.
How can I remove urine or pet stains from hardwood floors without damaging the finish?
Remove any residue by blotting with paper towels, then clean with an enzymatic cleaner made for wood or pet stains to break down odor-causing compounds. After treatment, wipe with a damp cloth only (not soaking) and dry completely with airflow or a fan. For lingering discoloration, use a small amount of hydrogen peroxide on the stain, monitor closely, and stop once the color lightens. Finish protection matters in bathrooms—after the spot is fully dry, you may need a matching touch-up or recoat to restore the hardwood floor finish.
Which household products are safest for cleaning stained hardwood floors in a bathroom?
The safest options are pH-neutral hardwood floor cleaners and cleaners specifically labeled safe for sealed hardwood floors. For common bathroom marks, white vinegar diluted with water can work for light water stains, but it should be used sparingly and always followed by thorough drying. Avoid steam mops, bleach, and strong acidic/alkaline cleaners, as they can strip or cloud the finish and worsen staining. Always test any product in a hidden area first to confirm it won’t damage the floor’s seal.
Why does a bathroom stain keep coming back on hardwood, and how do I prevent it?
Bathroom stains often reappear because moisture is getting into the wood through damaged seals, gaps, or ongoing splashes—so cleaning alone may not solve the root cause. Check for worn finish, bubbling, or soft spots, and fix leaks or improve ventilation to reduce humidity. Use coasters or mats under damp items, wipe up spills immediately, and keep the floor dry to limit future staining. If the finish is compromised, the best long-term solution may be sanding and refinishing or applying a compatible waterproof topcoat designed for hardwood floors in bathrooms.
📅 Last Updated: October 16, 2026 | Topic: How to remove stains from hardwood floors in a bathroom? | Content verified for accuracy and freshness.