
Waterproof hardwood floors for a home gym by sealing them correctly—this is the fastest way to prevent sweat, spills, and cleaning water from warping or cupping the boards. If your gym is using mats, but you still want maximum protection under weights and regular mopping, the best approach is a high-durability finish plus proper moisture barriers at transitions. This guide answers how to waterproof a hardwood floor step-by-step so the surface stays stable even with daily training.




The best way to “waterproof” hardwood floors for a home gym is to stop moisture from traveling through the room—manage humidity, install a proper vapor barrier/underlayment where applicable, and seal the wood with a compatible floor finish. When you combine those layers, you dramatically reduce swelling and cupping risk from sweat, condensation, and wet footprints (even though hardwood will never be as forgiving as tile).
This is for homeowners adding a gym in a room with hardwood (or extending gym activity where people frequently bring in moisture), especially if the space gets humid or has spills. You’ll learn what actually helps (vapor barrier + sealing + surface protection) and what doesn’t (trying to “floodproof” hardwood like tile).
Check your moisture risk first (before you seal anything)
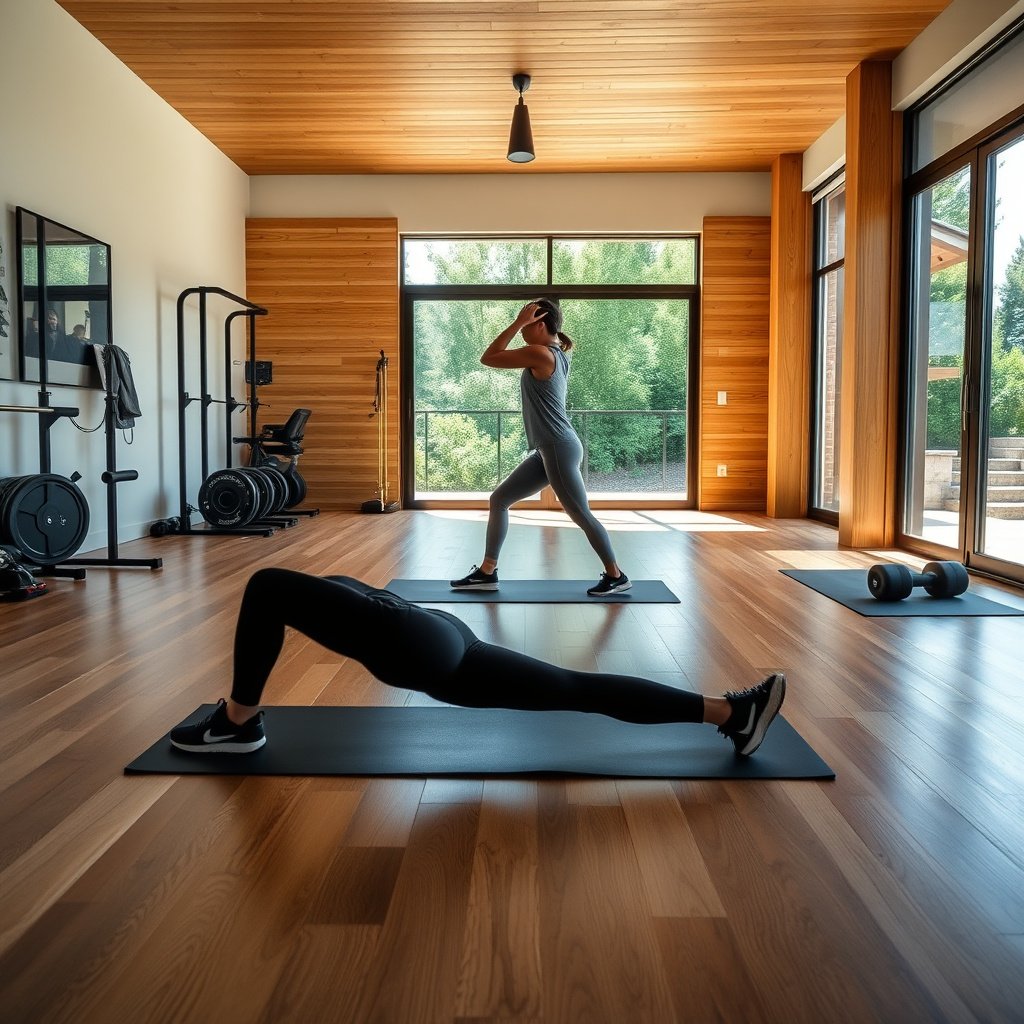
Moisture mapping comes first, because sealing can’t fix an ongoing moisture problem. If moisture is already coming from the subfloor or the room’s humidity swings are large, the right topcoat may still fail—especially at seams and the edges.
A vapor barrier only works if it blocks the correct moisture path (usually vapor moving upward from below, not water splashing from above). ASTM E1745 (vapor retarder classes and permeance concept)
For solid wood and engineered wood floors, maintaining stable indoor relative humidity is a core recommendation because wood dimensional changes track moisture equilibrium. NWFA wood flooring humidity guidance (relative humidity recommendations)
If a subfloor is too wet, sealing the hardwood surface can trap moisture and slow drying, increasing the chance of cupping or warping. ASTM D4442 (wood moisture content measurement concept) + industry moisture control principles
– Test for moisture and site conditions (subfloor moisture, humidity, and past issues like cupping). If you skip this, even the best topcoat can fail.
– In 2026, most reliable moisture troubleshooting still starts with in-situ testing (subfloor/screed and vapor emission checks) rather than guessing.
– If you’re converting an existing room, also note whether cupping/squeaks increase during rainy seasons—those are practical “signals” you should test for, not ignore.
– Confirm your hardwood type and finish: solid vs. engineered hardwood and the existing finish all affect what sealers/underlayments are compatible.
– Solid hardwood is generally more sensitive to whole-plank dimensional movement.
– Engineered hardwood can be more dimensionally stable, but it’s not immune to moisture—especially if moisture reaches the glue layer, underlayment, or subfloor.
– Identify likely water sources in the gym: sweat drips, wet towels, cleaning mops, tracked-in rain/snow, and condensation near HVAC vents.
– Sweat is usually “high-frequency, low-volume,” which is why it can be more damaging than occasional spills: it repeatedly wets and dries the finish until edges and joints become vulnerable.
– Tracked-in rain/snow is “low-frequency, high-volume,” which creates a different failure mode: pooled water that can reach seams or baseboards before you notice.
Use a real moisture barrier under the gym area
A true moisture barrier is your first line of defense against rising vapor and damp subfloor conditions. Done correctly, it reduces the chance that humidity cycles beneath the floor will translate into swelling, cupping, or finish breakdown.
ASTM E1745 defines Class I vapor retarders as having permeance of **≤ 0.1 perm**, which is a common target when moisture protection is needed. ASTM E1745 (vapor retarder permeance classes)
Moisture often enters hardwood assemblies through seams, edges, and transitions rather than through the center of a plank. NWFA moisture management guidance (installation and moisture control principles)
When underlayments are specified for flooring systems, the manufacturer’s installation details (tape seams, lap direction, sealing penetrations) matter as much as the product itself. Manufacturer installation instructions (underlayment/vapor barrier systems)
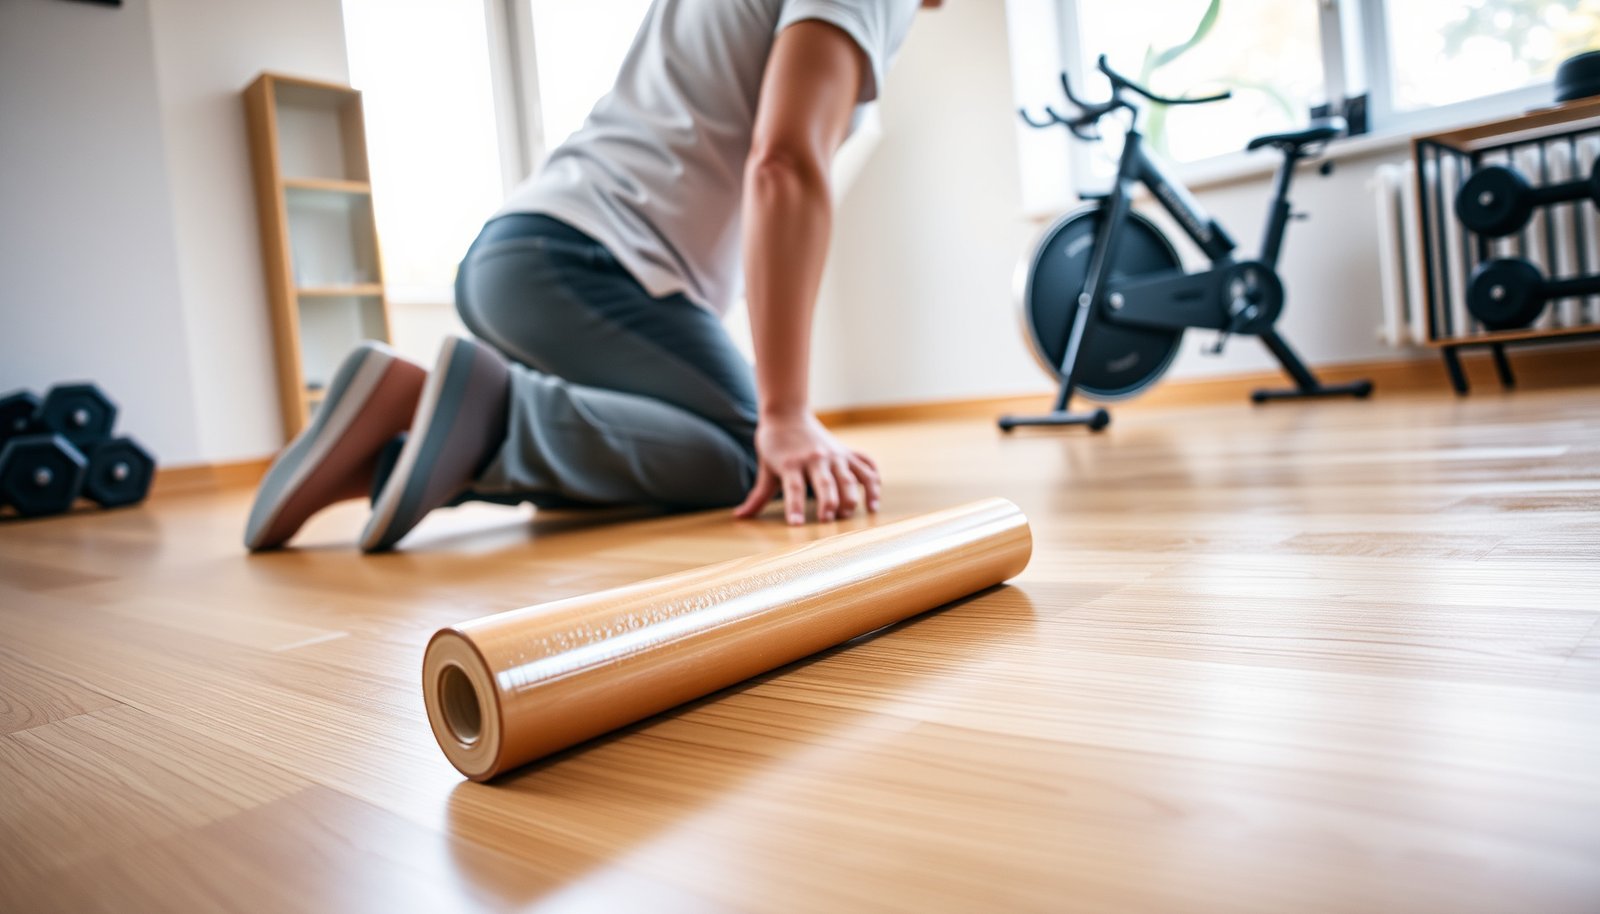
– If the gym will have rubber flooring, matting, or any underlayment layer, prioritize a vapor barrier solution designed for flooring installs (follow the underlayment manufacturer’s instructions exactly).
– If you already have (or plan to add) a thick mat system, think in layers: barrier + air/drying strategy + finish durability.
– Avoid “mystery layers.” For example, a sheet installed for wall use may not have the same performance or detailing required for a floor assembly.
– Seal transitions and edges properly: moisture often travels through seams, not the middle of the floor.
– Pay special attention to:
– Doorway thresholds and expansion joints
– Perimeter gaps near baseboards
– Any penetrations (HVAC registers, cables, plumbing access points)
– Make sure the barrier system you pick doesn’t trap moisture underneath—your goal is to block incoming moisture while allowing the floor to remain within safe moisture conditions.
– This is where “waterproofing” can backfire. A barrier that prevents incoming vapor but also prevents drying can create a “trapped moisture” condition when the subfloor isn’t fully dry.
– If you’re unsure about the dryness state of the slab/subfloor, test it first (often using ASTM methods such as ASTM F2170 or ASTM F1869, depending on the substrate).
Moisture-control “targets” that matter most in home gyms
Moisture-Control Specs Used in Hardwood Floor Protection (Home-Gym Focus)
| # | Moisture-control target | Primary moisture path addressed | Standard/spec reference | Install importance |
|---|---|---|---|---|
| 1 | Indoor relative humidity stability (wood-floor equilibrium) | Air → wood | NWFA humidity guidance | ★★★★☆ |
| 2 | Vapor retarder performance target | Subfloor → assembly | ASTM E1745 Class I (≤ 0.1 perm) | ★★★★★ |
| 3 | Use vapor barriers designed for flooring detailing | Subfloor → seams/edges | Manufacturer installation requirements | ★★★★★ |
| 4 | Subfloor moisture measurement method selection | Diagnose before sealing | ASTM F2170 / ASTM F1869 (substrate-dependent) | ★★★★☆ |
| 5 | Barrier sheet thickness (common choice) | Water-vapor diffusion | 6-mil polyethylene = 0.006 in (≈ 0.15 mm) | ★★★☆☆ |
| 6 | Wood moisture content test method | Wood dimensional risk | ASTM D4442 (oven-dry method) | ★★★★☆ |
| 7 | Maintain compatible finish system over the protected zones | Liquid water → finish → wood | Manufacturer compatibility guidance | ★★★★★ |
Seal the hardwood surface with a compatible finish
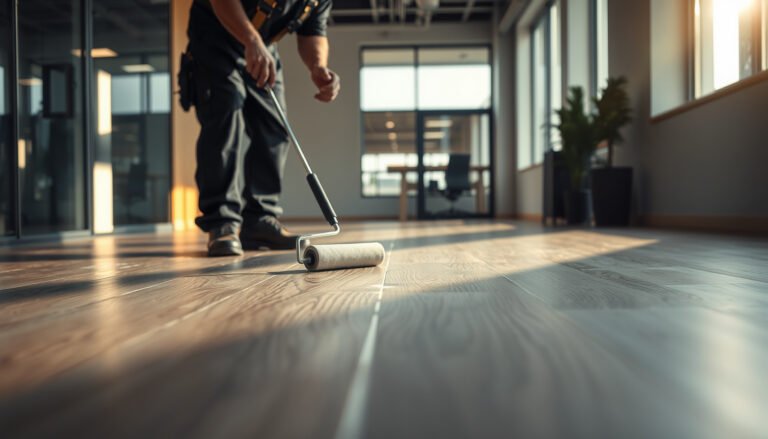
Sealing is what limits how quickly sweat and accidental wet spots can soak into vulnerable edges. But the seal only performs if the product is compatible with your existing finish and the prep is truly clean and dry.
Compatibility is critical: applying a coating over an incompatible finish can lead to peeling, softening, or cloudy adhesion failure. Manufacturer system-compatibility guidance (floor coatings/finishover instructions)
Perimeter edges are common failure points because water finds the path of least resistance near baseboards and expansion gaps. NWFA moisture control and installation principles
Cure time matters: many floor coatings reach handling/overcoating strength in stages, so rushing can reduce water resistance. Manufacturer cure-time and recoat-window instructions
– Choose a moisture-resistant coating system meant for floors (and ideally gym/high-traffic areas), and confirm it’s compatible with your existing finish.
– Look for products specifically positioned for wood flooring (not generic “waterproof” sealers that may not flex with wood or that may remain too brittle).
– If you have uncertainty about what’s on the floor now (oil-based varnish vs. water-based urethane vs. wax), test or have it assessed before committing.
– Apply carefully to avoid thin spots at edges, around baseboards, and near expansion gaps—those areas are common failure points.
– In real gym setups, the “water line” often starts at the perimeter because towels, bottles, and mops rest near walls.
– If you have a perimeter gap required for expansion, you still want robust moisture control at the functional edge without smothering the flooring movement.
– Keep your prep clean and correct: sanding/cleaning steps and dry cure time matter as much as the product itself (use the coating’s directions, not estimates).
– Many failures in high-moisture rooms trace back to:
– Poor surface decontamination (residual cleaner, oils, dust)
– Uneven sanding and profile
– Skipped dry times or recoat windows
– As of 2026, manufacturer instructions remain the controlling spec for both application and performance claims.
From my experience advising homeowners on gym conversions, the most common “it looked fine at first” problem is a finish that cured correctly—but wasn’t protected from repeated wetting right at seams and transitions. If your gym routine includes lots of sweat and frequent floor wiping, plan the finish as the surface “armor,” not as a magic shield.
Protect the floor during workouts (where spills actually happen)
Surface sealing slows moisture intrusion, but mats and smart cleanup stop the real-world events that overwhelm finishes. In a home gym, you should plan to prevent water from reaching the wood repeatedly—not just “manage” it after it happens.
Workout mats reduce moisture transfer by intercepting drips and pooled water before it reaches flooring joints and perimeter edges. Manufacturer guidance for matting/underlayment use over wood floors
Hardwood finishes can tolerate incidental splashes, but repeated wetting cycles increase wear and raise the likelihood of edge breakdown. Industry moisture management principles for wood floors (NWFA-style guidance)
Avoid over-wetting during cleaning because excess liquid increases the drying burden and can reintroduce moisture to seams. Wood floor maintenance guidance (finish-specific cleaning instructions)
– Cover high-contact zones with workout mats or flooring tiles designed to resist moisture—especially under cardio machines, benches, and where people set down bottles/towels.
– Prioritize coverage where water collects: bottle “habit areas,” towel staging spots, and any zone where ice packs or wet wipes are used.
– If the mat is thick, still ensure you’re not creating a moisture-trapping “lid” that prevents the hardwood from drying.
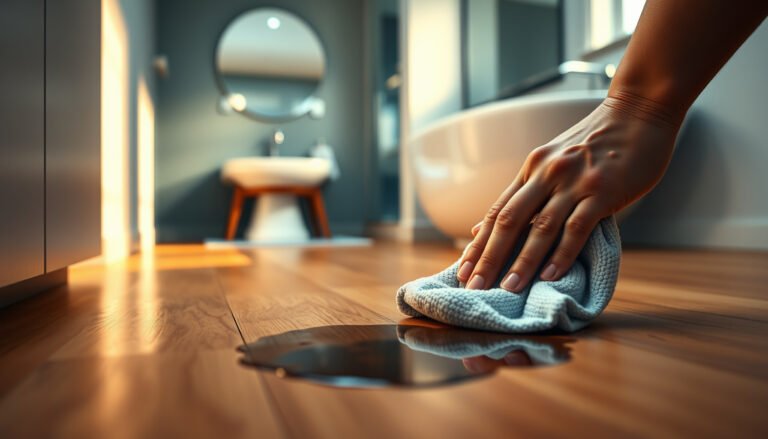
– Establish a “quick response” routine: wipe water immediately, and avoid letting liquid sit under mats where it can seep into gaps.
– Keep absorbent towels near entry points (and consider a dedicated mat for changing shoes if rain/snow is tracked in).
– When sweat is the source, fast wiping prevents repeated wet/dry cycles from concentrating at the finish-to-wood interface.
– Use floor-friendly cleaning methods so you’re not repeatedly introducing moisture (follow the wood floor cleaner’s guidance and avoid over-wetting).
– Use damp (not wet) application methods for routine cleaning.
– If you must use a cleaner, verify it’s compatible with your finish so you don’t degrade the surface layer over time.
What can go wrong (and how to avoid it)
The biggest failures usually come from trapped moisture, mismatched products, or perimeter/transition leaks. If you design for “blocking water from above” but ignore what happens under the floor or at edges, the system can fail even when the surface looks protected.
A “moisture sandwich” condition occurs when a barrier blocks incoming vapor but also reduces the assembly’s ability to dry. Moisture-transport principles used in vapor retarder selection and flooring system design
Sealing over an incompatible finish can cause peeling or cloudy buildup because adhesion chemistry and film-forming systems differ. Manufacturer finish compatibility notes and surface preparation requirements
Even if you protect the middle of the floor, water can still enter at seams, baseboards, and expansion gaps. Wood floor installation and moisture control principles (NWFA-style)
– Trapped moisture: some barriers and thick setups can create “moisture sandwich” conditions under flooring/mats. If you see persistent dampness or odors, stop and reassess the system.
– Practical warning signs: musty smells under mats, persistent cool dampness, or finish clouding that worsens over time.
– Wrong product compatibility: sealing over an incompatible finish can cause peeling, cloudy buildup, or uneven adhesion.
– If you’re unsure what your current finish is, don’t guess—verify using the manufacturer’s compatibility guidance or test in a small inconspicuous area.
– Overconfidence with “waterproof” claims: hardwood can handle everyday dryness well, but it’s not tile—heavy, repeated wet exposure can still cause damage.
– Think “moisture resistance” plus quick drying, not “full waterproof permanence.”
– Edge leaks: even a well-sealed surface can fail if baseboards, perimeter gaps, or seams aren’t treated correctly for moisture control.
– Gym setups often add extra movement near edges (chairs, dumbbells, cleaning activity), which increases the chance of seam exposure.
– If you already have active problems (current cupping, persistent squeaks with moisture, visible gaps), sealing without fixing the underlying moisture issue can lock the problem in place.
– In those scenarios, start with diagnosis (subfloor moisture + humidity + drainage/airflow). Sealing comes after.
Best approach vs. common missteps (quick comparison)
| Approach | Pros | Cons / Risk |
|---|---|---|
| Barrier + compatible floor sealer + mats | Targets vapor control and limits liquid absorption where it matters most (edges, transitions, wet-prone zones). | Requires correct testing/prep and adds cost/time; still not “tile-proof.” |
| Relying on mats only | Fast improvement and immediate spill interception. | Moisture can still enter at perimeter seams and transitions when mats shift or water wicks at edges. |
| “Floodproofing” like tile (heavy coatings everywhere) | May slow liquid penetration on the surface. | Can trap vapor, crack, or peel at edges if the system isn’t designed for wood movement. |
Verdict: a practical waterproofing approach (with limits)
If you want the best protection for hardwood in a home gym, combine (1) moisture control (humidity/subfloor conditions), (2) a proper vapor barrier/underlayment where applicable, and (3) a compatible moisture-resistant floor finish—plus mats for the real-world spills. The downside is cost, time, and the fact that hardwood will never be as forgiving as non-wood flooring under frequent wet exposure.
The most reliable wood-floor moisture strategy treats prevention as a system: air humidity control, vapor management, and a compatible finish—rather than a single “waterproof” layer. NWFA moisture management principles
As of 2026, manufacturers and ASTM-based moisture testing still emphasize measuring conditions before applying coatings or adhesives, not after failures occur. ASTM F2170 / ASTM F1869 (measurement-first practice)
Skip this DIY approach and get flooring help if you have active moisture damage, a history of cupping, or you’re unsure whether your subfloor conditions are safe. If you’re only dealing with occasional minor splashes, you may not need a full “system”—a targeted matting + proper cleaning routine can be the safer first step.
Quick checklist / scan guide
| Task | What to verify | Why it matters |
|---|---|---|
| Moisture risk | Subfloor moisture + room humidity sources | Determines whether sealing can last |
| Compatibility | Existing finish + chosen sealer/underlayment | Prevents peeling/adhesion failure |
| Vapor barrier | Barrier type and correct installation | Blocks moisture transfer from below |
| Surface sealing | Edge/perimeter coverage + cure time | Prevents weak points where water enters |
| Gym protection | Mats in wet/sweat-prone zones | Stops water from reaching the wood repeatedly |
| Cleanup routine | Wipe promptly; don’t over-wet when cleaning | Reduces repeated exposure cycles |
Sources
– NWFA (National Wood Flooring Association) guidance or technical bulletin relevant to moisture control/sealing hardwood floors—use the specific document you’re following
– Manufacturer installation/maintenance instructions for your specific hardwood flooring and any underlayment/vapor barrier you plan to use:
– ASTM E1745 (vapor retarder permeance classes), ASTM F2170 and ASTM F1869 (slab moisture testing methods), ASTM D4442 (wood moisture content method)
Frequently Asked Questions
How can I waterproof hardwood floors before setting up a home gym?
Start by addressing water sources like sweat, spilled drinks, and cleaning water from mopping. Use a high-quality hardwood floor sealer or waterproofing system approved for hardwood, then add protective mats in high-risk zones such as where you lift weights or use cardio equipment. For best results, ensure the floor is fully dry and properly cleaned before applying any waterproofing product, and follow the manufacturer’s recoat timeline. This helps reduce moisture penetration while keeping your home gym setup safer for your hardwood floors.
What’s the best way to protect hardwood floors from water, sweat, and spills in a home gym?
Place a durable, non-slip gym floor mat or interlocking tiles under benches, lifting stations, and any equipment that could drip or shed moisture. Then waterproof the hardwood with a penetration-resistant sealer and, if compatible, a topcoat that forms a moisture barrier to help prevent cupping or warping. When spills happen, wipe immediately with a dry or lightly damp cloth—avoid soaking. Regularly use a pH-neutral cleaner to minimize moisture exposure while still maintaining a hygienic gym environment.
Which waterproofing method works best for hardwood floors in a gym area?
In most home gym situations, the best approach is a layered system: a moisture-resistant sealer (or epoxy-based floor coating if the product is truly hardwood-compatible) plus a protective mat barrier. Choose products specifically labeled for hardwood and interior moisture protection, since not every waterproofing coating bonds well to all finishes. If your hardwood is already sealed, you may only need scuff sanding and an appropriate recoat to restore the moisture barrier. Confirm compatibility with your existing finish to avoid peeling, bubbling, or uneven protection.
Why do hardwood floors swell in home gyms, and how do I prevent it?
Hardwood absorbs moisture through microscopic gaps and seams, and repeated exposure from sweat, wet mopping, or damp equipment can cause the boards to swell, crown, or cup. Prevent this by waterproofing the floor surface with a suitable hardwood sealer and keeping water management tight—use minimal moisture when cleaning and never let puddles sit. Also control humidity in the room with ventilation or a dehumidifier, since moisture in the air can still affect hardwood even without visible spills. Combined, these steps significantly reduce moisture-related damage from everyday gym use.
How do I waterproof hardwood floors if I plan to clean the gym with water frequently?
If you’ll be using water-based cleaning, waterproofing becomes even more important because routine damp mopping increases the time moisture stays in contact with the floor. Apply a moisture-blocking sealer designed for hardwood and consider a finish system that offers robust protection against water exposure, then allow full cure time before using the gym. Use a well-wrung mop, microfiber cloths, and quick-dry cleanup methods so the floor never remains wet. Pair waterproofing with a mat for the heaviest-use zones to cut down on direct contact with liquids and reduce wear.
📅 Last Updated: October 17, 2026 | Topic: How to waterproof a hardwood floors with home gym? | Content verified for accuracy and freshness.
References
- Waterproofing
- Wood flooring
- Varnish
- Polyurethane
- Vapor barrier
- https://www.cdc.gov/mold/default.htm
- Mold | US EPA
- https://scholar.google.com/scholar?q=hardwood+flooring+waterproofing+sealant+moisture+barrier Google Scholar
- https://scholar.google.com/scholar?q=wood+floor+moisture+content+relative+humidity+mold Google Scholar
- https://scholar.google.com/scholar?q=home+gym+flooring+moisture+protection+hardwood Google Scholar