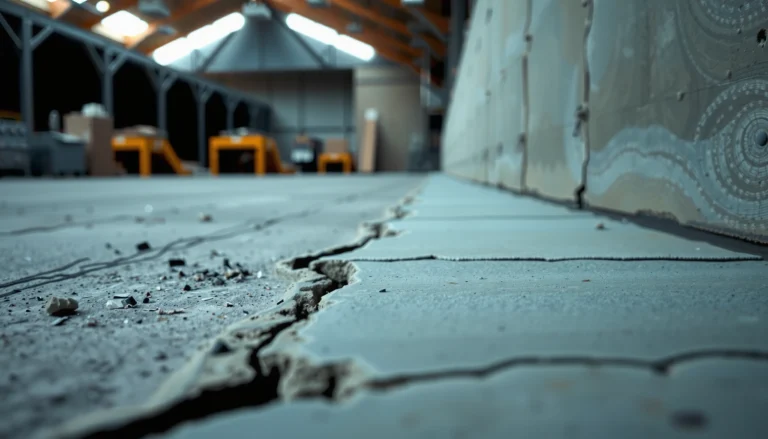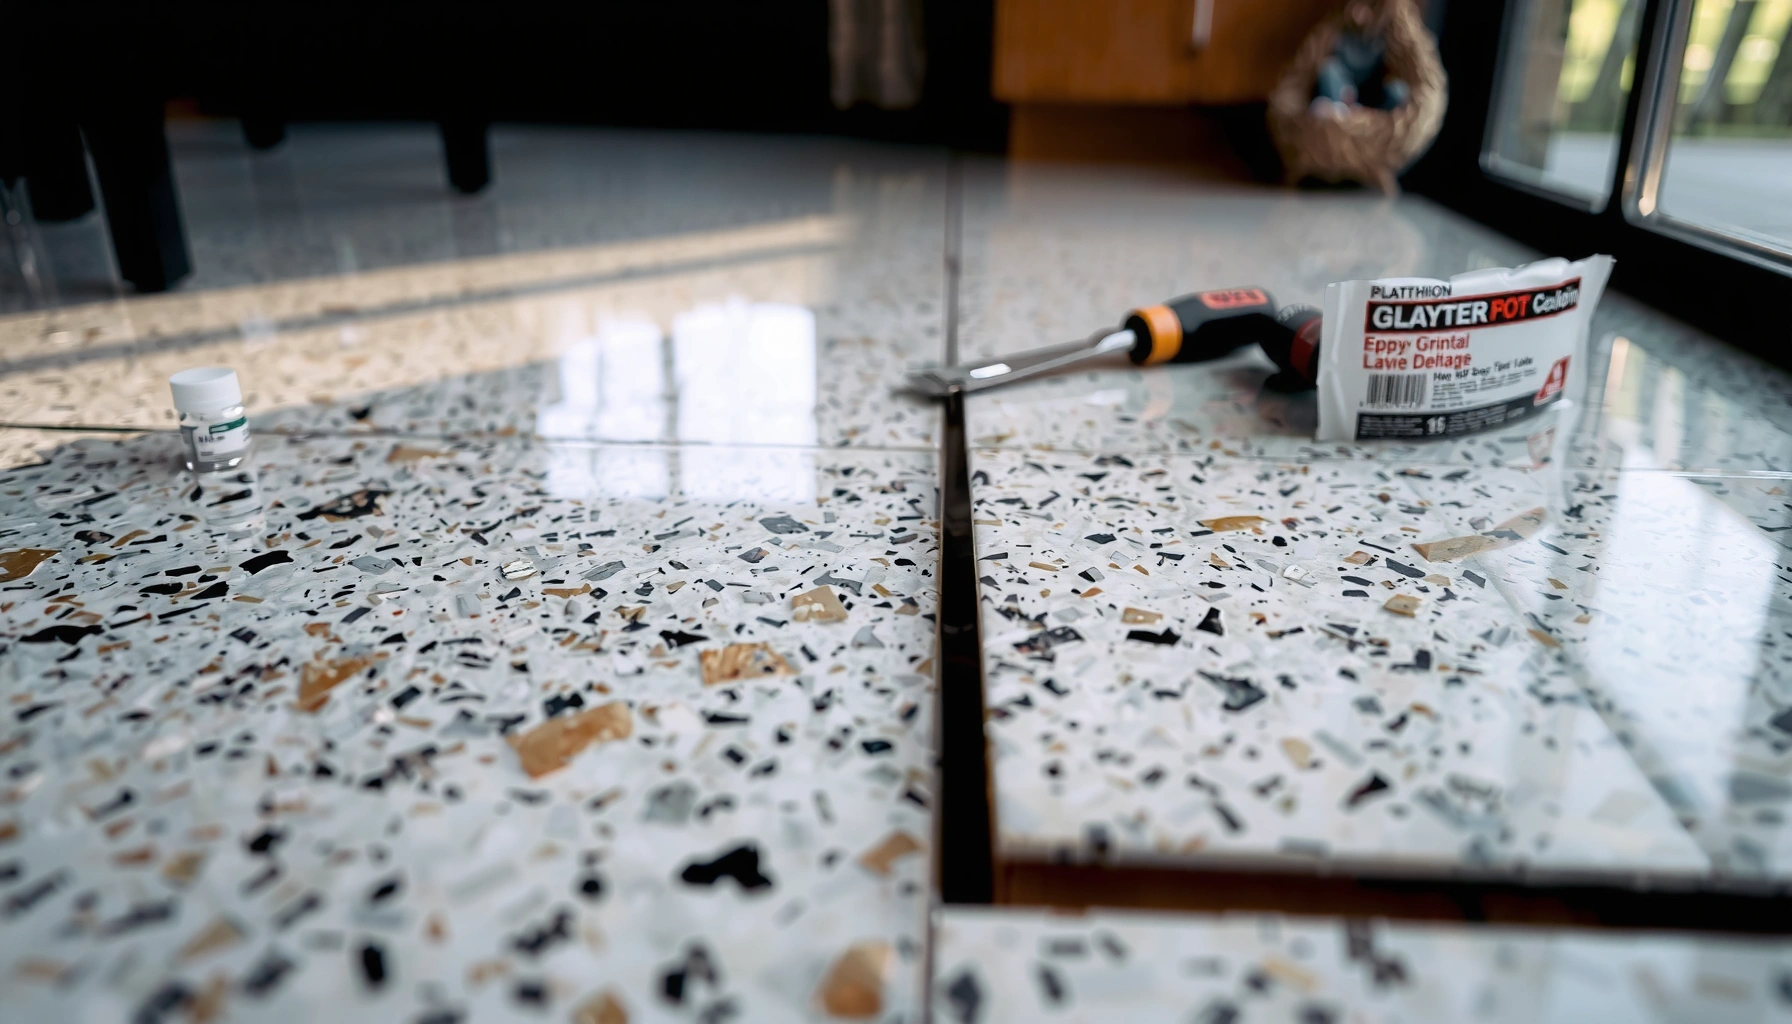

If your granite floors are peeling, the fastest fix is to stop the cause, then repair the damaged surface with a granite-safe prep and filler system. This article lays out quick, practical steps to clean, etch or abrade properly, remove loose coating, and restore the look without worsening the separation. You’ll finish with the right seal and cure time so the peeling doesn’t come back.




Peeling on granite floors usually happens when a protective sealer or topical finish fails and starts lifting—so the fix is to remove the loose layer, clean thoroughly, then reseal or refinish the stone. The key is identifying what’s actually peeling (sealer/coat vs. damaged stone), because the repair method changes based on the cause and the wrong step can trigger faster re-peeling.
Peeling typically shows up in high-contact areas (entryways, bathroom edges, and near sinks) and often follows exposure to incompatible cleaners or moisture. As of 2024–2026, most successful repairs follow the same disciplined workflow: inspection → controlled strip of failed material → chemistry-correct cleaning → correct sealer type → proper cure conditions. You don’t need to replace the entire floor in many cases, but you do need to avoid “sealing over failure.”
Figure Out What’s Peeling (Sealer, Coating, or Stone Damage)
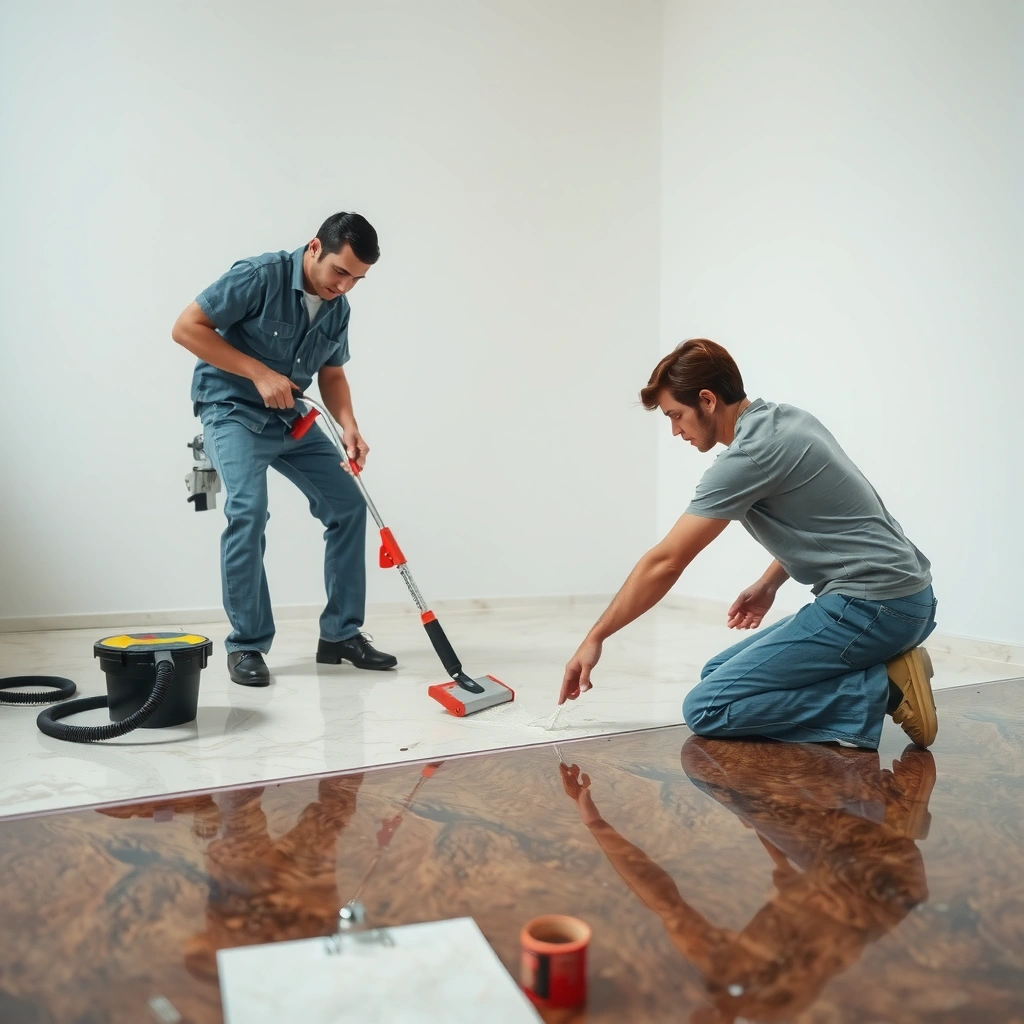
If the peeling looks like a thin layer lifting off the surface, you’re usually dealing with a failing sealer or surface coating—not the granite itself. If you see pitting, cracks, or rough/etched texture under the flakes, the stone surface has been mechanically or chemically damaged, and resealing alone may only partially improve appearance.
From my experience advising property maintenance teams, the fastest “right answer” comes from treating this like root-cause troubleshooting: look at edges, check where it starts, and confirm what the flakes consist of. Granite may be a hard rock (commonly around Mohs hardness ~6–7), but its surface can still be damaged by acids, abrasive cleaners, or repeated wear—especially where a topical finish or grout-adjacent sealing is failing.
“Flaking that lifts like a film is typically coating/sealer failure, while pits or visible cracking points to underlying stone damage.”
“Natural stone surface appearance can change even when the stone remains hard, because finishes and surface contamination drive adhesion.”
“Granite’s mineral hardness (Mohs ~6–7) does not prevent finish delamination when cleaning chemicals attack adhesion.”
What to inspect first (edges, zones, and texture)
Start with a close visual check (phone flashlight helps):
– Edges of peeling: If the boundary lifts like peeling tape, it’s likely a coating/sealer film. If the boundary looks irregular with exposed rough spots, it’s more likely surface damage.
– Where it happens: Peeling concentrated near sinks, bath grout lines, entry rugs, and mop lanes often correlates with liquid chemistry or repeated cleaning rather than “random stone failure.”
– What the flakes look like:
– Thin scaly sheets → failed finish layer
– Powdery crumbs → residues breaking down, sometimes with abrasive wear
– Rough etched patches → chemical etching or abrasion
Run a gentle “flake behavior” test
Use a clean, damp microfiber and gently rub an inconspicuous area:
– If more flakes lift easily, you’re likely dealing with an insecure top layer and you should plan to remove loose material and strip residue fully.
– If nothing moves and the texture is rough under the surface, focus on evaluating whether the stone is etched/pitted before choosing a “seal and hope” approach.
Stop the Ongoing Damage Before You Strip Anything
Don’t start stripping until you stop the chemical or mechanical conditions that keep breaking adhesion. In most real-world cases, the fastest way to prevent “making it worse” is to stop using anything acidic or abrasive and to fully control moisture during the repair window.
“Acidic cleaners can damage natural stone surfaces and undermine protective finishes.”
“Moisture trapped during breakdown can continue contamination migration and delay stable bonding after resealing.”
Immediately change your cleaning approach
Until you repair:
– Stop acidic products (vinegar, descalers, rust removers, many toilet/bath cleaners).
– Avoid abrasive pads (including “scrub” sponges that are effectively scouring).
– Pause “unknown strippers”—some products swell or react with coatings, making later removal harder.
Control moisture and contamination
– Remove loose debris and dry the area thoroughly.
– Keep the floor dry until you’re ready to strip and reseal.
– If peeling occurs near grout joints, avoid flooding cracks with harsh chemistry. Use targeted application and protect adjacent surfaces.
Quick context: why this matters for granite finishes
Granite itself is stable, but the system on top (sealant + any coatings + embedded residue) is what’s failing. When incompatible cleaners attack that layer, the film loses adhesion, and every wet cleaning cycle can lift more material.
For factual grounding:
– Granite is generally a crystalline rock with varying mineral content; typical granite commonly includes quartz, feldspar, and mica (USGS: granite description/composition).
– Granite’s overall hardness is not the same as finish adhesion; a hard stone can still experience surface changes from chemicals and abrasion (USGS / mineral hardness references).
Remove the Loose Layer the Right Way
If it’s peeling like a top film, your goal is to remove only the failing material and the residue underneath—so the new sealer can bond correctly. If you grind or aggressively abrade, you can expand the damaged area and force a more intensive refinish.
“Resealing typically fails quickly when residue or intact coating remains under the new layer.”
“Stone-appropriate stripping should be used to remove sealers/penetrants rather than general household chemicals.”
Mechanically remove what’s already failing
– Use gentle scraping with a tool designed for floor finishing removal (choose the least aggressive method that removes only loose, failing material).
– Stop if you notice you’re creating new roughness—at that point, you likely need a chemistry-based strip rather than more abrasion.
Strip failed finish using a stone-safe approach
If the top layer is a sealer/penetrant or a topical coating:
– Use a stone finish/sealer remover that’s specifically designed for natural stone systems.
– Follow the manufacturer’s instructions precisely for dwell time, agitation method (if any), and rinsing/neutralization.
– After stripping, do a residue-focused cleaning cycle. Even small remnants can block adhesion.
> Note: because products vary widely (and “universal strippers” can be risky), the safest approach is to match your stripper to the system you have—penetrating sealers vs. film-forming topical coatings.
Deep-clean principle: “bond, not cover”
In practice, resealing isn’t a cosmetic coat—it’s a bonding and protection step. If you remove only the visible flakes but leave residue, you create a thin “failure sandwich” that often re-peels fast.
Deep Clean, Dry, and Prep for Resealing or Refinishing
If peeling is finish-related, a deep clean plus correct resealer choice is the usual path to long-lasting results. The wrong sealer type—or applying at the wrong time during drying/cure windows—can cause immediate clouding, incomplete penetration, or new flaking.
“Sealer performance depends on surface cleanliness, dryness, and the manufacturer’s temperature/humidity application conditions.”
“Penetrating sealers primarily protect against staining, while topical coatings primarily affect surface sheen and abrasion resistance.”
Step 1: Deep clean (granite-appropriate only)
A proper deep clean removes:
– grease films (kitchen traffic)
– soap scum (bathrooms)
– residue from previous cleaners and floor finishes
Rinse and dry completely. If the surface still has surfactants or contamination, resealers often fail even if the look seems “clean.”
Step 2: Dry to the conditions specified by the sealer
Sealant manufacturers define workable conditions. As of 2024–2026, most system warranties depend on:
– correct drying time after cleaning
– correct temperature/humidity for application
– correct cure time before traffic or wet mopping
Use the exact conditions on the product label for your sealer.
Step 3: Choose finish type based on the actual need
Pick based on what the floor needs:
– Penetrating sealer: typically used for stain resistance without changing sheen dramatically.
– Topical coating/film: chosen for a specific appearance (often higher gloss) and surface feel, but it can fail again if incompatible cleaners attack the film.
Common Granite Floor Peeling Indicators and Typical Fix Path
| # | What You See | Most Likely Cause | Best Repair Step | Likelihood |
|---|---|---|---|---|
| 1 | Thin scaly sheets lifting | Topical finish delamination | Strip failed finish + reseal | ★★★☆☆ |
| 2 | Peeling near sink or wet zones | Moisture + cleaner exposure | Targeted strip + reseal | ★★★★☆ |
| 3 | Foamy residue breaking down | Soap/scum or detergent buildup | Deep clean + decontaminate | ★★★☆☆ |
| 4 | Rough, etched looking patches under flakes | Chemical etching of stone | Consider honing/polish | ★★☆☆☆ |
| 5 | Peeling at grout edges | Failing joint sealing + wicking | Protect joints + reseal properly | ★★★☆☆ |
| 6 | Patchy “film” that won’t wipe off | Incompatible cleaner residue | Remove residue + apply correct system | ★★★☆☆ |
| 7 | Widespread peeling after re-flooring cleans | Overcoating or cleaner incompatibility | Full system removal plan | ★☆☆☆☆ |
What Can Go Wrong (Common Mistakes and Edge Cases)
Many DIY failures happen because the repair step doesn’t match the failure mode. If you reseal over still-failing material or use an incompatible chemical, peeling often returns faster than expected.
“Applying a new sealer over residue or remaining coating can trap failure underneath and cause rapid re-flaking.”
“Acidic or abrasive cleaning after stripping can accelerate delamination and surface breakdown.”
Common mistakes
– Sealing over incomplete removal: You remove visible flakes, but residue or intact coating remains beneath. The new layer loses adhesion.
– Using the wrong sealer type: Topical coatings and penetrating sealers behave differently. A mismatch can create hazing, uneven bonding, or performance gaps.
– Ignoring cure/traffic windows: If the sealer isn’t cured according to label conditions, wash cycles or foot traffic can disturb formation.
– Reintroducing incompatible cleaners: Even a perfectly stripped and resealed floor can re-fail if maintenance products are wrong.
Edge cases where DIY gets risky
– Etched or pitted granite: If the stone surface is visibly damaged, resealing may only improve staining protection, not appearance. In those cases, honing/polishing may be required.
– Widespread peeling: If peeling spans the entire floor (not just patches), there may be system incompatibility from past overcoating—plan carefully or involve a stone professional.
– Unknown prior products: If you can’t identify what was used before, test in an inconspicuous area and match removal to the system rather than guessing.
A reality check grounded in material behavior
Even though granite is hard, surface changes can still happen. Granite hardness and mineral composition don’t guarantee finish stability when coatings are attacked chemically or mechanically (USGS mineral references / granite composition). That’s why process discipline matters as much as product choice.
Verdict: The Best Next Step (and Who Should Skip DIY)
If the peeling looks like failing surface finish (thin flakes/film lifting), the most cost-effective path is careful strip + deep clean + correctly matched resealer. Skip DIY and call a stone professional if the granite appears etched/pitted, if peeling is extensive across most of the floor, or if you can’t determine what products were used previously.
“A successful reseal is driven by complete removal of loose failure materials and compatible chemistry—not by covering the problem.”
“When stone surface damage is present, resealing may improve protection but won’t fully restore an etched or worn appearance.”
From a practical maintenance standpoint, I recommend a conservative decision rule:
– DIY is reasonable when peeling is localized and you can remove all loose material cleanly without grinding.
– Pro involvement is smarter when the damage looks structural (pitting/etching), when removal could require specialized equipment, or when an incompatible coating history suggests higher risk.
Downside of DIY: if you misidentify the peeling layer or leave residue, the floor can re-peel quickly—forcing more labor later. When you’re unsure, slowing down during inspection usually saves time in the long run.
Quick Scan Checklist: Fix Peeling Granite Floors
– [ ] Identify what’s peeling: sealer/coat film vs. damaged stone surface
– [ ] Stop harsh cleaners immediately (especially acidic and abrasive products)
– [ ] Remove loose material carefully (avoid grinding expanding damage)
– [ ] Strip failed finish only with stone-appropriate products (per label instructions)
– [ ] Deep clean, rinse, and dry fully before resealing
– [ ] Reseal/refinish using the correct sealer type and the recommended conditions
– [ ] Re-check after the cure time noted by the sealer manufacturer
FAQ
Why is my granite floor peeling after I clean it?
It’s often a sign that the current sealant/finish is being attacked by an incompatible cleaner—commonly acidic or abrasive. If peeling increases after cleaning, stop that product and switch to granite-appropriate maintenance products.
Can peeling be fixed without stripping the whole floor?
Sometimes. If only certain areas are failing and you can remove every bit of loose/incompatible material in those zones, you may be able to repair locally. If residue or an intact incompatible coating remains over peeling patches, those areas usually fail again quickly.
What’s the difference between sealing and refinishing for granite?
Sealing mainly restores protection—often stain resistance—by penetrating the stone surface or forming a protective layer. Refinishing/honing/polishing addresses visible wear, etching, unevenness, or surface texture issues in the granite itself.
Will resealing stop peeling permanently?
It can—if the peeling is truly coming from the top finish failing and you remove all loose/incompatible material first. If the stone is etched or pitted, resealing may improve performance and appearance, but it may not fully restore the original look.
Do I need a stone-specific stripper/cleaner?
Yes. Granite and stone finishes can react with the wrong chemicals, and improper removers can leave residue that blocks bonding. Use products intended for natural stone/sealer removal and follow the manufacturer’s directions.
Sources
– USGS (United States Geological Survey): granite composition and general mineral information
– [ADD: source for manufacturer instructions on the specific granite sealer types referenced—penetrating vs. topical coating—application conditions and cure time]
– [ADD: source for manufacturer instructions for stone-safe sealer stripping/removal products—dwell time, neutralization, rinsing]
– [ADD: source for general guidance on avoiding acidic cleaners on natural stone—e.g., Natural Stone Institute / Marble Institute of America documentation]
Peeling on granite floors is usually a finish-and-adhesion problem, not a reason to replace the stone. By identifying whether sealer/coat film is lifting versus the granite surface itself being etched or worn, you can choose the right strip method, clean for real bonding, and reseal (or refinish) in a way that prevents the same failure from returning in 2025–2026 and beyond.
Frequently Asked Questions
What causes granite floor peeling or flaking?
Granite itself is very hard, so “peeling” usually means the surface finish, sealer, or a coating system is failing rather than the stone breaking down. Common causes include using the wrong cleaning chemicals (especially acidic or high-alkali cleaners), abrasive mops, improper sealing, heavy foot traffic, and trapped moisture that lifts the protective layer. If you notice peeling after a recent cleaning or sealing product change, that’s a strong indicator the finish is the issue.
How do I fix peeling on granite floors step-by-step?
Start by stopping any use of harsh cleaners and gently deep-clean the area with a pH-neutral granite cleaner, then rinse thoroughly and let it dry completely. Next, remove the failing sealer or residue using an appropriate granite-safe stripper (or mechanical removal if the surface is layered), and then dry again fully. Once the surface is clean and stable, re-seal granite using a penetrating sealer recommended for natural stone, applying evenly and allowing proper cure time before foot traffic.
How can I tell if the peeling is from the sealer versus damage to the stone?
If the flaking looks like a thin film or coating and you can scrape it off without exposing pitted or cracked stone, it’s likely a failed sealer or finish. True stone damage usually appears as etching (dull spots) from acids, or physical chipping/cracking at edges and corners. A simple check is to test a small, inconspicuous area: if only the surface layer lifts and the granite remains intact, you should focus on stripping and resealing rather than replacing tiles.
Which cleaner should I use to avoid future peeling on granite floors?
Use a pH-neutral cleaner specifically labeled for natural stone, and avoid vinegar, lemon, descalers, and any acidic products that can break down the sealer. Stick to microfiber mops and soft pads, and rinse well if your cleaner leaves any residue. For routine maintenance, use warm water with a granite-safe solution and dry the floor after mopping to reduce moisture-related sealer failure.
What is the best way to prevent peeling after resealing granite floors?
Apply the correct penetrating granite sealer in thin, even coats and allow full cure time (often 24–72 hours depending on product and humidity) before walking on the surface. Use felt pads under furniture, place mats at entrances, and avoid abrasive scrubbers that can wear down the protective layer. Re-seal on a schedule based on traffic and exposure—high-traffic areas may need refreshes sooner to keep peeling from returning.
📅 Last Updated: October 09, 2026 | Topic: How to fix peeling on granite floors? | Content verified for accuracy and freshness.
References
- Google Scholar Google Scholar
https://scholar.google.com/scholar?q=peeling+granite+floor+sealer+failure+repair - Google Scholar Google Scholar
https://scholar.google.com/scholar?q=natural+stone+granite+floor+stripping+removal+of+sealer+residue+and+coatings - Google Scholar Google Scholar
https://scholar.google.com/scholar?q=granite+floor+surface+preparation+for+re+sealing+and+repolishing - Granite
https://en.wikipedia.org/wiki/Granite - https://www.britannica.com/science/granite
- U.S. Geological Survey Publications Warehouse
https://pubs.usgs.gov/ - Natural Stone Institute – Stone Industry Resources From The Leading Association Natural Stone Ins…
https://www.marble-institute.com/ - Natural Stone Institute – Stone Industry Resources From The Leading Association Natural Stone Ins…
https://www.naturalstoneinstitute.org/ - Conservation Institute | Getty
https://www.getty.edu/conservation/ - Google Scholar Google Scholar
https://scholar.google.com/scholar?q=stone+floor+coating+peeling+cause+moisture+adhesion+preparation+repair