
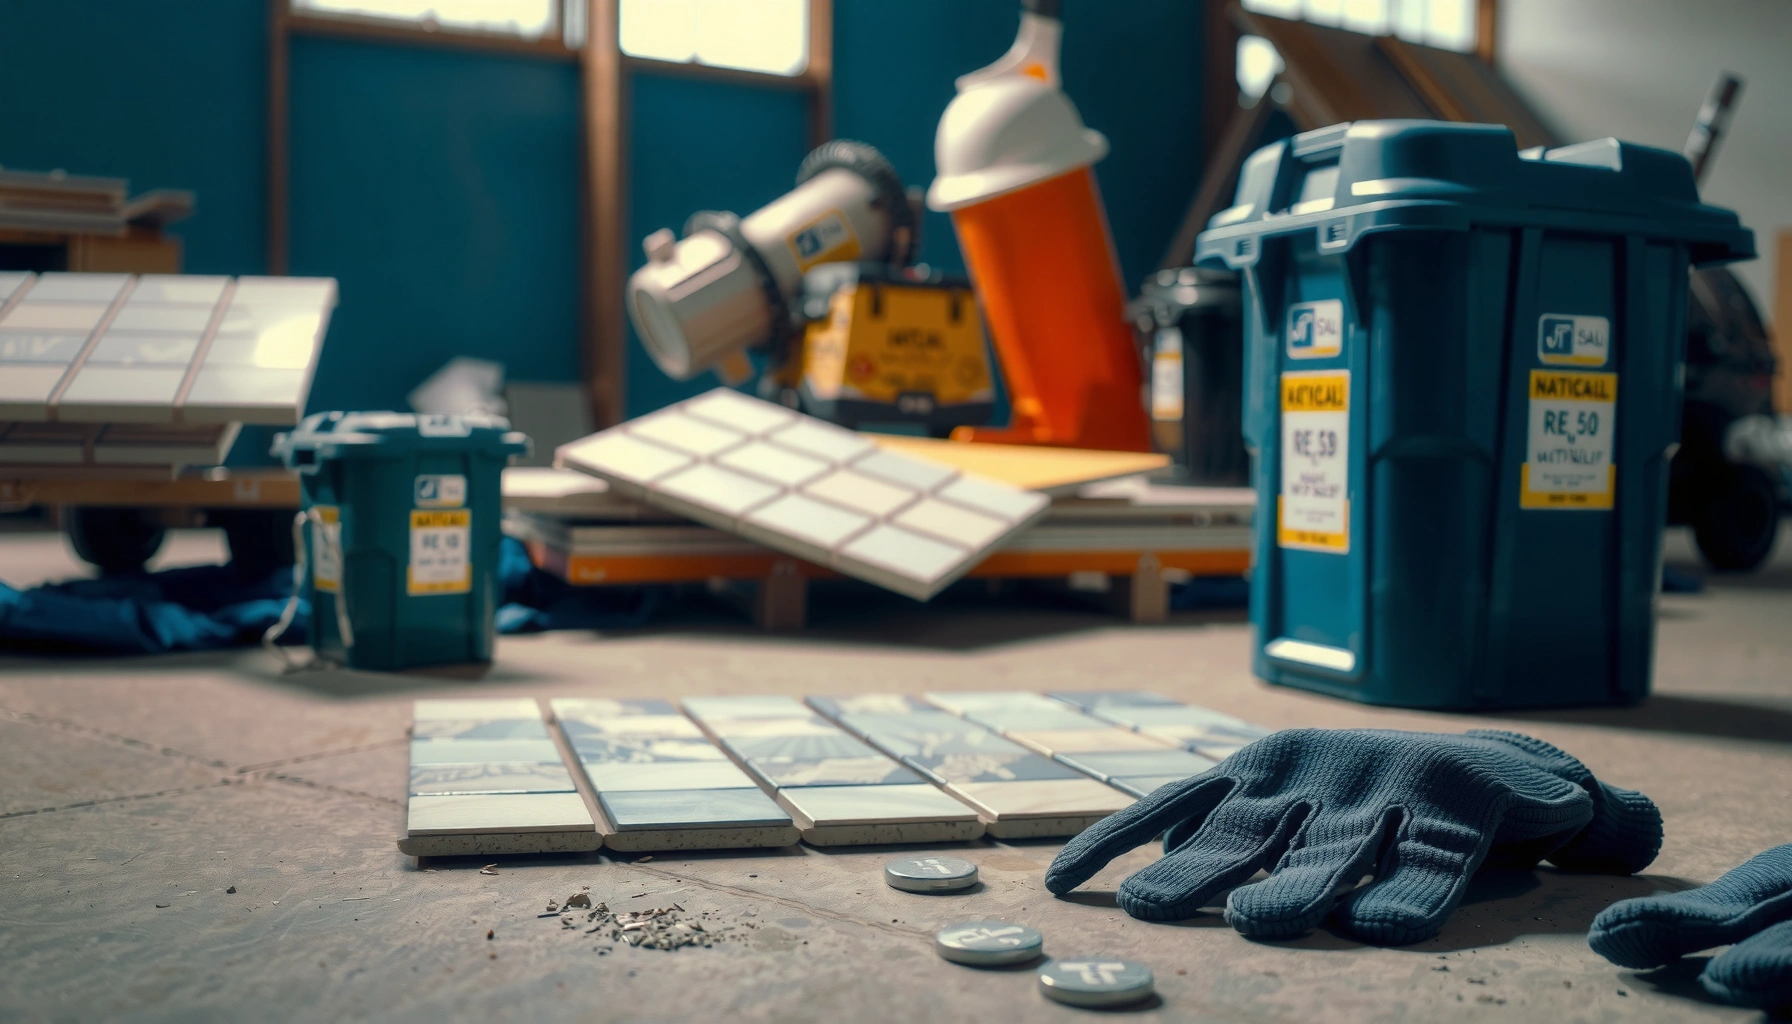

The safest, proper way to dispose of mosaic tile floors is to remove them intact when feasible and take them to a designated construction and demolition (C&D) recycling or landfill facility. If the tiles are broken, treat the debris as C&D waste, keep dust down during cleanup, and follow local rules for masonry disposal. This guide answers exactly how to dispose of mosaic tile floors safely—deciding what to salvage, what to package, and where to send it.




If you’re disposing of mosaic tile floors, the safest route is to remove the tiles in manageable sections, package them properly, and handle disposal through your local recycling/landfill rules. Because mosaic tile can be set in thinset/mortar, treat the whole job as construction debris and keep sharp edges contained to prevent injuries. This guide walks you through the practical steps, what can go wrong, and how to choose the right disposal option for your area.
If your mosaic tile is being replaced (bathroom, kitchen, entryway, or patio) and you need to get rid of the old flooring, this is for you. It’s especially useful if you’re unsure whether tiles can be recycled or must go as debris, or if you’re worried about dust, sharp fragments, and local requirements.
Disposing of mosaic tile is a “two-problem” job: (1) you’re dealing with sharp solids (broken tile edges) and (2) you often have cement-based residue (thinset/mortar) that changes how waste is classified. As of 2024, the safest approach for most homeowners and facilities is to follow construction-debris handling rules, then use whatever recycling and reuse channels your local drop-off or hauler supports. Also, because tile removal can generate respirable dust, basic respiratory protection and dust control practices are part of “proper disposal,” not an optional add-on.
Plan Disposal First (Before You Start Removing Anything)

You usually reduce cost, delays, and safety risk by planning disposal before you remove the first tile. The key move is to treat mosaic tile removal as a construction-debris workflow (sharp fragments + mortar/adhesive residue), then choose the route—dumpster, hauler, or drop-off—that matches your local acceptance rules.
According to the U.S. Environmental Protection Agency (EPA), construction and demolition (C&D) activities generate hundreds of millions of tons of waste in the United States each year, which is why local jurisdictions classify tile/mortar as C&D debris rather than typical household trash (EPA: C&D facts/estimates).
According to OSHA’s respirable crystalline silica standard, the permissible exposure limit (PEL) for respirable crystalline silica is 50 µg/m³ as an 8-hour time-weighted average (8-hr TWA) (OSHA 29 CFR 1910.1053).
In most municipalities, disposal rules differ by waste category (household vs. construction debris), so you should verify curbside limits and accepted waste streams before removal begins ([ADD: source for your local “construction debris / tile & masonry waste” acceptance rules—typically city/county solid waste]).
Before you start, confirm three things:
1. Local category + limits. Tile with thinset/mortar is typically treated as construction debris, not household waste. Check your city/county rules for C&D debris acceptance and any curbside limits (weight/volume, bag restrictions, or separate loads).
2. Your logistics route. Removal produces irregular fragments and dust—this usually favors a dumpster (best for larger projects), a hauling service (best if you want sorting + compliance handled), or a scheduled bulk pickup (only if your area clearly accepts tile/masonry debris).
3. Containment materials. Build the “waste handling system” in advance:
– Heavy-duty plastic sheeting to control dust spread
– Rigid containers (mortar-tubs style) or puncture-resistant boxes for sharp fragments
– Heavy-duty contractor bags (rated for construction debris) for non-sharp dust/liners *only* if they won’t be compromised by shards
– Tape + labels such as “BROKEN TILE—SHARP EDGES” so staff/landfill operators treat it correctly
A practical planning shortcut
If you’re unsure whether your local program will accept tile as “recyclable,” plan as if it will be landfilled as construction debris. Then, only after you’ve confirmed an actual acceptance pathway, decide whether recycling/reuse is feasible.
Remove Mosaic Tile for Safer Handling
Safe removal is not only about making the job cleaner—it directly affects disposal safety because fewer tiny shards means fewer punctures and fewer dust leaks. Your goal is controlled removal that minimizes airborne dust and prevents fragments from spreading across the site.
OSHA’s respirable crystalline silica PEL (50 µg/m³ as an 8-hour TWA) is relevant when cutting/grinding concrete or cementitious materials, which can increase airborne silica exposure during tile removal (OSHA 29 CFR 1910.1053).
Tile removal often generates fine particulate, so using dust control measures (containment, ventilation, and vacuums with appropriate filtration) supports both worker safety and cleaner waste handling ([ADD: source for safe tile removal/dust control recommendations from a tile/mortar manufacturer’s installation or cleanup guidance]).
Treating the waste as construction debris matters because thinset/mortar residue changes disposal categorization and acceptance requirements in many jurisdictions ([ADD: source for local tile & masonry waste acceptance rules]).
Here’s the removal approach that translates well into disposal-friendly packaging:
Protect the area (dust containment first)
– Cover adjacent surfaces (flooring, baseboards, and door thresholds) with plastic sheeting.
– Ventilate if you’re using power tools. If you’re grinding/cutting, follow the manufacturer guidance for tool dust extraction.
– Vacuum strategy: if you have access to a vacuum with appropriate filtration, use it during removal to prevent dust from migrating into waste areas. (Avoid letting loose debris accumulate where bags can be overfilled.)
Work in manageable sections
Mosaic tile floors are usually interspersed with grout lines and thinset coverage that can “bond” tile tightly to the substrate. Remove the floor in sections so you can:
– control leverage points,
– keep breaks larger (fewer needle-like shards),
– and package as you go.
Use the least fragmenting method you can
When prying/chipping, focus on minimizing the number of micro-shards:
– Work slowly and steadily.
– Avoid “punching” the tile out in a way that pulverizes it.
– Keep the debris chute or staging zone small and controlled so your packaging stays consistent.
Personal safety basics that reduce disposal hazards
– Wear gloves suitable for sharp edges (durable cut-resistant gloves).
– Use eye protection—tile shards and grit commonly rebound during removal.
– Keep children and pets away from the removal zone.
From a practical standpoint, I’ve found that the most common “disposal failures” happen after removal—when people try to clean up loose shards and end up with leaking bags or accidental cuts while loading. The fix is to prevent shards from becoming uncontrolled “scatter debris” in the first place.
Pack, Label, and Prevent Injury on the Way Out
Once tiles are removed, your job becomes a safety logistics exercise: contain sharp edges, limit dust leakage, and label clearly so anyone handling the waste understands the hazards.
Rigid packaging (boxes or containers designed for sharp debris) reduces puncture risk compared with loose bagging when handling broken tile fragments ([ADD: source for safe handling/packaging guidance for sharp debris]).
Sealing dust/particulates with plastic sheeting or properly closed bags helps prevent migration of fine debris during transport ([ADD: source for dust control guidance during cleanup]).
Separating “mostly intact tile” from mixed rubble can improve acceptance outcomes when programs allow partial reuse or recycling ([ADD: source for tile acceptance and sorting requirements]).
Use a simple packaging workflow:
1) Choose the right container for the right fragment
– Sharp fragments (tile pieces, jagged edges): box or rigid container first; if bags are used, ensure they’re heavy-duty and not easily punctured by the shard profile.
– Dust and small grit: keep it in sealed bags or under sealed liners inside rigid containers (so fine particles don’t seep through).
2) Label every load batch
Labels matter because they reduce mishandling at the curb, in a dumpster, or at a facility. At minimum:
– “BROKEN TILE—SHARP”
– “TILE/THINSET (CONSTRUCTION DEBRIS)”
– Date and project area (e.g., “Bathroom floor demo”)
3) Control leakage
– Don’t overfill bags.
– If you’re stacking boxes, tape seams and ensure lids close fully.
– If your local rules require specific liner practices, follow them exactly.
4) Separate whole/usable tile when feasible
If your mosaic tile comes up mostly intact (or you have enough pieces to matter), set aside “intact and clean” tiles in a separate staging area. Many reuse streams are picky about condition, but separating early is low effort and can improve your options later.
Choose the Right Disposal Route (Recycling vs. Landfill vs. Drop-Off)
The “best” disposal route is the one your local system actually accepts. Because mosaic tile and thinset are frequently handled as construction debris, recycling is often possible only through specific facilities or with specific sorting rules.
Local jurisdictions commonly classify tile/mortar demolition waste as construction debris, which affects whether it can go to curbside pickup or must go to a C&D drop-off or landfill stream ([ADD: local/county solid waste acceptance rules]).
Some recycling programs accept only clean, sorted materials, so mixed tile with cured thinset residue may be required to go to landfill unless the facility explicitly accepts tile/masonry debris ([ADD: disposal facility recycling acceptance policy]).
If you use a dumpster or hauler, confirm in writing what they accept and how they want loads sorted, because contaminated or unsorted C&D debris can trigger rejections or extra fees ([ADD: hauler acceptance/sorting policy source]).
Common route options (and what to verify)
– Municipal drop-off sites (C&D): verify whether they accept tile/masonry debris and whether they require pre-sorting.
– Dumpsters/haulers: confirm acceptance of “construction debris—masonry/tile” and ask if they require sorting (clean wood vs. masonry vs. metals).
– Recycling/reuse channels: ask if they accept tile with attached thinset/mortar or if they require fully separated materials.
Quick decision criteria
Use this comparison to choose without guesswork:
| Option | Best When | Main Risk | What to Ask |
|---|---|---|---|
| Municipal C&D drop-off | You want compliance + flexibility for smaller-to-mid jobs | Tile might be treated as landfill unless explicitly accepted | “Do you accept tile with thinset/mortar?” “Any sorting required?” |
| Dumpster/roll-off | You’re doing bathroom/kitchen-level removal with lots of fragments | Overfilling or wrong waste category can cause rejection/fee | “Do you accept C&D masonry/tile?” “Do you require separation?” |
| Hauling service with sorting | You want fewer handling steps and predictable compliance | Sorting rules may still limit recycling outcomes | “How do you classify tile + mortar?” “Any documentation we receive?” |
| Reuse/donation for intact tile | You have largely intact mosaic pieces, minimal residue | Most reuse programs reject broken or cement-bonded pieces | “Do you accept tile with thinset?” “Condition requirements?” |
What Can Go Wrong (Common Mistakes & Edge Cases)
Disposal goes sideways when the removal workflow creates unmanageable shards or when the waste doesn’t match the facility’s accepted categories. Here are the most frequent failure points—and how to avoid them.
A major safety issue during tile demo is puncture and cut risk from sharp fragments, which can be mitigated by rigid containers and careful labeling ([ADD: source for sharp-debris handling best practices]).
Crystalline silica dust risk increases with grinding or cutting cementitious materials, so dust control and respiratory protection are central to safe removal—not an afterthought (OSHA 29 CFR 1910.1053).
Mixed construction debris may require landfill disposal even if “tile” is sometimes called recyclable in general; acceptance depends on facility sorting and material rules ([ADD: facility acceptance policy source]).
Mistake 1: Sweeping everything into loose piles
Loose shards turn into puncture hazards and bag leaks. If shards are sharp enough to cut through a bag, they should be boxed or otherwise rigidly contained.
Mistake 2: Assuming “tile recycling” means all tile
Even when a facility has a recycling program, it may accept only specific inputs (e.g., clean, sorted ceramic) and reject tile attached to thinset/mortar. Always confirm acceptance for tile + cured adhesive.
Mistake 3: Treating thinset/mortar like household waste
Cured cementitious residue is usually handled in construction debris streams. If you try to “household-trach” it, you risk rejection, extra fees, or illegal disposal concerns.
Mistake 4: Underestimating volume
Mosaic tile tends to fracture into many smaller pieces. Plan for more bag/box space than you estimate from square footage—especially near corners, transitions, and grout-rich areas.
Edge cases to watch
– Asbestos/lead concerns: If the home is older and you suspect hazardous materials, you need professional testing before demo. Disposal guidance changes once regulated materials are involved. ([ADD: source for local hazardous-material testing requirements when applicable])
– Stairs and tight access: They increase the risk of dropped shards and punctures—reinforce packaging and staging locations accordingly.
Verdict: The Practical, Low-Risk Way to Dispose
Go with a method that minimizes dust, prevents sharp-edge injuries, and follows your local construction-debris rules. The downside is that careful packaging and sorting takes time, and full tile recycling isn’t guaranteed in most places. If your area has strict disposal limits or you can’t access a compliant drop-off/dumpster option, consider hiring a licensed cleanup/hauling contractor instead of attempting DIY disposal.
This is the approach I recommend for most bathroom, kitchen, entryway, and patio replacements because it’s predictable: you remove in sections, contain sharp fragments immediately, and transport disposal in a way that facilities can accept without guessing.
Tile & Mortar Disposal Routes: What Typically Works (US, C&D Context)
| # | Disposal route | What it usually accepts | Sorting risk | Recycling likelihood | Safety/Compliance fit |
|---|---|---|---|---|---|
| 1 | Municipal C&D drop-off | C&D masonry/tile debris | Medium | Medium (facility dependent) | ★★★★☆ |
| 2 | Roll-off dumpster | Mixed C&D debris (often with rules) | High (unsorted loads can be refused) | Low–Medium | ★★★☆☆ |
| 3 | Licensed hauling service (sorted) | C&D categories handled per facility | Low | Medium (when accepted) | ★★★★★ |
| 4 | Donor/reuse outlet (intact pieces) | Reuse condition requirements vary | Low (if tiles are intact) | High (when accepted) | ★★★☆☆ |
| 5 | Facility-specific tile recycling (if offered) | Clean/sorted tile per rules | High (sorting & purity requirements) | High (only when compliant) | ★★★☆☆ |
| 6 | Transfer station (landfill C&D stream) | C&D acceptance per facility SOP | Medium | Low | ★★★★☆ |
| 7 | Curbside household trash (generally) | Often rejected for C&D tile/mortar | Very High | None | ★☆☆☆☆ |
(Table reflects typical outcomes in C&D contexts; confirm your exact facility acceptance rules with official local guidance.)
Quick Checklist (Scan Before You Start)
– [ ] Confirm local rules for construction debris, tile/masonry waste, and curbside limits
– [ ] Decide early: dumpster, hauler, or compliant drop-off path
– [ ] Plan dust control if you’re cutting/grinding (silica awareness)
– [ ] Remove tiles in sections to reduce micro-shards
– [ ] Pack sharp fragments in rigid containers or puncture-resistant bags; label “broken tile/sharp”
– [ ] Seal dust/particulates so fine debris doesn’t leak
– [ ] Separate intact/usable tile only if your reuse stream accepts it
– [ ] Ask the drop-off site/hauler what they accept and whether sorting is required
FAQ
Can mosaic tile floors be recycled?
Sometimes, but it depends on your local facility’s acceptance rules and whether they require sorting. Check with your municipal waste program or drop-off site to confirm tile/masonry debris requirements.
What’s the safest way to package broken mosaic tile?
Use rigid containers or heavy-duty bags designed for sharp debris, then seal and label them clearly. Avoid loose bagging that allows shards to puncture through.
Does thinset/mortar change how I dispose of the tiles?
Yes—tiles set in thinset/mortar typically count as construction debris rather than simple household waste. Follow your local guidance for masonry/tile waste.
Where should I ask about disposal rules?
Start with your city/county solid waste department or the disposal facility you plan to use. If you’re hiring a hauler, ask them what they accept and whether they require sorting.
Sources
– EPA: Construction and Demolition (C&D) waste facts/estimates (for national waste context) — [ADD: exact EPA page/title used in your jurisdictional policy context]
– OSHA 29 CFR 1910.1053: Respirable crystalline silica (for PEL and silica-related dust exposure guidance)
– [ADD: source for your local “construction debris / tile & masonry waste” acceptance rules—typically your city/county solid waste department or the disposal facility’s official guidelines]
– [ADD: source for safe tile removal/dust control recommendations from a tile/mortar manufacturer’s installation or cleanup guidance (e.g., safety datasheets)]
– [ADD: source for general construction waste handling guidance from your local government or national waste authority]
Disposing of mosaic tile floors safely is mostly about treating the job like construction debris management: plan the correct disposal route, control dust during removal, package sharp fragments to prevent cuts and leaks, and verify acceptance/sorting rules before you commit. If recycling is available in your area, it usually requires specific sorting and input cleanliness—so the low-risk path is to prepare your waste for landfill/C&D acceptance first, then pursue reuse or recycling only where your local program explicitly supports it.
Frequently Asked Questions
How do I remove and dispose of mosaic tile floors safely?
Start by protecting yourself with gloves, eye protection, and a dust mask or respirator, then contain the area to limit tile dust. Remove the grout and carefully pry tiles up to avoid damaging the subfloor more than necessary. Collect debris in sturdy contractor bags or bins, and sweep or HEPA-vacuum thoroughly before disposal. Check local rules for tile and mortar disposal, since some jurisdictions require construction waste be taken to a designated facility.
What’s the best way to dispose of tile and thinset if they’re mixed together?
Mosaic tiles often come up with thinset or mortar attached, and you should treat the whole material as construction debris for disposal purposes. Break large chunks into smaller pieces so they fit in your disposal bags or dumpster. Avoid washing mortar into drains—dry debris handling prevents contamination and complies with typical environmental regulations. If your area has special requirements for concrete/masonry waste, take mixed tile-and-thinset there.
Which disposal options are available for mosaic tile floors—landfill, recycling, or donation?
If the mosaic tile is intact, consider donation to salvage stores, Habitat for Humanity ReStores, or local resale groups; clean and store tiles safely to prevent chips. For broken tile, recycling may be possible through construction and demolition (C&D) recycling centers that accept masonry products. If recycling isn’t available, sealed C&D landfill disposal is usually the default, but you should confirm accepted materials. Always call ahead because acceptance rules can vary by facility and city.
Why is tile dust from mosaic floor removal a disposal and health concern?
Cutting, grinding, and sweeping mosaic tile floors can release fine silica-containing dust that can be hazardous if inhaled. Use wet methods when possible, run a HEPA-filter vacuum, and avoid dry sweeping to keep dust from spreading. From a disposal standpoint, dust and debris should be bagged as construction waste rather than released to general trash areas. Proper containment helps protect workers, neighbors, and ensures the debris is handled correctly at the disposal site.
Can I dispose of mosaic tile floors in regular household trash, or do I need a dumpster?
In most areas, mosaic tile and mortar are considered construction debris and shouldn’t go into regular household trash due to volume and disposal rules. A roll-off dumpster, trailer, or contractor bag system is typically the easiest way to dispose of a mosaic tile floor renovation. Verify your local guidelines for limits on bagged C&D waste and whether you must use a specific facility. If you’re doing a small DIY removal, you may use contractor bags and drop-off bins, but confirm acceptance with your waste hauler first.
📅 Last Updated: October 10, 2026 | Topic: How to dispose of mosaic tile floors? | Content verified for accuracy and freshness.
References
- Google Scholar Google Scholar
https://scholar.google.com/scholar?q=disposal+of+tile+floor+construction+debris - Google Scholar Google Scholar
https://scholar.google.com/scholar?q=asbestos+tile+floor+removal+disposal - Google Scholar Google Scholar
https://scholar.google.com/scholar?q=lead+grout+tile+floor+remediation+disposal - Asbestos | US EPA
https://www.epa.gov/asbestos - https://www.epa.gov/smm/construction-demolition-debris
- Asbestos – Overview | Occupational Safety and Health Administration
https://www.osha.gov/asbestos - Lead – Overview | Occupational Safety and Health Administration
https://www.osha.gov/lead - 25red-About Lead-based Paint | HUD.gov / U.S. Department of Housing and Urban Development (HUD)
https://www.hud.gov/program_offices/healthy_homes/healthyhomes/lead - Lead in the Workplace | Lead | CDC
https://www.cdc.gov/niosh/topics/lead/ - https://www.epa.gov/lead/lead-based-paint-renovation-repair-and-painting-program


