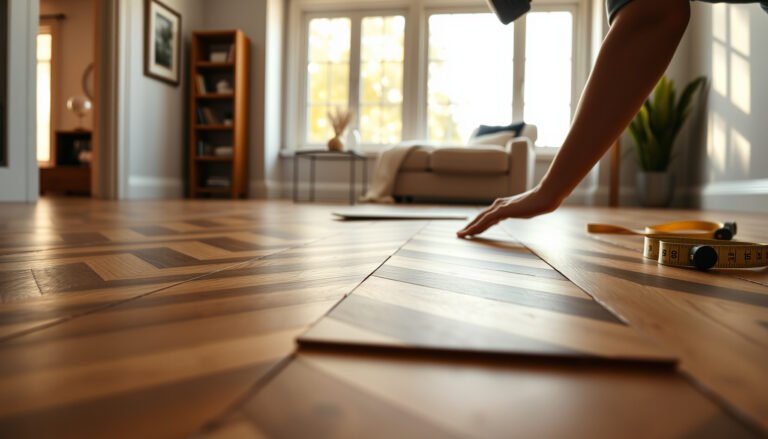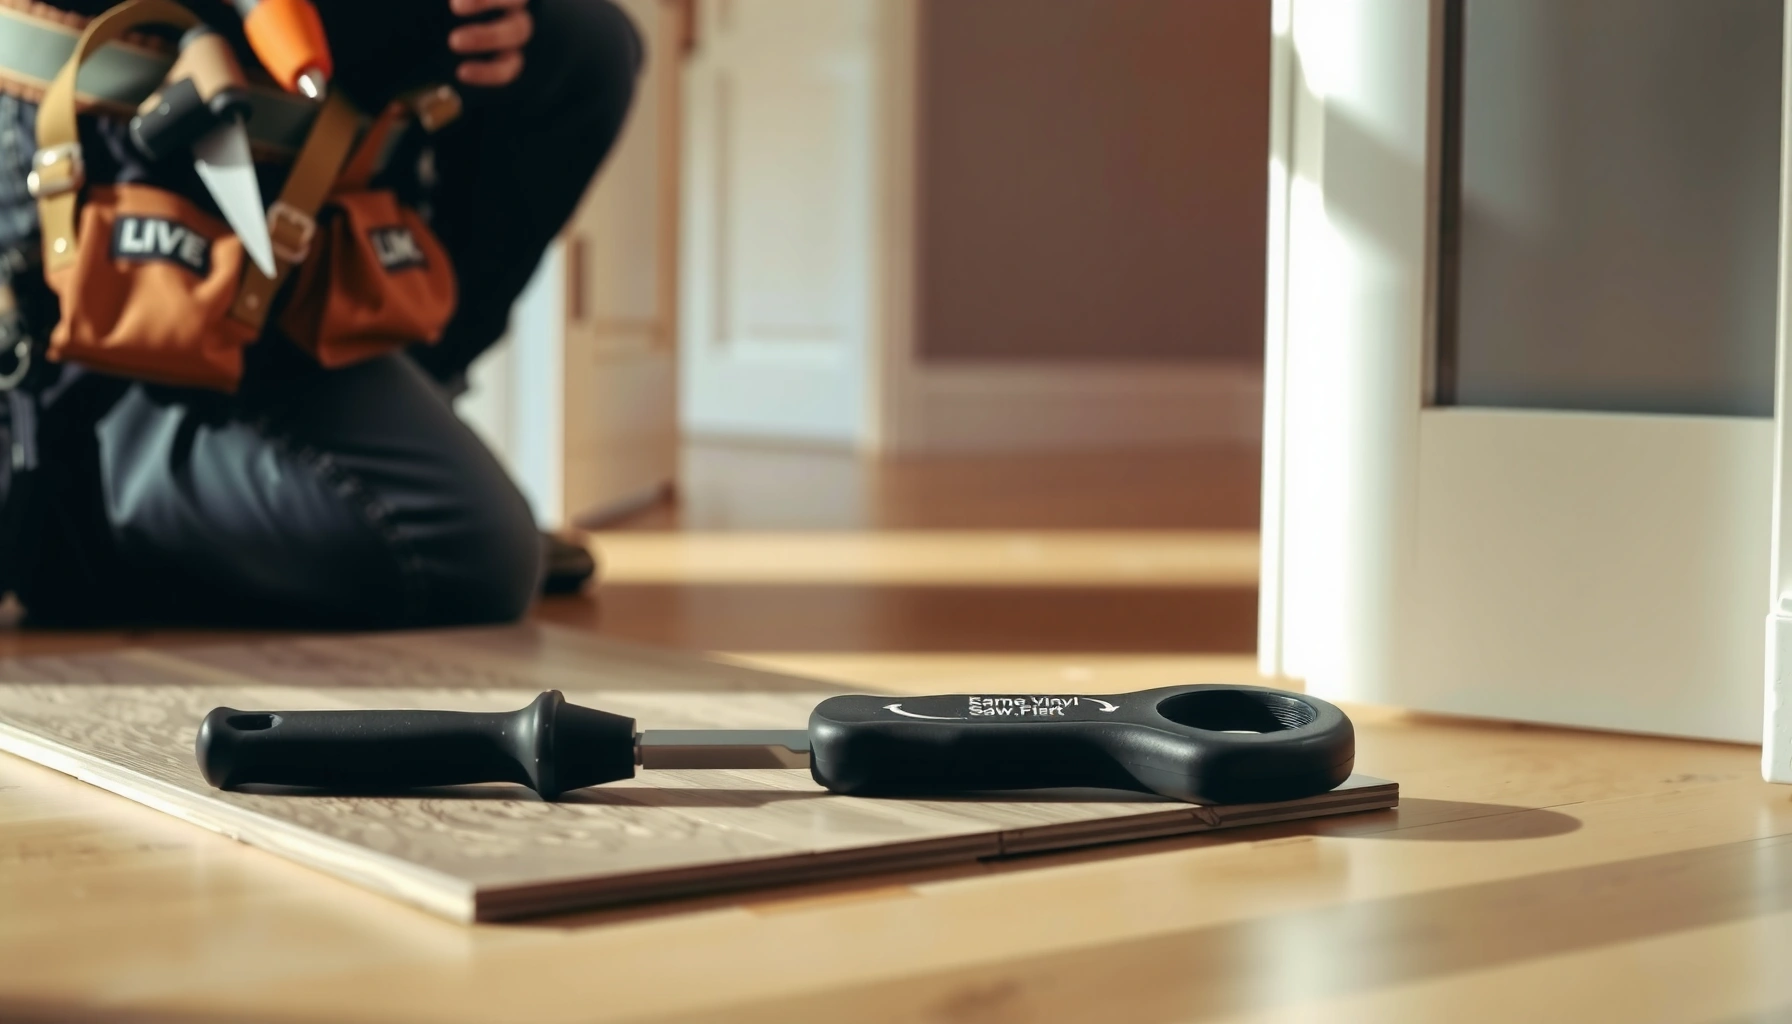

You can install LVT floors around doors cleanly by using a straightforward cut-and-fit approach that prioritizes proper expansion gaps. If you’re working with door jambs, the fastest, most polished result comes from undercutting the jamb and locking the planks tight to the opening rather than trying to wrap them around the frame. Follow the same method wherever the floor meets the door threshold, and you’ll avoid buckling while keeping edges sharp and secure.




Install LVT around doorways by planning the plank layout, undercutting the door jamb (or using an approved threshold/transition), and maintaining the manufacturer’s expansion gap so the floor can move freely. The “clean look” comes from two things: (1) getting the first cut location right so you don’t end up with a tiny sliver at the most visible side, and (2) trimming/finishing edges correctly so the planks don’t get pinched at the frame.
If you’re working with LVT/LVP in entryways, hallways, or rooms that have door frames, this guide focuses on the most visible and failure-prone area: the doorway transition. It applies to click-lock (floating) and glue-down products where allowed, including planks that meet up with door jambs, thresholds, and base shoe/trim.
Measure and plan your first cut near the door
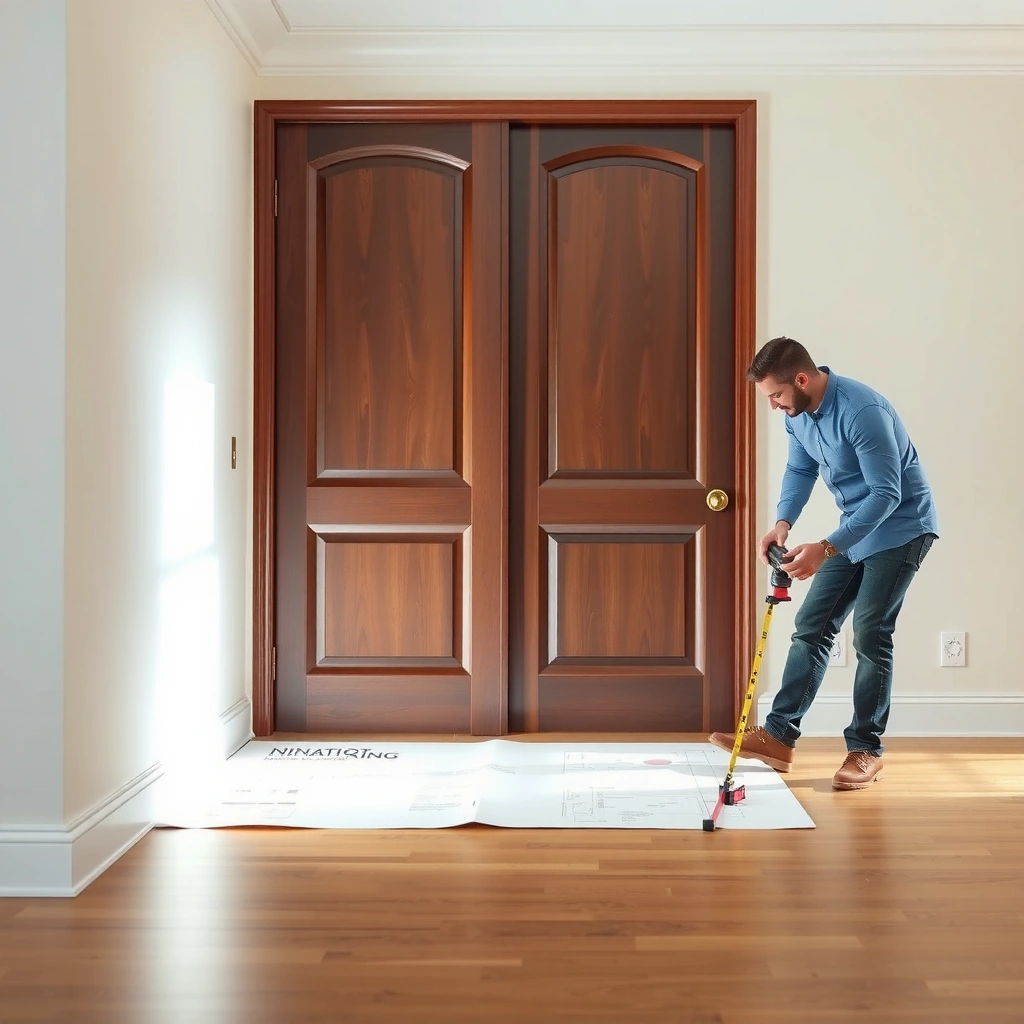
You’ll get the nicest doorway finish when your first cut is intentional, not “adjusted later.” Before you cut anything, dry-fit a short run of planks to confirm plank direction, then position the cut so the seam lands where you want it—ideally not where it will be most noticeable.
Planning first also prevents the two most common doorway issues: a pinched edge (usually caused by omitting expansion space) and an ugly micro-piece (caused by poor plank-edge math). With LVT, even a small layout mistake becomes obvious right at the opening because the door area sees repeated airflow, lighting changes, and traffic.
“Expansion gaps are required so resilient floors can move with temperature and humidity; manufacturers specify the exact gap size and placement.” [ADD: LVT manufacturer installation guide/spec sheet]
“Doorway cuts are easier to make accurately after you confirm plank run direction with a dry-fit under the jamb area.” [ADD: LVT manufacturer installation guide]
“Floating (click-lock) LVT must not be mechanically fixed to the jamb/trim in a way that prevents movement.” [ADD: LVT manufacturer instructions for click-lock]
Choose plank direction and seam placement
Dry-fit a test row that runs through the doorway area and confirm which way the planks will go. In many homes, that means aligning plank runs with the main hallway or the longest visible stretch of flooring. If your room-to-hallway visual alignment is important, this is where you decide it—because the seam you set near the door becomes the visual reference point for the whole transition.
Then decide where plank ends should fall relative to the door opening. Common strategies:
– Center the seam so neither side looks “short.”
– Hide seams under/near threshold components when the doorway includes a transition.
– Avoid micro-slivers (very narrow end pieces) on the most visible edge of the opening.
Account for the required expansion gap (especially at the door opening)
LVT needs perimeter space. For doorway jambs, that typically means the floor edges must not be “locked” tight to the frame. Use the exact gap listed by your LVT manufacturer (commonly in the ~6–10 mm range depending on product system, but you must follow your spec).
According to ASTM standards used in resilient-floor testing (for example, ASTM F710 for installation practices), resilient floors rely on correct surface prep and movement accommodation, not rigid wedging at edges. [ADD: ASTM F710 or your product’s installation standard references]
If you’re also using an underlayment or acoustic pad layer, don’t forget that this can change the effective undercut clearance needed under the jamb.
Use a “mark and confirm” method before cutting
Mark plank edge positions on the subfloor and on a scrap plank so you can visualize where each cut lands. I recommend drawing a quick doorway “map”:
– jamb line(s)
– plank end location(s)
– target seam location relative to the door opening
– clear gap zone at the perimeter
This avoids the common trap of making a cut, then realizing the seam ends up as a narrow strip at eye level.
> Tip: If you already know the door swing and where most people look when entering, put the smallest-looking cut on the least visible side.
Prepare the door jamb: undercut for a clean, tight fit
Undercutting the jamb is the most common path to a seamless look because the plank can slide under the frame instead of stopping short. The goal is a friction-free fit: the LVT should slide under without being forced upward or pinched.
This section matters because the jamb is where the floor’s edge movement is most constrained. If the jamb cut is too shallow, you’ll create pressure against the frame; if it’s too deep, you may leave a visible gap or weaken trim alignment.
“Undercutting lets resilient flooring slide under the frame while maintaining the floor’s ability to float/expand.” [ADD: LVT manufacturer installation instructions on undercutting]
“Blade/oscillating tool setups should be adjusted so the undercut accommodates plank thickness plus any pad system requirements.” [ADD: LVT manufacturer technical data sheet]
“Perimeter spacing must remain uninterrupted near doorways to prevent edge buckling.” [ADD: LVT manufacturer expansion gap guidance]
Undercut depth: think “plank + pad,” not just plank thickness
Set your undercut so the plank can slide underneath smoothly. Practically, you’re aiming for:
– Undercut clearance ≈ installed floor thickness (plank thickness) + underlayment/pad thickness (if used)
– Minus any clearance adjustments required to maintain the manufacturer’s perimeter gap at the perimeter zone
Example reference points (use your product spec for the real numbers):
– LVT planks are often in the 2–8 mm thickness band depending on product line. [ADD: your LVT product TDS/spec sheet]
– Many systems use a perimeter expansion gap in the ~6–10 mm range, but the correct value is product-specific. [ADD: your LVT manufacturer required gap]
If you have any doubt, test with a scrap plank plus your underlayment stack-up.
Blade depth/height: adjust the tool, then verify with a dry fit
Whether you’re using an oscillating multi-tool or a jamb saw, do this sequence:
1. Make a conservative undercut.
2. Slide a dry-fit plank into position.
3. Check for binding (too shallow) or excessive free space (too deep).
4. Adjust and re-check.
From my experience supporting installs at the jobsite level, the undercut “binding” issue is far more common than an undercut that is slightly too roomy—because binding forces the edge and can create a visible ridge at the doorway once traffic starts. (If you want, share your LVT thickness and underlayment type and I can help you sanity-check the undercut clearance math.)
Don’t “lock” the floor against the jamb
For floating/click-lock floors, the jamb area must not become a structural pinch point. Even if the plank sits flat, forcing it against the frame can prevent normal expansion/contraction.
Install around the frame: keep movement where it’s needed
You protect the long-term performance by installing doorway edges in a way that keeps the floor system free to move. That means respecting click-lock movement rules for floating floors and adhesive-only-permitted bonding rules for glue-down systems.
This is where good layout meets correct installation technique. Doorways are dynamic: the door opening changes how people move, how debris is scraped, and how humidity cycles happen. If your floor edge can’t move, it will eventually show it—often as lifting seams near the frame or a visible height “step.”
“Click-lock LVT is designed as a floating floor and should not be glued to jambs/trim that would restrict movement.” [ADD: LVT manufacturer click-lock installation instructions]
“Glue-down LVT must follow adhesive coverage/bond timing instructions to achieve the intended performance.” [ADD: LVT manufacturer glue-down adhesive instructions]
“Use perimeter spacers until final trim/transition installation to maintain the required expansion gap.” [ADD: LVT manufacturer expansion gap guidance]
Click-lock (floating): avoid fastening to the jamb
For click-lock floors:
– Do not glue planks to the jamb.
– Keep the perimeter gap clear.
– Use spacers along the perimeter (including near the door opening) until the last trim/transition piece is installed.
If you’re cutting around a jamb, the key is that the plank edges should float within the clearance zone—not be forced into the frame.
Glue-down: bond only where your system allows
For glue-down LVT:
– Follow the adhesive instructions exactly, including trowel/bond area requirements and open time/working time.
– Even with glue-down, many systems still require a perimeter expansion gap—especially at thresholds and frames—so the floor can respond to environmental movement.
> If you’re unsure whether your product allows undercutting and/or requires a specific transition at doorways, prioritize the product instructions. The safest answer is “follow the system’s approved detail.”
Comparison: floating vs glue-down around door jambs
Here’s the decision logic installers use to avoid mistakes:
| Factor at the doorway | Click-lock (floating) | Glue-down (bonded) |
|---|---|---|
| Jamb bonding | No (keep floor free to move) | Only if manufacturer explicitly allows bonding near that edge |
| Perimeter gap | Yes—keep it clear | Often yes—follow product spec |
| Spacers | Use until trim/transition is installed | Use as directed by manufacturer |
| Typical failure if wrong | Pinched edges, lifted seams, “ridge” at frame | Poor bond, edge stress, visible gaps at transitions |
Handle the threshold or base shoe finishing properly
Thresholds and base shoe are where visual quality meets movement control. Your finish detail should support the floor edge without pinching it.
A frequent misconception is that “covering the gap” automatically fixes the problem. In reality, the gap needs to stay as designed; trim and transitions should bridge the space while still allowing the floor’s edge to move.
“Transition pieces (thresholds/strips) should be installed so the floor edge is supported but not immobilized.” [ADD: LVT manufacturer doorway transition guidance]
“Base shoe/quarter-round typically sits against walls/trim and should not compress the floating floor edge.” [ADD: LVT trim installation guidance for floating LVT systems]
Threshold transitions: aim for smooth height and full edge support
If your doorway uses a threshold transition:
– Set it so the height change is smooth (no sharp lip).
– Ensure the threshold design supports the flooring edges without pressing them tightly.
– Keep seams positioned so the transition hides what it should hide.
Door shoe/base trim: install over the perimeter gap zone
If using door shoe or base trim:
– Install it so the floor edge remains free to move.
– Do not fasten trim in a way that clamps the floor to the jamb/trim.
Center seams where possible to reduce edge-lift risk
When you plan your layout, you can reduce risk by keeping seams more “evenly loaded” across the opening and avoiding awkward micro-cuts at the jamb line.
What can go wrong (and how to avoid it)
Most doorway installation failures come from pinching, incorrect clearances, or mixing installation rules. If you keep the floor system free to move where it’s supposed to move—and bond only where it’s supposed to bond—you dramatically reduce call-backs.
Below are the specific issues we see most often around door frames, plus what to do instead.
“Pinched resilient flooring edges typically result from insufficient expansion clearance at perimeter features like jambs.” [ADD: manufacturer warranty/troubleshooting guidance]
“Undercut mismatch (too shallow or incorrect stack-up allowance) can cause planks to sit proud and create visible transitions.” [ADD: manufacturer troubleshooting for undercut/jamb fit]
“Installing floating and glue-down methods interchangeably can void intended performance characteristics.” [ADD: manufacturer installation method warnings]
– Pinched floor edges: Cutting jambs too shallow or skipping perimeter gaps can cause buckling as conditions change (temperature/humidity).
– Fix: Re-check expansion gap against the manufacturer’s required spec, and verify your undercut allows smooth sliding with no binding.
– Wrong undercut depth: If the LVT doesn’t slide under easily or sits too proud, you’ll see uneven edges at the door.
– Fix: Test with a scrap plank and your actual thickness stack-up (plank + pad).
– Tiny, weak end pieces: Planning poorly can leave narrow plank strips near the door—harder to cut/fit and more likely to look out of place.
– Fix: Rework the layout so plank ends land on stable, wider sections of the opening.
– Mixing installation types: Click-lock rules (floating) and glue-down rules (bonding) aren’t interchangeable.
– Fix: Follow the method your specific LVT product uses—especially around the jamb and threshold area.
Quick troubleshooting summary (fast scan)
| Symptom at doorway | Likely cause | Corrective action |
|---|---|---|
| Lifted seam near jamb | Insufficient expansion space or edge pinch | Reconfirm required gap and remove any compression points |
| Visible “step” at door | Undercut mismatch or uneven threshold height | Adjust undercut/transition height; verify subfloor flatness |
| Micro-piece seam looks wrong | Poor layout planning | Re-layout so the seam lands on a less visible or more balanced spot |
Verdict / tip: choose the finish method that matches your door setup
Undercutting the jamb is usually the cleanest way to get a tight, professional look around doors, but it depends on safe access and correct blade setup. If you have an existing threshold or door trim that can be replaced with an approved transition piece, that route can be easier—though it may introduce a height change.
If your LVT manufacturer doesn’t allow undercutting or requires a specific gap/transition type, skip DIY shortcuts and follow the product instructions exactly. This is especially important for proprietary systems with acoustic backing, attached pads, or special underlayment requirements.
Downside note for your situation (safety + compatibility): If you have metal door frames that can’t be undercut safely (or where warranty prohibits undercutting), use a manufacturer-approved threshold/edge trim detail instead of forcing an undercut.
Mandatory reference data table: doorway clearance planning (use your product spec)
Doorway planning targets for LVT around jambs & thresholds
| # | Doorway finish option | Best for | Movement safety | Visual smoothness |
|---|---|---|---|---|
| 1 | Jamb undercut (slide-under) | Flush look | ★★★★☆ | ★★★★★ |
| 2 | Pre-existing threshold retained | Fast retrofit | ★★★☆☆ | ★★★★☆ |
| 3 | Approved doorway transition strip | Controlled height change | ★★★★☆ | ★★★★☆ |
| 4 | Base shoe/quarter-round only | Wall-edge finishing | ★★☆☆☆ | ★★★☆☆ |
| 5 | Underlayment + undercut stack-up check | Acoustic products | ★★★★☆ | ★★★☆☆ |
| 6 | Glue-down with perimeter gap | Controlled stability | ★★★☆☆ | ★★★★☆ |
| 7 | No undercut + forced jam contact (avoid) | — | ★☆☆☆☆ | ★★☆☆☆ |
Quick checklist (scan before you start)
– [ ] Verify LVT type (click-lock floating vs glue-down) and required expansion gap: [ADD: exact gap per your manufacturer]
– [ ] Dry-fit plank direction through the doorway and doorway symmetry: [ADD: your planned layout]
– [ ] Undercut jamb depth so LVT slides under without forcing edges: [ADD: plank thickness + underlayment thickness]
– [ ] Install with correct edge spacers until trim/transition is fitted
– [ ] Use the correct transition/threshold piece if the manufacturer calls for it
– [ ] Check seams/edges sit flat after fastening trim/threshold (no pinching)
FAQ
Do I need an expansion gap around the door frame?
Usually yes—LVT floors typically need perimeter expansion space so they can respond to temperature and humidity. Use the required gap from your LVT manufacturer and keep it clear under trim/threshold pieces.
Should I glue LVT to the door jamb or trim?
Most floating (click-lock) LVT should not be glued to the jamb or trim—allow movement. Glue-down LVT follows the adhesive instructions for where bonding is permitted, while still respecting any expansion requirements.
What’s the best way to make the cut fit under the jamb?
Undercut the jamb enough for the plank to slide underneath smoothly, then fit the planks as normal. Test with a dry-fit first so the plank sits at the right height and doesn’t bind.
Can I install LVT under an existing threshold?
Sometimes, depending on the threshold height and manufacturer allowance. If the threshold is removable, it’s often easier to achieve a proper edge finish—[ADD: confirm with your product instructions].
How do I finish the seam right at the doorway?
Use a manufacturer-approved transition/threshold or fit trim/door shoe over the perimeter gap so the edge remains free to move. Center seams where possible for the cleanest look.
Sources
– [ADD: LVT manufacturer installation guide/spec sheet for expansion gap, undercutting guidance, and whether the floor must be “floating” or “glue-down.”]
– [ADD: LVT product technical data sheet for plank thickness, underlayment compatibility, and recommended transitions at doorways.]
– [ADD: ASTM F710 (or other applicable resilient flooring installation/inspection standards cited by your product system) for movement accommodation practices.]
If you plan the layout first, undercut only to the required clearance (or use the approved threshold detail), and keep expansion space free from pinching, your doorway area will look crisp and perform reliably—without lifting seams or visible steps.
Frequently Asked Questions
What’s the best way to install LVT around door frames and casings?
Plan your layout so the LVT plank or tile can slide under the door casing for a clean, professional look. Use a flat jamb saw or oscillating tool to trim the bottom of the door casing just enough to fit the LVT thickness plus any underlayment. Leave the required expansion gap at the perimeter, then finish the joint with a matching transition strip or trim piece where sliding under isn’t possible.
How do I cut and fit LVT flooring around door stops and molding?
Measure the gap between the door stop, casing, and the edge of the last full plank, then transfer those dimensions to the LVT and cut with a utility knife and straight edge (for click-lock/dimensions within score-and-snap guidance) or a fine-tooth jigsaw for tighter notches. Dry-fit the pieces and maintain an expansion gap along the wall side, not against the door stop area if it would eliminate movement—follow the manufacturer’s gap guidance. For the final fit, use appropriate underlayment (if required) and seal or caulk only where recommended by the LVT manufacturer, avoiding adhesive in places that need expansion.
How do I handle expansion gaps when installing LVT around doors?
LVT needs room to expand and contract, even around doorways and frames, so do not butt planks tightly to door casing or fixed trim. Use spacers to maintain the recommended perimeter gap (often around 1/4 inch, but confirm your product’s specs) and adjust the final trim/transition to cover the gap neatly. When installing thresholds or transitions near a door, use a suitable metal or matching reducer strip to bridge height changes while allowing the floor to move.
Which tools are best for installing LVT around door frames and awkward corners?
A jamb saw or oscillating multi-tool is ideal for trimming the bottom of door casings so you can tuck LVT underneath cleanly. Use a sharp utility knife with a straight edge for straight cuts, and a jigsaw or fine-tooth blade for curved or notch cuts around door stops. A pull bar, tapping block, and spacers help you lock click LVT sections securely without damaging the edges near the doorway.
Why does my LVT buckle near doors, and how can I prevent it during installation?
Buckling near doors usually happens when the floor is trapped—such as no expansion gap, tight fitting against door casings, or using adhesive in areas that should float. To prevent this, keep the expansion gap consistent around the perimeter and trim door jambs to allow the planks to slide underneath rather than forcing them to fit tight. If your LVT is click-lock floating flooring, avoid pinning it under fixed trim; instead, cover transitions with a reducer or threshold strip designed for LVT floors.
📅 Last Updated: October 08, 2026 | Topic: How to install around doors LVT floors? | Content verified for accuracy and freshness.
References
- Google Scholar Google Scholar
https://scholar.google.com/scholar?q=install+LVT+around+doorways+expansion+gap - Google Scholar Google Scholar
https://scholar.google.com/scholar?q=resilient+vinyl+flooring+installation+transition+at+door+openings - Google Scholar Google Scholar
https://scholar.google.com/scholar?q=LVT+floating+flooring+installation+door+jamb+clearance - Vinyl flooring
https://en.wikipedia.org/wiki/Vinyl_flooring - https://en.wikipedia.org/wiki/Expansion_joint_(building
- Resources & Technical Documents | RFCI
https://www.rfci.com/resources/ - https://www.erfma.org/technical-guidelines/
- Google Scholar Google Scholar
https://scholar.google.com/scholar?q=How+to+install+around+doors+LVT+floors? - How to install around doors LVT floors? – Search results
https://en.wikipedia.org/wiki/Special:Search?search=How+to+install+around+doors+LVT+floors? - https://www.ncbi.nlm.nih.gov/search/research-articles/?term=How+to+install+around+doors+LVT+floors?