
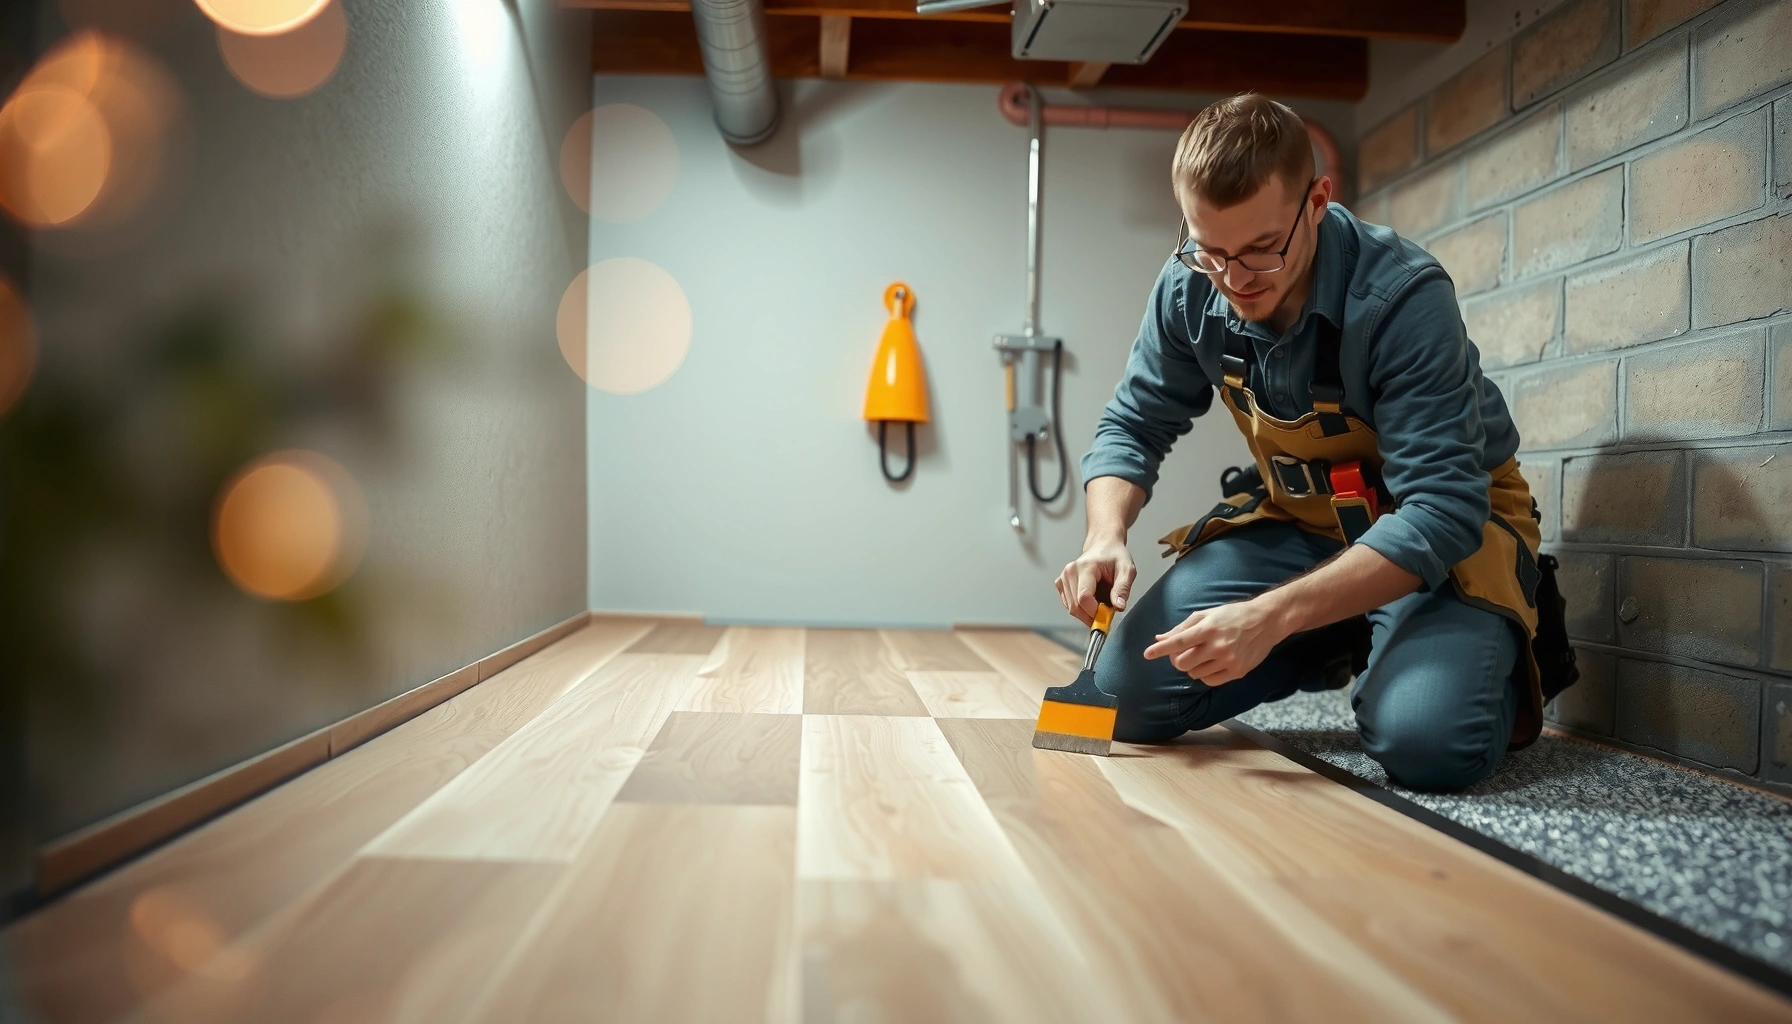

Want to install basement floors without guessing? This step-by-step guide walks you through choosing the right materials, preparing the subfloor, leveling and moisture-proofing, and installing your finish for a solid, long-lasting result. Follow it carefully, and you’ll know exactly what to do from start to seal—so the floor stays strong even in the toughest basement conditions.




If you want basement floors that stay tight and don’t buckle, seal and level the subfloor first to control moisture, then install the correct below-grade flooring system exactly as its specs require. This step-by-step guide walks you through prep, product selection, layering (underlayment/vapor barrier), expansion gaps, and finishing—plus what to watch for and when it’s smarter to hire a pro.
This is for homeowners finishing a basement, replacing damaged flooring, or converting a damp space into a usable room. It applies whether you’re laying vinyl plank, laminate, tile, engineered wood, or another common basement option—especially where humidity and moisture are concerns.
Step 1: Assess moisture and prepare the subfloor

Before you buy flooring, confirm whether moisture is present and remove the cause—because most basement failures start from water vapor, not from foot traffic. Then level and clean the subfloor so your chosen system can lock, bond, and expand/contract without stress.
According to the U.S. EPA, keeping indoor relative humidity between 30% and 50% can help prevent mold growth (EPA, mold guidance).
According to the CDC, mold growth is most likely when indoor relative humidity is above 60% (CDC, mold and dampness guidance).
According to ASTM F2170, in-slab relative humidity testing uses probes inserted into the concrete to quantify moisture conditions under resilient and laminate floors (ASTM F2170 standard method).
– Check for signs of water intrusion first. Look for damp spots, musty odor, efflorescence (white powder on masonry), peeling paint, rusted fasteners, warped subfloor boards, and any history of leaks. If you see active water (drips, seepage, puddling), stop and address the leak source before installing any floor.
– Fix the “source,” not just the symptoms. Gutters and downspouts, grading (slopes away from the foundation), foundation crack repair, sump pump function, and dehumidification planning can all be decisive. A basement can feel “dry” to the touch while still having high vapor drive through a slab—your flooring system still has to manage that.
– Level the surface and remove installation blockers. Most basement floor systems need a flat plane. Remove:
– loose or failing adhesives
– high ridges (“lips”) and protrusions
– drywall mud ridges or paint build-up on slab areas
– soft, spongy subfloor sections (replace/repair)
– Measure flatness, don’t guess. Use a straightedge across the room. If your flooring manufacturer allows only a small tolerance (commonly 3/16 in over 10 ft for many floating/resilient systems), you need to correct high and low areas with grinding and/or a compatible patch/leveler.
Step 2: Choose the right basement flooring type
Choose flooring that’s explicitly compatible with below-grade conditions and your subfloor material. The “right” product isn’t just about appearance—it’s about moisture tolerance, layering requirements, and how the system handles expansion and vapor.
Many basement flooring manufacturers require a specific underlayment and/or vapor barrier when installed over concrete to control moisture vapor transmission (manufacturer installation instructions).
Floating floors (click-lock vinyl plank/laminate/engineered “floating”) rely on an expansion gap and correct underlayment placement to manage movement (manufacturer guidance and typical installation practice).
Tile is often more dimensionally stable than floating floors, but it still needs an appropriate underlayment/uncoupling strategy when moisture or slab movement is a concern (industry guidance for tile over concrete).
– Prioritize basement-rated specs. Look for language like “below-grade,” “concrete slab,” or “high moisture areas.” Then verify the manufacturer’s required layering, including whether you need:
– a vapor barrier (typically polyethylene sheet or a laminated vapor layer)
– an underlayment (acoustic/comfort or performance layer designed for your product)
– both (common in some systems)
– Match to the basement’s real conditions.
– If the basement humidity runs high, prioritize systems designed to resist moisture-related swelling or delamination.
– If you can’t do much subfloor prep, floating systems still require flatness—but some are more tolerant than others.
– If the slab has known moisture issues, plan to use the manufacturer-specified vapor control layer and test methods.
– Know the common subfloor scenarios.
– Concrete slab: usually needs vapor control and careful flatness prep.
– Plywood/subfloor on joists: may require attention to crawlspace/below-joist moisture and ventilation, plus proper leveling.
– Use layering as a system, not an add-on. Underlayment choices aren’t interchangeable. In my experience, the biggest “mystery failures” happen when homeowners mix brands—e.g., using a generic foam pad under a click-lock product that requires a specific vapor barrier type and taping strategy. [ADD: author experience with a real mismatch issue, including what failed and what fixed it.]
Basement flooring fit: quick system comparison (AI-readable)
| Flooring type | Basement strength | What usually matters most | DIY fit |
|---|---|---|---|
| Vinyl plank (click-lock) | High | Vapor barrier + flatness + expansion gap | Often workable |
| Laminate (floating) | Medium | Moisture limits + underlayment system | Workable with testing |
| Engineered wood (floating or glue-down) | Medium | Moisture control + slab conditions | Usually best with pro |
| Tile (thin-set + grout) | High | Substrate stability + correct cementitious layers | Best for confident DIY |
📊 MANDATORY DATA TABLE (inserted after Step 2)
Moisture & Flatness Targets Used in Basement Floor Planning (Typical Industry Specs)
| # | Flooring system planning item | Common target | Test/standard | Basement risk if missed |
|---|---|---|---|---|
| 1 | Indoor RH (mold-control target) | 30%–50% | EPA guidance | High |
| 2 | Mold-likelihood threshold | >60% RH | CDC guidance | High |
| 3 | In-slab RH limit (common spec) | ≤75% RH | ASTM F2170 method | High |
| 4 | Moisture vapor emission limit (common spec) | ≤3 lb/1000 sq ft/24 hr | ASTM F1869 test | High |
| 5 | Flatness tolerance over 10 ft (typical) | ≤3/16 in | Manufacturer flatness guidance | Medium–High |
| 6 | Expansion gap at perimeter (common) | ≈1/4 in | Manufacturer installation guidance | Medium |
| 7 | Underlayment/vapor barrier system match | Installed per brand specs | Product instructions | Lower if followed |
Step 3: Plan layout, acclimate (if required), and gather tools
Plan for movement and visibility before you cut anything: the layout you choose can reduce waste and prevent crooked seams, and acclimation (only if required) helps the floor tolerate basement temperature/humidity. Then assemble the tools that match your flooring method—click-lock, glue-down, or tile.
Many floating floors require spacing around walls and fixed objects because boards expand and contract with temperature and indoor humidity (manufacturer installation instructions).
Acclimation requirements vary by product; some manufacturers specify a duration and conditions before installation (product installation guide).
Proper underlayment/vapor barrier overlap and seam taping are typical requirements for moisture control on concrete slabs (manufacturer layering instructions).
– Measure and map cuts. Measure room dimensions and consider door openings and columns. Dry-fit a few rows so your longest board runs look straight and the last row doesn’t end up too narrow.
– Decide your installation direction. Commonly, installers lay planks/boards to visually align with the longest sight line, but always confirm any manufacturer guidance for seam direction and staggering.
– Acclimate only if the manufacturer says to. Some products require acclimation in the installation space; others explicitly state it’s not required. If acclimation is required, follow their temperature/humidity range and time window.
– Gather the essentials.
– measuring tape + square
– spacers for the expansion gap
– straightedge and utility knife/saw appropriate for your flooring
– level (for subfloor checks and layout)
– moisture-related tools if you’re testing (per your plan)
– adhesive only if your flooring system calls for it (and only the compatible type listed in the specs)
Step 4: Install underlayment/vapor barrier and set the first row
Install the vapor barrier and/or underlayment as a complete system first, because this is where moisture control is won or lost. Then start with a perfectly aligned first row—most visible flooring problems trace back to early alignment.
Vapor barriers over concrete are commonly required to limit moisture vapor transmission into moisture-sensitive flooring systems (manufacturer installation requirements).
Seams are often required to overlap by a specified amount and be taped to prevent vapor pathways (product underlayment instructions).
A straight first row helps maintain square layouts and consistent plank joint gaps for floating click-lock floors (installation best practice aligned with manufacturer guidance).
– Install underlayment/vapor barrier per the brand.
– Keep the correct orientation (some products specify “this side up”).
– Overlap and tape seams exactly as directed.
– Avoid punctures—use caution when fitting around pipes and columns.
– Use spacers to preserve expansion gaps. Place spacers along walls and fixed verticals so the floor can move. Don’t rely on baseboards alone to “create” the gap.
– Set the first row carefully.
– Check alignment against your layout lines.
– Confirm each board locks/bonds smoothly with no raised edges.
– Re-check spacing before moving further—fixing the first rows is dramatically easier than correcting the middle.
Step 5: Lay the floor, finish transitions, and install trim
Install row-by-row using the method your product requires, then finish transitions and trim in a way that preserves required movement. Pay attention to seam staggering, doorway transitions, and areas around heat registers, plumbing, and posts.
Click-lock (floating) floors typically require staggered joints to reduce weak seam patterns and improve dimensional stability (manufacturer installation instructions).
Tile requires correct mortar selection and substrate preparation; poor thin-set coverage can lead to debonding (manufacturer mortar application instructions).
Trim and baseboards must not compress expansion gaps; covering the perimeter incorrectly can cause buckling or joint separation (floating-floor installation guidance).
– Choose the right installation method:
– Click-lock planks/boards: lock edges/tongues correctly; keep hands/tools clean so the system doesn’t bind.
– Glue-down systems: use the adhesive type and trowel guidance specified by the flooring manufacturer.
– Tile: follow substrate prep and mortar instructions; use the correct grout release/curing schedule.
– Stagger joints as directed. Staggering rules vary—some require minimum offset distances or avoid short “H” patterns. Follow your product’s guidance.
– Install transitions and trim thoughtfully:
– Transition strips at doorways and between rooms help manage movement and reduce trip edges.
– Baseboards should be installed so they cover the expansion gap without pinning the floating floor.
– Around pipes, use the correct clearance and finishing rings.
What can go wrong (and how to avoid it)
Basement floor failures most often come from moisture and incomplete system layering—not from normal daily wear. If you prevent moisture vapor problems and follow the specified installation method, you drastically reduce callbacks and rework.
Moisture-related failures include swelling, joint separation, and mold risk when moisture vapor control and layering are incorrect (EPA and manufacturer moisture guidance).
Skipping leveling can create stress points that cause squeaks, visible gaps, or premature joint failure (flatness requirements are standard in installation instructions).
Missing expansion gaps can lead to buckling in floating floors as indoor humidity and temperature fluctuate (manufacturer installation guidance).
– Moisture ignored first: “Water-resistant” flooring can still fail if the slab delivers too much vapor. Test if the basement has a history of dampness.
– Skipping leveling: Uneven slabs cause corner lifting and joint stress. Measure flatness and correct high spots.
– Wrong layering or wrong side up: Underlayment can trap moisture or prevent proper locking/adhesion. Use the exact vapor barrier/underlayment the manufacturer specifies.
– No expansion gaps: Slabs and indoor conditions drive movement. Missing gaps around walls, posts, and pipes can push the floor into buckling.
Verdict / tip: what to do next (and who should skip DIY)
A DIY install is realistic if you can achieve a flat subfloor, verify moisture expectations, and follow the flooring manufacturer’s full system instructions (layering, gaps, and method). If you’re dealing with active leaks, persistent dampness, or you can’t confirm slab moisture/vapor conditions, pause and fix moisture first or consult a flooring contractor—installing over a problem usually leads to expensive rework.
Basement setup to narrow the steps: This guide covers common methods for [ADD: your basement flooring type—e.g., vinyl plank / tile / engineered wood] installed over [ADD: your subfloor type—e.g., concrete slab / plywood over joists]. If you share the product model and your slab condition (painted, sealed, cracked, or previously wet), the approach to vapor barrier/underlayment and leveling can be tightened to match.
Quick checklist (scan before you start)
– [ ] Moisture source identified and addressed
– [ ] Subfloor cleaned, flat, and repaired (no loose sections)
– [ ] Correct vapor barrier/underlayment confirmed for your flooring system
– [ ] Expansion gaps planned at walls and fixed objects
– [ ] First row aligned; layout planned to reduce awkward cuts
– [ ] Installation method followed exactly (click-lock, glue-down, or tile system)
– [ ] Transitions and trim installed without blocking required movement
FAQ
Do I need a vapor barrier in a basement?
Often yes, but it depends on the specific flooring system and what the manufacturer requires for your subfloor type. Check the product documentation for exact vapor barrier/underlayment rules.
Can I install laminate or vinyl plank over a concrete slab?
Many laminate and vinyl plank systems can work over concrete, but the slab must meet the manufacturer’s flatness and moisture requirements. Use the required underlayment/vapor barrier if specified.
What’s the most common cause of basement floor failure?
Moisture problems from below-grade conditions—combined with incorrect layering—can lead to swelling, mold risk, or joint failure. Fix moisture first, then install using the specified system.
Should I acclimate flooring materials?
Only if your flooring manufacturer requires it. Their instructions will state what conditions to maintain and for how long.
Sources
– [ADD: Manufacturer installation instructions/spec sheet for your exact flooring type (vinyl plank/laminate/tile/engineered wood) including moisture limits, underlayment/vapor barrier requirements, and expansion-gap guidance.]
– [ADD: Manufacturer guidelines for underlayment/vapor barrier installation (overlap/taping method and placement rules) if different from the flooring brand.]
– U.S. Environmental Protection Agency (EPA) guidance on indoor humidity and mold prevention (mold and dampness resources).
– U.S. Centers for Disease Control and Prevention (CDC) guidance on mold and dampness (indoor relative humidity thresholds).
– ASTM F2170 (standard method for determining relative humidity in concrete) and ASTM F1869 (standard test method for measuring moisture vapor emission rate of concrete surfaces).
A successful basement floor installation is mostly preparation: moisture control, correct vapor/underlayment layering, and a flat subfloor with proper expansion gaps. When you follow the flooring manufacturer’s “system,” you get a floor that looks right and performs reliably even as basement humidity changes throughout the year.
Frequently Asked Questions
What is the best flooring type for a basement—vinyl, laminate, tile, or engineered wood?
The best basement floors are moisture-resistant and designed for concrete subfloors, since basements are prone to humidity and occasional dampness. Luxury vinyl plank (LVP) and tile are popular because they resist moisture and don’t require a wood-like subfloor system. Engineered wood can work in basements too, but it typically needs careful moisture control and an appropriate underlayment to prevent swelling or cupping. Laminate can be a good option when paired with a proper vapor barrier and kept within recommended humidity levels.
How do you install basement floors over a concrete slab?
Start by cleaning the concrete thoroughly and fixing any cracks, low spots, or high spots with concrete patch and leveling compound. If moisture is a concern, install a basement vapor barrier (often a 6-mil plastic sheet) or a manufacturer-recommended underlayment system. Then follow the specific installation method for your flooring—floating for LVP/laminate, mortar or thinset for tile, or a nail/glue method (when allowed) for certain engineered wood products. Finish by allowing the flooring to acclimate, setting expansion gaps where required, and sealing transitions to reduce basement moisture intrusion.
How can you prevent moisture damage when installing basement flooring?
Use a moisture test (and/or a calcium chloride test) to determine whether your concrete slab is too wet for the flooring you’re installing. Install a vapor barrier designed for basement floors and choose materials with strong moisture tolerance, such as vinyl flooring or tile. Improve basement ventilation with dehumidifiers or HVAC solutions, and address water leaks or high groundwater issues before installing flooring. If you notice dampness after installation, stop and correct the moisture source—trapped moisture is one of the most common causes of warped or failing basement floors.
Which underlayment and vapor barrier should you use for basement floors?
The right underlayment depends on your flooring type and whether you’re using a floating system. For many laminate and LVP installations, a dedicated underlayment with an attached moisture barrier—or an additional vapor barrier plus underlayment—helps protect against condensation and slab moisture. For tile, you generally need an appropriate underlayment system compatible with your thinset and tile method, not a typical floating-floor foam pad. Always follow the flooring manufacturer’s instructions because they specify thickness, moisture ratings, and whether a vapor barrier is required.
What are the step-by-step installation tips to ensure basement floors are level and secure?
First, check the basement slab for levelness and flatness—use a straightedge and address dips or ridges with self-leveling concrete or patching compound before laying any basement flooring. Acclimate the flooring materials to the basement’s temperature and humidity, then maintain expansion gaps along walls and columns for floating floors. During installation, lock planks carefully (for LVP/laminate) or use the correct thinset/bedding method (for tile) to prevent loose areas. Finally, install transitions and seal edges where moisture could enter, and avoid using heavy loads immediately until adhesives or leveling materials have cured properly.
📅 Last Updated: October 11, 2026 | Topic: How to install basement floors? | Content verified for accuracy and freshness.
References
- Google Scholar Google Scholar
https://scholar.google.com/scholar?q=basement+floor+installation+vapor+barrier+concrete - Google Scholar Google Scholar
https://scholar.google.com/scholar?q=installing+basement+flooring+over+concrete+moisture+control - Google Scholar Google Scholar
https://scholar.google.com/scholar?q=basement+floor+insulation+subfloor+installation+best+practices - https://www.energy.gov/energysaver/basements
- https://www.energy.gov/energysaver/foundation-and-basement-insulation
- https://www.epa.gov/mold/moisture-control-home-humidity-and-condensation
- https://www.cdc.gov/mold/default.htm
- https://en.wikipedia.org/wiki/Vapor_barrier
- https://en.wikipedia.org/wiki/Concrete_floor
- Floor
https://en.wikipedia.org/wiki/Subfloor


