
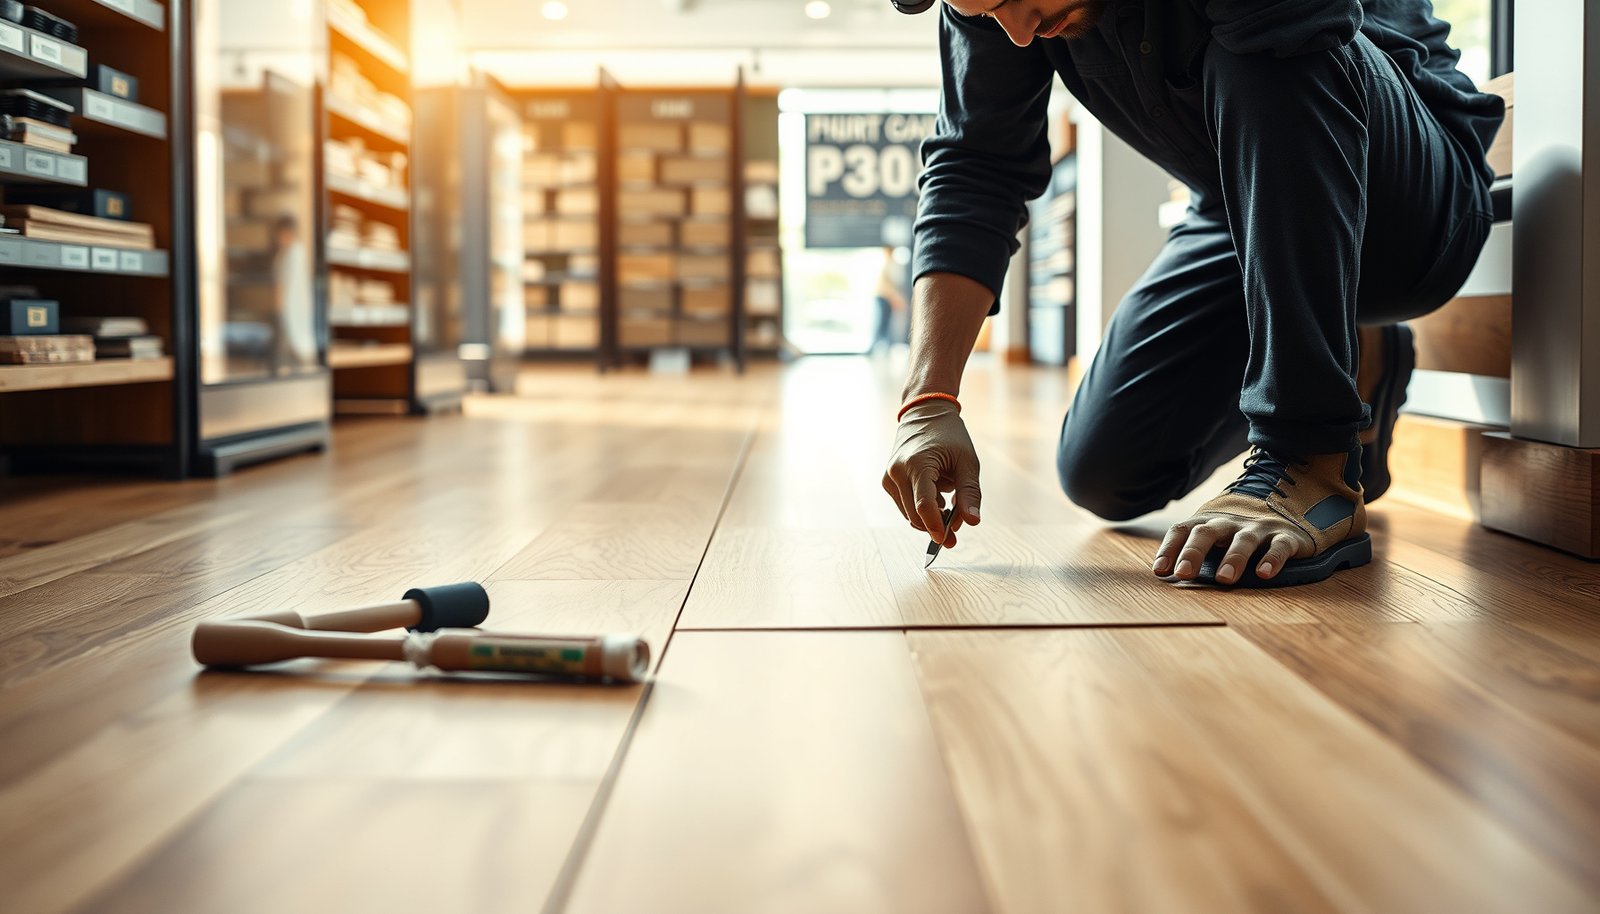

If you need to repair hardwood floors in a retail store, follow this step-by-step plan to get the fastest, cleanest results with minimal downtime. You’ll learn how to assess damage, replace boards or patch gaps, sand and refinish correctly, and blend repairs so the floor looks uniform under store lighting. By the end, you’ll know exactly what to do—and what to avoid—before customers notice.



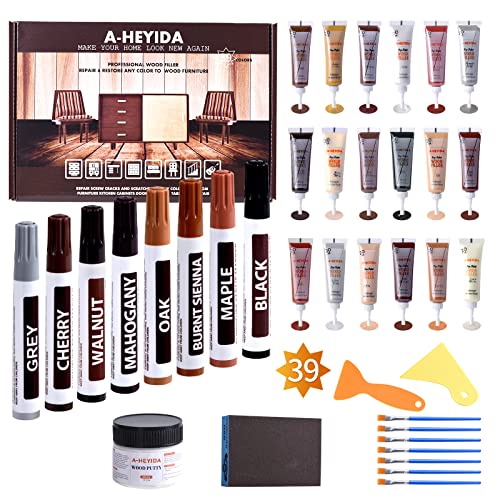
Repairing hardwood floors in a retail store usually comes down to matching the repair method to the damage type (surface scratches vs. loose boards vs. moisture). Start by stopping the cause of the problem and protecting customers from dust, then do a spot patch or a controlled partial refinish to blend the area—so the fix holds up under daily foot traffic and tight operating schedules.
If your store has foot traffic, fixed shelving, or regular customer exposure, you’ll need tighter planning than a home project—especially around dust control and when the area must be closed. The steps below are designed for common in-store problems like dents, gaps, lifting edges, and finish wear.
Decide whether to spot-repair or refinish the whole area

Spot repair is best when damage is limited to the finish and the surrounding boards are stable. Partial (or full) refinishing becomes the better choice as soon as board movement, finish failure across multiple planks, or a visible transition risk makes “touch-up-only” likely to stand out.
– If only the finish is damaged (scratches, worn coating, small chips), a spot repair/patch and color blending is often enough.
– If boards are loose, the finish is failing across multiple boards, or the damage pattern is larger than a few planks, plan a partial refinish instead of isolated touch-ups.
– If the floor has suspected moisture issues (cupping/crowning, significant lifting, persistent gaps), you may need to address the moisture source first—and sometimes replacement.
A spot repair typically works only when the substrate (boards) is stable and the surrounding finish is still well-adhered to the wood.
When more than a few planks show similar finish failure, a partial refinish is often the only way to achieve a consistent sheen under retail lighting.
From an operations standpoint, the “right scope” decision is what protects both appearance and downtime: refinishing generally requires longer cure windows and more containment, but it also reduces the odds that the repair line reappears a few weeks later. As of 2026, many commercial floor programs are managed as controlled work zones with staged reopening—so planning the scope up front helps you avoid repeat visits and customer disruption.
Also confirm what you’re repairing: solid vs. engineered hardwood changes the fastening, patching, and replacement strategy. If you’re unsure, manufacturer documentation usually includes a “repair/replace” section that spells out what’s acceptable for your specific construction.
Inspect the boards and identify the cause (impact, gaps, water, or finish failure)
The most reliable repair starts with diagnosing the driver of the damage, not just the visible symptom. In a retail store, the pattern of impact, movement, and moisture staining tells you whether the fix should be cosmetic (finish) or structural (board stabilization, moisture correction).
– Look closely at the symptoms: dents/scratches (often impact), gaps that run with the grain (often seasonal movement or installation/maintenance issues), and cupping/lifting (often moisture).
– Check whether the damage follows one event (dropped product/heavy cart traffic) or is spreading (finish wear or environmental problem).
– For gaps and loose boards, lightly test for movement and listen for hollow spots—don’t force anything that clearly indicates structural risk.
Impact-related defects (dents and localized scratches) usually cluster around high-traffic interaction points like carts, pallets, or display corners.
Moisture-related defects often change board geometry (cupping/crowning) and can persist even after cosmetic refinishing if the moisture source isn’t addressed.
In my experience working with commercial maintenance teams, the highest-value early step isn’t “choosing a filler”—it’s mapping where the defects repeat (for example: always near the same shelving end or always around a doorway).
To keep diagnosis credible and repeatable, document three things in your inspection notes for every damaged area on hardwood floors in a retail store:
1. Geometry changes: Are boards flat, or do they rise/warp?
2. Directionality: Do gaps align with the grain (suggesting seasonal movement) or appear random (suggesting localized damage or subfloor problems)?
3. Finish condition: Is the finish intact around the defect (supporting spot repair), or is finish failing broadly (suggesting adhesion issues, wear, or contamination)?
Then tie symptoms to likely causes. This “cause-first” approach is what prevents finishing over instability.
Quick diagnostic markers (what you’re looking for)
– Dents/scratches: usually the finish and a small depth of fibers; boards usually remain anchored.
– Gaps that widen and narrow over seasons: suggests relative humidity swings (a common retail HVAC reality).
– Lifting edges/boards that move: points to loosened fastening, failed subfloor prep, or prolonged moisture exposure.
Patch and repair surface damage (chips, dents, minor scratches)
Spot patching works when the damage is mostly cosmetic and boards remain firmly secured. Your goal is to restore the wood/fill surface and then match the finish sheen well enough that the repair line doesn’t “jump” in store lighting.
– Clean and prep the damaged area thoroughly (remove grit first; oils/residue will prevent many fillers/finishes from bonding).
– Use a wood filler/patching method appropriate to your floor type and finish system—follow the product instructions for application thickness and cure time ().
– After curing, level the patch carefully and finish to match the sheen as closely as possible (spot gloss mismatch is common in retail lighting).
Surface preparation is a bonding requirement: residue, wax, or cleaner film can cause fisheyes, soft spots, or peeling in hardwood finish systems.
Sheen mismatch is a visibility issue in retail—even when the color looks close, gloss differences can make a patch line obvious.
For patches on hardwood floors in a retail store, plan the workflow like a controlled “micro repair”:
– Mechanical cleaning first: remove grit and any failed finish edges, so you aren’t sealing contaminants under a new coat.
– Compatible materials only: fillers and finish products must be compatible with the existing coating system. If you don’t know the finish type (water-based vs. oil-based, wax vs. film finish), identify it before selecting patch chemistry ().
– Controlled build: apply filler in the recommended thicknesses and let it cure fully before leveling.
When leveling, use progressive abrasives or a finish-safe sanding block to avoid creating a “dish” around the repair spot. Retail customers typically view floors from standing height, under direct signage lighting—so a small high spot is often more noticeable than a slight color mismatch. Color blending also tends to look different after the store warms up, so schedule reopening after the final cure window recommended by the finish manufacturer ().
Fix loose boards and gaps before you refinish
Finishing over movement is the fastest route to repeat repairs in a retail setting. If boards lift at edges or move underfoot, stabilization should happen first—before patching, sanding, or applying any new coating.
– If boards are lifting at the edges or moving underfoot, repair that board movement first—finishing over loose boards will usually fail again.
– For small areas, you may be able to correct fastening or re-secure planks using the approved method for your flooring type (solid vs. engineered changes the right approach) ().
– Address the cause of gaps: if it’s seasonal movement, you’ll want to manage humidity; if it’s moisture, stop the moisture entry and let materials stabilize before repair.
Any repair that covers an area with active board movement must stabilize the substrate first, or finish crack and wear typically follows.
Solid and engineered hardwood require different fastening and repair approaches, so using the wrong method can damage tongue-and-groove joints.
Gaps are where “why” matters most in hardwood floor repair in a retail store. Seasonal movement is common when indoor relative humidity fluctuates; moisture intrusion is not. A practical way to separate these is to observe whether the issue correlates with weather/HVAC cycles (seasonal changes) or with a persistent location (plumbing, exterior leak, drainage pattern).
If you suspect moisture, document the condition before any sanding or refinishing:
– Identify nearby plumbing, restroom/kitchen lines, exterior penetrations, or recent maintenance work.
– Record whether cupping/crowning is consistent across an area or concentrated near a single entry point.
– Allow wood to equilibrate before repair once the moisture source is stopped (your flooring manufacturer should specify stabilization conditions for your system).
When you re-secure boards, follow your flooring manufacturer’s approved technique. Improvised nailing/screwing can create new “pin” points, squeaks, or splintering—problems that are very hard to correct after a finish is back on.
Sanding and refinishing in a retail store without spreading dust
Controlled containment is the difference between a successful commercial refinish and a store-wide cleanup event. Use dust control equipment designed for hardwood sanding and isolate the work zone before you abrade any coating.
– Contain dust: use proper floor-sanding dust collection/HEPA vacuum setups and isolate the work zone with plastic barriers ().
– Plan the work order: patch/level first, then sand to a uniform prep level, then apply stain/finish only after the surface is properly prepared.
– Blend for retail reality: lighting and customer sightlines make transitions obvious—aim to feather edges and maintain consistent finish sheen across the repaired zone.
OSHA regulates respirable crystalline silica exposure during abrasive cutting and sanding, with a PEL of 0.05 mg/m³ (50 µg/m³) as an 8-hour TWA.
HEPA filtration is designed for high particle capture; the US EPA describes HEPA filters as capturing at least 99.97% of particles at 0.3 microns.
Because this is a retail store, dust control also has compliance and operational impacts—customer cleaning, air quality, and cross-contamination risk. According to OSHA 29 CFR 1910.1053, the respirable crystalline silica PEL for most industries is 0.05 mg/m³ (50 µg/m³) as an 8-hour TWA (time-weighted average) (updated standards in effect through recent revisions). According to the US EPA HEPA filter guidance, HEPA systems are rated for ≥99.97% capture at 0.3 µm particle size. And for wood flooring stability, NWFA guidance commonly references indoor relative humidity in the 35%–55% RH range to help reduce seasonal expansion/contraction issues NWFA wood flooring humidity guidelines.
Beyond “having a vacuum,” isolate the zone:
– Barriers: Use plastic sheeting and taped seams to limit dust migration.
– Vacuum integration: Match your sanding heads to the dust shroud and vacuum hose to reduce airborne release at the source.
– Waste control: Dispose of sanding debris according to your store’s environmental and safety plan.
Recommended grit progression (helps you control transitions)
The table below is a practical “work order” reference for hardwood floor refinishing in retail settings, helping you move from defect removal to finish-ready smoothness.
Common Hardwood Refinish Sanding Grit Progression (Retail-Use Reference)
| # | Sanding grit (mesh) | Best for | Blend/detail risk | Smoothness rating |
|---|---|---|---|---|
| 1 | 36 | Heavy defect removal | High | ★★ |
| 2 | 50 | Moderate leveling | Medium | ★★★ |
| 3 | 60 | Scratch refinement | Medium | ★★★ |
| 4 | 80 | Finish prep baseline | Low | ★★★★ |
| 5 | 100 | Uniform surface feel | Low | ★★★★ |
| 6 | 120 | Stain-ready smoothing | Very low | ★★★★★ |
| 7 | 150 | Fine finishing pass | Very low | ★★★★★ |
Note: the “best for” and smoothness expectations depend on your existing finish condition and coating type, so always align sanding steps with your chosen sanding system and finish manufacturer recommendations ().
What can go wrong (common mistakes and edge cases)
These failures usually come from repairing the symptom while ignoring the cause—especially movement, moisture, and compatibility. In a retail store, dust and scheduling constraints also magnify mistakes because you may reopen before materials fully stabilize.
– Finishing over unresolved movement: If boards are still loose, any patch or refinish is likely to crack, separate, or quickly wear again.
– Using the wrong filler/finish chemistry: Some fillers and coatings don’t bond well to existing finishes or sealers—always follow compatibility guidance from the specific products involved.
– Skipping prep or cleaning: Remaining waxes, cleaners, or floor residue can cause fisheyes, peeling, or soft spots.
– Underestimating dust and customer exposure: Dry sanding without strong containment can spread dust across the store and create compliance/sanitation issues ().
– Ignoring environmental conditions: If humidity is off, you can re-create gaps or movement right after repair. Stabilize conditions before and after work.
– Spot-repair mismatch: Even when the patch “works,” color and sheen blending may still look uneven in retail lighting—expect some visual difference unless you refinish enough area to blend.
The most common “repeat repair” driver is active board movement, which causes newly applied finish to crack or wear along repair boundaries.
Dust control mistakes can create both visibility problems (grit in the finish) and compliance problems (respirable dust exposure).
Here’s the tradeoff pattern we see most often when teams are deciding scope for hardwood floor repair in a retail store:
| Common approach | What it usually solves | Where it fails |
| Spot patch/finish blend | Finish chips, localized wear | Moisture/movement under the surface or big sheen transitions |
| Partial refinish | Multiple-plank wear, better visual blending | Insufficient dust containment or incorrect sanding/compatibility |
As of 2026, the practical edge is process control: if you can’t control dust, cure time, and environment during hardwood floor repair in a retail store, the risk rises sharply—even when materials are correct.
Verdict: DIY spot repairs vs hiring a pro
DIY is most reasonable for small surface issues where boards are stable and your finish system is straightforward. Hire a flooring pro for loose/lifting boards, moisture-related damage, or any repair where dust containment and perfect blending are critical to customer perception.
– DIY is most reasonable for small surface issues (chips, scratches, minor dents) where boards are stable and the finish system is straightforward.
– Hire a flooring pro if you have loose/lifting boards, suspected moisture damage, large visible transitions you must match perfectly, or if sanding/refinishing requires strict dust containment and fast turnaround in an active store.
– Downside of DIY: You may get a repair that’s physically solid but visually obvious (color/shine mismatch) or that fails sooner if the cause of movement isn’t corrected.
– Skip this approach entirely if customers can’t be kept away from the work zone, if your floor may contain ongoing moisture problems, or if you’re not confident matching the existing finish.
If loose boards are present, hiring a pro is often justified because substrate stabilization quality determines how long the finish will last.
In active retail environments, a professional sanding workflow with containment can reduce airborne dust migration and improve final appearance consistency.
Ultimately, the most defensible decision framework for hardwood floor repair in a retail store is this: diagnose the cause → match the repair scope to the cause → control dust and cure time → confirm blending under your store’s lighting conditions. If any one of those four elements can’t be reliably managed, the “cheaper” approach can turn into repeat cost.
| Quick hardwood repair checklist (retail store) |
|---|
| Identify damage type: surface only vs. loose/lifting vs. moisture-related |
| Stop the cause (impact source, moisture entry, traffic pattern) |
| Protect the area: barriers + cleanup plan |
| Confirm floor type (solid vs. engineered) and follow its repair instructions |
| Use compatible filler/patch products; prep clean and dry |
| Level and blend carefully; don’t finish over movement |
| Allow proper cure/dry time before reopening (per product specs) |
| Final inspect under store lighting before full reopening |
After you match the repair to the real cause (finish damage vs. movement vs. moisture), most hardwood floor fixes in a retail store become manageable: clean/prep well, use compatible materials, contain dust, and don’t reopen the area until the materials are fully ready. Start with inspection and product/compatibility checks, then choose spot repair for small stable damage or partial refinish (or a professional) when blending and board stability matter.
Sources (primary/official references)
– If you’re sanding hardwood:
– OSHA respirable crystalline silica standard: 29 CFR 1910.1053
– HEPA filter performance description: US EPA guidance on HEPA filters
– Wood flooring humidity guidance: National Wood Flooring Association (NWFA) humidity recommendations
Frequently Asked Questions
What are the most common damage types on hardwood floors in retail stores and how do you identify them?
Retail environments often see scratched finish from foot traffic, dents from rolling carts, gapping joints from temperature swings, and water stains from mopped spills. Start by dry-checking the surface for loose boards or raised edges, then look for “cupping” or “crowning” caused by moisture imbalance. Use masking tape tests to see if the finish is worn through, and note the location so you can match repairs to the specific cause (impact vs. moisture vs. abrasion).
How do you repair scratched or worn finish on hardwood floors in a retail space without disrupting daily operations?
For minor scratches and dull areas, the fastest approach is usually a localized recoat or spot refinishing after cleaning and lightly abrading the surface. Protect nearby aisles with plastic sheeting, and keep ventilation controlled so dust and fumes stay within safe limits for customers and staff. Use stain-matching techniques before applying a compatible hardwood floor finish to blend the repair with the surrounding traffic-worn areas.
How can you fix squeaky boards and loose planks in a retail hardwood floor?
Squeaks and movement typically come from boards that have separated from joists or subfloor fasteners. Re-secure using appropriate screws (angled where needed) through the subfloor and, if the plank finish has to be disturbed, plan for refinishing of those sections. In retail hardwood repair, it’s important to avoid overdriving fasteners that can cause additional cupping or surface bulging.
Why do hardwood floors in retail stores develop gaps or buckling, and when should you call a professional?
Gaps and buckling often result from moisture imbalance, HVAC cycling, or changes in humidity from open doors, loading docks, and seasonal weather. If you notice widespread gapping, repeating board movement across the store, or signs of moisture intrusion beneath the flooring, professional assessment is recommended to prevent recurring damage. Correcting the root cause (humidity control, leak detection, and subfloor conditions) is just as important as repairing the affected hardwood planks.
What is the best way to repair water stains or localized damage on hardwood flooring in a retail store?
First, stop the source of moisture and remove any standing water so the hardwood floor doesn’t continue to swell or stain. For light surface staining, cleaning, controlled drying, and then sanding/spot refinishing with the correct hardwood floor stain and sealer can restore appearance. For deeper penetration, cupping, or persistent discoloration, you may need to replace affected boards and then refinish the repair area to match the retail store’s existing finish and sheen.
📅 Last Updated: October 17, 2026 | Topic: How to repair hardwood floors in a retail store? | Content verified for accuracy and freshness.
References
- Wood flooring
- https://en.wikipedia.org/wiki/Floor_refinishing
- hardwood floor repair | NWFA
- https://www.nps.gov/search/?query=historic+wooden+floors+preservation+brief
- https://www.cdc.gov/niosh/topics/wooddust/
- Wood Dust – Overview | Occupational Safety and Health Administration
- Lead Renovation, Repair and Painting Program | US EPA
- https://scholar.google.com/scholar?q=hardwood+floor+repair Google Scholar
- https://scholar.google.com/scholar?q=wood+floor+patching+refinishing+sanding Google Scholar
- https://scholar.google.com/scholar?q=commercial+hardwood+floor+maintenance+repair+retail Google Scholar

[…] (especially in an occupied or semi-occupied store), the biggest differences from a home install are dust control, protecting fixtures, and coordinating access so the store can open or operate […]
[…] Schedule repairs for traffic-worn planks: replace boards if necessary, and refinish only when it’s time (spot-fixing without the right prep can make […]