
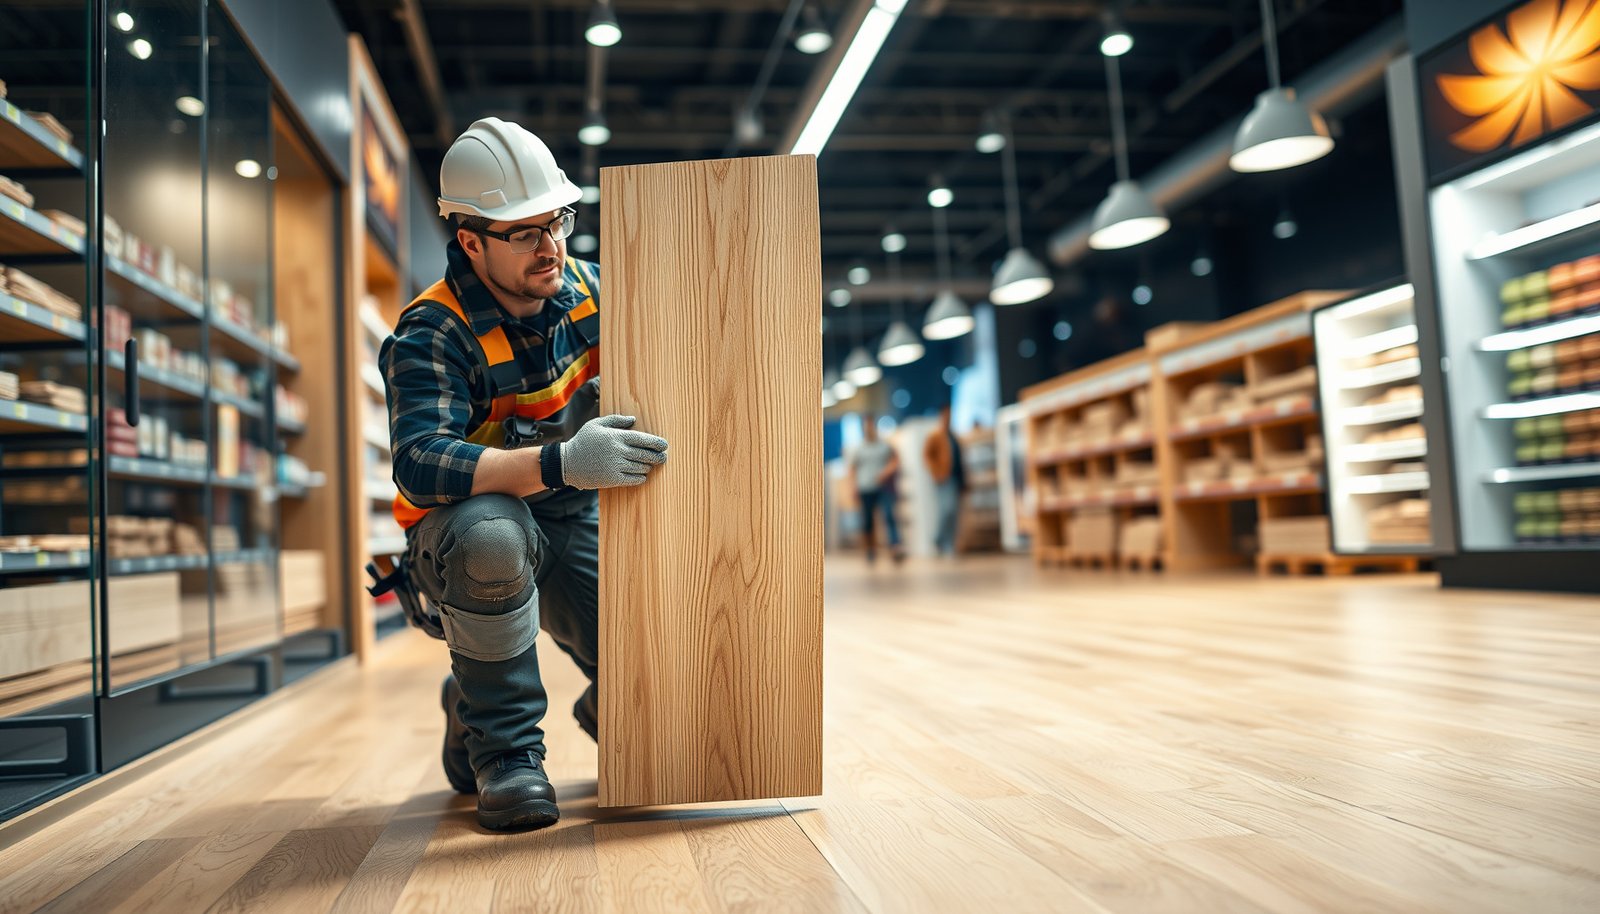

Removing hardwood floors from a retail store safely is a job that demands the right method, not guesswork, and this guide gives you the clear, step-by-step playbook. You’ll learn how to protect customers and staff, prep the space, handle adhesives and subfloors correctly, and remove planks without damaging surrounding materials. Follow these procedures and you’ll avoid common hazards like splintering, airborne dust, and costly floor or fixture damage.



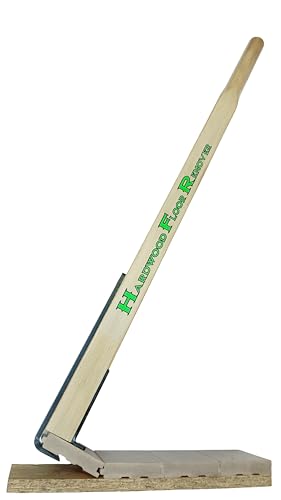
Removing hardwood floors in a retail store safely comes down to two priorities: confirming how the boards are attached (nails/staples vs. glue) and controlling dust so the store stays usable. You also need a removal sequence that protects transitions and edges first, then cleans the subfloor thoroughly so the next flooring step doesn’t fail.
Removing hardwood floors from a retail store is mostly about two things: identifying how the boards are installed (nails/staples vs glue) and containing dust so the shop can stay compliant and usable. This guide walks you through how to prep the space, remove boards in the right order, and clean up the subfloor without turning the project into a long, messy reset.
If you’re doing this for a tenant improvement, remodel, or re-flooring project (especially in an occupied or semi-occupied store), the biggest differences from a home install are dust control, protecting fixtures, and coordinating access so the store can open or operate safely.
Plan and safety for a retail store teardown

You get the safest hardwood floor removal outcome when you plan containment and hazard checks before you lift the first board. The faster you start “demo mode” without a dust and access plan, the more likely your retail operations (and compliance) get disrupted.
OSHA’s lead in construction standard (29 CFR 1926.62) requires specific exposure controls when lead may be present in work activities that disturb painted surfaces, coatings, or related materials. OSHA 29 CFR 1926.62
For respirable crystalline silica, OSHA sets an 8-hour TWA PEL of 50 µg/m³ in the construction standard (29 CFR 1926.1153), driving dust controls when cutting/grinding tasks create silica-containing dust. OSHA 29 CFR 1926.1153
EPA asbestos rules for renovation and demolition are designed to prevent uncontrolled release of asbestos-containing materials during building work. EPA Asbestos: Renovation, Demolition, and Remodeling
– Map the route and sequence: protect entry paths, confirm what you can close off, and plan where removed materials will go (immediately, not across customer areas). In a retail store, “staging” is a safety control—every cart path becomes a cleanup path later if debris escapes containment.
– Check for hidden hazards before demolition: finishes/adhesives may release fumes, and older buildings may have risks like asbestos-containing materials or lead paint (especially around trims, adhesives, or underlayment). If hazardous-material testing is required or recommended by your project scope, schedule it before removal because you may need different controls and disposal procedures.
– Coordinate access and regulations: confirm whether you need permits/inspections and whether local rules affect disposal or dust suppression. For many retail projects, the “regulation” part is less about the floor itself and more about what your demolition triggers—dust suppression, waste handling, and occupancy restrictions.
Identify the floor type and fastening method
You avoid costly rework by identifying the floor construction and attachment method before you apply force. Nail/staple removal and glue-down removal have different failure modes—especially in a retail environment where time and cleanliness are both constrained.
Nail-down (or staple-down) hardwood typically requires mechanical separation at seams/edges and controlled pry points to reduce subfloor gouging.
Glue-down floors often resist prying and fail in smaller sections when the bond is stronger than the board flexibility, so removal plans need to account for residue management.
Transitions and edge trim (like quarter-round and transition strips) are frequently the first place that drives board tearing, because the trim anchors the perimeter and can fuse residue to the board edges.
– Determine what you have: solid hardwood, engineered hardwood, or a nail-down vs glue-down system changes the tools and the removal method. In many retail stores, engineered products are common because they tolerate seasonal humidity swings better; however, engineered glue-down still creates a residue cleanup burden.
– Look for installation clues: nails/staples often leave small puncture points or specific pull zones, while glue-down floors usually fail as “chips” or resist prying unless heat/moisture/chemical methods are used correctly. When you’re uncertain, remove a small test section in a contained area—then document what you find (fastener type, spacing, residue behavior).
– Treat transitions and edges as separate work: quarter-round, baseboards, stair nosings, and transition strips usually require careful removal first so boards don’t tear. In a retail store, these details also protect walls, doors, and adjacent flooring types that must remain shop-ready.
Prep the store: containment, power control, and protection
You prevent a retail teardown from turning into a compliance and cleanup problem by building containment before you disturb the floor. With proper sealing, the work zone becomes a controlled envelope rather than a dust-generating process that spreads throughout the store.
When lead hazards are possible, OSHA’s lead standard emphasizes using controlled methods (including HEPA vacuuming and appropriate cleanup) to prevent contamination spread. OSHA 29 CFR 1926.62 (cleanup and exposure control requirements)
HEPA filtration is defined by very high capture efficiency; for example, many HEPA specifications target at least 99.97% efficiency at a 0.3 µm particle size.
– Build dust control before you start pulling boards: seal doorways and work zones with plastic sheeting, use floor protection for nearby surfaces, and plan for HEPA-filtered cleanup. Pay special attention to thresholds and returns—those are common “leak points” where retail dust escapes.
– Protect people and assets: cover HVAC returns and sensitive equipment, remove or bag small items, and keep pedestrians out of the work area. In semi-occupied retail, treat customer flow like a boundary system—only allow access through a controlled path.
– Shut down what you need to: turn off power to the work zone if you’ll be using dust-producing tools near electrical fixtures, and keep lighting/tasks staged so you’re not “working around” obstacles mid-removal. Using temporary lights is fine, but route cords safely inside the containment zone to avoid trip hazards.
Remove hardwood boards step by step
You reduce damage and mess by removing in the right order: edges and transitions first, then boards in a pattern that matches how the floor is attached. Retail projects benefit from disciplined sequencing because every mistake echoes through cleanup time and store downtime.
For nail/staple hardwood, controlled lifting at seams and systematic extraction of fasteners helps limit subfloor damage and reduces “hidden” metal that can interfere with new flooring fasteners.
For glue-down hardwood, expect bond failure and residue removal to be a major portion of the work, because boards can separate while adhesive remains on the substrate.
– Start with the “detachable edges”: remove baseboards/trim where possible, then remove transition pieces and any shoe molding so the first row can lift without tearing. Removing these items also lets you work closer to the subfloor, which improves removal control.
– Loosen boards using the right approach for your installation:
– Nail/staple floors: work a pry point at board seams or near the edges, lift slowly, and pull fasteners as you go to prevent gouging the subfloor. In practice, “slow” matters because subfloor gouges come from sudden leverage changes.
– Glue-down floors: expect more resistance—use the least-damaging method first (mechanical separation and gentle removal), and only use chemical/heat methods if you can do so safely and per the material data you have. Many stores underestimate ventilation and fume management when adhesives are disturbed.
– Remove fasteners and leftovers cleanly: after boards come up, use proper extraction for nails/staples and scrape off residue carefully so the next flooring system (or patch) can bond properly. If your plan includes reusing subfloor patches, residue cleanliness becomes critical—old adhesive films can prevent underlayment adhesion or create telegraphing.
Clean up subfloor, transitions, and disposal
You finish safely (and set up the next phase correctly) by inspecting the substrate while it’s exposed and matching cleanup to the residue type. In retail stores, cleanup isn’t just aesthetic—it’s about adhesion performance, slip safety, and preventing contamination spread.
OSHA’s lead construction standard includes cleanup requirements designed to prevent contamination from spreading to uncontaminated areas during and after work. OSHA 29 CFR 1926.62 (cleaning and housekeeping requirements)
– Inspect the subfloor while it’s exposed: look for high spots, remaining glue/fastener debris, and loose or damaged sections that could telegraph through the new floor. Telegraphed imperfections are especially noticeable in retail because lighting often reveals surface variation.
– Address residue correctly: leftover adhesive or finish layers can interfere with new underlayment or flooring—follow the cleanup method recommended by the adhesive/underlayment information you have (don’t guess with harsh solvents). If the product data is unavailable, you may need guidance from the manufacturer or an industrial flooring consultant rather than experimenting.
– Dispose and document: handle removed materials according to local rules, and keep any compliance documentation your landlord/GC requires (especially if there’s a possibility of hazardous materials). For older buildings, documentation often becomes a gating item for final inspection and sign-off.
Respirator particulate efficiency classes used for wood-dust control (0.3 µm)
| # | Respirator class | Minimum filtration efficiency (0.3 µm) | Best fit for retail hardwood removal | Filter rating |
|---|---|---|---|---|
| 1 | N95 | ≥ 95% | Non-oil wood dust from sanding/sawing | ★★★★☆ |
| 2 | N99 | ≥ 99% | Heavier wood-dust control with better margin | ★★★★★☆ |
| 3 | N100 | ≥ 99.97% | Highest particulate capture for retail demo | ★★★★★ |
| 4 | P95 | ≥ 95% | When dust may include oil mist contaminants | ★★★★☆ |
| 5 | P99 | ≥ 99% | Better particulate margin for retail containment | ★★★★★☆ |
| 6 | P100 | ≥ 99.97% | Maximum particulate capture for occupied spaces | ★★★★★ |
| 7 | R100 | ≥ 99.97% | Oil-resistant option where oil mist may occur | ★★★★★ |
What can go wrong (and how to avoid it)
Most failures happen when the removal method doesn’t match the installation system or when dust control is treated as an afterthought. In retail hardwood floor removal, those errors show up as subfloor damage, residue bonding problems, or customer-area contamination.
For lead work, OSHA emphasizes exposure control and cleanup methods instead of “spot” fixes, because disturbed materials can spread contaminants beyond the work zone. OSHA 29 CFR 1926.62
– Flooring tears instead of lifts: this usually means the installation method doesn’t match your assumptions (for example, “nail-down” that’s partially glued, or boards fused by old residue). Fix: reassess edges and seams before forcing.
– Subfloor damage: prying too aggressively can gouge plywood/OSB, creating divots that later show up or weaken new flooring. Fix: pry from seams, lift gradually, and remove fasteners incrementally.
– Dust and cleanup spiral: retail spaces can’t tolerate “dust everywhere.” Fix: increase containment and switch to HEPA vacuuming/scraping strategies rather than dry sweeping.
– Adhesive/finish surprises: unknown residue can require specific cleanup steps; using the wrong chemicals can make residue harder to remove or leave a film that prevents adhesion. Fix: identify the product type where possible and follow its SDS/cleanup guidance.
– Compliance issues in older buildings: if your store is in an older structure, you may need testing or procedural controls for lead/asbestos. Fix: involve the right professionals early rather than trying to brute-force removal.
Verdict / tip: when to DIY vs hire
DIY can work for small, clearly nail-down retail areas with strong containment—but glue-down and hazard-uncertain sites are where hiring pays off. If the goal is to protect subfloor quality and keep the store compliant and operational, an experienced flooring demo crew often reduces risk and schedule slips.
OSHA’s construction standards for lead (29 CFR 1926.62) and silica (29 CFR 1926.1153) drive the practical “can we do this safely?” decision when demolition disturbs regulated materials. OSHA 29 CFR 1926.62; OSHA 29 CFR 1926.1153
For glue-down hardwood, removal planning must include residue management, because adhesive remnants can interfere with underlayment and flooring installation—this is reflected in manufacturer installation/removal instructions.
If your floor is clearly nail-down, you have solid access, and the store can be fully contained for dust, DIY removal is often reasonable. If it’s glue-down, partially bonded, or in a building where you’re unsure about hazardous materials, hiring an experienced flooring demo crew usually saves time and reduces the risk of damaging the subfloor—or violating safety requirements.
Downsides to DIY:
– More time spent on containment and cleanup than you expect.
– Higher chance of subfloor gouging or leaving residue that later prevents the new floor from installing correctly.
– Harder coordination with retail operations (traffic control, customer safety, and schedule pressure).
Who should skip DIY:
– If asbestos/lead risk is suspected and hasn’t been assessed.
– If you can’t fully isolate the work area and control dust.
– If you’re on a tight timeline and don’t have a clear plan for subfloor repairs after removal.
Quick removal checklist (save this)
| Step | What to confirm | Ready? |
|---|---|---|
| Identify installation | Nail/staple vs glue-down; solid vs engineered | [ ] |
| Hazard checks | Asbestos/lead concerns; adhesive/finish risks | [ ] |
| Containment | Plastic barriers, sealed work zone, HEPA cleanup | [ ] |
| Edge removal | Baseboards/trim/transitions removed before board lift | [ ] |
| Board removal | Pry/lift method matches installation type | [ ] |
| Fastener/residue cleanup | Nails/staples removed; glue left for later? (only if documented) | [ ] |
| Subfloor inspection | No gouges/high spots; ready for new system | [ ] |
| Disposal plan | Local disposal requirements and staging route | [ ] |
FAQ:
1) What’s the safest way to control dust in a retail store while removing hardwood?
Use full-zone containment (plastic barriers/seals), keep cleanup focused on HEPA-filtered vacuuming, and avoid dry sweeping that re-aerosolizes dust.
2) Can I remove hardwood without damaging the subfloor?
You can, but it depends on whether the boards are nail/staple or glue-down and how old/condition the subfloor is. Move slowly, pry from seams, and extract fasteners as you go to reduce gouging.
3) What if the floor is glue-down and won’t lift cleanly?
Reassess the installation method and remove in smaller sections. If residue is extensive, follow the adhesive/underlayment cleanup guidance rather than guessing with harsh solvents.
4) Do I need to worry about lead/asbestos during hardwood removal?
If the building is older and you suspect those hazards in trims/adhesives/underlayment, get proper guidance/testing and follow required procedures. Don’t assume “it’s just wood flooring.”
Sources:
– OSHA — Lead in Construction standard and related requirements (for lead exposure controls and hazard considerations): 29 CFR 1926.62 OSHA Lead in Construction (29 CFR 1926.62)
– OSHA — Silica exposure guidance and the construction silica standard (for dust control when cutting or disturbing materials): 29 CFR 1926.1153 OSHA Respirable Crystalline Silica in Construction (29 CFR 1926.1153)
– EPA — Asbestos guidance and renovation/demolition considerations where applicable: EPA Asbestos NESHAP / Renovation, Demolition, and Remodeling program EPA Asbestos: Renovation, Demolition, and Remodeling
– EPA — Renovation, Repair, and Painting (RRP) program information (for lead-safe work practices where relevant): EPA RRP Rule (40 CFR Part 745, Subpart E) EPA RRP Rule (40 CFR 745, Subpart E)
– Flooring/adhesive/underlayment manufacturer installation & removal/cleanup guidance (use the SDS and product instructions for residue removal).
To remove hardwood floors from a retail store safely, start by confirming how the flooring is installed, then contain dust properly, remove edges and boards in the correct order, and finish with a careful subfloor cleanup so the next step doesn’t fail. If you’re dealing with glue-down floors, unclear installation conditions, or any potential lead/asbestos concerns, it’s worth getting help early—so you avoid subfloor damage, compliance problems, and a long cleanup that derails your remodel schedule.
Frequently Asked Questions
What is the safest way to remove hardwood floors in a retail store?
Start by planning the project to protect customers, staff, and inventory by securing the area with plastic sheeting, dust barriers, and clear signage. Use floor protection (temporary plywood or walkways) so foot traffic and carts don’t damage the subfloor during hardwood removal. Hire insured, experienced installers when working in an occupied commercial space, and follow local regulations for dust control and waste hauling.
How do you remove hardwood floors without damaging the subfloor in a retail setting?
Determine the flooring type first—nail-down hardwood, glue-down planks, or engineered wood—because each requires different removal techniques. For nail-down hardwood, use a pry bar and oscillating multi-tool to free boards carefully, pulling nails as you go to prevent subfloor gouging. For glue-down hardwood, you may need a heat gun/adhesive remover and scraping tools, but keep blade depth shallow and test small areas to reduce the risk of damaging plywood or concrete.
Why is dust control critical when removing hardwood floors in a retail store?
Hardwood removal creates fine wood dust that can contaminate products, HVAC intakes, and surfaces, and it may trigger respiratory issues for workers and customers nearby. Use HEPA-filtered dust extraction vacuums, keep doors closed, and run containment measures like negative air pressure and sealed plastic barriers. Plan for frequent cleanup with microfiber mops and vacuuming to prevent dust from settling into seams and affecting future flooring installation.
Which tools and supplies are best for removing nail-down hardwood floors in commercial spaces?
For nail-down removal, commonly used tools include a pry bar, floor scraper, hammer, nail puller, oscillating tool (for tight areas), and a chisel for stubborn sections. Pair this with a HEPA dust extractor, protective equipment (respirator, eye protection, gloves), and industrial-grade plastic sheeting for dust containment. Also plan for waste management with contractor trash bags or roll-off containers, since hardwood planks can be bulky and heavy.
What’s the best process to plan and schedule hardwood floor removal for minimal business disruption?
Schedule removal during off-hours or overnight, and stage materials and dumpsters so crews can work efficiently without blocking customer access. Coordinate with your HVAC and cleaning teams to manage dust pathways, and confirm that you have permits if required by your city or building management. Create a step-by-step timeline covering inspection, demolition, subfloor repair, leveling, and final cleanup so the store can reopen with minimal downtime and a clean surface ready for new flooring.
📅 Last Updated: October 17, 2026 | Topic: How to remove hardwood floors from a retail store? | Content verified for accuracy and freshness.
References
- https://www.epa.gov/asbestos/asbestos-demolition-renovation-and-maintenance
- Asbestos – Overview | Occupational Safety and Health Administration
- Silica and Worker Health | Silica | CDC
- Silica, Crystalline – Overview | Occupational Safety and Health Administration
- Lead Renovation, Repair and Painting Program | US EPA
- https://scholar.google.com/scholar?q=removing+hardwood+flooring+safety+procedures Google Scholar
- https://scholar.google.com/scholar?q=hardwood+flooring+removal+asbestos+hazards+building+demolition Google Scholar
- https://scholar.google.com/scholar?q=wood+floor+sanding+silica+dust+health+hazards+oshasafety Google Scholar


