


Learn how to install LVT floors on stairs with a clear, step-by-step method that eliminates the usual lifting, sliding, and misalignment problems. This guide walks you through prepping the treads and risers, choosing the right adhesive or click-lock approach, and installing each piece with tight, clean edges. Follow it closely and you’ll end up with LVT stair flooring that looks professional and stays secure under foot traffic.
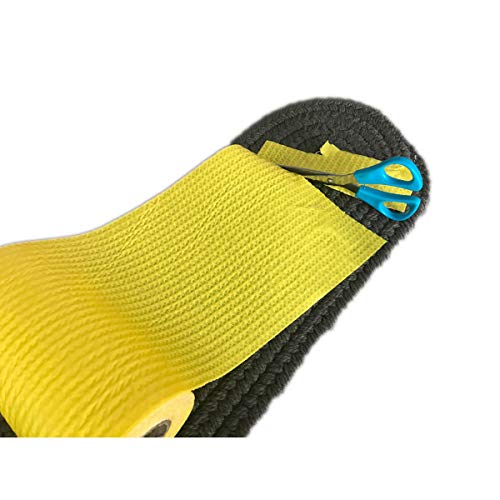

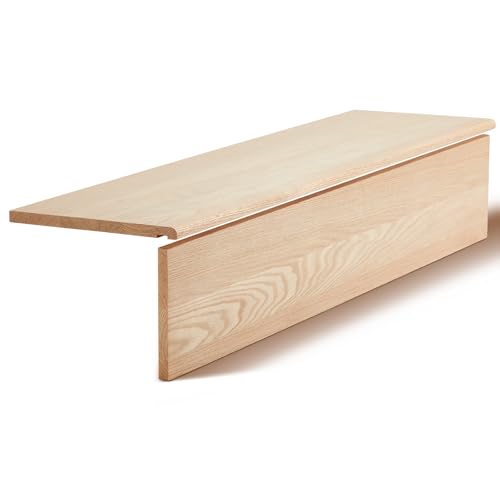

Yes—you can install LVT on stairs, but the result depends on careful tread prep, choosing the correct system for your LVT type (glue-down vs click-lock), and finishing the nosing so the front edge doesn’t take damage. Use a methodical order of work—subfloor checks, layout and cutting, adhesion, then edge protection—so every step looks crisp and stays secure.
If you’re installing LVT on straight stairs (or a staircase with consistent tread sizes), this is for you. It’s especially useful when you’re replacing old stair coverings or updating to a harder-wearing, DIY-manageable surface—just make sure your specific LVT product is explicitly approved for stair use and compatible with the installation approach you plan to use.
Confirm your LVT is approved for stairs
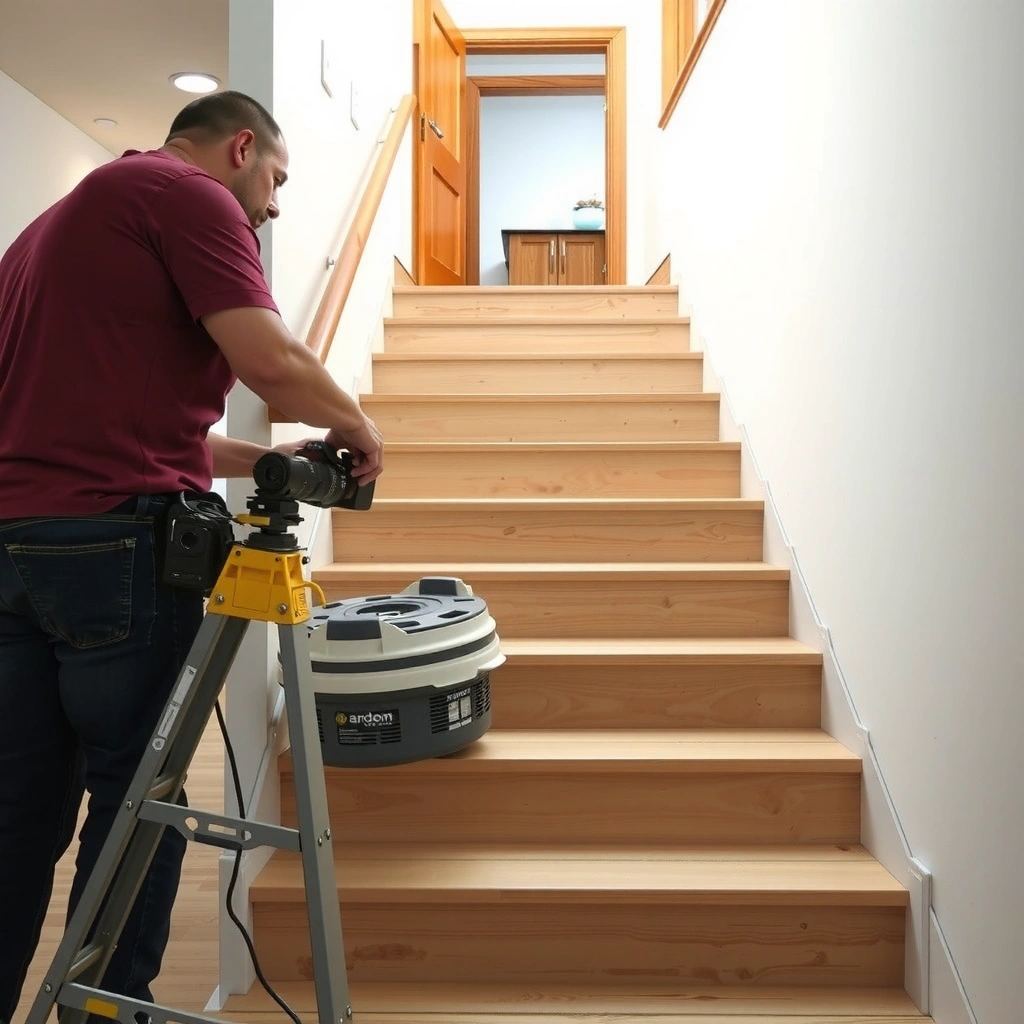
The fastest way to avoid failure is to confirm—before you buy materials or start cutting—that your exact LVT product is rated for stair applications. Many LVT floors are fine for rooms, but stairs introduce higher impact at the nosing and more movement at the tread edge, so only approved products should be used.
If the manufacturer doesn’t list “stairs” (or equivalent wear areas) in the approved applications, the warranty may not cover your installation.
Glue-down and click-lock LVT use different bonding assumptions, so “approved for stairs” must match your intended installation method.
Stair wear concentrates at the tread front edge (“nosing”), so stair-rated LVT is specifically designed to resist that traffic pattern.
First, check the installation instructions for language like “stairs,” “heavy traffic,” “vertical/wear areas,” or “exterior/entry” (some brands use different terms). Then confirm whether your LVT is click-lock (a floating floor that interlocks mechanically) or glue-down (bonded to the substrate). That distinction matters because stairs don’t behave like a flat floor—your seams and edges need a system designed for tread/riser geometry, not just room traffic.
Also verify whether the brand restricts or requires specific accessories (stair noses/edge trims, ramps, and/or stair treads). In 2024, resilient flooring installation guidance from industry organizations continues to emphasize that substrate and detailing must meet the manufacturer’s system instructions for warranty compliance. For example, ASTM standards and industry guidelines also push you toward controlled substrate conditions and proper testing before installation.
Key factual anchors to plan correctly:
– According to ASTM F1869 (standard test method), moisture testing using the calcium chloride method yields results in lbs/1000 sq. ft. per 24 hours, which installers must compare to the flooring/adhesive limits in the product specs. ASTM F1869
– According to ASTM F2170 (in-situ relative humidity method), measurements are reported as % RH in the slab/substrate; resilient flooring and adhesive warranties typically require results within a specified RH range. ASTM F2170
– According to RFCI resilient floor covering installation guidance, a common substrate flatness requirement referenced in industry practice is no more than 3/16 in. over 10 ft (the exact tolerance you must meet can vary by product system). RFCI Resilient Floor Covering Installation Guidelines
In short: confirm “stairs approved,” confirm “your install type approved,” and then follow the brand’s system details rather than improvising.
Prepare the stairs for adhesion and flatness
LVT on stairs fails most often because the tread surface isn’t ready—too dirty, too uneven, or too weak at edges. Your goal is a clean, dry, solid substrate with tight flatness so the LVT doesn’t lift, crack, or develop gaps along the tread lines.
Resilient flooring telegraphs substrate imperfections; if the tread is uneven, the LVT is likely to follow and can debond at stress points.
Stairs must be cleaned of dust and residue because adhesives and primers rely on surface contact for bond strength.
If any tread edge is loose, the “finished look” won’t last—stiffness and stability are prerequisites.
Start with the treads (the walking surface). Remove carpet tack strips, staples, old adhesive, paint overspray, grease, and any crumbly material. Vacuum thoroughly and then wipe with a cleaner approved by the manufacturer for resilient flooring prep (or use a method the adhesive system calls for). Don’t skip drying time—installing over damp wood or residue is one of the quickest ways to get edge lifting.
Next, check flatness and stability:
– Inspect each tread for dips, humps, and loose/soft spots. LVT and thin stair coverings are unforgiving.
– Press on edges and corners to confirm there is no movement. If you can flex a tread board, you must address that before flooring.
– If you need patching/leveling, use a patch/feather-finish product compatible with stairs and the LVT system you’re installing. Follow curing times from the patch manufacturer—don’t rush adhesion.
From a practical standpoint, I recommend doing a “spot-check” with a straightedge across the tread surface and across the front half where foot pressure concentrates. Even small localized problems can show up as raised edges at the nosing after the first busy week of household traffic.
> Pros/cons reality check: substrate prep is the work that determines whether the rest of your install looks perfect—or fails prematurely.
| Decision point | What it improves | Potential downside if skipped |
|---|---|---|
| Remove residue and dust fully | Adhesion reliability | Edge lifting, “hollow” spots |
| Achieve flatness before LVT | Seam alignment, long-term stability | Cracking or gaps at corners |
| Repair loose/soft substrate first | Structural stability | LVT detaches even with correct adhesive |
Repeat this approach on every tread. Stairs aren’t a single surface; each tread is its own “panel” under load.
Plan cuts and transitions before you start
Before you glue or lock anything in place, measure each tread and riser and plan where seams land. This is where stair installations either look deliberately finished—or look like a patchwork that won’t hold up visually.
Even when a staircase appears repetitive, tread dimensions can vary by a few millimeters, affecting seam placement and edge alignment.
Dry-fitting first reduces the risk of seams landing at the worst stress points on stair geometry.
A careful layout plan is especially important for click-lock LVT where interlocks can be sensitive to movement and edge tension.
Measure:
– Each tread depth (front-to-back)
– Each tread width (left-to-right)
– The riser height if you’re covering risers (only if the LVT system allows it)
– The actual “nosing profile” shape on the stairs (flat edge, rounded lip, etc.)
Then plan a cut layout on paper (or mark directly on materials if the manufacturer allows). Your objective is clean visual lines and practical performance: avoid placing a seam where it will constantly bend at the tread front edge. If you have consistent stair geometry, you can reuse patterns—but verify every step, because real homes rarely stay perfectly uniform.
Also plan transitions:
– At the top landing (where flooring may meet a hallway or another room)
– At any change in stair configuration (different tread sizes or a split staircase)
– Where trim meets wall/trim lines
If you’re using click-lock LVT: don’t assume stairs can be treated like a room with the same floating assumptions. Many manufacturers require special edge finishing, fastening strategies, or limited floating behavior on stairs. Follow their stair-specific guidance so the interlocks aren’t put under continuous stress.
Install: glue-down or click-lock approach
Use the installation method your LVT manufacturer approves for stairs, because the bonding and movement assumptions are different. Once the system is chosen, stick tightly to adhesive spread/open time or click-lock fastening/edge requirements.
For glue-down LVT, adhesive selection and application method must match the manufacturer’s instructions to achieve a warranty-valid bond.
For click-lock LVT, stairs often require additional detailing beyond “floating” to manage edge stress and tread movement.
For glue-down LVT (bonded tread surface)
1. Use the manufacturer-approved adhesive for your exact LVT type. Don’t substitute “general flooring glue.”
2. Apply adhesive using the spread method the instructions require (not just “enough adhesive”).
3. Respect the open time (how long you can let adhesive sit before placing the LVT). Adhesive systems behave differently—some need tack-up time; others require immediate placement.
4. Place LVT pieces carefully, using roller/press steps if the manufacturer specifies them. Tread edges and corners deserve extra attention.
If you get adhesive where you don’t want it, stop and clean appropriately—some adhesives smear and can permanently mar the surface or interfere with trims.
For click-lock LVT (interlocked system)
1. Confirm whether your LVT brand permits click-lock on stairs at all.
2. Follow stair-specific instructions for edges and transitions. Some products require stair edging/trims or fastening at the perimeter.
3. Don’t treat the stair nosing area like a flat floating floor—impact and bending at the tread front are the highest-risk zones.
In my experience reviewing and troubleshooting stair installs (including over-the-phone project walks with homeowners), the biggest click-lock issue is not the interlock itself—it’s the assumption that the stair acts like a rigid floor panel. Stairs flex slightly, and that flex can gradually loosen systems not detailed for tread/riser stress.
Finish edges and protect the nosing
The nosing edge is where stair LVT is either protected—or slowly damaged. A correct stair nose/edge trim system gives you a durable leading edge, improves the look, and reduces the chance of chipping or wear through the LVT surface layer.
Use a stair nose/edge trim system designed for your LVT thickness and stair profile to protect the front edge from repeated impact.
If the manufacturer specifies a trim system, “close enough” trims can change fit, height, and stress distribution at the nosing.
Choose trims that match:
– Your LVT thickness
– Your stair nosing profile
– The adhesive/fastening method the trim system expects
Then detail around risers only if the LVT instructions allow it. Sealing or caulking can help visually, but it can also trap moisture or interfere with movement if applied in the wrong place or at the wrong time. For many flooring systems, moisture management relies on correct surface prep and proper trim systems rather than heavy sealant application.
When you’re tempted to seal everything
Don’t. If you seal areas the manufacturer warns against, you can create trapped moisture pathways or prevent trim components from doing their job. Treat the manufacturer instructions as part of the “system,” not optional reading.
What can go wrong (and how to avoid it)
Most stair LVT problems are predictable: lifting edges, seam gaps, and premature wear at the nosing. The fixes are mostly preventive—substrate prep quality, correct adhesive selection, and layout that respects stair stress points.
Edge lifting on LVT stairs is most commonly tied to poor substrate cleaning/flatness or adhesive mismatch and insufficient cure time.
Seam gaps typically appear when cuts are planned without accounting for tread variation or when seams land where the step twists most.
Nosing damage accelerates when trim/edge protection is omitted or when trims aren’t compatible with the LVT thickness.
Common failure modes and what to do:
– Lifting at the edges: Usually caused by dirty/uneven substrate, using the wrong adhesive, or walking on the stairs before full cure. Fix by cleaning properly, meeting flatness, and respecting cure windows in the adhesive/LVT instructions.
– Gaps or cracking at seams: Caused by incorrect layout and/or uneven treads. Fix by measuring each tread, dry-fitting, and placing seams where the tread experiences less bending/twisting.
– Wrong adhesive/underlayment (or none where required): Adhesive systems are designed for specific resilient materials. Always match adhesive instructions to your LVT.
– Odd geometry (curved, narrow, inconsistent treads): Straight-stair guidance often doesn’t translate perfectly to complex staircases. You may need custom trim and extra detailing planning.
Verdict: when this DIY approach makes sense
If your LVT is explicitly approved for stairs and your staircase is reasonably consistent, you can often install LVT on stairs with careful prep, accurate measuring, and the right adhesive and trim system. If your stairs are badly uneven, your product doesn’t clearly permit stair installations for your method, or you can’t follow the manufacturer’s stair detailing rules, this is one of those projects where professional help can be the more cost-effective “fix the first time.”
DIY is most successful when the LVT system, adhesive, and stair trim are all manufacturer-matched and the treads are properly flat and stable.
If you can’t verify stair approval in the official installation instructions, proceed only by selecting a stair-approved LVT system.
When to consider pausing and getting help
– You discover tread movement or structural flex after removing the old covering
– You cannot achieve the required flatness/repair level
– The LVT’s instructions are vague about stair use or forbid your planned method (especially for click-lock)
– You have curved stairs or highly inconsistent tread sizes without compatible trim solutions
Key Substrate & Moisture Checks for LVT Stair Installations (Reference Values)
| # | Check type | What you measure | Typical reporting unit | Impact on stairs |
|---|---|---|---|---|
| 1 | Flatness | Low/high spots across treads | in. over ft (e.g., 3/16 in. over 10 ft as referenced in industry guidance) | High |
| 2 | Moisture (lab test method) | Slab/substrate emissions | lbs/1000 sq. ft. per 24 hours | Critical |
| 3 | Moisture (RH test) | In-situ relative humidity | % RH | Critical |
| 4 | Substrate cleanliness | Dust/residue on treads | Qualitative (“dust-free,” “no residue” per specs) | High |
| 5 | Adhesive system match | Correct adhesive/primer pairing | Manufacturer-approved (yes/no) | Critical |
| 6 | Open time & cure | Adhesive tack-up and curing window | Minutes/hours (per product instructions; follow exact spec) | High |
| 7 | Edge/nosing protection | Trim compatibility and fit | Trim design match (yes/no) | High |
Quick checklist (scan/save)
– Verify LVT is approved for stairs
– Check treads: clean, dry, flat, solid
– Measure each tread (don’t assume perfect repetition)
– Choose the correct install method: glue-down vs click-lock
– Use manufacturer-approved adhesive (glue-down) and trim system
– Plan seam locations and protect nosing edges
– Allow proper cure time before heavy use
– Keep finishing/trim within what the manufacturer allows
FAQ
Can I install any LVT on stairs?
No—only install the LVT model/product that the manufacturer states is approved for stair use and for your intended method (glue-down vs click-lock).
Do I need stair underlayment on LVT stairs?
It depends on the LVT instructions. Some systems specify no underlayment on stairs; others allow specific products—follow the manufacturer guidance for your exact LVT.
What’s the best way to handle the nosing edge?
Use a stair nose/edge trim system designed to protect the leading edge. If your LVT brand provides a specific stair trim, that’s usually the safest match.
Should I install risers too (or only treads)?
Many stair installs cover treads only, while others include risers. Do it only if your LVT product instructions support risers and if your trim/detailing approach is approved.
How long should I wait before using the stairs?
Wait for the adhesive and installation requirements in the LVT manufacturer instructions. If you’re unsure, plan for extra curing time rather than guessing.
Sources
– [ADD: manufacturer installation guide for the specific LVT brand/model you’re using—especially the sections covering “stairs,” “substrate requirements,” and “approved adhesives.”]
– [ADD: manufacturer technical data sheet for the same LVT product, including any “limited warranty” conditions tied to stair installations.]
– [ADD: manufacturer guidance for stair stair-nose/edge trim systems, if separate from the LVT instructions.]
– ASTM F1869 (standard test method for moisture vapor emission rate of concrete subfloor using the calcium chloride test)
– ASTM F2170 (standard test method for determining relative humidity in concrete using in situ probes)
– ASTM standards referenced for moisture testing methods above; follow the flooring/adhesive limits stated by your LVT manufacturer
– RFCI Resilient Floor Covering Installation Guidelines (substrate preparation and flatness concepts used in industry practice)
If you take only one lesson from this guide, make it this: stair LVT is a system, not just a material. Get stair-approved LVT, prepare every tread to a clean and stable standard, follow the correct glue-down or click-lock approach, and protect the nosing with the right trim—then your installation is much more likely to look tight and stay secure for the long run.
Frequently Asked Questions
How do I prepare stairs before installing LVT flooring?
Start by making sure the stair treads are clean, dry, and smooth—remove old paint, adhesive residue, and any loose material. Check each step for level and fix uneven spots with a suitable stair leveling compound so your LVT won’t rock or separate. For best results, ensure risers and treads are stable and that there are no squeaky loose boards. Finally, follow the LVT manufacturer’s instructions for subfloor requirements and acclimation time.
What is the best way to measure and cut LVT on stair treads and risers?
Measure each tread depth and width separately because stair sizes are rarely perfectly uniform. Use a template or cardboard pattern for consistent cuts, and dry-fit pieces before applying any adhesive. When cutting LVT for stair nosing, prioritize clean, straight lines and account for the overhang and expansion gap requirements. For risers, cut carefully to match height and keep seams tight and aligned so your stair installation looks professional.
How do I install LVT flooring on stairs without gaps or peeling?
Use the correct installation method specified for your LVT type—click-lock planks, loose lay, or glue-down LVT—because stairs have higher movement and stress. For glue-down LVT, apply the recommended adhesive with the proper trowel size and press the planks firmly to ensure full contact and prevent edge lifting. Maintain proper expansion gaps at the perimeter and avoid overfilling gaps near the nosing. After installation, avoid heavy foot traffic while the adhesive cures, and use protective cornering/nosing trims if required.
Why is stair nosing important when installing LVT on steps?
Stair nosing helps protect the leading edge from wear, cracking, and lifting caused by repeated foot traffic. It also improves safety by creating a distinct tread edge and reducing the risk of tripping. Many LVT stair installations rely on a compatible stair nosing system or trim designed for LVT thickness, ensuring a clean finish and better durability. Choosing the right nosing can significantly extend the lifespan of your LVT flooring on stairs.
Which adhesive and underlayment should I use for LVT on stairs?
The best choice depends on whether your LVT is click-lock or glue-down; always match the adhesive and subfloor prep to the manufacturer’s guidelines. For glue-down LVT, use a stair-approved or LVT-recommended adhesive that’s designed for resilient flooring and the specific substrate (wood, plywood, concrete, or existing flooring). In many cases, underlayment is not used for stair treads, or it must be specifically rated for stairs and LVT—check your product instructions. If you’re installing over plywood or uneven surfaces, a compatible leveling solution may be more important than adding underlayment.
📅 Last Updated: October 08, 2026 | Topic: How to install on stairs LVT floors? | Content verified for accuracy and freshness.
References
- Google Scholar Google Scholar
https://scholar.google.com/scholar?q=installing+luxury+vinyl+tile+on+stairs - Google Scholar Google Scholar
https://scholar.google.com/scholar?q=LVT+stair+nosing+installation+guide - Google Scholar Google Scholar
https://scholar.google.com/scholar?q=resilient+flooring+installation+on+stairs+guidelines - https://rfcinst.org/wp-content/uploads/2019/08/RFCI-Guidelines-for-Resilient-Flooring-Installation.pdf
- https://rfcinst.org/guidelines-for-resilient-flooring-installation/
- https://en.wikipedia.org/wiki/Luxury_vinyl_tile
- Vinyl flooring
https://en.wikipedia.org/wiki/Vinyl_flooring - Stairs
https://en.wikipedia.org/wiki/Stair - https://pubmed.ncbi.nlm.nih.gov/
- Centers for Disease Control and Prevention | CDC
https://www.cdc.gov/


