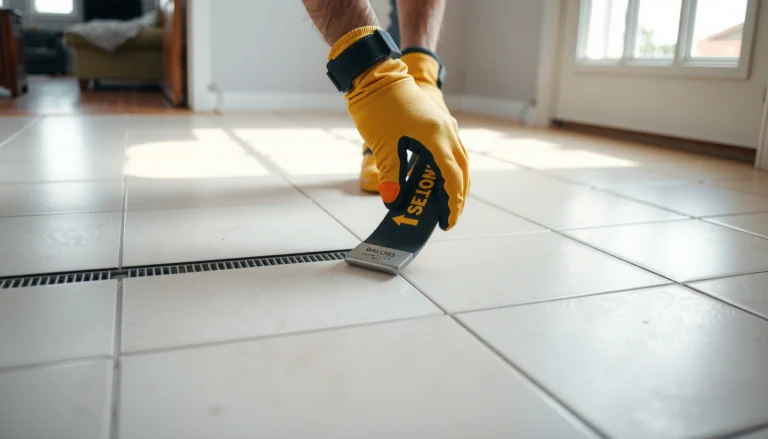

If you have gaps in porcelain tile floors, follow this step-by-step method to make them disappear cleanly and permanently. You’ll learn exactly how to diagnose the cause of the spacing—settling, failed thinset, or grout breakdown—then remove the loose material and reset the tile or regrout without cracking or hollow spots. By the end, you’ll know the correct filler and grout choice, plus the curing time needed for a tight, professional finish.


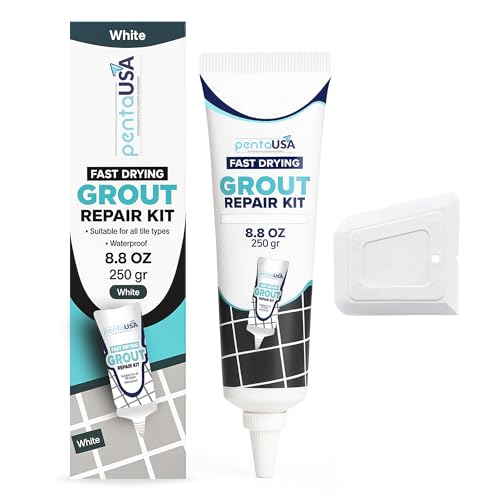
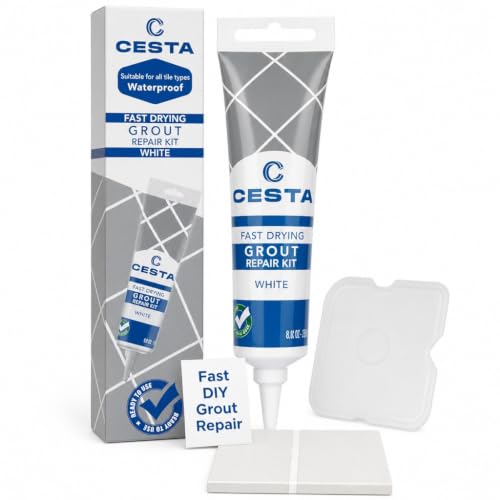
If you have gaps in a porcelain tile floor, the most reliable fix is to first confirm whether the tiles are actually moving (often due to movement joints or a substrate issue), then clean out any failed grout, and finally re-grout or re-set with the correct system. In practice, grout-only repairs work when the tile assembly is stable; if the floor is rocking or the gap is near a true movement joint/perimeter, you usually need a flexible sealant system and sometimes a spot re-set.
Gaps in porcelain tile are rarely “just cosmetic.” Porcelain floors expand, contract, and flex slightly with temperature and subfloor movement—so the tile system is designed to tolerate stress through correct thinset bonding, properly prepared substrate, correctly placed movement joints, and the right fill material by joint type. As of 2025, most successful DIY and pro repairs follow the same logic: diagnose the movement pathway, remove what failed back to sound material, and restore the tile assembly with a compatible grout/mortar or an approved movement-joint sealant. That approach prevents the gap from returning right after the new grout cures.
This is for homeowners and DIYers dealing with visible gaps in porcelain tile—especially along grout lines, edges, or corners—whether it’s from shrinkage, foot traffic, or a small installation mistake. If your floor rocks, you’re seeing lippage, or cracks are spreading, troubleshoot substrate movement before you fill anything.
Check what kind of “gap” you’re seeing
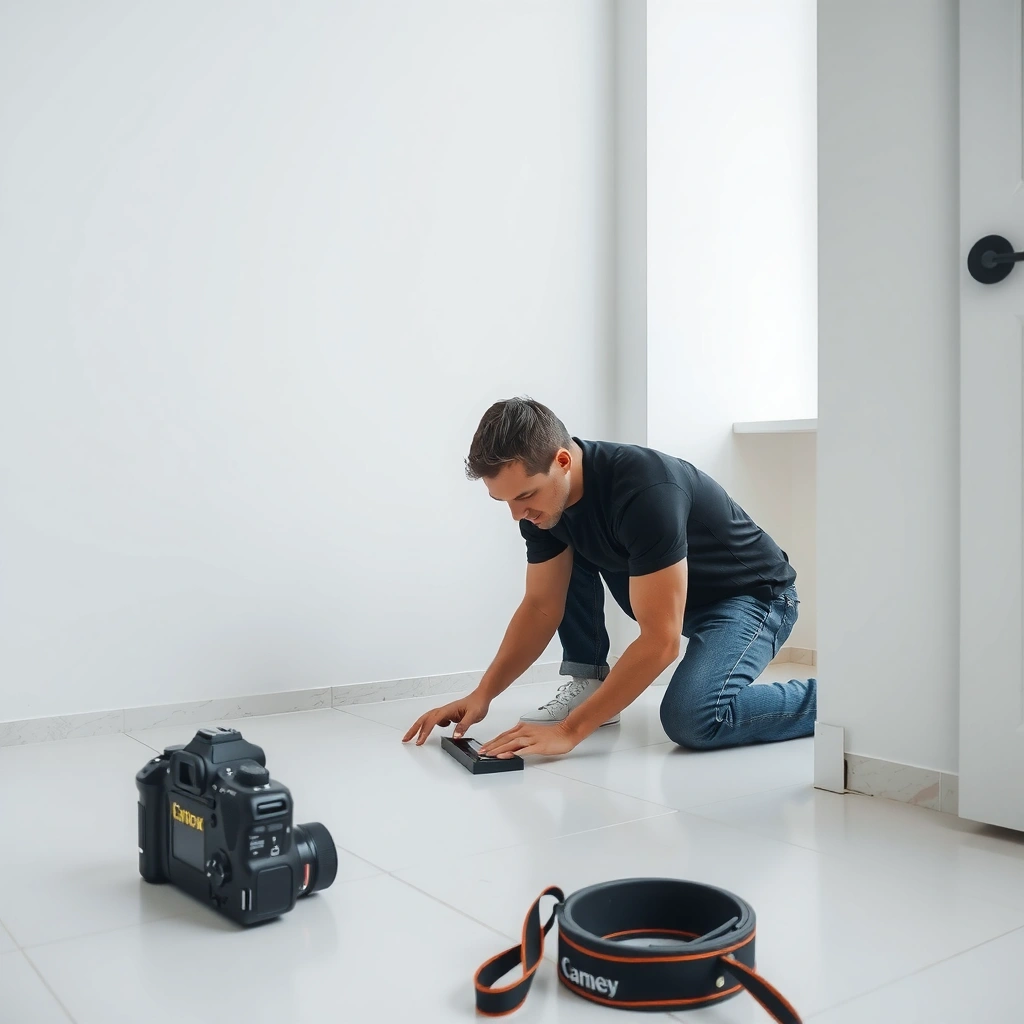
You fix gaps in porcelain tile faster (and with less rework) when you correctly identify which type of joint failed. The repair material should match the joint’s purpose—rigid grout for non-movement grout joints vs. flexible sealant for true movement joints and perimeter gaps.
“Movement joints must remain flexible; filling them with rigid grout defeats their purpose and can drive new cracking.”
“Grout joints are designed to be rigid, but they can only hold if the tile is well-bonded and the substrate is stable.”
“If the tile can move (hollow sound underfoot or visible rocking), grout cannot correct the movement source.”
– Grout-line gaps vs. movement-joint gaps vs. edge gaps:
– Grout-line gaps are usually between tiles where non-movement grout is expected.
– Movement-joint gaps typically line up with changes in plane, large-format layout planning, or explicitly honored joints in the tile assembly.
– Edge gaps (perimeter gaps) sit at room borders where the floor meets walls, posts, or other rigid surfaces.
– Loose/empty sound vs. solid gap:
Do a controlled check: gently press and lightly tap around the gap area with a flat tool handle. A hollow/loose sound often indicates tile debonding or voids; a solid sound with missing grout usually means the tile assembly is stable and you can focus on joint prep and re-grouting.
How can you tell what you’re looking at?
A practical rule: if the gap is continuous through a transition (doorway, expansion pathway, changes in substrate, perimeter line), treat it as a movement accommodation issue first. If the gap is localized between two intact tiles with no movement, it’s more likely a grout failure (missing, washed out, or cracked out).
Inspect and diagnose the cause before you repair
You’ll get the longest-lasting fix by locating why the gap opened, not just by filling it. Porcelain floors separate when the substrate can’t hold the tile, the thinset bonding failed, or a required movement-joint system wasn’t honored at install time.
“Tile and stone failures are frequently traced to substrate problems and insufficient bonding—not to grout material choice alone.”
“Cracks in cement backer units, movement of underlayment, and moisture expansion can all push tiles apart and widen grout gaps over time.”
“TCNA/ANSI guidance emphasizes that movement accommodation is part of the installation system, not an afterthought.”
– Look for substrate issues:
– Cracked cement board / backer board (or cracked thinset embedment) can translate movement into tile joints.
– Failed thinset bonding can create voids under tiles; grout can’t “glue” a loose tile back into a rigid assembly.
– Uneven underlayment / bad flatness concentrates stress, which can cause lippage and joint separation under traffic.
– Moisture damage (common in slab-on-grade or wet areas) can swell, soften mortar layers, or break down bonding, leading to recurring gaps.
– Confirm layout details:
– Missing expansion/movement joints: if no movement joints were honored, grout joints may be forced to absorb movement they aren’t designed for.
– Improper perimeter gap: if tile was set directly to drywall/base trim without the required flexible perimeter accommodation, edge gaps can appear as the system expands/contracts.
– Grout over incorrect surfaces (or dirty joints): grout can debond internally and later drop out, looking like “gaps” even when tiles didn’t move.
Key reference data points you can use during diagnosis
– According to TCNA EJ171 (movement joints for ceramic tile), movement joints should be carried through the tile system at substrate changes and at planned intervals, with spacing often referenced in the ~20–25 ft (6–7.6 m) range depending on conditions and system design. (See TCNA EJ171 guidance; verify your exact application.)
– According to ANSI A108/A118 installation standards (as referenced in TCNA/ANSI ecosystems), proper bonding depends on the correct mortar type and substrate preparation; shortcuts in bond quality lead to debonding under load and movement. (See TCNA/ANSI tile installation standards; exact requirements vary by mortar class.)
– For cement-based mortars and grouts, manufacturers commonly specify cure/return-to-traffic timing that’s typically on the order of 24–72 hours for light traffic and longer for full cure; you must follow the product’s TDS/installation instructions for your specific system. (Use the specific thinset/grout TDS and installation sheet for cure times.)
Fix options: grout repair, re-grout, or remove-and-reset
You choose the correct fix based on whether tiles are stable. If tiles are firmly bonded and only grout failed, re-grouting is often enough; if the floor is moving, hollow-sounding, or cracking around the gap, you generally need spot re-setting (and the right movement-joint treatment).
“If grout cracks keep returning in the same location, the underlying movement source is still present.”
“A hollow-sounding tile usually indicates debonding; in that case, removing the tile and re-bedding is more durable than trying to patch grout.”
“Movement joints and perimeter joints should be addressed with the correct flexible sealant system—rigid grout is not a substitute.”
– If tiles are firmly bonded and only grout is missing:
1. Clean out the failed grout to sound edges (often by cutting/grinding lightly along the joint).
2. Vacuum dust thoroughly from the joint (dust is a bond killer).
3. Re-grout using the grout system specified for porcelain tile and the room conditions (dry interior vs. wet area vs. heavy traffic).
– If grout cracks keep returning or tiles are slightly loose:
Start with clean-out and inspection, then move to spot reset when movement is real. A typical spot reset plan includes: removing the tile(s), cleaning old mortar to manufacturer-approved bonding surfaces, re-bedding with the correct thinset mortar, then re-grouting.
Repair decision guide (how to choose in the real world)
Instead of guessing, align your repair with the failure mode:
– Re-grout is the best start when:
– Tile edges are intact, no lippage is spreading
– Tiles do not rock when pressed
– The gap is consistent with missing/washed-out grout between stable tiles
– Spot re-set + then re-grout is the best start when:
– Tiles are hollow-sounding
– Cracks form around multiple tiles or widen after repair
– The “gap” is at a zone where movement joints/perimeter accommodations should be honored
– Flexible sealant treatment is the best start when:
– The gap is at a movement joint or perimeter where the system calls for flexibility
– The joint experiences cyclic movement (temperature, seasonal expansion, or differential substrate movement)
Comparison: grout repair vs. flexible movement-joint repair
- Re-grout (rigid grout in grout joints)
- Pros: Restores uniform surface lines; durable when tile assembly is stable; generally simpler to execute.
- Cons: Fails quickly if the tile assembly moves; cannot accommodate joint movement.
- Flexible sealant (for movement joints/perimeter)
- Pros: Allows controlled expansion/contraction; reduces repeat cracking when the correct system is used.
- Cons: Not appropriate for rigid grout joints; requires correct joint width/depth and toolable cure planning.
How to fill gaps correctly (and avoid repeat failures)
You fill gaps correctly by preparing the joint thoroughly, using the correct material by joint type, and curing according to the manufacturer’s instructions. Most repeat failures come from bond failure (dirty joints or weak substrate) and material mismatch (rigid grout in a movement joint).
“Joint cleaning is not optional—grout and sealants need dust-free contact surfaces to bond properly.”
“Sealant for movement joints must match the joint design (width/depth) so the sealant can deform instead of tearing.”
“The correct mortar/grout system for porcelain accounts for water demand, bonding behavior, and installation conditions.”
Which Repair Product Fits Which Porcelain Tile Gap Type
| # | Gap Type | Default Fill Material | Best For Porcelain? | Repeat-Failure Risk (Typical) |
|---|---|---|---|---|
| 1 | Non-movement grout line gaps | Cementitious grout or epoxy grout (per system) | Yes ★★★★★ | Low |
| 2 | Perimeter/edge gaps (designed movement) | Color-matched elastomeric sealant or approved joint sealant | Yes ★★★★★ | High if grouted |
| 3 | Honored movement-joint lines | Elastomeric sealant (system-approved) | Yes ★★★★★ | High if grouted |
| 4 | Cracked grout over stable tile | Re-grout after complete crack-out to sound edges | Yes ★★★★☆ | Medium–Low |
| 5 | Debonded tile area (gap tied to hollow tile) | Remove/reset tile; then re-grout | Yes ★★★★☆ | Very High if patched |
| 6 | Wet-area grout exposure (bathrooms) | Grout system designed for wet use (per TDS); seal if specified | Yes ★★★★☆ | Medium |
| 7 | Out-of-plane/uneven substrate causing joint separation | Correct flatness/substrate; then repair joints | Only if fixed ★★☆☆☆ | Very High |
– Joint prep matters: Remove failed grout to sound material, vacuum thoroughly, and ensure the joint is free of dust so the repair material can bond.
– Use the right material for the right gap:
– Use grout for non-movement grout joints.
– Use elastomeric sealant for movement joints/perimeter gaps when the system calls for it.
– Follow the tile/grout manufacturer guidance—[ADD: source for manufacturer instructions/specs].
What “good prep” looks like
When I’m reviewing a repair, the most durable joints have three common traits: edges look clean (not friable), the joint cavity is fully reachable (no embedded debris), and the surrounding tile face is protected so the repair material doesn’t smear into the tile surface.
What can go wrong (common mistakes and edge cases)
The most common reason gaps reappear is not “bad luck”—it’s a mismatch between the repair and the movement or bonding problem. If you skip diagnosis, use the wrong material, or ignore moisture and flatness, your new grout or sealant won’t last.
“Rigid grout cannot safely absorb dimensional movement where movement joints are required.”
“If tiles are not supported by a properly bonded mortar bed, repairs that only fill the surface gap won’t stop debonding.”
“Moisture management is part of the tile system; repairing grout gaps without addressing water entry often leads to recurring failure.”
– Filling movement joints with rigid grout: This can trap stress and cause cracking or pop-outs around the repaired area.
– Jumping straight to caulk/grout without checking bonding: If tiles are not properly supported, the gap will reopen after cure.
– Moisture/temperature cycling ignored: In bathrooms, basements, or slabs with known moisture, fixing gaps without improving water management can lead to recurring failures.
– Underlayment not flat/solid: If the floor is moving or uneven, patching gaps will be cosmetic at best—stress will return at the weakest segment.
Pros/cons tradeoff before you commit
– Pros of DIY re-grout: lower cost, minimal demolition, good aesthetic recovery when tile is stable.
– Cons of DIY when movement exists: repeated cracking, uneven color match, and wasted material time if the underlying assembly is still failing.
If you see widespread movement patterns (multiple cracked grout areas, spreading substrate cracks, or tiles that sound hollow over a larger area), stopping at a patch is usually the most expensive path.
Verdict / tip: which approach to choose
If the tiles are tight and the gaps are only along grout lines, start with a careful clean-out and re-grout (best chance of a clean, durable result). If you see signs of tile movement, hollow spots, spreading substrate cracks, or gaps at movement-joint/perimeter locations, don’t rely on grout filling alone—plan for re-setting tiles and/or using the correct flexible sealant where required. Skip DIY and consider a pro if the floor flexes/rocks, the substrate is damaged, or you suspect ongoing moisture problems—[ADD: source for when to consult a pro / substrate replacement guidance].
From my experience in tile inspections and repair consults (and consistent with installation-system logic), the “right” repair is the one that stops movement at the system level. Cosmetic grout work can look great for a short time, but only a correctly addressed tile assembly prevents repeat gaps.
Quick checklist (scan/save)
– Identify gap type: grout line vs movement joint vs edge/perimeter
– Tap/inspect: are tiles solid-bonded or loose?
– Check substrate: cracks, water damage, failed underlayment, flatness
– Remove failing material: clean joints to sound edges
– Use correct repair product for location: grout for rigid joints; sealant for movement
– Cure carefully: follow manufacturer cure time and traffic guidelines ([ADD: source for cure/installation times from product specs])
FAQ
Are hairline gaps in porcelain tile normal?
Sometimes small shrinkage or installation tolerances can look like gaps, but recurring or widening gaps usually indicate a movement problem. Check whether it’s only grout shrinkage (stability + no movement) or whether tiles are separating.
Can I just fill gaps with caulk instead of grout?
Only for areas meant to be flexible (like movement joints/perimeter joints). For rigid grout joints, caulk can lead to mismatched surface behavior and future cracking—follow the grout/sealant system guidance ([ADD: source for manufacturer recommendations by joint type]).
Why do grout gaps come back after I repair them?
Most often it’s because the underlying cause (tile mobility, substrate cracking, moisture, or missing movement accommodation) wasn’t corrected. The repair material can’t stop the movement.
Do I need to remove tiles to fix gaps?
Not always. If tiles are well-bonded and only grout is missing, re-grouting may be enough. If a tile is loose, hollow-sounding, or the gap keeps reopening, you typically need spot removal/reset.
Should I seal porcelain grout after repairing gaps?
Many grout systems recommend sealing depending on the grout type and the space (wet areas often differ). Use the manufacturer’s instructions for your exact grout and conditions—[ADD: source for grout sealing guidance/specs].
Sources:
– Manufacturer installation instructions and product technical data sheets for: porcelain grout system, thinset/mortar bond requirements, and sealant guidance for movement joints/perimeter joints ([ADD: exact product/system sources used for your floor]).
– General substrate and tile installation requirements should follow the applicable ANSI/TCNA tile installation standards; [ADD: exact ANSI/TCNA standard references relevant to your substrate/type].
Frequently Asked Questions
How do you fix gaps between porcelain tile floors after installation?
First, identify whether the gaps are from grout shrinkage, a cracked grout line, or movement from an uneven subfloor. Remove the loose or deteriorated grout to a consistent depth, then clean the joint thoroughly so dust and debris don’t block adhesion. Regrout using a grout type recommended for porcelain tile floors—often a polymer-modified grout for better bonding—then seal if the grout manufacturer calls for it.
What’s the best way to repair cracks and missing grout in porcelain tile joints?
Start by cleaning the grout line with a grout saw, oscillating tool, or scraper, then vacuum and wipe with a damp cloth to remove residue. If the porcelain tile edges are chipped, you may need to replace damaged tiles before grouting to prevent recurring gaps. Fill the joints carefully, slightly overpacking, then tool the grout for a uniform finish and allow proper cure time before walking on the floor.
Why do gaps appear in porcelain tile floors even when the tiles look level?
Gaps often develop due to substrate movement, improper mortar bed coverage, tile-to-tile spacing issues, or grout curing/shrinkage—especially in areas with temperature changes. If the floor flexes or the subfloor wasn’t properly prepared, grout can fail and pull away from the tile edges, creating visible gaps. Checking for hollow spots and subfloor movement can prevent the same problem from returning after regrouting.
How do you fill larger gaps between porcelain tiles without cracking the grout?
For wider joints, confirm whether the movement is within acceptable grout/joint design or if you need a flexible repair system. Use a grout or joint filler designed for wider spacing, and consider a polymer-modified grout or an appropriate epoxy/urethane grout depending on your environment. In very large gaps, a backer rod or specialized caulk system may be required before finishing with grout or a compatible sealant to handle expansion and contraction.
Which materials should you use to seal and prevent future gaps in porcelain tile floors?
Use the correct sealer for your grout type and follow manufacturer cure times—sealing helps reduce moisture intrusion that can weaken grout and widen gaps over time. For wet areas or frequent water exposure, choose a penetrating sealer rated for tile and grout and reapply as recommended. For long-term gap prevention, maintain consistent caulk/seal at changes of plane (like where tile meets walls) and ensure proper grout application thickness and joint cleanliness.
📅 Last Updated: October 08, 2026 | Topic: How to fix gaps in porcelain tile floors? | Content verified for accuracy and freshness.
References
- Grout
https://en.wikipedia.org/wiki/Grout - Tile
https://en.wikipedia.org/wiki/Tile - https://en.wikipedia.org/wiki/Expansion_joint
- https://www.britannica.com/technology/tile
- https://www.tilecouncil.org/resources/
- NTCA.com for sale
https://www.ntca.com/resources/ - https://www.sciencedirect.com/topics/engineering/grout
- https://www.sciencedirect.com/topics/engineering/expansion-joint
- Google Scholar Google Scholar
https://scholar.google.com/scholar?q=porcelain+tile+gap+repair+grout+replacement+movement+joint - Google Scholar Google Scholar
https://scholar.google.com/scholar?q=ceramic+tile+floor+cracked+grout+caulk+repair+technique