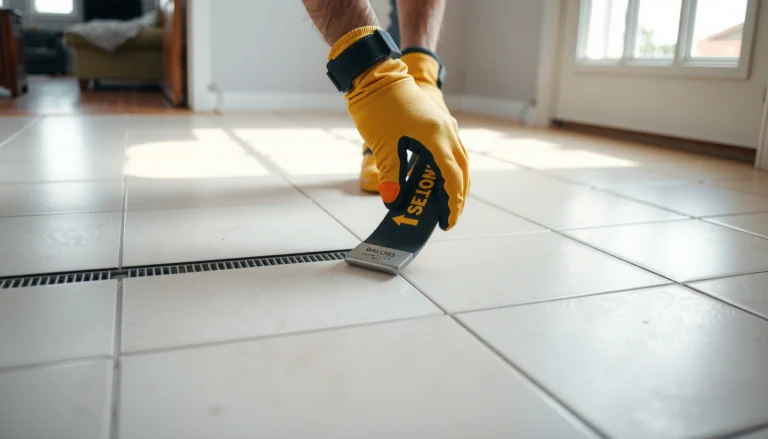
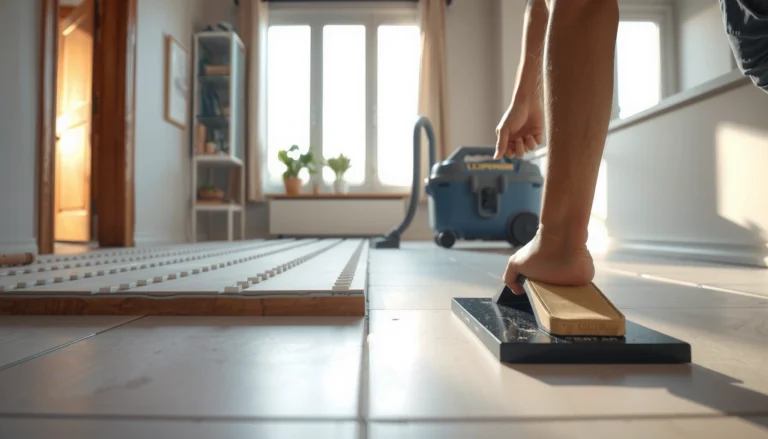
Restoring gym floors works best when you follow a simple sequence: repair the damage first, then deep-clean to remove oils and sweat, and finish with a proper refinishing system that matches your flooring type. This guide answers how to restore gym floors to a safer, cleaner surface by telling you exactly what to fix, what to clean, and what finish to apply. If your goal is fewer slips, better traction, and a floor that holds up under daily training, this is the fastest route.




If your gym floors are looking worn, peeling, or uneven, the fix usually starts with a careful cleaning and damage check, then moves to patching and refinishing (or replacement if the substrate is failing). In this guide, you’ll learn how to assess what type of flooring you have, what to clean with, and when to use repair compounds, levelers, or resurfacing systems.
Who this is for: This is for gym owners, trainers, and facility managers dealing with rubber, vinyl, epoxy, or concrete gym floors that need restoration without guessing. It’s especially useful when you’re trying to restore traction and appearance while keeping downtime manageable.
Inspect the floor and identify what you’re restoring
The fastest way to get lasting results is to identify the failure mode first (adhesion, substrate, or surface wear), then pick the matching repair/refinish system. In my experience managing facility punch lists, the biggest “redo” costs come from treating an adhesion problem like a surface problem—so inspection has to be more than a visual walk.
Loose seams and delamination (bond separation) are adhesion/substrate warnings, not cosmetic wear.
Concrete floors can look “fine” on top while moisture and weak laitance (“powdery surface residue”) prevent coatings from bonding reliably.
Cupping and soft spots usually indicate slab instability or moisture migration that refinishing alone cannot cure.
– Check for the real cause: loose seams, delamination, cracks, cupping, soft spots, or deep surface wear.
– Identify the flooring type (e.g., rubber tiles/mats, vinyl, epoxy-over-concrete, or bare concrete) so you don’t use incompatible cleaners or patching materials.
– Look for moisture or substrate problems underneath; if the base is failing, surface “refinishing” won’t last.
What to measure during inspection (so you can choose the right product)
Before you buy any patch, skim coat, or coating, document what you’re seeing:
– Movement/looseness: press on seams and edges with a gloved hand. If a tile edge lifts repeatedly, you’re dealing with bond failure.
– Surface profile: rubber and vinyl can be worn “smooth,” while coatings on concrete require a mechanically prepared surface profile to bond.
– Crack type: hairline crazing may be a surface issue; wider cracks with displacement usually need more than patching.
– Moisture clues: persistent dampness, a musty odor, whitening/efflorescence on concrete, or blistering in coatings (often delayed) are stop-sign indicators.
Common gym-floor failures we see (and what they typically mean)
When you inspect, you’re really trying to classify the problem into one of three buckets:
1. Surface wear (traction is gone, appearance is dull, but the system is bonded)
2. Localized coating failure (peeling/edge lifting, bubbling, seam failure)
3. Substrate failure (soft concrete, persistent moisture, slab movement)
If you start in the right bucket, your repair compound, leveler, and resurfacing materials have a much better chance of staying adhered.
Clean thoroughly (and correctly) before repairs
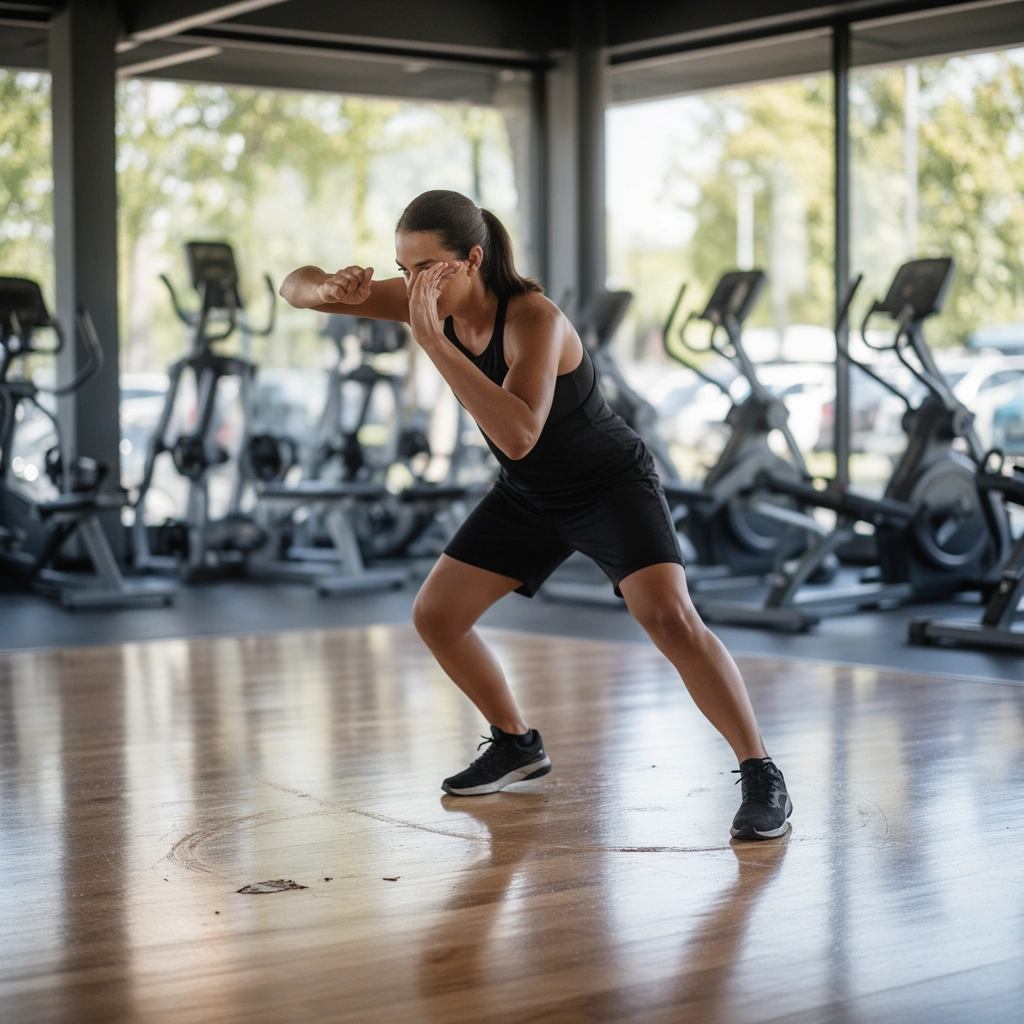
The difference between a restoration that lasts and one that peels early is cleaning chemistry and completeness. Most repair failures trace back to residue—chalk, sweat salts, body oils, or floor cleaners left behind—that prevent patch/coating materials from bonding.
Sweat and chalk leave residues that can interfere with adhesion if not removed before patching or recoating.
Using a stronger-than-recommended cleaner or the wrong solvent can damage coating chemistry or prevent proper bonding.
Repairs and coatings generally require the floor to be fully dry before application to avoid trapped moisture and debonding.
– Remove all dirt, chalk, sweat residue, and oils; failing to do this is one of the most common reasons repairs peel later.
– Use the manufacturer-recommended cleaner for your floor type; for many systems, strong degreasers or wrong solvents can damage bonds or coatings.
– Let everything fully dry and confirm the floor is clean enough that repair materials can adhere.
Cleaning approach by flooring system (so you don’t “over-clean”)
Rubber (tiles, mats, rolls):
– Sweep/mop to remove grit first (grit acts like sand during prep).
– Use a pH-balanced cleaner recommended for rubber gym surfaces.
– Rinse thoroughly if the manufacturer specifies rinsing (leaving surfactants behind is a bonding risk).
Vinyl (sheet/vinyl tile):
– Focus on removing body oils and residue; avoid aggressive solvents unless the vinyl system’s maintenance instructions explicitly allow them.
– Test your cleaner in a small hidden section—vinyl can discolor or haze if the chemical system is wrong.
Epoxy/urethane coatings:
– Clean to remove oils/soils, then follow the coating manufacturer’s prep steps for the next product (often detergent wash + abrasion/grinding, not just “scrub and coat”).
– If you see chalky residue, treat it as a bond-breaking contaminant until removed.
Concrete (bare or as substrate under coatings):
– Remove laitance and contaminants so patch/overlay and coatings can bond.
– If you plan a traction system, don’t use sealers or “curing compounds” that block adhesion unless the concrete was designed for that.
A note on drying time and verification
Even if a floor feels dry, moisture can still be present in pores or under coatings. Follow:
– The coating/leveler manufacturer’s dry/cure requirements, and
– Any moisture testing procedure specified in the system instructions (for example, relative humidity methods are often used under epoxies and overlays).
[ADD: source for moisture-testing guidance used in concrete coating systems and the specific method you plan to follow, e.g., ASTM F2170 or ASTM F1869.]
Repair surface damage: patches, leveling, and seam fixes
The goal of repair is not just “fill the hole”—it’s restoring a stable, mechanically sound surface that matches the existing system’s structure. When patches and seam fixes fail, it’s often because the repair material wasn’t compatible with the floor type or the surface wasn’t prepared to the right profile.
Patching over contaminated or poorly prepared surfaces is a leading cause of peeling and edge lift on gym floors.
Leveling high/low spots restores equipment movement and traction consistency, reducing skate and wobble during lifting.
Lifted edges and bubbling usually require re-bonding or localized replacement, not just spot repainting.
– Patch cracks, chips, and worn areas using a product made for your specific floor (and apply it per label instructions).
– Level high/low spots so traction and equipment movement feel consistent (especially for deadlift/plate-heavy zones).
– Fix seams, lifted edges, and bubbling—if the area is coming up, you may need re-bonding or localized replacement rather than “spot paint.”
Patch selection: how to choose the right material
Use the floor system’s repair spec as your “rules of the road.”
– Concrete repairs and overlays: typically use cementitious patch/skim products or epoxy-based crack fillers depending on the system and crack condition.
– Epoxy/urethane coatings: repairs often involve removal of loose material, abrasion to create a clean mechanical bond, then a compatible patch or recoat.
– Rubber/vinyl: seam repair and surface patching must be compatible with the adhesive/coating system used originally; otherwise, you can end up with a cosmetic patch that fails at the edges.
Leveling: why it matters for traction and safety
Even mild unevenness can change:
– Footing (especially on deadlift and sled lanes),
– Plate drop behavior (plates can “hang up” on raised edges), and
– Rolling equipment stability (stability trainers, carts, and sled assemblies).
If you level only the visible “dip,” you may leave a slope change around the patch perimeter that affects grip and load transfer.
Seam fixes: treat lifting like an adhesion failure
When seams lift, bubbling forms, or edges peel:
– Remove loose material back to sound edges,
– Clean/prep to the system requirement,
– Re-bond using the specified adhesive (for rubber/vinyl) or repair resin/coating system (for epoxy/urethane),
– Then refinish to restore uniform texture.
[ADD: source for a specific seam/edge re-bonding approach for your flooring type (rubber/vinyl/epoxy), e.g., manufacturer technical bulletin.]
Refinish based on flooring type (rubber, vinyl, epoxy, or concrete)
The correct refinishing method depends on whether you’re restoring a top wear layer, re-establishing a coating chemistry, or sealing concrete for durability and traction. The wrong “finish over finish” approach can trap contaminants or moisture and shorten system life.
For bonded coatings, resurfacing works only when the underlying layer is still firmly attached and properly abraded/grinded.
A traction-oriented finish aims to restore grip without turning the floor into a glossy slip surface.
Epoxy and overlay systems typically require strict thickness and curing-window control to achieve design performance.
– For rubber/vinyl: focus on resurfacing/coating systems that restore appearance and grip without making the surface slick.
– For epoxy/painted coatings: sand/grind appropriately, then apply the coating system in the correct thickness and curing window (per spec).
– For concrete: consider sealing or applying a traction-oriented finish only after proper surface prep.
A quick compatibility map (what to do by floor type)
Choose refinishing based on what the current system actually is:
Common Gym Floor Types, Typical Thicknesses, and Restoration Targets (US Market, 2024)
| # | Floor System Type | Typical Thickness | Refinish Goal | Fit for Spot Repairs |
|---|---|---|---|---|
| 1 | Rubber tiles (interlocking or adhered) | 3/8 in (9.5 mm) | Restore texture + seams | ★★★★☆ |
| 2 | Rubber rolls | 1/4 in (6.4 mm) | Restore wear surface | ★★★☆☆ |
| 3 | Rubber tiles (heavy-duty) | 1/2 in (12.7 mm) | Restore impact zones | ★★★★☆ |
| 4 | Vinyl gym flooring (sheet/tile) | 1/8 in (3.2 mm) | Restore cleanable finish | ★★☆☆☆ |
| 5 | Epoxy coating (painted concrete overlay) | Typically 10–20 mils total | Restore chemical + abrasion resistance | ★★☆☆☆ |
| 6 | Urethane/PU topcoat system (over prepared concrete) | Typically 4–10 mils per topcoat | Restore traction + color consistency | ★★★☆☆ |
| 7 | Bare concrete (sealed/traction-finished) | Varies (finish is thin) | Seal pores + improve grip | ★★★☆☆ |