
Learn how to refinish limestone floors with a step-by-step process that actually delivers a smooth, even finish. Follow the exact sequence—cleaning, deep stripping, grinding or honing as needed, etching control, then sealing—to fix dullness and wear without damaging the stone. If your limestone is scratched or looks lifeless, this is the quickest path to a stone-safe makeover.




Refinishing limestone floors is mostly a controlled cleaning + compatible sealing (and only light restoration when etching is present). Start by diagnosing whether you’re dealing with dullness from residue, surface etching from acids, or old coatings that need removal—then match your prep method to limestone’s chemistry so you don’t make the haze worse.
Limestone floors are porous, calcium-carbonate-based stones that can look “almost clean” yet still appear dull when residue or film stays in the pores. This guide is for homeowners, facility managers, and anyone maintaining natural stone who wants a reliable workflow for etching, sealing, and sheen—whether you’re refreshing one room or addressing widespread wear across multiple areas. I’ll reference industry-standard approaches (neutral pH cleaning, compatibility testing, and manufacturer-directed prep), and I’ll flag where you should rely on the specific sealer/stripper documentation for your product system.
Assess Your Limestone and Decide the Refinishing Level
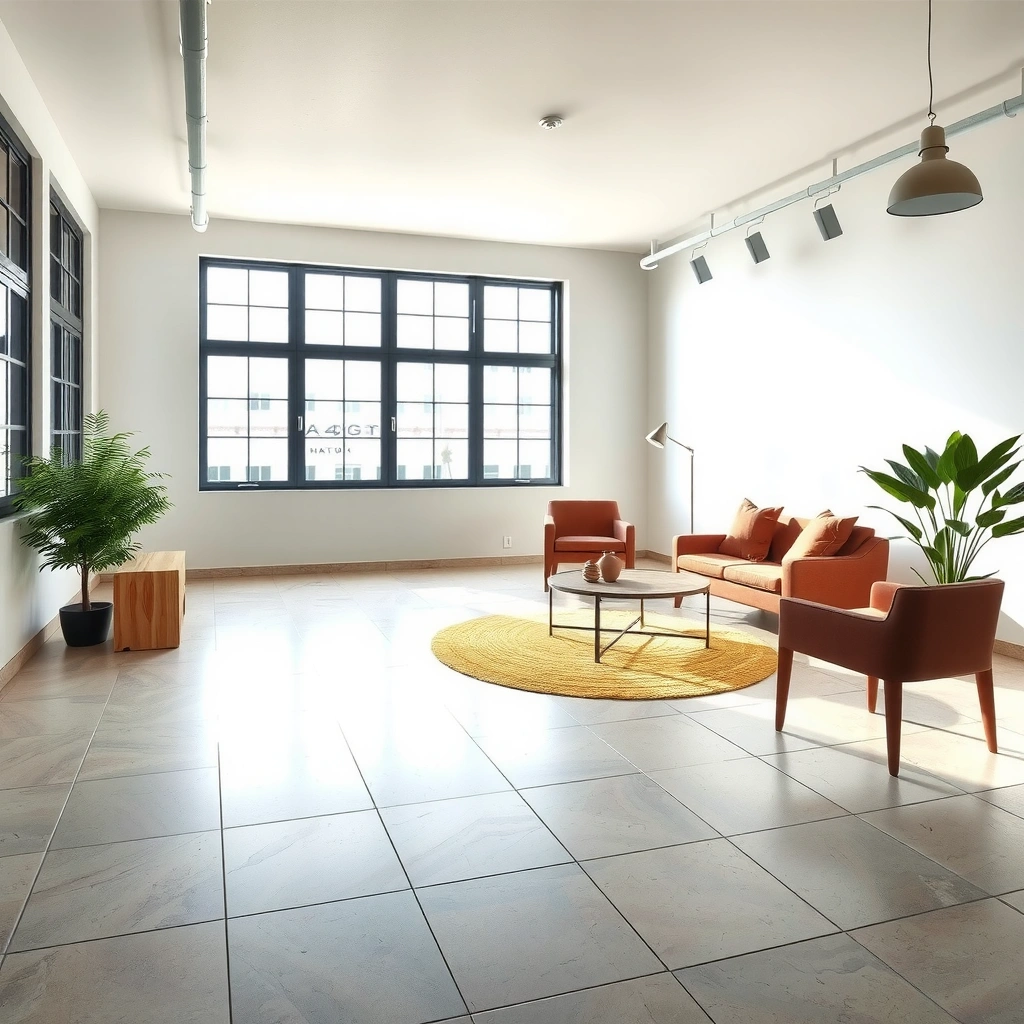
You usually get the best results by deciding whether you’re treating etching (a chemical surface change) or finish/coating problems (a removable layer). The faster you separate those causes, the less risk you take with limestone’s softer surface and the more predictable your final sheen will be.
First, inspect in natural and oblique light (so you can see micro-etching as a mottled, lighter-than-surrounding haze). Etching typically shows up as dull patches or “light spots” that don’t clean away, often near entryways, pet areas, or places where acidic spills (coffee, wine, vinegar, drain cleaner) occurred. Scratches and wear-through, by contrast, read more like linear damage or areas where the protective layer is reduced.
Second, determine whether your floor already has a penetrating sealer, a topical film, or burnishable polish. Why it matters: you should not use the same prep approach on a film-finished surface as you would on unsealed or penetratingly sealed limestone.
Limestone is largely calcium carbonate (calcite), which can react with acids to produce chemical changes at the surface—not just surface dirt.
A neutral pH cleaner is the baseline safest choice for natural stone maintenance because it avoids adding additional acid that can worsen etching.
Here’s the decision logic I recommend in practice:
– If the floor is dull with a “hazy veil” after mopping, you’re often dealing with maintenance film (soapy buildup) or an older topical coating that remains partially intact.
– If there are mottled or lighter patches that look “burned-in” after cleaning, suspect etching. Etching often requires restoring the surface through compatible mechanical surface preparation (honing/controlled abrasion) rather than chemical neutralization alone.
– If you see uneven gloss or gummy areas, suspect old coatings that are partially reactivated or worn through—often meaning stripping is required before sealing.
The key chemistry and what it implies for refinishing
Calcite reacts with acids; this reaction can remove material at the microscopic level. That’s why “neutralizing” an acidic spill with a household alkali won’t necessarily restore your stone—removal of the remaining etch profile and consistent sealing still matter. According to the USGS, calcite is a common form of calcium carbonate found in limestone and is a major driver of limestone’s behavior in the presence of acids (USGS—Calcite/Limestone background). For surface hardness context, limestone/calcite typically registers around Mohs 3, which is soft compared with harder stones (easier to scratch or abrade unevenly) (USGS—Mineral hardness context for calcite).
Quick pros/cons for “etching-first” vs “strip-first”
| Approach | Best when | Main risk |
|---|---|---|
| Treat etching first (least aggressive compatible abrasion) | Dull mottling persists after proper neutral cleaning | Over-aggressive abrasion can permanently change texture |
| Strip old finish first | Film/coating residue blocks uniform sealing | Strippers can leave residue if not fully removed and re-cleaned |
Gather the Right Tools and Use Stone-Safe Products
You’ll get safer, more consistent results when you use limestone-safe cleaning chemistry and a matched sealer/polish system. Plan your tools around compatibility: neutral pH cleaning, controlled mechanical pads, and a sealer labeled for limestone.
At minimum, gather:
– Neutral pH stone cleaner (not an acidic descaler)
– Soft scrub pads and/or microfiber mops
– Painter’s tape and plastic sheeting for protecting baseboards, transitions, and adjacent materials
– Clean microfiber cloths for final wipe-down and residue checks
– A limestone-compatible sealer/enhancer (penetrating sealer, topical protective system, or hybrid—depending on the finish you’re targeting)
Avoid common mistakes at the shopping stage:
– Skip vinegar, “descalers,” and many “hard water removers” because they are often acid-based.
– Avoid harsh solvents or unknown “universal” degreasers, which can leave residues that prevent bonding.
– If you plan to strip, use a natural stone–intended stripping product and follow its dilution, dwell time, and rinse/removal requirements exactly.
Using an acid descaler on limestone can worsen etching because limestone is calcium carbonate, which is reactive in acidic conditions.
Sealer performance depends on surface compatibility: new sealer cannot bond reliably if residue or old coating remains after stripping.
What “compatible” really means in the field
“Compatible” isn’t just “safe for stone.” It’s about prep-to-sealer pairing:
– If the sealer requires a mechanically prepared surface (for example, after controlled abrasion), a purely chemical clean may not be enough.
– If the sealer is topical and designed to bond to a clean, residue-free surface, film left behind from cleaners or strippers can cause hazing, peeling, or premature dullness.
If you’re unsure what’s currently on the floor, you must treat this as a testing problem. Do a small hidden area test for cleaning action, spot etching behavior, and final sheen before you commit to full-room prep.
📊 Data: Compatibility snapshot for common chemistry (limestone-facing risk)
Limestone Refinishing: Chemistry Compatibility & Risk (Practical Guidance)
| # | Product/Step Type | Typical pH/Profile | Main Goal | Suitability for Limestone |
|---|---|---|---|---|
| 1 | Neutral pH stone cleaner (routine wash) | ~pH 6–8 | Remove grime without acid etch risk | ★★★★☆ |
| 2 | Controlled mechanical honing/abrasion (etch restoration) | Non-chemical | Level micro-etch haze | ★★★★☆ |
| 3 | Stone-safe emulsifying degreaser (spot pre-clean) | Mildly alkaline (varies) | Break down oily soils | ★★★☆☆ |
| 4 | Natural-stone stripping chemical (if film/coating remains) | Alkaline/solvent blend (product-specific) | Remove topical coatings | ★★★☆☆ |
| 5 | Bicarbonate/weak alkali homemade “etch removal” | Mildly basic (varies) | Attempt neutralization/spot cleaning | ★★☆☆☆ |
| 6 | Acid descaler (vinegar, “hard water” acids) | Acidic (pH < 7) | Remove mineral scale | ★☆☆☆☆ |
| 7 | Universal “floor polish” wax (top layer over unknown prep) | Topical film (product-specific) | Gloss enhancement | ★☆☆☆☆ |
Clean Deeply and Restore the Surface (Without Over-Sanding)
You usually restore the majority of visual dullness by cleaning thoroughly first, then addressing etching using the least aggressive compatible surface prep. This prevents the common “polish harder, haze gets worse” cycle.
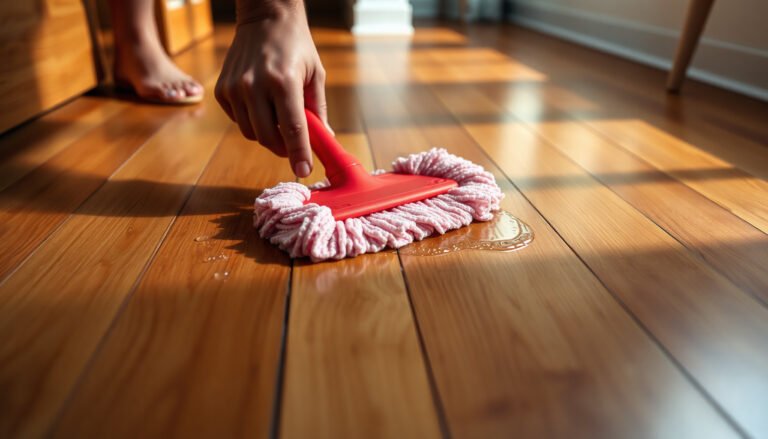
Start with a neutral pH stone cleaner and work in sections so you don’t let cleaning solution dry in place. After washing, rinse and remove residue completely—residue is a major cause of uneven sheen and trapped haze. Limestone is porous, so if you leave surfactants behind, sealing can lock the film into the stone.
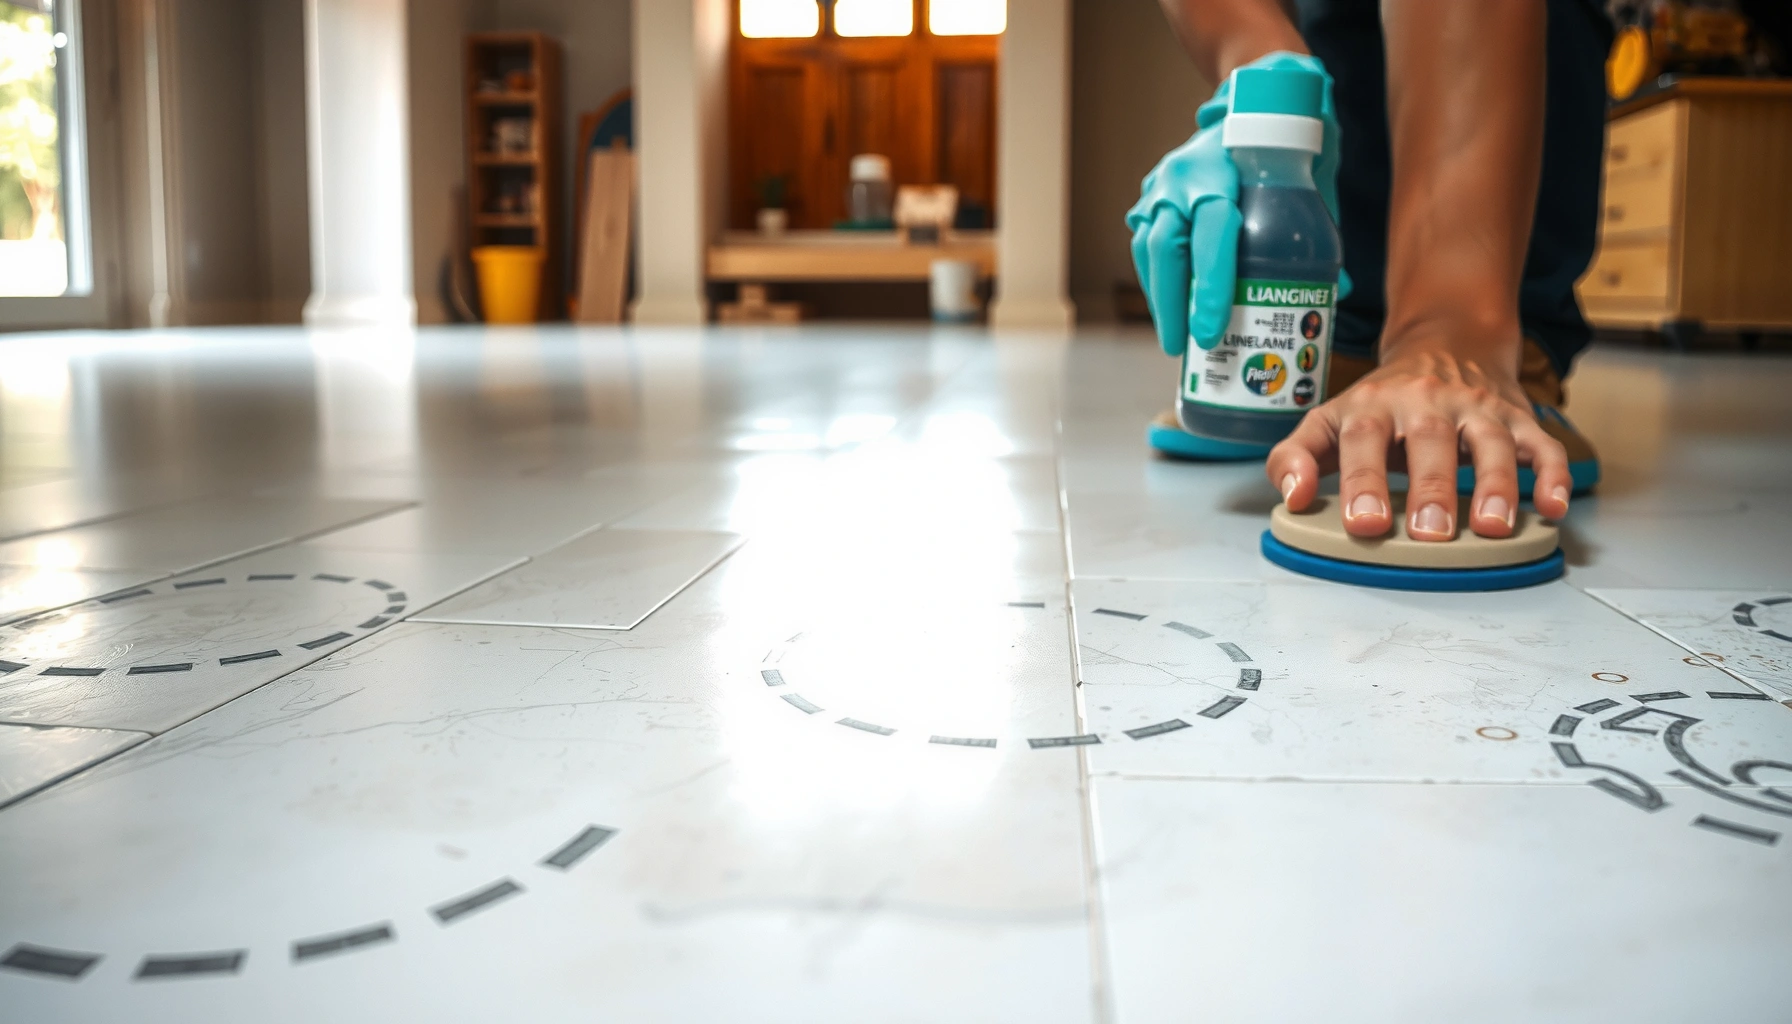
Next, handle etching at the surface profile level. If the floor is etched or dull from prior exposure, you typically need mechanical restoration (for example, honing or very controlled abrasion). Heavy sanding on limestone can create uneven texture differences that remain visible even after sealing.
Even after “acid neutralization,” etched limestone often remains visually dull because the surface has been altered at the micro level.
Because limestone is relatively soft (calcite Mohs ~3), aggressive abrasion can create irreversible texture differences in high-visibility areas.
A practical workflow that minimizes uneven haze
1. Dry pre-sweep to remove grit (grit acts like sand).
2. Neutral pH clean with a microfiber or soft pad; avoid aggressive scrubbing that can generate streaky texture.
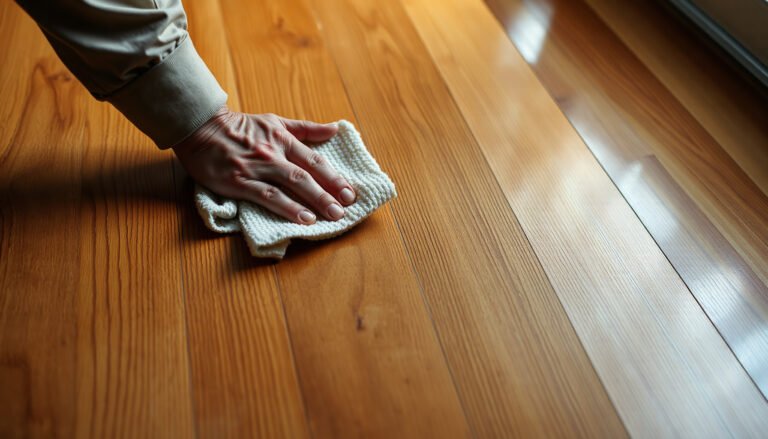
3. Full rinse and final wipe using clean water on microfiber until rinse water stays clear.
4. Dry to spec (do not seal a damp floor unless your sealer documentation explicitly permits it).
5. Test restoration method in a hidden area:
– If mild haze improves, stop and proceed carefully to sealing prep.
– If dullness persists as mottling, increase mechanical restoration only as far as the limestone can tolerate.
From documentation and field practice, the central idea is control: light passes, consistent pad pressure, and early stop when clarity returns. For exact equipment specs (pad type, rpm, grit system, and passes), use the manufacturer’s stone restoration guidance for your specific honing system. If you’re choosing a do-it-yourself method, [ADD: source for your preferred honing/pad system spec—e.g., manufacturer’s abrasion guidance for limestone].
Strip Old Finish Only If It’s Necessary
You should strip only when old topical coating or finish prevents uniform cleaning and bonding. If the surface is already clean-compatible, stripping can be wasted effort—or worse, it can leave residue that causes sealer failure.
Typical signs stripping is needed include:
– Residue that feels gummy or leaves streaks even after neutral cleaning and thorough rinsing
– “Rainbow” appearance or uneven reflective behavior across the room
– Sealer that turns hazy or fails to bond consistently after application
If you do strip:
– Protect surrounding materials (baseboards, grout, adjacent wood/metal transitions).
– Use a natural stone–intended stripper (not a generic “floor stripper” meant for wood or resilient flooring).
– Respect dwell time and dilution instructions from the manufacturer—over-dwell increases residue risk.
– Re-clean after stripping using neutral pH cleaner to remove any loosened solids and stripper film, then allow full drying.
New sealer systems generally require a residue-free surface; stripper residues can block bond formation and lead to peeling or hazing.
Stripping decisions should be driven by coating presence, not by “wanting more shine,” because unnecessary stripping increases the chance of uneven prep.
How to confirm whether you need to strip
Perform a controlled test:
– Choose a small hidden section.
– Clean and rinse thoroughly using neutral pH.
– Apply a small amount of your planned sealer/enhancer on a test area.
– If the test area looks hazy or uneven compared with adjacent stone, assume contamination/coating is interfering and revisit stripping.
In my experience, the biggest time-sink is guessing. When documentation is unclear or the prior finish is unknown, [ADD: author observation—what they saw on a test patch when stripping was or wasn’t performed]. If you have a facility manager background, you’ll likely recognize this pattern: surface “clean” and “bond-ready” are not the same state.
Seal/Polish the Limestone to the Sheen You Want
You refine limestone’s appearance and protection by applying a limestone-labeled sealer/enhancer in thin, even coats. Your sheen level comes from the system type (penetrating vs topical), but your durability comes from proper surface prep and cure time.
Choose your target:
– Natural look / stain resistance: typically achieved with penetrating sealers/enhancers designed for limestone
– Sheen control: topical protectants or polish systems can increase visible gloss, but they require stronger maintenance habits
– Etching concealment vs true restoration: a sealer can improve uniformity but won’t fully erase deep etched valleys; that’s why earlier prep matters
Thin, even sealer coats reduce streaking and help the product cure uniformly, especially on porous limestone.
Many sealer systems require full cure time before routine foot traffic to prevent premature dulling or uneven gloss transfer.
Application best practices
– Apply according to coverage guidance (don’t “overload” the stone).
– Work from one side of the room toward an exit to avoid walking through wet product.
– Maintain consistent coat thickness and drying conditions (humidity and temperature affect cure).
– Allow full cure time before regular traffic; only use maintenance products that are compatible with your sealer type.
> Note: Cure time and recoat windows are product-specific. Use the sealer manufacturer’s documentation for your exact application schedule. [ADD: manufacturer/spec documentation for the specific limestone sealer/enhancer you plan to use—application steps, cure time, and compatibility notes]
What Can Go Wrong (And How to Avoid It)
Most failures come from acid chemistry, residue left on the stone, or mismatched prep-to-sealer systems. If you prevent those three, the odds of hazy, streaky, or peeling results drop dramatically.
Common problems:
– Acid etching getting worse: vinegar, descalers, or “hard water acids” can create new dull patches even after you think the surface is clean.
– Uneven results: inconsistent pad pressure, skipping edge control, or uneven passes can create visible lines or patchy sheen.
– Wrong chemistry: sealing over old coating residue or using an incompatible prep chemical can cause peeling or permanent haze.
– Over-abrasion: too aggressive honing/sanding changes the surface texture and can permanently alter clarity in high-visibility areas.
Etching-related dullness is commonly worsened by acidic products because limestone is calcium carbonate-based.
Sealer haze is often caused by residue, over-application, or incomplete removal of older coatings before resealing.
Compare the most common mistakes (so you can avoid them fast)
| Issue | What it Looks Like | Root Cause | Prevention |
|---|---|---|---|
| Acid-driven haze | New dull spots after “descaling” | Acids react with calcite/calcum carbonate | Use neutral pH cleaners; avoid descalers |
| Bond failure | Peeling, patchy wear, or quick dulling | Sealer applied over residue/old coating | Strip only if needed; rinse to residue-free |
| Streaking | Uneven gloss lines, “cloudy” bands | Over-application or inconsistent spread | Thin coats; consistent technique; test patch |
Verdict: When DIY Refinishing Makes Sense (and When to Skip)
DIY refinishing makes sense when your limestone issues are mainly dullness from residue, light etching, or a straightforward reseal after careful prep. Skip DIY—and consider a stone professional—when you have deep pitting, extensive unevenness, unknown prior coatings, or you can’t confirm compatibility between the current surface and your chosen products.
Here’s a practical boundary:
– Good DIY candidates
– Uniform dullness that improves after neutral cleaning and residue removal
– Light, shallow etching where a test patch shows improvement with compatible mechanical prep
– Floors where the prior finish type is known (for example, previously sealed with a documented penetrating system)
– Reasons to skip DIY
– Visible pitting or widespread texture damage (often requires specialized restoration planning)
– Large areas with uncertain prior coatings where stripping might be risky
– Need for high-gloss or very uniform marble-like reflectivity (limestone typically requires careful surface engineering)
Also, accept that outcomes depend on what’s already on the stone. If prior sealer chemistry is unknown, your best “safety net” is a test patch and a willingness to adjust your approach based on what you see—not on assumptions.
Limestone restorations are limited by the stone’s softer calcite-based structure (Mohs ~3), so aggressive prep can create lasting surface texture differences.
Quick Checklist for Refinishing Limestone Floors
– [ ] Identify the issue: etching vs scratches vs old coating problems
– [ ] Confirm your products are limestone-safe (no acids)
– [ ] Clean thoroughly with neutral pH stone cleaner; rinse residue-free
– [ ] Use the least aggressive prep method needed (test patch first)
– [ ] Strip old finish only if necessary and per manufacturer directions
– [ ] Apply compatible sealer/enhancer in thin, even coats
– [ ] Allow full cure time before traffic and maintenance
FAQ
Can I refinish limestone floors without stripping?
Often yes—if the surface is primarily dullness from buildup and you can remove residue completely with neutral pH cleaning. If old coatings remain and interfere with bonding, stripping may be required before resealing.
What’s the safest cleaner for limestone floors?
A neutral pH cleaner intended for natural stone is usually the safest baseline choice. Always check labeling for “limestone” or “natural stone” compatibility and avoid acidic cleaners and descalers.
Will polishing limestone make it look like marble?
You can improve shine and uniformity, but limestone and marble have different surface behavior and may not achieve the same look. Using the correct sealer/enhancer and proper restoration prep can help, but it won’t fully “convert” limestone’s natural character.
Why does my sealed limestone look streaky or hazy?
Streaking/hazing commonly results from over-application, incomplete rinsing/prep, uneven spreading, or sealing over residue or incompatible prior coatings. Reassess prep cleanliness and product compatibility with your specific sealer.
Do I need to seal limestone every time?
Not every time. Many systems last longer than others depending on foot traffic, maintenance, and product type. Follow the sealer manufacturer’s maintenance guidance and re-test in a hidden area before recoating.
Conclusion
Refinishing limestone floors works best when you treat it like a diagnosis-first project: confirm whether dullness is from residue, address etching with the least aggressive compatible surface prep, and then apply a limestone-labeled sealer/enhancer in thin, even coats. If you avoid acidic cleaners, remove residue fully, and match your prep to your sealing system, you can restore a uniform, protected finish without unnecessary stripping or permanent surface changes.
Sources
– USGS—Mineral/limestone and calcite background (calcite as a major component and related chemistry context)
– [ADD: natural stone maintenance guidance from a reputable stone industry body or major stone-supply manufacturer—general advice on avoiding acids and preventing etching]
– [ADD: manufacturer/spec documentation for the specific limestone sealer/enhancer you plan to use—application steps, cure time, and compatibility notes]
– [ADD: manufacturer/spec documentation for the stone cleaning product (neutral pH, safe use on limestone)]
– [ADD: manufacturer/spec documentation for any stripping product used (dwell time, surface compatibility, and rinse/removal requirements)]
Frequently Asked Questions
What are the best steps to refinish limestone floors without damaging the stone?
Start by dry sweeping and deep cleaning to remove grit, wax, and embedded dirt that can scratch limestone during sanding. Next, evaluate the finish condition, then use the appropriate diamond honing or light grinding to level dull or etched areas while avoiding aggressive material removal. After that, neutralize and remove dust thoroughly before applying a compatible limestone sealer or finish designed for natural stone. Finally, allow full cure time before using the floor and follow proper maintenance to keep refinish results looking even.
How do I remove scratches, etching, and stains from limestone before refinishing?
For shallow surface scratches, use progressively finer diamond abrasives to reduce visible marks while keeping the surface flat and uniform. For etching from acids or harsh cleaners, you may need targeted honing and then a suitable stone treatment to restore a consistent appearance—some etches require more abrasion than light cleaning alone. Stains often require chemistry-based spot treatments (for example, poultices for organic stains or oil-related marks), followed by thorough rinsing and drying. Always test products in an inconspicuous area first because limestone is porous and reacts differently to cleaning agents.
Which products and finishes are safest for limestone when refinishing floors?
Use pH-neutral cleaners for preparation and choose sealers specifically formulated for limestone and other natural stones. Look for breathable penetrating sealers if you want stain protection without changing the stone’s look, or choose appropriate surface finishes if your goal is higher sheen and wear resistance. Avoid acidic cleaners, waxes meant for ceramic floors, and “marble/granite” products that are not clearly compatible with limestone. The right limestone sealer selection helps prevent future etching and makes future cleaning easier.
How do I refinish limestone floors if they look dull or chalky after cleaning?
A dull or chalky limestone finish is often caused by residue buildup, previous improper sealing, or mild etching from cleaners. Begin with a thorough residue removal process using a limestone-safe cleaner, then rinse and let the stone fully dry. If dullness remains, light diamond honing and careful dust removal can restore surface uniformity before resealing with a compatible limestone floor sealer. After refinishing, use neutral pH maintenance and avoid acidic substances to prevent the chalky look from returning.
Why is proper sealing critical after refinishing limestone floors, and which sealer type should I choose?
Limestone is softer and more porous than many flooring materials, so it can absorb spills and is prone to etching from acidic exposure; sealing helps reduce staining and slows surface damage. Penetrating sealers typically offer strong protection while maintaining a natural look, while surface-applied finishes can improve sheen and make the floor easier to buff but may require more periodic maintenance. Choose a sealer based on your traffic level, desired appearance (matte vs gloss), and whether you’re addressing specific concerns like water marks, oil stains, or overall wear. Proper application—correct coverage, curing time, and recoat schedule—greatly affects how long your refinished limestone floors stay attractive.
📅 Last Updated: October 09, 2026 | Topic: How to refinish limestone floors? | Content verified for accuracy and freshness.
References
- Google Scholar Google Scholar
https://scholar.google.com/scholar?q=how+to+refinish+limestone+floors+sealing+polishing - Google Scholar Google Scholar
https://scholar.google.com/scholar?q=limestone+floor+cleaning+stone+conservation+acid+avoid - Google Scholar Google Scholar
https://scholar.google.com/scholar?q=refinishing+limestone+floor+etching+dissolution+mechanical+abrasive+methods - Limestone
https://en.wikipedia.org/wiki/Limestone - https://en.wikipedia.org/wiki/Stone_conservation
- https://www.nps.gov/subjects/historicpreservation/preservation-briefs.htm
- https://www.getty.edu/conservation/publications_resources/research/stone.html
- https://www.britannica.com/science/limestone
- https://www.roc-nhslibrary.com/limestone-floor-care-guide/
- https://www.sciencedirect.com/topics/earth-and-planetary-sciences/limestone