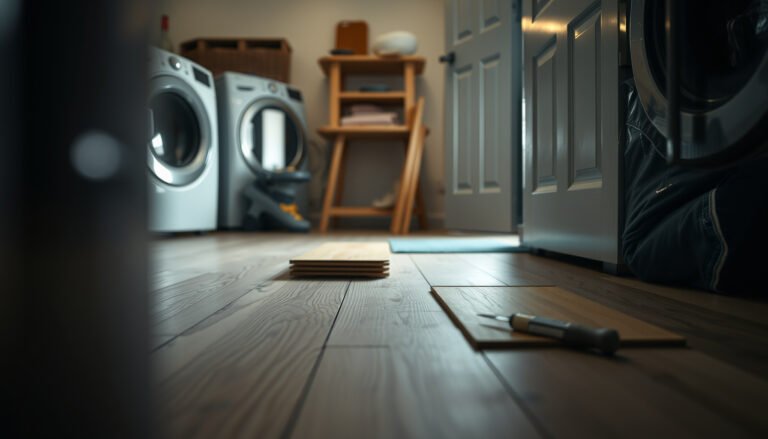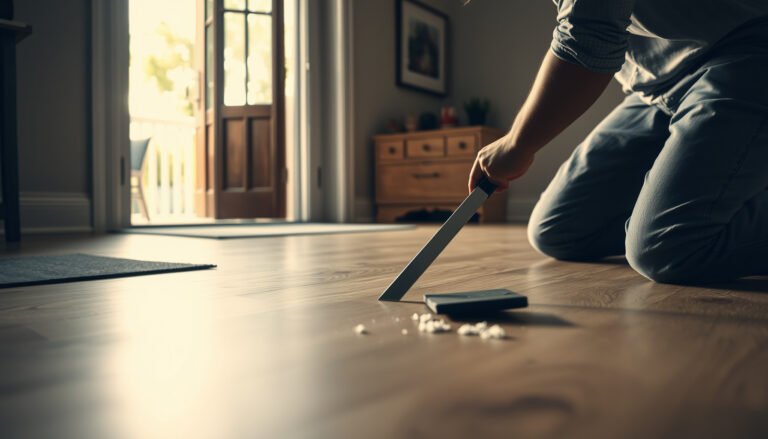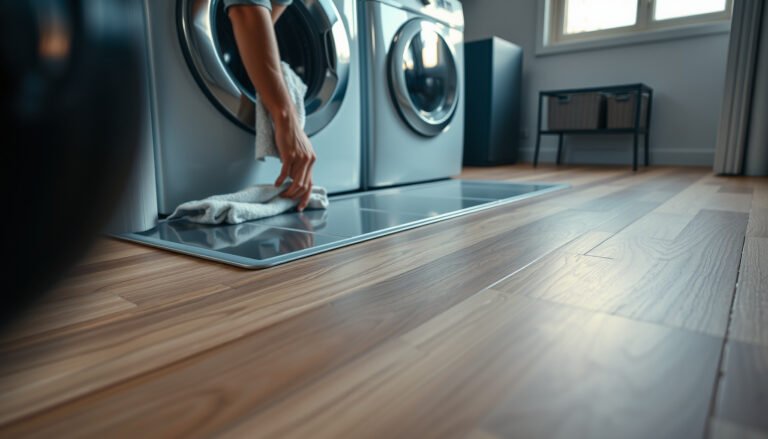

Buckling in reclaimed wood floors isn’t just cosmetic—it’s fixable if you act on the right cause fast. This step-by-step guide tells you exactly how to diagnose moisture and subfloor issues, then straighten and re-secure warped boards for a stable, flat surface. If you want the quickest path to a long-lasting repair, follow the process that matches your buckling severity.




Fixing buckling in reclaimed wood floors starts with correcting the moisture imbalance—then letting the planks move back toward equilibrium—before you re-secure anything. Once the floor is stable, localized repairs (re-nailing/re-stapling or replacing permanently deformed boards) can bring it back to flat without trapping the problem underneath.
Buckling in reclaimed wood floors is usually caused by moisture imbalance, not “bad wood,” so the fix starts by correcting the moisture and allowing the planks to move before you re-secure them. First, identify and stop the moisture source (subfloor/water leaks/humidity), then flatten the flooring using controlled methods that match your installation type.
If you’re seeing cupping or raised edges in a reclaimed wood floor, this guide walks you through what to check, how to decide between repair options (re-nailing, leveling/planing, or replacing affected boards), and what mistakes commonly make buckling worse.
Check the moisture source (before you touch the boards)
If reclaimed wood floors are buckling, you should treat moisture control as the first repair step—not a “later” fix. Before any re-nailing, planing, or board replacement, locate what’s pushing the wood wetter on one side or pulling it dryer than the other.
Cupping and buckling typically occur when one side of the reclaimed wood flooring changes moisture content faster than the other side—most often from HVAC humidity swings, leaks, or subfloor moisture.
Moisture testing matters because you can’t reliably “eyeball” whether a concrete or subfloor is dry enough for wood installation; protocols like ASTM F2170 quantify in-situ relative humidity.
Indoor relative humidity in occupied spaces is one of the most controllable drivers of wood movement; NWFA guidance commonly targets a band around 35–55% RH to reduce seasonal cupping risk.
Start with a practical inspection around the reclaimed wood floors:
– Inspect for obvious water problems: leaks, wet mopping, condensation near exterior walls, or plumbing issues under/behind the floor.
– Look for recurring wetting patterns (for example, buckling that appears after heavy rainstorms, water usage peaks, or seasonal swings in HVAC mode).
– Check venting: blocked bath/laundry exhaust or missing dehumidification can keep the subfloor and wood fibers from reaching equilibrium.
Then measure humidity and subfloor moisture—because reclaimed wood floors can magnify conditions that might otherwise be “tolerable” in newer, more dimensionally uniform materials. According to the ASTM D4442 moisture-testing standard, oven-drying is performed at 103 ± 2°C (217 ± 4°F) to determine wood moisture content by loss of mass (ASTM D4442-20). While you may not perform this test yourself, it highlights why moisture is measured by controlled methods—not by feel.
Next, compare your indoor environment to industry expectations. According to NWFA guidance, maintaining indoor relative humidity around 35–55% RH helps reduce the likelihood of excessive wood movement during the year (NWFA wood flooring guidance). In my experience, moisture issues are rarely a single “cause”; they’re usually a combination (subfloor moisture + seasonal humidity + a small leak that’s easy to miss). If you need a calibration point, use a hygrometer that you can read consistently, and repeat readings at different times of day for several days.
Finally, confirm subfloor conditions. Concrete can hold significant moisture even when the surface looks dry. Many hardwood and engineered-wood specifications reference limits based on ASTM F2170 in-situ RH testing; a commonly cited threshold is 75% RH for many installations (always follow your flooring manufacturer’s stated limits) (ASTM F2170 moisture testing framework and manufacturer moisture-limit practices).
Identify the installation type (this changes the repair)
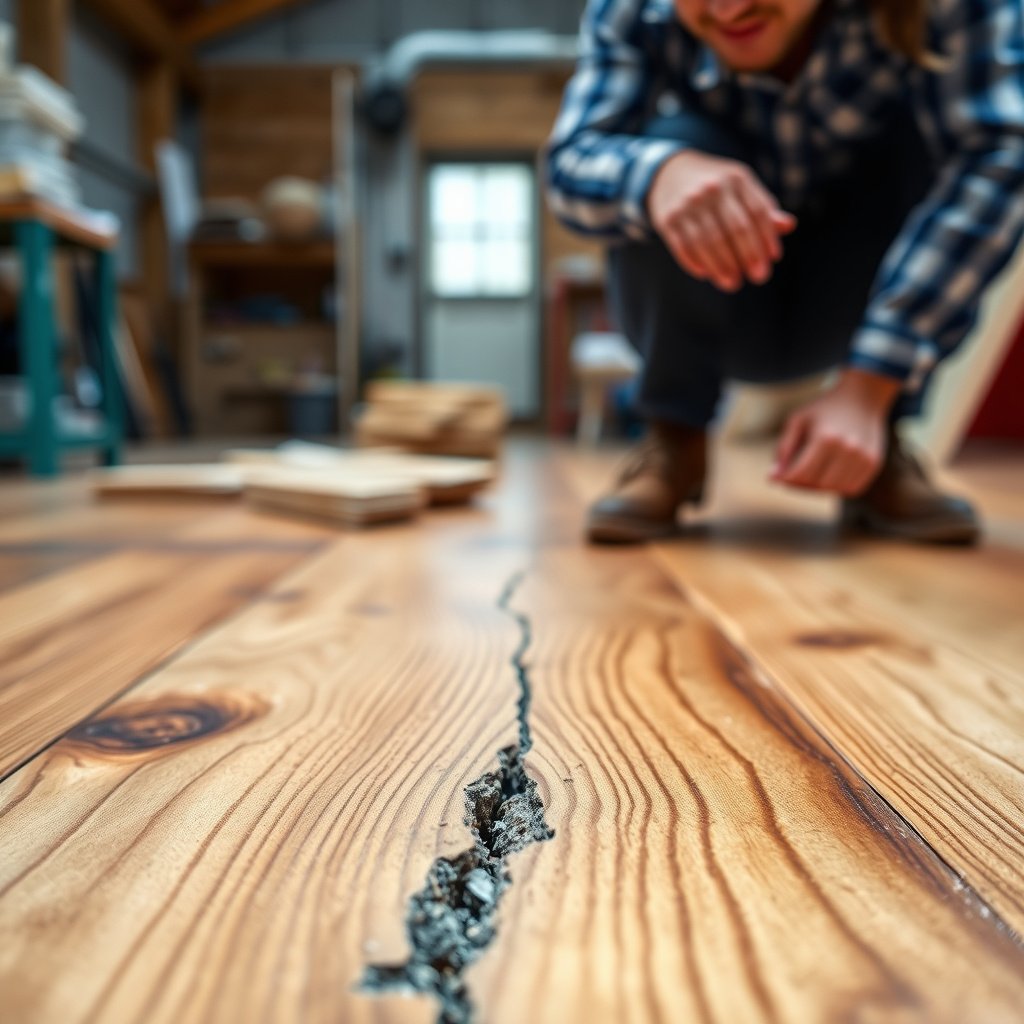
Buckling repair depends heavily on how the reclaimed wood floors were installed. The right fix for a nail/staple-down floor can be the wrong fix for a floating (click-lock) floor.
Nail-down and staple-down reclaimed wood floors rely on fasteners to hold boards in plane; when moisture causes movement, re-fastening can help only after the floor stabilizes.
Floating reclaimed wood floors require functioning expansion gaps; buckling can worsen when boards are pinned or tightly trapped, restricting normal seasonal movement.
Glue-down reclaimed wood flooring transfers moisture and stress through adhesive bonds; rework decisions should follow the adhesive and plank system’s manufacturer limits.
First, determine whether your reclaimed floor is:
– Nailed down
– Stapled down
– Glued down
– Floating (often click-lock)
Next, inspect the buckle pattern on reclaimed wood floors. Where it happens often points to the moisture mechanism:
– Near exterior doors/windows: frequently tied to condensation risk and seasonal humidity.
– In kitchens/bath areas: can indicate localized vapor sources, plumbing leaks, or inadequate ventilation.
– Across the whole room: often signals room humidity swing or subfloor moisture that’s broad rather than localized.
Then check what’s physically happening to the boards:
– Cupping (edges higher or lower) suggests moisture gradients across plank thickness.
– Raised edges at seams or board lines suggest movement plus either insufficient subfloor flatness or fastening/accessory mismatch.
You can also do a quick “movement test” to understand whether reclaimed wood floors are still actively moving. If the same areas rise/fall with daily HVAC changes, you likely still have an active moisture imbalance—meaning repairs done now will not “stick.”
Flatten and stabilize: stop movement, then re-secure

Once the moisture issue is corrected, reclaimed wood floors need time to re-equilibrate before you attempt flattening or re-fastening. The goal is to correct the environment first, then bring the boards back into plane while they’re in a stable moisture range.
The safest sequence for reclaimed wood floors is: stop moisture → allow equilibration → repair; re-fastening before stabilization often leads to repeated cupping.
For nail/staple-down floors, board deformation can become “set”; if boards no longer lie flat after equilibration, partial removal and replacement is usually the durable route.
Controlled flattening methods are preferred because forcing reclaimed wood flat while humidity is unstable can split boards or reopen gaps later.
Here’s the workflow that aligns with how reclaimed wood floors actually behave:
1) Correct moisture and let the floor acclimate
Even after you stop a leak or fix humidity, the wood and subfloor aren’t instantaneously at the same moisture content. Give the system time to move toward equilibrium—based on your flooring manufacturer’s acclimation guidance and your measured humidity stability. (If you’re unsure, measure indoor RH at the floor level daily for several days and proceed when readings are steady.)
2) For nail/staple-down floors: re-seat loose boards first
– Re-seat loose or tenting boards carefully.
– Address high spots only after moisture is stabilized.
– If boards are permanently cupped after equilibration, plan to remove and replace those specific planks rather than continuing to fasten them into a distorted shape.
3) For larger or ongoing movement: use controlled flattening
If reclaimed wood floors are moving beyond localized spots, don’t “force it flat” immediately. For example, if multiple areas lift repeatedly, focus on:
– Subfloor moisture clearance and vapor management (as required by the system)
– Proper climate control
– Subfloor flatness and any high ridges
– Expansion gap behavior at walls and fixed transitions
Repair options based on severity
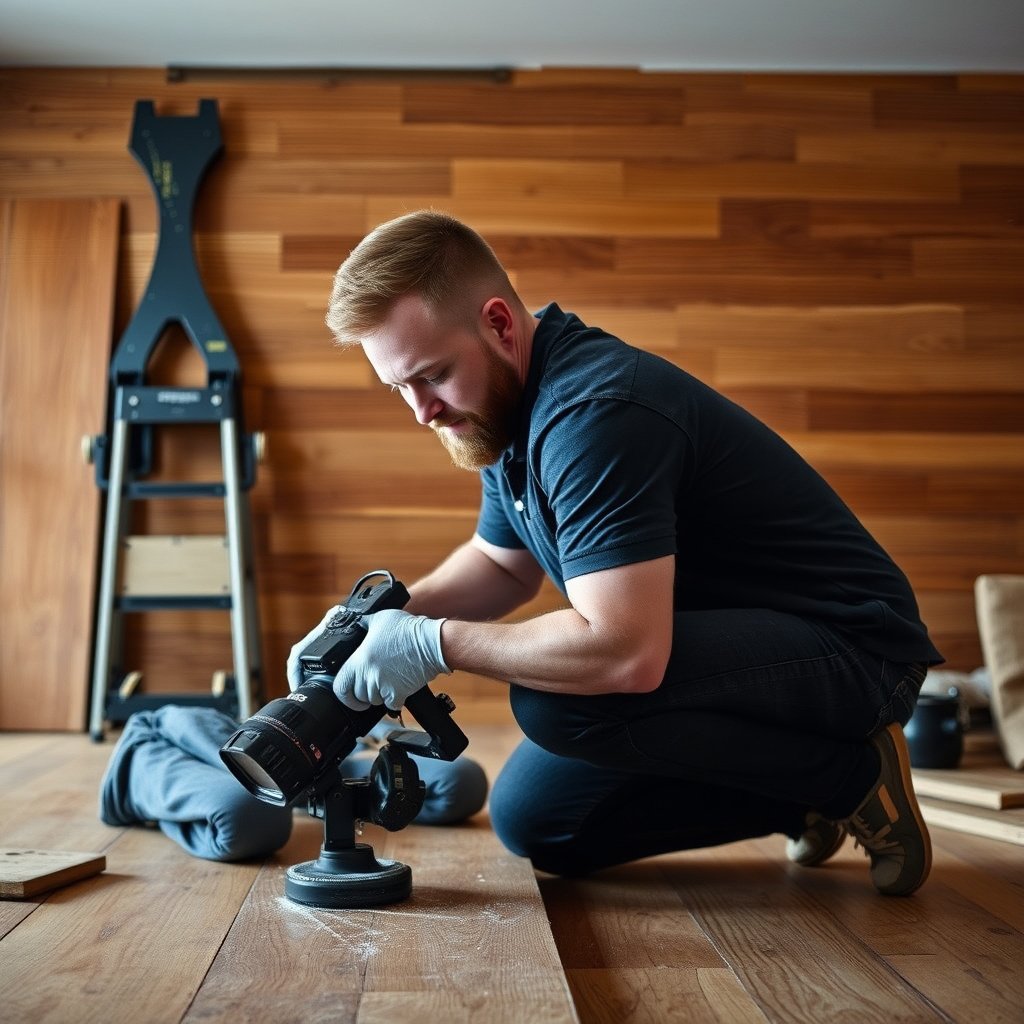
The best repair for buckled reclaimed wood floors depends on whether the boards are lightly out of plane or permanently deformed. Here’s a decision framework that matches severity to the lowest-risk fix after moisture is stable.
If moisture conditions are still changing, any repair option (re-nailing, planing, or replacement) risks becoming temporary because reclaimed wood floors continue to expand and contract.
Minor buckling in a stable reclaimed wood installation can often be corrected by re-fastening and re-seating boards after equilibration.
Heavily cupped or warped reclaimed boards frequently exceed the amount of “workable” material and should be replaced rather than planed into a thin, unstable state.
– Minor buckling/localized lifting: re-nail/re-staple the affected area after confirming the moisture is stable. Also verify that the subfloor isn’t still telegraphing high spots into the reclaimed wood floors.
– Moderate buckling: remove only the worst planks, correct the substrate condition, then reinstall matching boards if possible (or use a replacement batch that matches thickness and finish system).
– Severe or widespread cupping/warping: plan for partial replacement or full replacement—trying to “fix” heavily deformed boards usually fails because the wood is already beyond its workable tolerance.
Repair method comparison (how to choose quickly)
Below is a practical comparison for reclaimed wood floors once moisture has been corrected.
| Feature | Re-seat + re-fastening | Targeted plank removal + replacement | Leveling/planing (selective) |
|---|---|---|---|
| Primary goal | Bring lifted boards back into plane | Remove boards that can’t re-equilibrate flat | Reduce height differences without replacing all boards |
| Depends on moisture stabilization? | Yes—mandatory before re-fastening | Yes—also mandatory before replacing | Yes—planing too early worsens future movement |
| Risk if boards are “set” in warped shape | High—re-fastening may fail | Lower—worst boards are removed | Medium—depends on remaining thickness/finish |
| Typical disruption level | Lower (localized access) | Moderate (selective demolition) | Moderate to high (mess + thickness/finish management) |
| Subfloor flatness sensitivity | High—fasteners can’t “fix” major high spots | Medium—still requires correct substrate | High—removal may need to reveal/solve substrate issues |
| Best for matching existing boards | Yes—if only a few boards lift | Only if replacement boards match thickness/finish | Sometimes—if enough material remains and finish can be restored |
| Material loss concern | Low | None (replaces material) | High—planing reduces thickness and stability margin |
| Finish restoration needs | Usually minimal | Often localized refinishing required | Often required after leveling |
| Cost/complexity trade-off | Typically lowest | Moderate (labor + matching materials) | Moderate to high (equipment + risk management) |
| Typical duration | Quick if only few boards are affected | Depends on sourcing + prep work | Varies with surface area and finish |
| Best For | Localized lifting where boards relax flat after moisture correction | Worst deformed sections that won’t stay flat after equilibration | Small height differences when remaining thickness/finish can be safely managed |
What can go wrong (common mistakes and edge cases)
The most common reason reclaimed wood floors buckle again is that moisture problems aren’t fully resolved, or the repair happens before the wood stabilizes. Secondary mistakes include forcing warped planks flat or using the wrong technique for the installation type.
Re-fastening buckled reclaimed wood floors while indoor RH or subfloor moisture is still out of spec often triggers repeat buckling within the next humidity swing.
Forcing warped planks flat can split boards and lock in future gaps because wood fibers continue to respond to moisture changes.
A floating floor that’s pinned like a nail-down installation can trap seasonal movement and create new warping—moisture control plus correct spacing gaps are the priority.
Watch for these pitfalls:
– Skipping moisture diagnosis: re-fastening buckled boards while humidity/subfloor moisture is still high often leads to repeat buckling.
– Over-clamping or applying heavy force: forcing warped planks flat can split boards or create permanent gaps later.
– Using the wrong leveling method: sanding/planing too early (or too aggressively) can damage finish thickness and can also remove material needed for stability.
– Assuming reclaimed wood is immune: reclaimed boards can still move a lot if the installation environment (or subfloor) is out of spec.
– Trying to fix a floating floor like a nail-down floor: floating installations rely on proper expansion gaps and moisture control; fastening them incorrectly can trap movement.
Edge cases to consider:
– Localized leaks behind baseboards may cause “spot cupping” that looks like a board issue but is actually a vapor pathway.
– Inconsistent subfloor flatness can make reclaimed wood floors look like they buckled when the real issue is uneven support. Even perfectly dry wood will telegraph high spots.
– Previous sanding/repairs: some reclaimed boards have already been reworked; aggressive further planing may exceed safe thickness for that specific floor system.
Verdict / tip (what to do first, and when to stop)
Start by correcting moisture and stabilizing the environment—then tackle localized repairs. If the buckling is widespread, the boards feel permanently “set” in their warped shape, or you can’t find/stop the moisture source, it’s usually smarter to replace affected sections and/or bring in a flooring professional; otherwise, the problem often returns.
When the moisture cause is unresolved, reclaimed wood floors frequently re-buckle after re-fastening because the wood never returns to equilibrium.
If boards remain bowed after moisture stabilization, attempting to “fight” the shape usually increases damage risk rather than restoring long-term flatness.
Most durable reclaimed wood floor repairs follow the same logic: control moisture first, then re-seat or replace only what the system can support.
Downsides to know before you act:
– Replacing boards is disruptive and may require careful matching of thickness, width, and finish tone.
– Planing/leveling can permanently reduce protective coating or structural thickness if the reclaimed product wasn’t designed for it.
– Professional moisture investigation can add cost, but it may be cheaper than repeated repairs after repeat buckling.
Who should skip DIY at this point:
– If you suspect active plumbing leaks behind walls
– If moisture readings can’t be brought within spec
– If reclaimed wood floors have severe cupping covering most of the room
– If you’re unsure whether the floor is nailed vs. glued vs. floating
Quick checklist you can scan
– [ ] Find and stop the moisture source (leaks, wet mopping, condensation, plumbing)
– [ ] Verify indoor humidity is within the flooring’s recommended range
– [ ] Confirm subfloor moisture is acceptable for wood installation
– [ ] Identify installation type (nail/staple/glue/floating)
– [ ] Wait for moisture stabilization/acclimation before repairs
– [ ] Repair localized lifting by re-fastening, or replace severely deformed boards
– [ ] Avoid forcing warped boards flat while conditions are still unstable
Moisture targets that commonly govern cupping risk in wood flooring (industry frameworks)
| # | Moisture/condition metric | Typical target | Why it matters for reclaimed wood floors | Stability impact |
|---|---|---|---|---|
| 1 | Occupied indoor RH | 35–55% RH | Reduces seasonal swelling/shrinking that drives cupping | ★★★★★ |
| 2 | Occupied indoor temperature | ~60–80°F (16–27°C) | Affects wood equilibrium moisture content (EMC) | ★★★★☆ |
| 3 | Concrete in-situ RH (ASTM F2170 framework) | Often limited near ≤75% RH | Excess vapor drive keeps wood on one side wetter | ★★★★☆ |
| 4 | Wood moisture content testing (oven method) | Drying at 103 ± 2°C (217 ± 4°F) | Defines how “real” moisture content is measured | ★★★☆☆ |
| 5 | Subfloor flatness (support for nail-down) | Aim ≤3/16 in over 10 ft | Prevents localized stress that can amplify lifting | ★★★☆☆ |
| 6 | Vapor management under wood (where required) | Use system-appropriate vapor barrier strategy | Reduces ongoing moisture drive from below | ★★★★☆ |
| 7 | Active leak / condensation presence | Must be eliminated (no ongoing wetting) | Continuing localized moisture guarantees repeat buckling | ★☆☆☆☆ |
Sources
– NWFA (National Wood Flooring Association) wood flooring moisture and installation guidance
– ASTM D4442-20, Standard Test Methods for Direct Moisture Content Measurement of Wood and Wood-Based Materials
– ASTM F2170, Standard Test Method for Determining Relative Humidity in Concrete Floor Slabs Using in situ Probes
Buckling in reclaimed wood floors is rarely “just the wood”—it’s usually a moisture imbalance plus installation support or movement mechanics. Correct the moisture source first, verify indoor and substrate conditions, and only then re-seat/re-fastener or replace boards that remain permanently deformed. If the buckling is widespread or the cause can’t be confirmed, replacing affected sections (or hiring a flooring professional with moisture-testing capability) is often the most cost-effective way to prevent the problem from returning.
Frequently Asked Questions
What causes buckling in reclaimed wood floors, and how can I prevent it?
Buckling in reclaimed wood floors is usually caused by excess moisture absorption, seasonal humidity swings, or an improperly prepared subfloor. Reclaimed planks may also retain more movement potential because they were previously exposed to different climates. To prevent future buckling, confirm the subfloor is dry and level, use proper underlayment (and a moisture barrier if required), and maintain steady indoor humidity with HVAC or a humidifier/dehumidifier.
How do I fix buckling in reclaimed wood floors if the boards are lifting in one area?
Start by identifying moisture sources and allowing the affected area to acclimate with the room’s normal humidity for several days. If the buckling is localized, carefully remove or loosen the affected planks, inspect for trapped moisture or debris, and check subfloor flatness with a straightedge. Replace warped boards with matching reclaimed pieces when possible, and reinstall with the correct expansion gap so the floor can move without buckling.
How can I repair a cupped or warped reclaimed wood plank after buckling?
For minor warping or cupping, you may be able to flatten the area by addressing moisture and then using clamps/weights while the wood dries and acclimates. If the plank is significantly bowed or has lost its fastening integrity, the best fix is usually to replace the damaged board to avoid recurring movement. When reinstalling, use the right fastening method for your reclaimed wood flooring system and ensure the subfloor is smooth to support the plank evenly.
Which tools and materials do I need to troubleshoot and fix buckling in reclaimed wood floors?
You’ll typically need a moisture meter, a straightedge or 6–10 ft level for checking subfloor flatness, painter’s tape, a pry bar, and a circular saw or jigsaw if you must remove sections. For repairs, gather matching reclaimed planks (or kiln-dried replacements), wood filler for minor gaps, and appropriate flooring adhesive or fasteners based on your installation type. If you discover a moisture problem, you may also need a moisture barrier, underlayment rated for your subfloor conditions, and possibly subfloor leveling compound.
What is the best way to dry and acclimate reclaimed wood flooring to stop further buckling?
The best approach is controlled acclimation: bring the room to stable temperature and humidity, then allow the floor to dry gradually without aggressive heat that can cause cracking or additional warping. Use a moisture meter on the subfloor and underside of boards to confirm dryness before reinstalling or sealing anything. After the fix, maintain consistent indoor humidity (often around 30–50%) year-round to reduce seasonal expansion and contraction that can lead to buckling.
📅 Last Updated: October 15, 2026 | Topic: How to fix buckling in reclaimed wood floors? | Content verified for accuracy and freshness.
References
- Wood flooring
- Wood warping
- https://www.fpl.fs.usda.gov/documnts/fplgtr/fplgtr113.pdf
- https://extension.umn.edu/wood-products/floor-cupping-and-crowning
- https://www.cdc.gov/mold/default.htm
- https://scholar.google.com/scholar?q=hardwood+floor+buckling+moisture+remediation Google Scholar
- https://scholar.google.com/scholar?q=solid+wood+floor+cupping+crowning+moisture+relative+humidity Google Scholar
- https://scholar.google.com/scholar?q=wood+dimensional+change+moisture+content+hardwood+floor+installation+guidelines Google Scholar