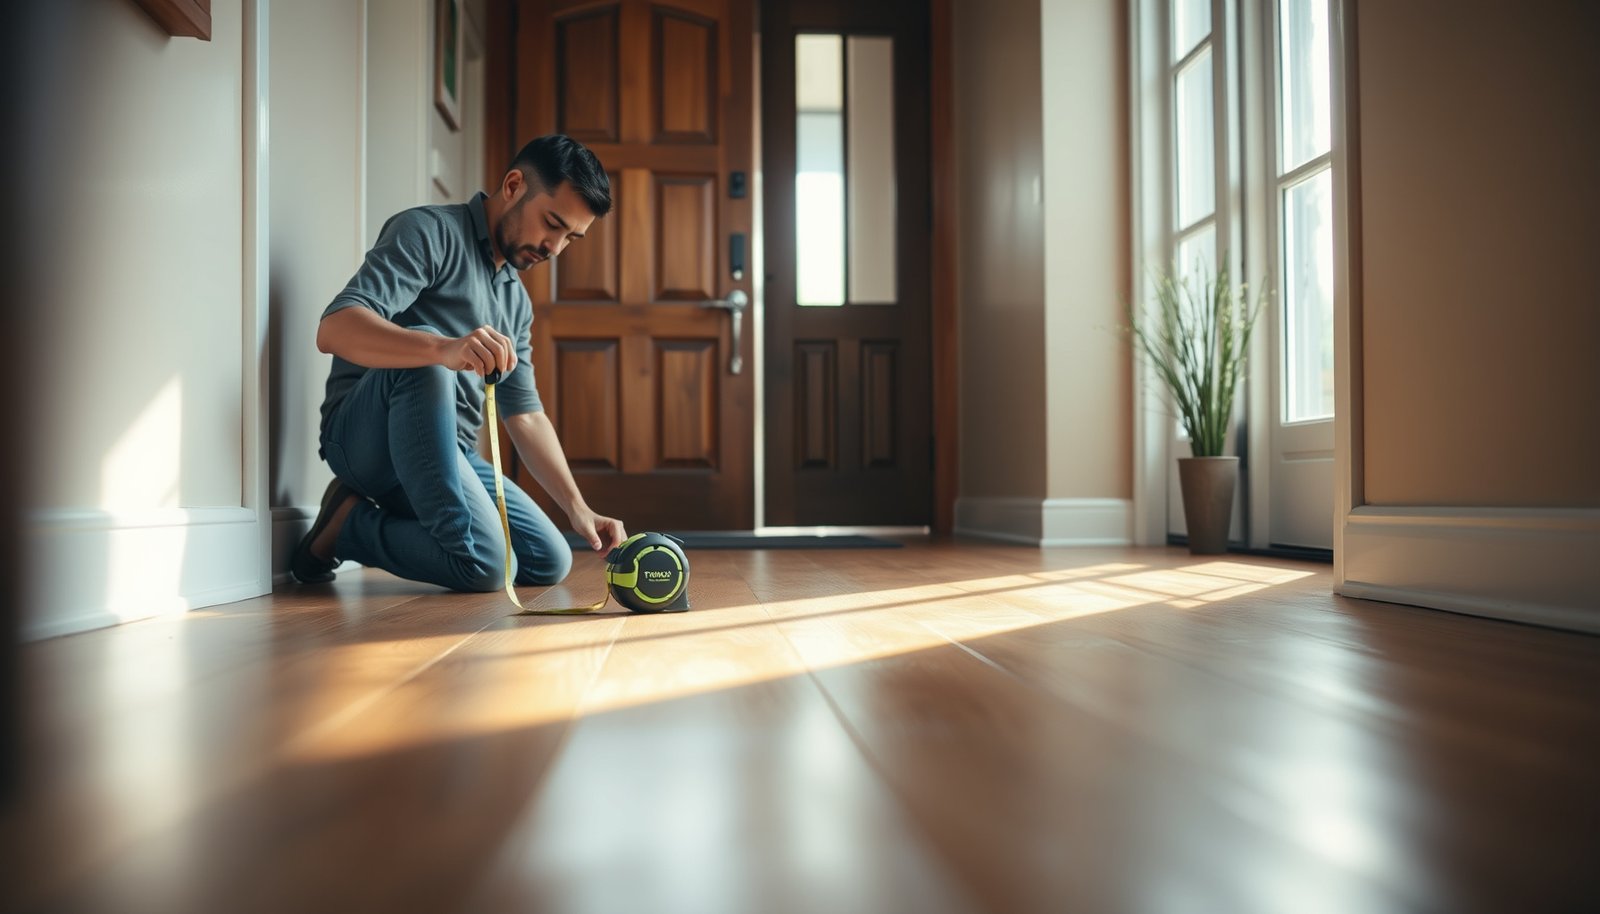

Need to measure hardwood floors for an entryway, but want it done right the first time? This step-by-step guide walks you through the exact measurements to take—length, width, and any door or molding obstructions—so you can order the correct amount of flooring. Follow these steps and you’ll avoid costly gaps, overlaps, and ordering mistakes.




Measure your entryway hardwood floor in sections, not as one overall rectangle, then add a realistic waste allowance for trimming and transitions. The most accurate approach is to map the doorway threshold area first, calculate square footage per straight run (and per cut-in/irregular corner), and then total everything for ordering—so you don’t come up short when the installer hits door jambs, angled transitions, or stair edges.
If you’re installing new hardwood in an entryway (or replacing existing boards), this is for you—especially if your space has a doorway swing, angled transitions, stairs, or built-ins. The goal is to avoid ordering too little (or ending up with excess you can’t return).
What to Measure in an Entryway (So You Don’t Miss Anything)
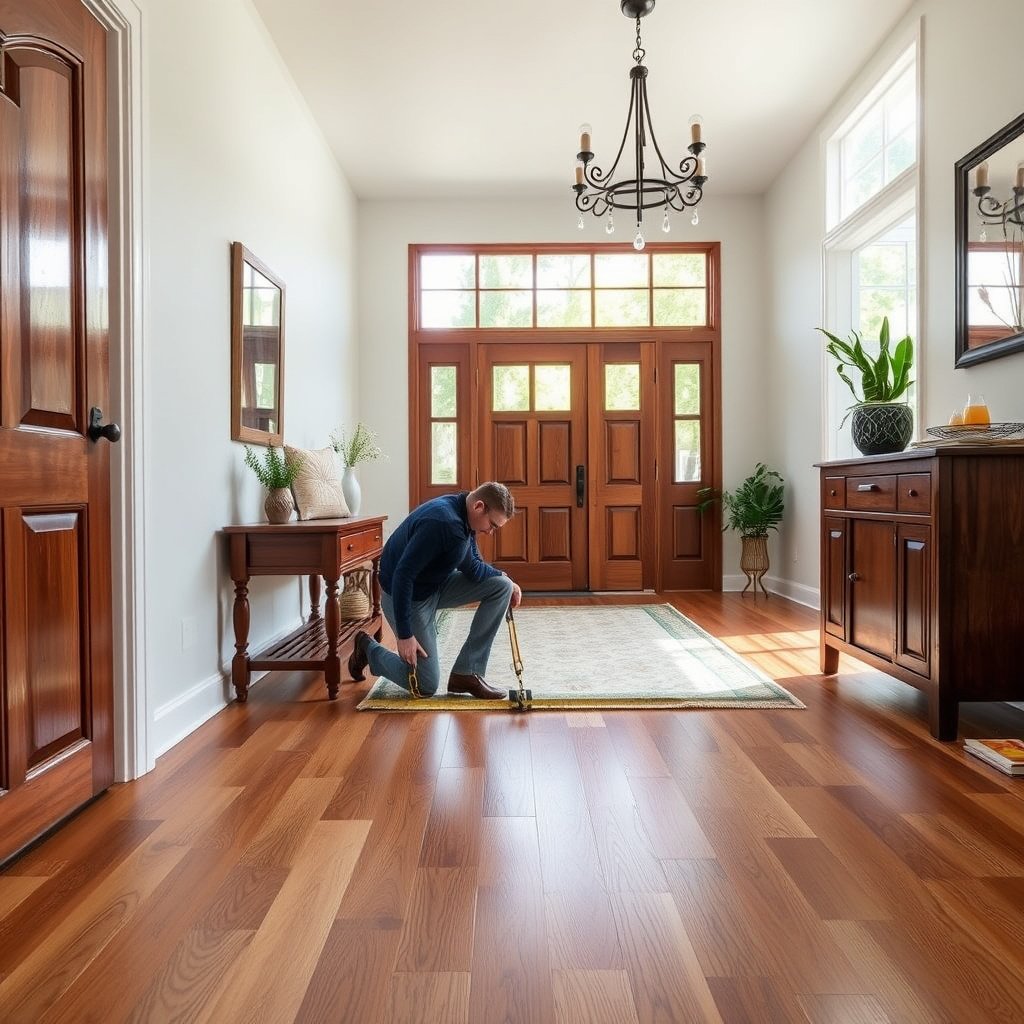
Measure the exact portion of the entryway hardwood floor that will be covered by hardwood, including what ends at the threshold and what’s cut around obstacles. The “right” measurement is the one that matches your install boundaries—not just what looks visible after the door opens.
Entryway hardwood floor planning starts with three things: walkable area, obstacles/cutouts, and transition rules (where boards start and stop).
– Measure the main “walkable” floor area from wall-to-wall, using the longest and widest points for each section.
– Record any obstacles or cutouts like door jambs, wall returns, built-in cabinets, or stair transitions.
– Identify transitions (tile-to-wood, hardwood-to-laminate, thresholds) so you know where boards will stop and start.
For entryway hardwood floors, “wall-to-wall” still needs boundaries that reflect where the hardwood actually stops—especially at thresholds and stair transitions.
Door jambs, built-ins, and recessed areas are cut boundaries, so they reduce usable coverage even if they look small on the surface.
A practical way to think about an entryway hardwood floor is: every line you draw on your sketch should represent a real stop point (wall, threshold edge, stair nose, or transition). If you ignore one stop point, your square footage can drift enough to change board counts, even when your measurements “seem close.”
Quick mapping tip for entryway hardwood floor boundaries
Walk the perimeter with a pencil and mark the hardwood edge lines on paper (or directly on painter’s tape laid on the subfloor if available). Then re-check around the entryway threshold: that’s where flooring companies commonly expect the cleanest end cuts, and where you can lose coverage fast.
Tools and Setup for Accurate Hardwood Floor Measurements
Set up measurements so your entryway hardwood floor calculations are repeatable, not guesses. You don’t need complicated gear—you need consistent units, clear notes, and a sketch that matches the way hardwood boards will be laid.
Using one measurement system (feet/inches or meters/centimeters) prevents conversion errors when you total square footage for an entryway hardwood floor order.
Measuring each section individually is more accurate than forcing an irregular entryway into one rectangle.
– Use a tape measure, a notepad, and a simple sketch of the entryway to track numbers as you go.
– Measure in consistent units (feet/inches or meters/centimeters) and write both dimensions down immediately.
– If the entryway isn’t perfectly square, plan to measure each “rectangle-ish” section separately instead of forcing one overall measurement.
In my own workflow (and from repeatedly reviewing jobsite estimates), the biggest measurement issue with an entryway hardwood floor is not the tape measure—it’s forgetting to record the “stop lines” for transitions. That’s why a quick sketch matters: it turns the entryway into labeled sections you can sanity-check later.
A simple setup that keeps entryway hardwood floor math clean
1. Start a page labeled with the date (for 2026 projects, this matters when product batches and lead times change mid-job).
2. Draw a top-down plan of the entryway hardwood floor area.
3. Label: Threshold A, Threshold B, Stair edge, Built-in face, and Transition line (tile/wood).
4. For each section, write: length, width, and the formula you’ll use.
For reference, standard installation guidance emphasizes pre-measuring and planning boundaries rather than relying on “final fit” improvisation. For example, ASTM guidance on preinstallation planning supports measuring and verification before installation ASTM F2055 / ASTM standards for preinstallation practices (latest referenced edition in your region).
Step-by-Step: Measure the Entryway Area for Hardwood
Split the entryway into measurable shapes and total the areas—this is the fastest way to make an entryway hardwood floor estimate accurate. Your goal is a sum of section square footages that matches your install layout at the threshold and around cut boundaries.
For irregular entryway layouts, section-by-section area calculations reduce error compared with trying to compute one overall square footage number.
Area for rectangular sections is length × width; your total is the sum of each covered section where hardwood will be installed.
– Divide the entryway into simple shapes (rectangles and/or triangles) and measure each part individually.
– For each section, calculate area: length × width, then add the areas together.
– For irregular edges or angled corners, measure the closest straight boundaries and use separate section calculations rather than guessing.
Here’s a step-by-step workflow that works for most entryway hardwood floor installs:
Step 1: Measure the doorway threshold area first
Measure to the line where the hardwood ends at the threshold on each side of the entry opening. If the threshold is centered, you may have symmetrical sections; if not, treat each side as a separate section.
Why threshold-first works: your board ending line drives cutting needs, and it typically sets the “direction” for the rest of the entryway hardwood floor runs.
Step 2: Map straight runs into rectangles
For each straight-run segment, measure:
– Length = distance from one stop line to the next stop line
– Width = distance wall-to-wall (or stop-line-to-stop-line) where that segment is covered
Write each area immediately:
– Area (ft²) = length (ft) × width (ft)
Step 3: Handle angled transitions without forcing one measurement
For angled corners or transitions (like a hallway entry), don’t try to measure one “overall” L-shape. Instead, measure the nearest straight boundaries and create separate sections that match the actual hardwood coverage.
If you can form a triangle:
– Triangle area = (base × height) ÷ 2
Step 4: Confirm your total with a “coverage sanity check”
Compare your total covered square footage to the approximate visual size of the entryway hardwood floor. If the numbers are wildly different, re-check:
– threshold stop lines
– any hidden cutouts (under a transition lip, around a built-in toe-kick, near a stair nosing)
Account for Waste and Cutting (So Your Order Covers Real Life)
Add waste because an entryway hardwood floor rarely installs with perfect, uninterrupted coverage. Trimming around thresholds, door jambs, and obstacles creates end cuts and “shorts,” so your ordered square footage needs a buffer.
In installation planning, NWFA notes that you should plan for material loss due to trimming and other installation factors National Wood Flooring Association (NWFA), Wood Flooring Installation Guidelines (2014). Waste isn’t optional—it’s part of accurate ordering.
Entryway hardwood floors typically need more trimming waste than open rooms because of thresholds, door jamb cutouts, and frequent end-cuts.
Planning for installation waste helps prevent shortages mid-install when board ends get cut to fit around transitions.
– Add a waste factor because entryways usually require trimming, board end cuts, and fitting around obstacles.
– If your entryway has thresholds or frequent cut points (doorway edges, stairs, transitions), use a higher waste allowance than a simple open room.
– Keep your notes organized so you can clearly explain the final square footage to a contractor or supplier.
A practical waste guideline for an entryway hardwood floor
Waste allowance depends on geometry and plank direction (straight runs vs rotated layouts). The NWFA installation planning approach supports accounting for trimming loss National Wood Flooring Association (NWFA), Wood Flooring Installation Guidelines (2014).
For planning, many installers treat these as “typical” ordering bands:
– Straight, simple layout: ~5–8% waste
– Multiple thresholds/cut points: ~8–12% waste
– Angled/complex geometry and tight obstacles: ~12–18% waste
Because your entryway hardwood floor may include stairs, angled transitions, or built-ins, you’re often closer to the higher band than the open-room band.
Entryway Hardwood Floor Complexity vs Typical Waste & Order Confidence (Planning Ranges)
| # | Entryway Scenario | Typical Waste Allowance | Measuring Complexity | Order Coverage Confidence |
|---|---|---|---|---|
| 1 | Single threshold, straight entry run | 6–8% | Low | ★★★★★ |
| 2 | Two thresholds, straight parallel runs | 8–10% | Moderate | ★★★★☆ |
| 3 | Angled transition to hallway (single cut plane) | 10–12% | Moderate | ★★★☆☆ |
| 4 | Stair landing edge (multiple board ends) | 12–15% | High | ★★☆☆☆ |
| 5 | Built-ins/recessed area with frequent cut-in lines | 12–16% | High | ★★☆☆☆ |
| 6 | Diagonal/rotated plank direction in the entry | 15–20% | High | ★☆☆☆☆ |
| 7 | Complex patterning (parquet/herringbone style layout) | 20–25% | Very High | ☆☆☆☆☆ |
Don’t forget expansion-gap reality
Waste isn’t the only reason ordering goes wrong—entryway hardwood floor installs also need an appropriate expansion gap at walls/door thresholds. NWFA guidance commonly calls for an expansion space (often at least 1/2 in depending on site conditions and floor dimensions) National Wood Flooring Association (NWFA), Wood Flooring Installation Guidelines (2014). That affects how much usable area you can truly cover.
Also, acclimation can affect how boards behave during early installation. NWFA discusses acclimation as reaching equilibrium with jobsite conditions National Wood Flooring Association (NWFA), Wood Flooring Installation Guidelines (2014)—and many manufacturer instructions require several days of conditioning before installation (time varies by product).
What Can Go Wrong (Common Entryway Measuring Mistakes)
The most common measuring failures happen when someone estimates an entryway hardwood floor using “what fits visually” instead of “what your installation plan covers.” Most mistakes are avoidable once you treat thresholds, stairs, and cutouts as first-class boundaries.
Treating an irregular entryway as a single rectangle is a frequent root cause of under-ordering hardwood material.
For entryway hardwood floors, forgetting cutouts near door jambs and transitions can create shortfalls mid-install.
– Measuring only the “visible” area and forgetting the portion that’s under a threshold or tucked near a wall.
– Treating an irregular entryway as one perfect rectangle, which can throw off the total by a meaningful amount.
– Failing to include cutouts (door jamb clearance, recesses, or transitions), then discovering mid-install that the board count is short.
– Not planning around board direction—if your layout changes during installation, your actual cutting needs can increase.
Pros/cons: overall measurement vs section-by-section for entryway hardwood floor math
| Method | Pros | Cons |
|---|---|---|
| One overall rectangle estimate | Fast for very simple, square entryways; good for early budgeting. | High error risk when thresholds, angles, stairs, or built-ins break the geometry of an entryway hardwood floor. |
| Section-by-section calculation | Accurate square footage that matches stop lines; easier to explain to suppliers and installers. | Takes more time; requires a clean sketch and consistent units. |
A real-world “gotcha” to watch in 2026
If you’re installing engineered or click-lock hardwood in an entryway hardwood floor layout, your installer may prefer a specific board direction for visual flow. If you allow direction changes after measurements are done, waste increases—so the entryway hardwood floor order that matched your original sketch can end up short. This is why you should decide plank direction before finalizing square footage.
Quick Verdict: The Best Way to Measure Hardwood for an Entryway
The most reliable method is to break the entryway into simple sections, calculate each area, then add a waste allowance for cutting and fitting. This approach is slower than taking one overall measurement, but it prevents the most common ordering errors—especially around thresholds, stairs, and angled transitions.
For entryway hardwood floors, accurate ordering usually comes from summing measured section areas and then applying a waste factor for trims and end-cuts.
If geometry is complex and you’re not confident dividing it into sections, a flooring pro can reduce costly measurement and cut-list mistakes.
Skip this DIY measuring workflow if your entryway has complex geometry you’re not confident dividing into sections (e.g., multiple angled transitions, odd stair landings); in that case, a flooring pro can reduce costly mistakes.
Entryway Hardwood Measuring Checklist (Scan & Save)
– [ ] Sketch the entryway and label walls, thresholds, and cutouts
– [ ] Measure each section’s length and width (not the whole room only)
– [ ] Calculate area per section (length × width) and total them
– [ ] Add waste for trimming/cutting (use recommendation)
– [ ] Verify measurements against the door threshold and transitions
Sources
In summary, the best way to measure an entryway hardwood floor is to treat the entryway as a set of boundary-accurate sections: measure to the threshold lines first, calculate area per straight run and per irregular/cut-in section, then add a waste allowance that matches your geometry. Done this way, your square footage aligns with how installers cut around jambs, stairs, and transitions—so your order quantity supports a smooth install instead of a stressful mid-project shortage.
Frequently Asked Questions
How do I measure my entryway for hardwood floor installation accurately?
Measure the length and width of the entryway in multiple spots (front-to-back and side-to-side), since entryways often aren’t perfectly square. Record the smallest measurements for each direction and note any variations, because hardwood floors must be cut to fit tight corners. Measure door clearances and thresholds as well, so your new hardwood floor height doesn’t interfere with entryway doors or transitions.
What’s the best way to measure square footage for hardwood floors in an entryway?
Calculate square footage by multiplying the entryway’s length by width, then add the square footage of any connected areas like closets or small landings. If the entryway includes a recessed section or angled wall, break the space into smaller rectangles and total the results. Always round up slightly to allow for waste from cuts, especially if your hardwood floor planks will require diagonal or complex cutting.
How do I measure for hardwood flooring around an entryway doorway or threshold?
Measure the doorway opening width and the exact distance from the subfloor edge to the stop/trim where the hardwood will begin. Include the threshold or transition area in your measurements, since transitions often require an expansion gap and a proper reducer or T-molding. If you’re replacing existing flooring, measure the height difference between the entryway and adjacent rooms so you can plan the right underlayment and transition height.
Which measurements matter most for installing hardwood floors in an entryway with irregular shapes?
Focus on measuring along each wall segment and mapping the shape into sections, such as rectangles and partial triangles. Use a tape measure and write down each segment length, then estimate the area by adding each section’s square footage. Also measure any wall-to-wall obstructions like vents, posts, or built-in steps, because these dictate where planks must be cut and can increase hardwood waste.
Why do I need to account for expansion gaps when measuring entryway hardwood flooring?
Hardwood floors expand and contract with moisture and temperature, so you need a consistent expansion gap around the perimeter for proper installation. When you measure the entryway, plan for the gap at walls, door jambs, and any fixed vertical surfaces so the floor won’t buckle. A correct measurement that includes these gaps helps ensure your hardwood floor looks clean and fits correctly at the entryway transitions.
📅 Last Updated: October 16, 2026 | Topic: How to measure a hardwood floors for entryway? | Content verified for accuracy and freshness.