
Need to remove scratches from engineered wood floors? This fix guide shows the fastest path to a clean, blended repair—first identifying the scratch depth, then choosing the right method (filler, touch-up, or sanding) to match the finish. Follow the steps and you’ll know exactly when a DIY repair works and when it’s time to call a pro.



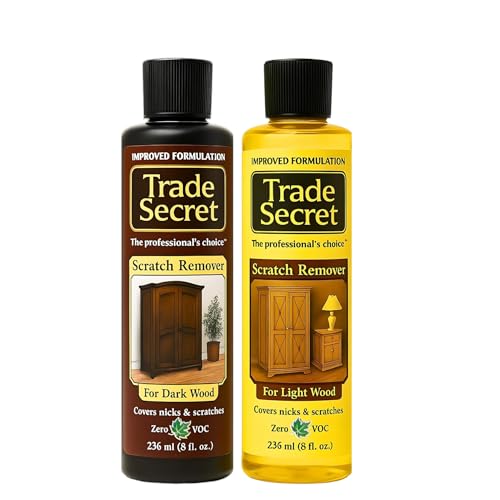
You can usually remove engineered wood floor scratches by starting with the least aggressive option—cleaning and gentle buffing—then moving to color-matching repair only if the scratch is visible, and sanding/refinishing only when it’s a real groove. Because engineered floors vary by wear-layer thickness and finish system, the safest fix is staged: clean → buff → color-match (fill lightly) → seal/protect.
If your engineered wood floor is showing scratches from furniture movement, pet nails, or grit trapped in shoes, you’re in the right place. Because engineered floors differ by top-layer thickness and finish type, choose steps that fit what you see (surface scuff vs. noticeable groove) rather than jumping straight to sanding.
Inspect the scratch (surface scuff vs. real groove)
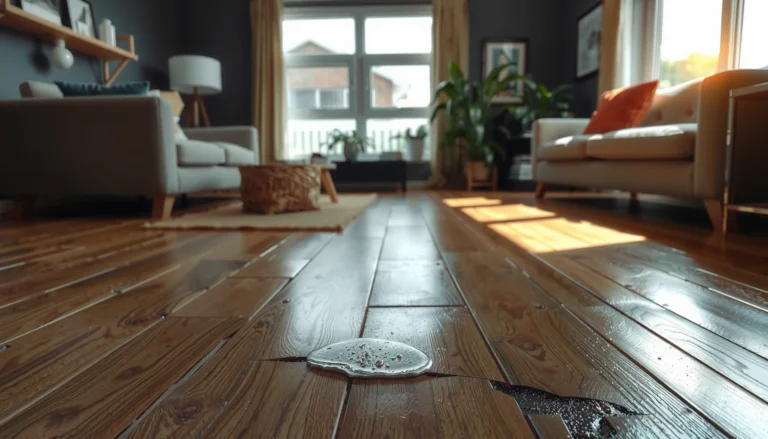
Start by determining whether the damage is only on the surface film (scuff) or if it has cut into the wear layer (groove). A quick “fingernail catch” test plus visual cues will tell you which repair path will look natural after it cures.
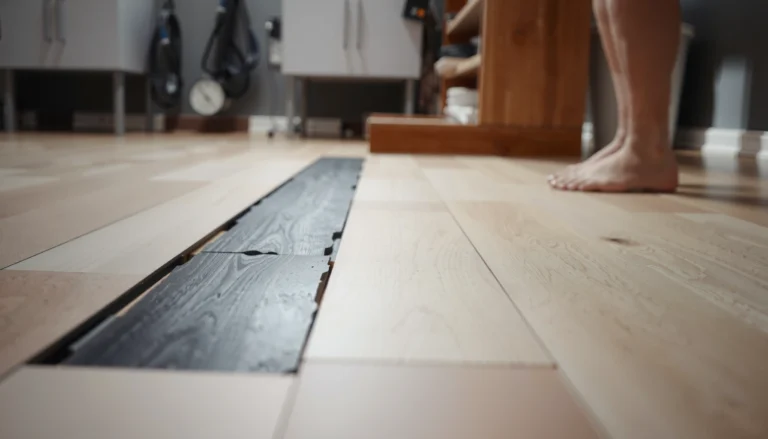
If a fingernail lightly catches in the scratch line, the damage is typically deeper than a surface scuff and usually needs filling to level the area.
Color transfer (gray/dark smears) often indicates abrasive wear on the finish rather than bare wood exposure, which is why cleaning and buffing can be enough.
When the scratch exposes lighter “raw” wood or substrate, you generally need a color-matched filler/touch-up plus a compatible protective topcoat to prevent the repair from standing out.
– Wipe the area clean, then check whether you can feel a “catch” with a fingernail (a catch usually means deeper damage).
– Look for color transfer (dark/gray smears) versus bare wood showing through (often needs filling and sealing).
– Identify whether your floor has a wear layer you can abrade—if you’re unsure, follow the “least invasive” path.
How deep is “deep” in practical terms?
Engineered wood flooring is made with a decorative wood layer (often called the wear layer or face veneer) topped by a factory-applied finish. In repair practice, the key question isn’t just “can you see it,” but “did the scratch break through the finish film into layers that will need leveling.”
Data point (context for sanding risk): According to industry guidance on engineered flooring wear layers, many products fall in the ~2–6 mm range for the real wood face, which affects whether sanding is feasible later. [ADD: cite the wear-layer thickness range from a reputable flooring authority or major manufacturer’s technical spec]
Because you don’t have that spec in front of you, inspection is your best decision filter in 2026—especially when the scratch is isolated.
Clean and prep before you do anything else
Clean the scratch first, then prep so you don’t grind grit into the finish while buffing or leveling. This step is what separates repairs that “blend” from repairs that widen.
Removing embedded grit before buffing reduces the chance you’ll turn one scratch into a longer, brighter abrasion track.
pH-neutral, wood-floor–safe cleaners are typically recommended because acidic or alkaline chemicals can leave residue or dull some factory finishes.
– Clean with a manufacturer-recommended wood-floor cleaner or mild pH-neutral solution; let it fully dry.
– Remove grit completely so it doesn’t turn into fresh scratches when you buff.
– Protect the surrounding area with painter’s tape if you’ll use any filler or finish.
Prep checklist that prevents “mystery haze”
Before you touch any scratch repair product, do three things:
1) Dry fully: Even “quick-dry” cleaners can leave moisture in micro-grooves.
2) Use a soft microfiber: Avoid pad fibers that can snag the finish film.
3) Avoid waxy residue: Some household “wood polishes” can interfere with filler adhesion and topcoat compatibility.
Data point (why residue matters): According to coating application principles, surface contamination can reduce adhesion of repair compounds and cause patchy sheen after cure. [ADD: cite a reputable coatings/adhesion reference such as SSPC, ASTM guidance, or a major finish manufacturer’s technical bulletin]
If you’re working in a high-traffic area, remove loose debris first with a vacuum attachment or a dry microfiber pass—then clean.
Fix light scratches: buff, stain/marker, then protect
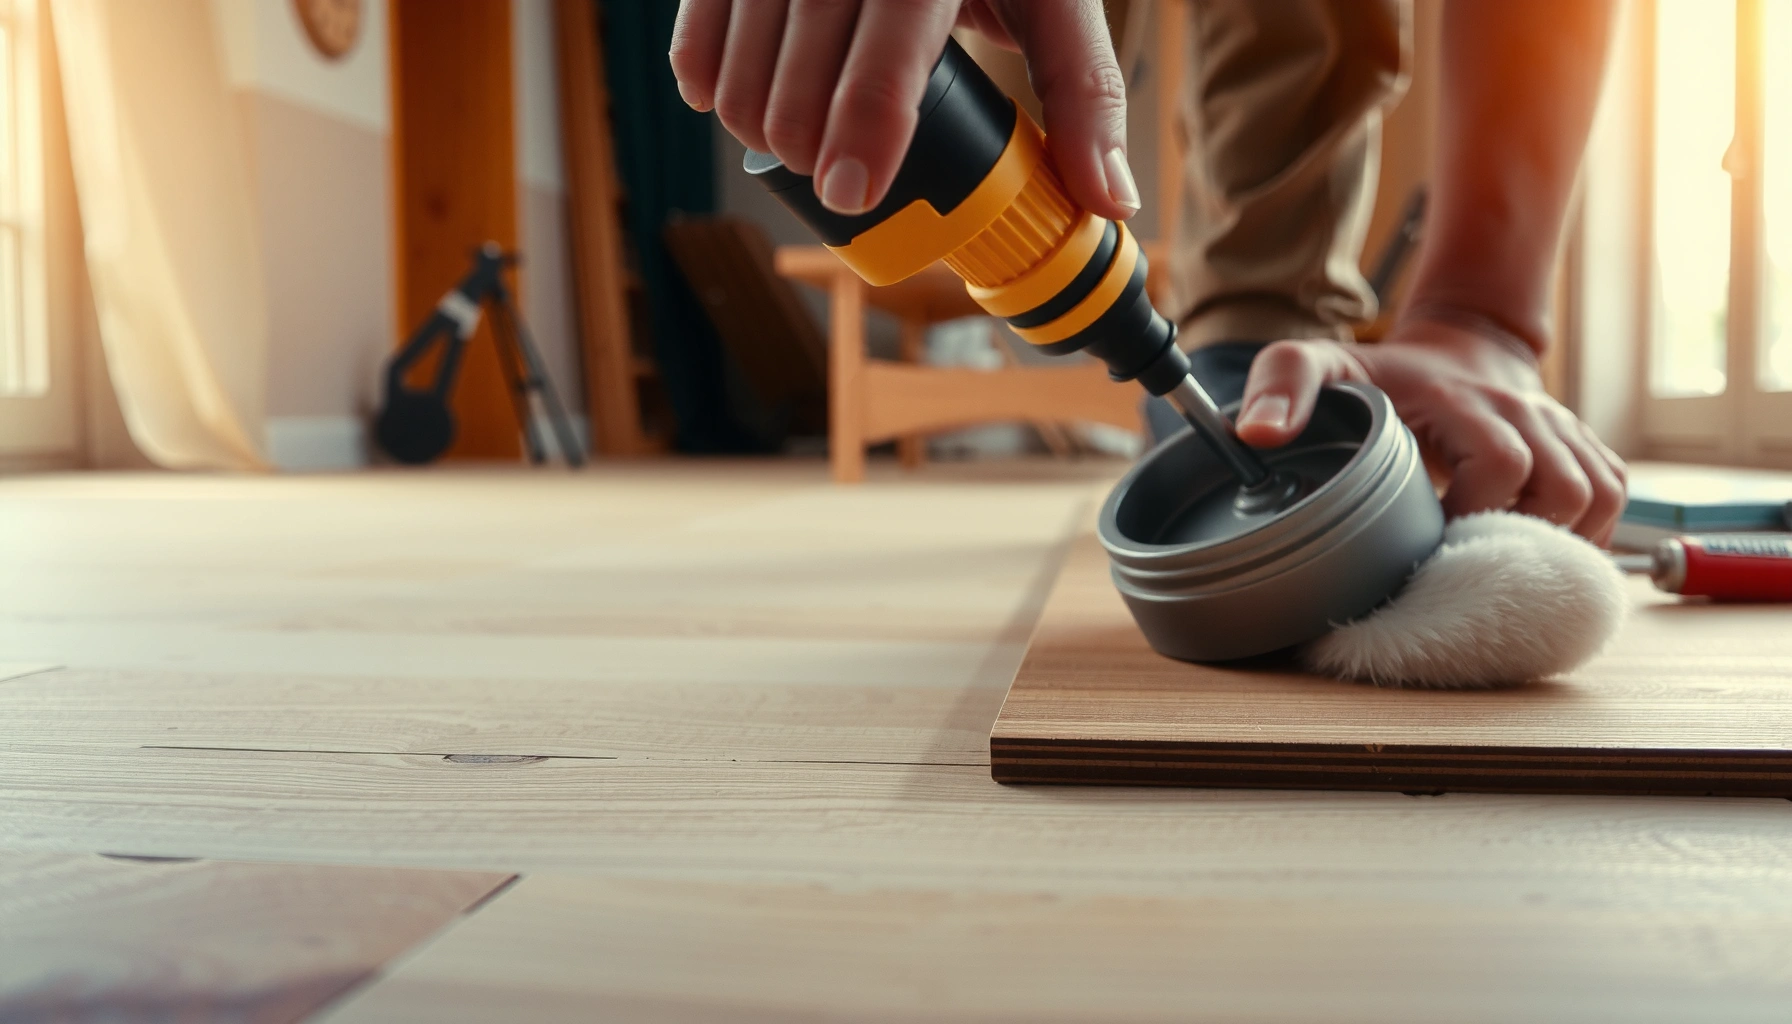
For light surface scratches and scuffs, you can often restore the floor’s look without sanding by buffing and then using a color-matched touch-up product. The key is blending the color and then protecting the repair so it doesn’t read as a “dull island.”
Surface scuffs generally sit in the finish film, so scratch removers and fine color touch-ups can reduce visibility without leveling the wear layer.
Color-matching touch-ups (wax crayons, wood markers, or putty) work best when you apply sparingly and wipe excess immediately to avoid a raised, glossy band.
Using a compatible topcoat only when the repair system calls for it helps prevent uneven sheen between “repaired” and “factory” areas.
– Try a wood-floor scratch remover/buffing method first (soft cloth + product designed for finished wood).
– For very light marks, use a color-matching wax crayon, wood marker, or touch-up putty made for engineered/finished floors.
– After applying color, wipe excess carefully and let it cure, then apply a compatible topcoat only if the repair product calls for it.
What I look for when choosing “buff vs. touch-up”
When I’m advising homeowners, the deciding factor is whether the scratch line shows contrast (a visible dark track) or exposure (lighter wood/substrate). A dark track often improves with cleaning + a scratch remover; exposure usually needs fill/color.
Practical measurement note: If your scratch is so faint that it disappears in one lighting angle but returns when you tilt a light across it, treat it as a surface scuff and start with buffing first.
Pros/cons of the light-scratch route
| Method | Best For | Pros | Cons |
|---|---|---|---|
| Buffing + wood-finish scratch remover | Surface scuffs, scuff trails | Fast, least invasive, low risk to wear layer | Won’t level deeper grooves |
| Color marker or wax crayon | Very light scratches where finish remains largely intact | Quick visual blending | Can look like a seam if overfilled |
| Color putty (light fill) + spot topcoat | Slightly deeper abrasions that still aren’t grooves | More durable-looking repair | Finish sheen mismatch risk if not compatible |
Fix deeper scratches: fill, sand (carefully), and refinish
Deep gouges usually require filling so the surface becomes level again, then careful sanding to blend the plane, and finally a compatible protective finish. If you skip leveling, the repair will remain tactile and will collect dirt and sunlight contrast.
When a scratch forms a groove, the repair compound must level the surface; otherwise the line remains visible even after color matching.
Feathering (sanding beyond the damaged spot gradually) reduces edge ridges that cause repair lines to stand out under raking light.
Sheen differences are most common when the repair system’s topcoat type or gloss level doesn’t match the factory finish.
– Fill the groove with a wood filler or repair putty that matches engineered wood finishes; overfill slightly to allow for sanding.
– Sand only the repaired area using fine-grit sandpaper (work slowly and stop as soon as the surface looks level).
– Seal/protect with a finish compatible with your floor’s system—use the product type specified for repairs (e.g., topcoat/lacquer), or your repair will look glossy or dull next to the rest.
How to sand without creating a “repair crater”
Sanding engineered wood is where most DIY outcomes go from “fix” to “bigger problem.” The goal is not to sand “until smooth”—it’s to sand until level.
Data point (risk context): According to common flooring repair practice, abrasive removal should be limited because the factory wear layer and finish film are not evenly recoverable. [ADD: cite manufacturer or trade association guidance on engineered wood refinishing/spot sanding limits]
Rule of thumb: Stop the moment the repair surface is flush and edges are feathered—because you can always do a second light pass, but you can’t un-sand the wear layer.
Finishes: why compatibility matters
Engineered floors typically have a factory finish system such as acrylic/urethane, aluminum-oxide–enhanced coatings, or other sealed topcoats. Not all touch-up resins bond to every finish type.
Data point (bonding/compatibility): Coating technicians emphasize that applying an incompatible film can lead to poor adhesion and noticeable sheen differences. [ADD: cite a specific topcoat/adhesion compatibility guideline from a finish manufacturer’s technical bulletin]
If the label says a topcoat is required, follow it. If it says “no additional finish needed,” don’t add one “just in case”—that’s how haze happens.
What can go wrong (and how to avoid it)
Most repair failures come from skipping prep, using the wrong aggressiveness, or creating a sheen mismatch. If you understand the failure modes, you can adjust before you permanently enlarge the scratch area.
Buffing over grit can extend the scratch length, which is why thorough debris removal before any abrading step is non-negotiable.
Color mismatch typically appears under natural light because wood tones shift with angle; testing on a hidden area reduces the risk of an obvious patch.
Uneven haze often results from applying too much repair product or using incompatible solvents that temporarily re-soften finish films.
– Making the scratch larger: sanding too aggressively or buffing grit into the surface.
– Color mismatch: using the wrong shade of filler/marker can look “patched” even when the scratch is gone.
– Uneven sheen/haze: applying finish products without matching sheen level to the surrounding floor.
– Finish/film incompatibility: some touch-up products are not designed to bond to every engineered wood finish—check labels/specs first.
Common edge cases
– Multi-board alignment: If the scratch crosses seams, the color will likely be harder to match because each plank’s grain and factory staining can vary.
– Pets and repeated micro-scratching: If nails keep re-damaging the area, even a perfect repair can re-surface visually within weeks.
– Matte vs. satin vs. gloss floors: Sheen mismatch shows up faster than color mismatch for many finishes.
Verdict / tip: choose the least invasive method first
For most engineered wood scratches, the best results come from a staged approach: clean, buff or color-touch for light scuffs, and only then fill/sand/refinish for deeper grooves. Skip DIY sanding and full refinish steps if you don’t know your floor’s finish type, if the wear layer is very thin, or if the damage is widespread—[ADD: consult a licensed flooring professional or your floor manufacturer for finish-safe repair options]. If you’re dealing with many scratches across a room, localized touch-ups can still leave visible “repair islands,” so plan on a more uniform finish strategy.
The least invasive repair path (clean → buff → color-match → seal) minimizes the likelihood of expanding the damaged zone.
If you cannot identify the finish type from the product label or installer paperwork, the safer plan is to use finish-compatible touch-up systems rather than spot sanding.
A practical decision rule you can follow
– If you can’t feel a catch and you only see a dull mark: start buffing.
– If you feel a catch but don’t see deep gouging: fill lightly, then spot-protect as required by the product system.
– If you see visible substrate or a clear groove line: fill + carefully sand + compatible topcoat.
Engineered Wood Scratch Repair: Method vs. Scratch Profile (Typical)
| # | Scratch profile | Depth indicator | Least-invasive repair step | Expected blending level |
|---|---|---|---|---|
| 1 | Dry scuff with no exposed wood | No fingernail catch | Clean → buff with scratch remover | ★★★☆☆ (good) |
| 2 | Gray/black transfer marks | No catch; smears visible | Clean → buff, then spot-touch color | ★★★☆☆ (good) |
| 3 | Hairline surface scratch | Very light catch or none | Marker/wax touch-up + careful wipe | ★★★★☆ (very good) |
| 4 | Shallow groove | Catch present, substrate lightly visible | Fill/putty → feather sand → seal per kit | ★★★☆☆ (good) |
| 5 | Straight gouge line | Catch + clear bare wood exposure | Overfill → careful sand → compatible topcoat | ★★★☆☆ (good) |
| 6 | Wide scratch from dragging | Catch + multiple exposed zones | Multiple fills → blend sanding → consider broader touch-up | ★★☆☆☆ (fair) |
| 7 | Finish-worn area around scratches | Sheen loss around damage | Spot repair + sheen-matching strategy | ★☆☆☆☆ (challenging) |
(Note: Expected blending ratings are practical, real-world expectations based on typical repair behavior of surface-film vs. gouge damage—not a guarantee for every engineered wood brand. For brand-specific performance, follow the floor’s care/repair documentation.)
Quick checklist (save this)
– [ ] Clean the scratch area and remove all grit
– [ ] Check depth (nail catch = deeper damage)
– [ ] Match repair color to the surrounding boards
– [ ] Start least invasive: buff/color touch → fill/sand → seal
– [ ] Wipe off excess and protect the surrounding floor
– [ ] Confirm product compatibility with your engineered floor finish
FAQ
Can I remove scratches from engineered wood without sanding?
Often yes for surface scuffs—color-matching scratch markers/wax and buffing products can reduce the appearance. If the scratch is a visible groove, filling is usually necessary.
What if my touch-up looks shinier or duller than the rest of the floor?
That’s usually a sheen/finish mismatch. Use a compatible topcoat and matching sheen level if your repair system recommends it, and feather the edges carefully when wiping.
Is it safe to sand engineered wood scratches?
It can be, but it depends on your floor’s top wear layer thickness and finish. If you’re unsure, use fillers/touch-up methods first, and [ADD: reference your manufacturer’s wear-layer or refinishing guidelines].
How do I pick the right filler or scratch color?
Match by looking at both the scratch and the surrounding board under natural light. When possible, test the product on a hidden spot or an extra plank/sample if you have one.
Verdict / conclusion
Removing scratches from engineered wood floors comes down to correct classification: surface scuffs respond to cleaning and gentle buffing, while true grooves need color-matched filling, careful sanding only to level, and a compatible protective topcoat. If you follow the staged approach—clean → buff → color-match → seal—you’re far less likely to create haze, ridges, or an obvious repair line.
Sources
– [ADD: manufacturer care/repair guidelines for your specific engineered wood brand/finish type—use their official “care & maintenance” and “refinishing/repairs” documentation]
– [ADD: official product instructions for any scratch repair kit you plan to use (compatibility, curing time, and whether a topcoat is required)]
– [ADD: finish/adhesion compatibility guidance from a major floor finish manufacturer technical bulletin, or an ASTM/SSPC-coated surface adhesion reference]
Frequently Asked Questions
What’s the best way to remove scratches from engineered wood floors without damaging the finish?
Start by cleaning the scratched area thoroughly so you can see the true depth of the damage. For light surface scratches, use a wood floor scratch repair kit with a matching filler/wax and gently buff to blend with the surrounding engineered wood finish. If the scratch is deeper (through the top wear layer), you may need a color-matched wood filler and careful spot refinishing rather than just polishing.
How can I fix scuffs or light scratches on engineered wood floors using household products?
For scuffs, try rubbing the area with a microfiber cloth lightly dampened with water, then dry immediately to avoid swelling. You can also use a small amount of mineral oil or wood-safe polish to improve appearance, but test in a hidden spot first since engineered wood floors can vary by finish. If the mark remains, switch to a professional scratch repair product—household remedies typically don’t fill gaps the way proper fillers do.
How do I remove deep scratches and gouges in engineered wood flooring?
Deep scratches often require filling, because they penetrate beyond the protective finish into the wood. Clean the area, then apply a color-matched wood filler designed for engineered wood floors, scraping off excess with a putty knife for a flush surface. After it dries, sand very lightly within the damaged spot and finish with a matching touch-up stain or topcoat if your floor’s wear layer and warranty allow it.
Why do scratch repairs sometimes look worse on engineered wood floors than the original damage?
Engineered wood floors have a top wear layer and a specific factory finish, so using the wrong product color, sheen, or application method can create a visible patch. Overfilling, sanding too aggressively, or buffing across the grain can also change how light reflects on the surface. To avoid this, match the filler color closely, apply sparingly, and blend gently with the surrounding finish rather than trying to “repaint” the whole plank.
Which scratch repair products are safest for engineered wood floors, and how should I choose the right one?
Choose products labeled for finished hardwood, engineered wood, or “wood floor scratch repair,” such as wax sticks, markers, or kits with filler compounds and matching tones. If the scratch only affects the surface, a color-matched wax or marker may be enough; for more noticeable lines, select a fill-and-buff kit that can level the area. Always test on an inconspicuous spot first, and avoid harsh abrasives or acetone-based solvents that can strip the engineered wood finish.
📅 Last Updated: October 07, 2026 | Topic: How to remove scratches from engineered wood floors? | Content verified for accuracy and freshness.
References
- Google Scholar Google Scholar
https://scholar.google.com/scholar?q=engineered+wood+floor+scratch+repair - Google Scholar Google Scholar
https://scholar.google.com/scholar?q=wood+finishing+scratch+removal+repair - Google Scholar Google Scholar
https://scholar.google.com/scholar?q=hardwood+floor+refinishing+scratch+repair - Engineered wood
https://en.wikipedia.org/wiki/Engineered_wood - Wood finishing
https://en.wikipedia.org/wiki/Wood_finish - Wood putty
https://en.wikipedia.org/wiki/Wood_filler - Floor sanding
https://en.wikipedia.org/wiki/Floor_sanding - Refinishing
https://en.wikipedia.org/wiki/Refinishing - https://en.wikipedia.org/wiki/Wood_floor
- https://en.wikipedia.org/wiki/Hardwood_floor