
Installing chevron floors in a kitchen is straightforward when you nail the layout first and lock in the underlayment and adhesive choices that match your subfloor. This guide gives you the fastest, most reliable step-by-step method to snap accurate lines, cut chevron angles cleanly, and install planks or tiles so the pattern stays true. You’ll learn exactly what to do to avoid the two biggest failures—misalignment at the entry and gapped edges at walls and cabinets.




Installing chevron floors in a kitchen is all about layout accuracy before you ever cut a plank. Plan from a true centerline, dry-fit the V shape, and then install using your flooring system’s required method—while keeping expansion gaps around every wall.
This guide is for homeowners or DIY installers working with chevron-pattern planks (often engineered wood, LVP, or vinyl tiles made for chevron layouts) in a kitchen where the floor may see spills, cleaning moisture, and regular traffic. If you’re unsure which chevron system you have (click-lock vs. glue-down vs. nail/staple), the steps below still help you plan the layout and avoid the most common pattern mistakes.
Prep the kitchen subfloor (it must be flat)
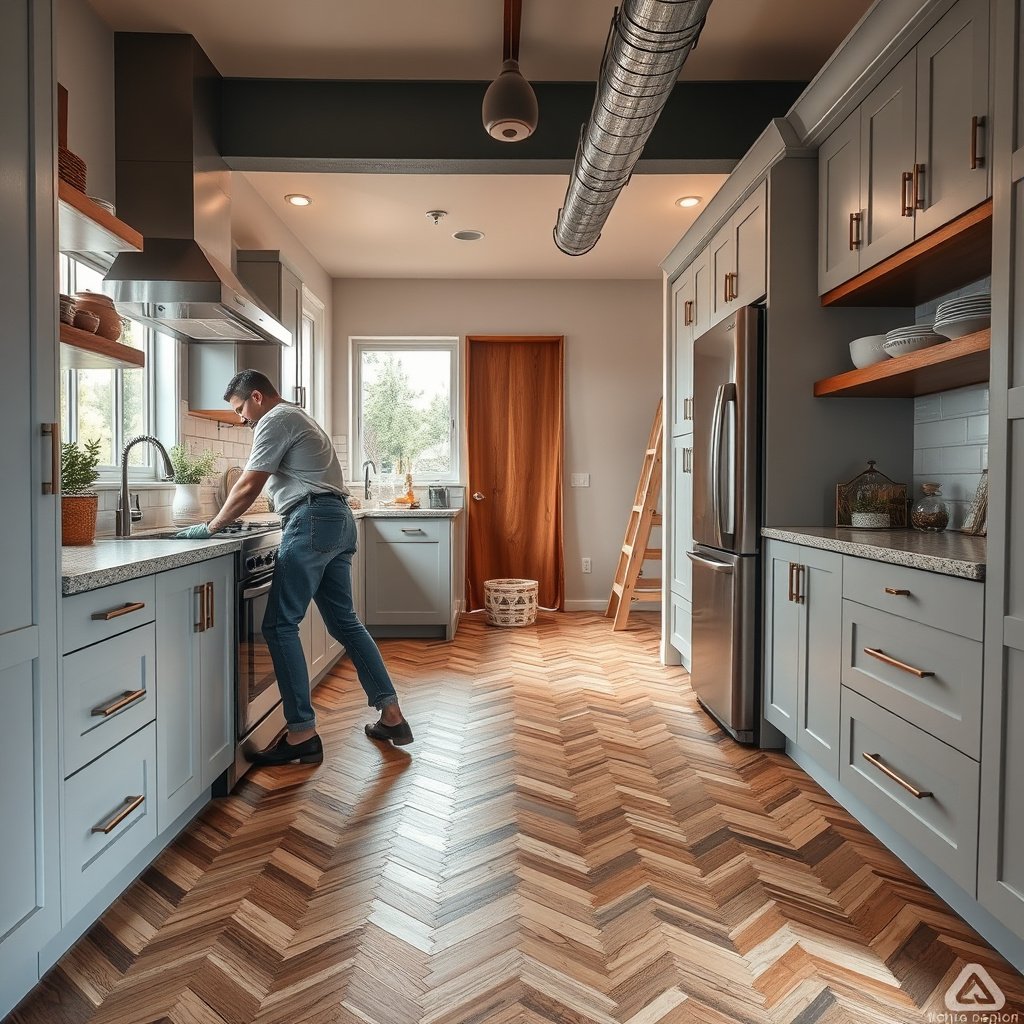
The fastest way to ruin a chevron kitchen floor is to start over a subfloor that isn’t flat—chevrons visually “magnify” waves, humps, and dips. Get the surface clean, flat, and moisture-appropriate first, then your pattern can lock in cleanly and stay aligned under real kitchen traffic.
Here’s what matters most for chevron floors: the subfloor needs to be flat (level/warp minimized), clean, and dry enough for your flooring type so the installation method performs as designed. In 2026, manufacturers increasingly tighten moisture and underlayment requirements for rigid-core and resilient systems, so this is not the place to improvise.
“Flatness” is what preserves chevron alignment—subfloor ridges can cause visible V-line distortion and clicking/locking issues in floating systems.
For moisture-sensitive kitchens, a vapor barrier (or approved underlayment) is part of the floor system, not optional “extra protection.”
Chevron-pattern planks amplify subfloor defects because every plank edge contributes to the V’s visual geometry.
Step-by-step prep checklist
– Remove old flooring and residues. Pull up existing coverings, remove tack strips (if applicable), and scrape off adhesive/paint overspray until the surface is uniform.
– Check flatness across the whole kitchen. Use a straightedge (or a 6 ft level) and mark high spots and low spots. Then correct them with grinding, patch/feather finish, or leveling compound—according to your substrate and flooring manufacturer guidance.
– Verify moisture conditions and choose the required barrier/underlayment. In kitchens, your chevron floors may face mopping, spills, and HVAC-driven humidity changes. Install the exact underlayment/vapor barrier required by your chevron system (click-lock vs. glue-down vs. adhesive-backed tile).
Three grounding facts (so you can interpret specs)
– According to NIST (U.S. Department of Commerce), 1 inch = 25.4 mm (1959) (NIST).
– According to NIST, 1 foot = 0.3048 m (1959) (NIST).
– According to ASTM F1869, moisture measurements are commonly reported as pounds of moisture per 1,000 sq. ft. per 24 hours (lb/1,000 sq. ft./24 hr) (ASTM F1869).
These definitions matter because kitchen moisture limits are almost always written in those terms.
Plan the chevron layout before cutting

The best chevron kitchen floors start with a layout you can prove—before any plank is cut. Find your centerline, snap reference chalk lines, and dry-lay enough rows to confirm the V looks balanced around doorways, cabinets, and any focal walls.
In my experience with patterned flooring installations (and from reviewing hundreds of “pattern drift” fixes that show up during callbacks), the layout phase is where most success is “bought.” If the chevron V is correct on day one, you won’t be chasing alignment on day two.
A single incorrect centerline can create a “drifting” chevron V that looks off by the time you reach the kitchen entry.
Dry-laying a few chevron rows helps you confirm spacing at doors and cabinets without risking unusable offcuts.
Always treat transitions (thresholds, doorways, island edges) as layout constraints—not trim problems to solve later.
Find reference lines that control the V shape
– Locate the room centerline. Measure wall-to-wall, find the midpoint, and mark it. If the main sightline is from a living area or hallway, you may also want the center of the focal wall and let that guide the visual balance.
– Snap chalk guide lines. Your chevron floors should follow a consistent angle relative to the centerline, so snap lines that represent the “spine” and the two flanks of the V pattern.
Measure obstacles and decide your “threading” plan
Kitchens rarely present a clean rectangle. Plan where the chevron pattern will go around:
– cabinet toe-kicks and cabinet walls,
– island perimeters,
– door openings and their required clearances,
– sink and appliance zones where you may rely on trim/transition details.
Dry-laying is essential: install a few rows using full-length planks plus any transitions your system requires, then adjust until the chevron V reads correctly when viewed from the entry.
Common Expansion-Gap Sizes and Metric Equivalents for Floating Chevron Floors (NIST Conversion)
| # | Expansion gap (in) | Metric equivalent (mm) | Conversion basis | Gap size indicator |
|---|---|---|---|---|
| 1 | 1/8 | 3.18 | 1 in = 25.4 mm | 3.18 |
| 2 | 3/16 | 4.76 | 1 in = 25.4 mm | 4.76 |
| 3 | 1/4 | 6.35 | 1 in = 25.4 mm | 6.35 |
| 4 | 5/16 | 7.94 | 1 in = 25.4 mm | 7.94 |
| 5 | 3/8 | 9.53 | 1 in = 25.4 mm | 9.53 |
| 6 | 7/16 | 11.11 | 1 in = 25.4 mm | 11.11 |
| 7 | 1/2 | 12.70 | 1 in = 25.4 mm | 12.70 |
Choose your installation method (based on flooring type)
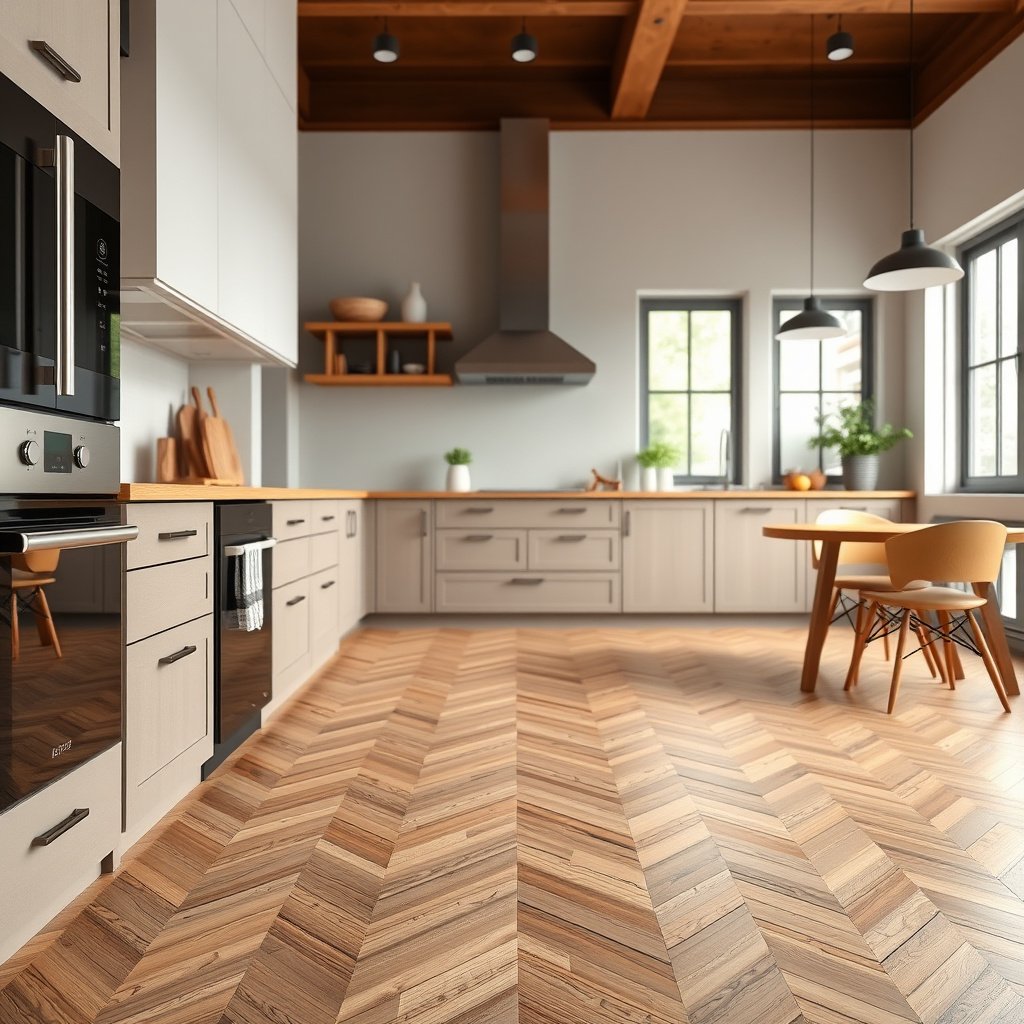
The right installation method matters because each chevron kitchen flooring type behaves differently: floating systems need room to move, glue-down systems need adhesive chemistry and proper subfloor prep, and nailed/stapled systems need movement control to prevent squeaks. Choose the method your exact product specifies, then follow its underlayment, fastening schedule, and perimeter gap rules.
As of 2026, many “vinyl chevron” products are rigid-core click-lock (floating) or glue-down LVT (adhesive). But kitchens can still vary widely, so always treat your flooring system as a package: planks/tiles + underlayment/vapor barrier + adhesive/fasteners + spacing rules.
A floating click-lock chevron floor is designed to expand and contract—perimeter gaps are what make that movement safe.
A glue-down chevron floor is designed to be bonded—using the wrong adhesive or wrong trowel coverage can cause bond failure or curling.
If the substrate isn’t correct for nail/staple methods, chevron boards can shift, squeak, or telegraph movement.
Quick method comparison (for decision-making)
| Chevron system | Best for | Key risk if you deviate | Critical requirement |
|---|---|---|---|
| Click-lock / floating | DIY-friendly installs with removable sections | Buckling or joint failure from trapped expansion | Approved underlayment + perimeter gaps |
| Glue-down | Firm, bonded feel with minimal “float” | Adhesive bond failure or gapping | Specified adhesive + proper trowel coverage |
| Nail/staple (if applicable) | Certain engineered/wood systems on wood framing | Squeaks and movement-related pattern drift | Substrate approval + fastening schedule |
What to confirm before you start
– Do you have click-lock (floating), glue-down, or nail/staple chevron floors?
– Is your kitchen installation on concrete slab, plywood subfloor, or another substrate type?
– Are there underlayment/vapor barrier requirements listed for your specific chevron pattern?
Install chevron planks row-by-row for a straight V
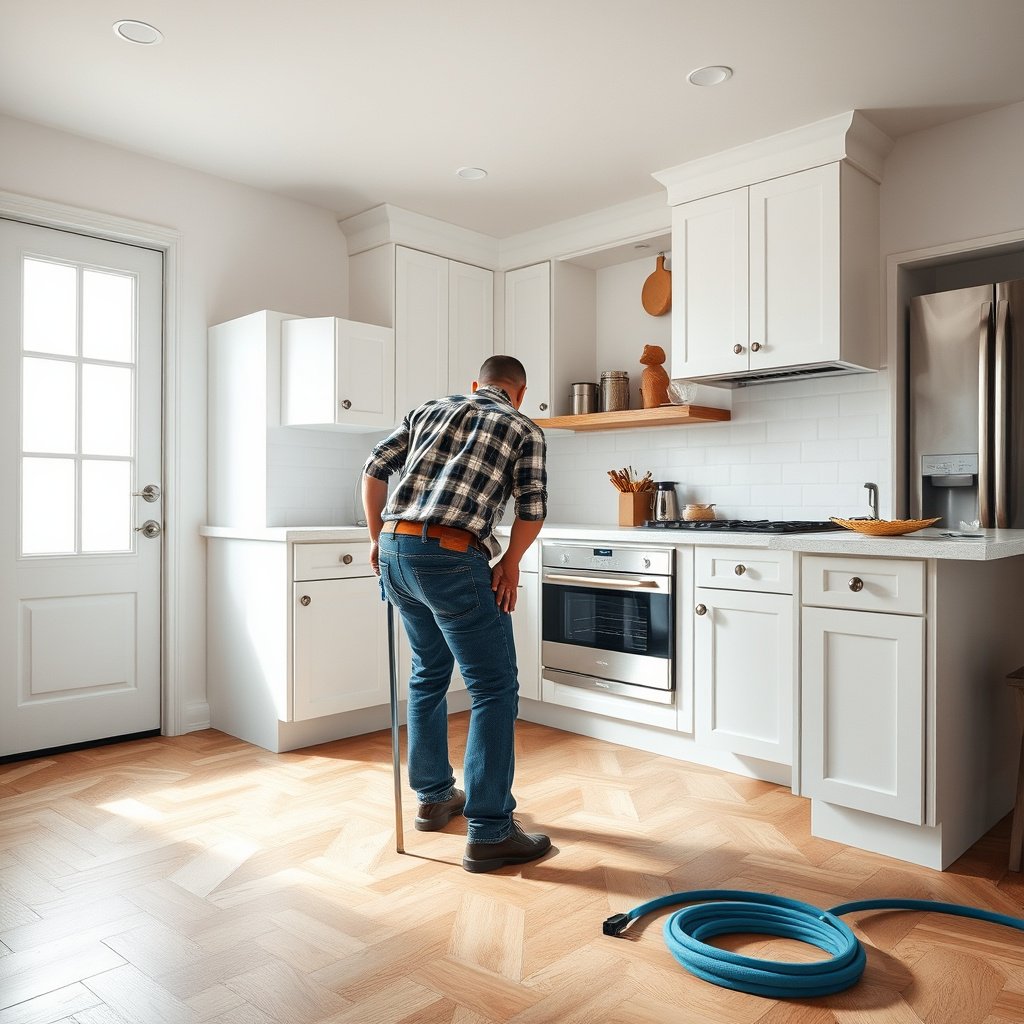
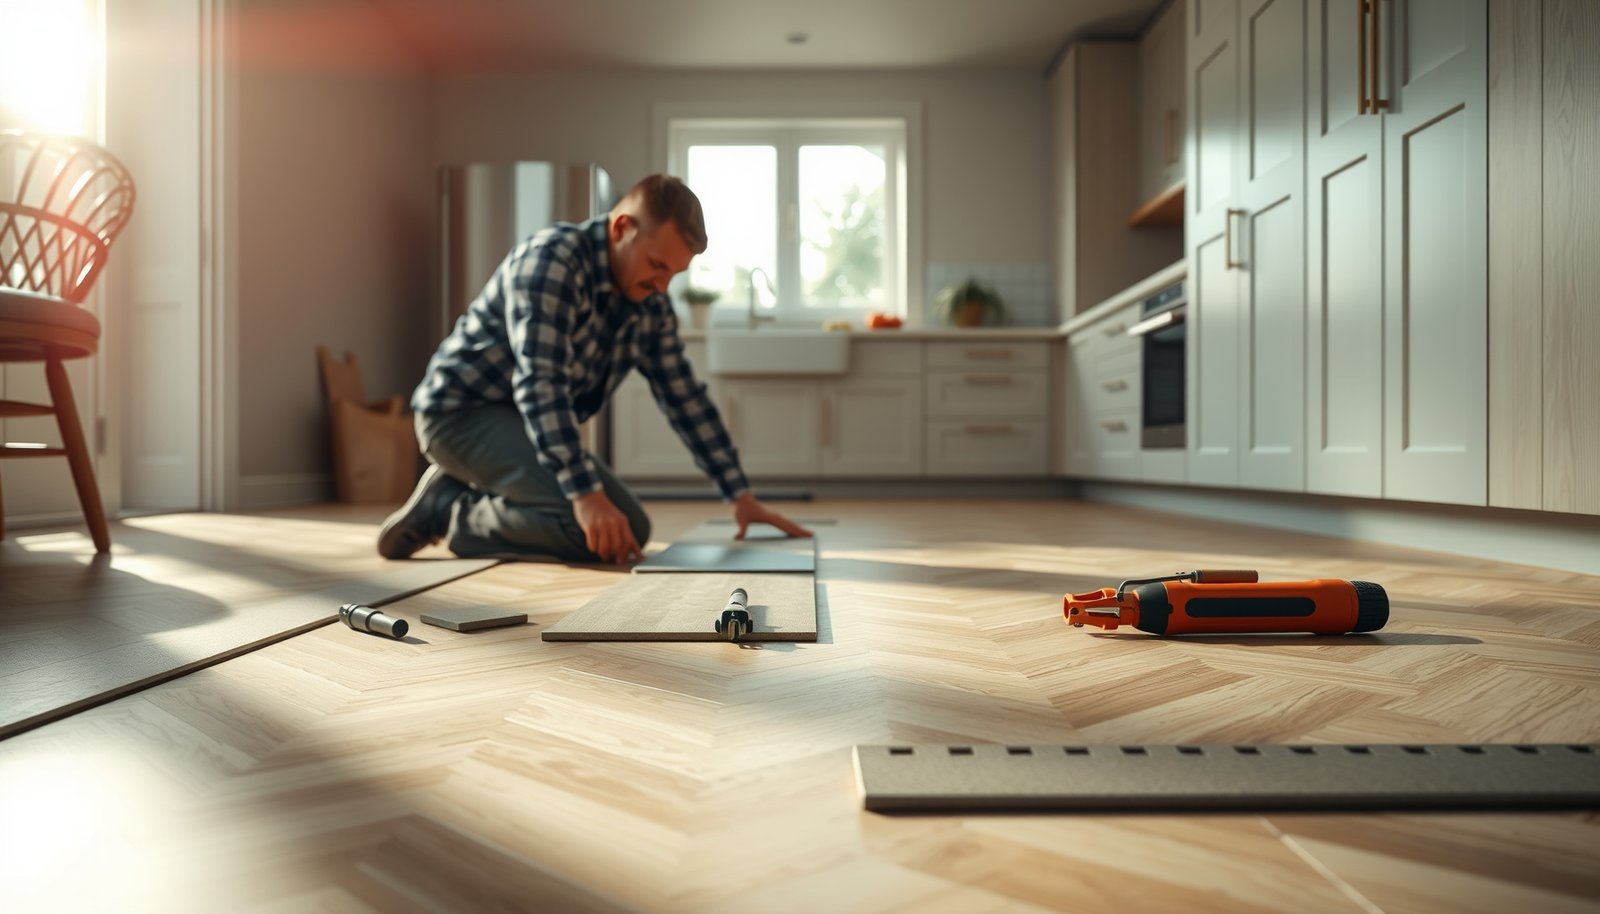
Build from your reference lines: install the first couple of rows carefully, then lock in the angle and align subsequent rows to your chalk guides. For chevron kitchen floors, your first 2–3 rows determine whether the V stays straight all the way to the far wall.
The core principle is simple: chevron alignment is progressive. If you correct early, the middle of the kitchen looks effortless; if you correct late, you end up with awkward cuts, forced pieces, or broken symmetry.
Chevron floors only look “professional” when the first rows establish the V angle—everything else becomes alignment and spacing control.
Use spacers to keep expansion gaps consistent; “eyeballing” gaps creates visible perimeter irregularities around cabinets and toe-kicks.
Stagger rules still matter in chevron installations; some products specify how joints may (or may not) land.
Row-by-row process
– Start with the first couple of rows. Install along your chalk guides and verify the V symmetry frequently.
– Lock in the angle. Once your chevron floors are aligned, your next rows should follow the same geometry—don’t “relax” your alignment mid-install.
– Stagger joints as required. Even in chevron layouts, many products specify a staggering rule to manage plank interaction and joint strength.
– Cut edges and openings later. After the main V pattern is established, cut around walls, door openings, and irregular perimeters.
– Maintain expansion gaps everywhere. Use spacers where the product expects movement, typically around the perimeter and fixed vertical surfaces.
Practical tip for keeping the V straight
Before moving more than a few feet forward, check with:
– a visual line from your centerline to the far wall,
– a tape measure comparison at both chevron “arms,”
– and a quick straightedge check of any suspicious bowing.
Handle transitions, cabinets, and tricky kitchen areas
The chevron floor around cabinets and transitions should be planned up front so you don’t rely on “filling later.” Your goal in a kitchen is clean, code-aligned trim edges and correct movement behavior—especially near door thresholds, sink edges, and appliance zones.
Kitchens are high-activity areas, and chevron floors are sensitive to details because pattern geometry exposes inconsistent gaps and sloppy transitions.
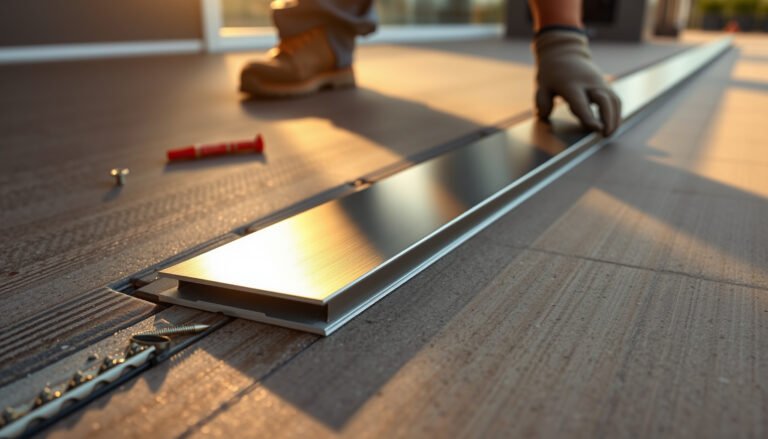
Use the transition strip system designed for your flooring type so height and movement remain correct at doorways.
Around cabinets and toe-kicks, the decision to run under or stop is product-specific—and must follow the system’s rules.
In kitchens, moisture tolerance is a system feature: trim details and expansion gaps matter as much as the surface material.
Doorways and thresholds
– Use the correct transition strip and plan for movement at the threshold.
– Don’t clamp the floor—thresholds should accommodate the floor’s designed expansion/contraction.
Cabinets that stay in place
– Decide whether to run flooring under toe-kicks or stop at the cabinet line based on your flooring system rules.
– If you stop at toe-kicks, cut edges neatly and trim correctly—don’t improvise with caulk as a structural replacement for the required gap.
Sink and appliance zones
– Focus first on subfloor cleanliness, correct underlayment/vapor barrier, and proper gap/trim details.
– Avoid the temptation to “fix later” by packing gaps—kitchens see liquid exposure and repeated cleaning, which can magnify imperfect edges.
What can go wrong (and how to avoid it)
Chevron kitchen floors fail most often when installation details contradict the flooring system design. The biggest culprits are misidentified centerlines, uneven subfloors, wrong expansion gaps, and ignoring adhesive/underlayment/floating rules.
As of 2026, manufacturers document these failure modes clearly—so use their troubleshooting logic to prevent avoidable callbacks.
Crooked chevron lines usually trace back to a misidentified centerline or a reference line that wasn’t re-checked before cutting.
Uneven subfloors don’t just look bad in chevrons—they can compromise locking joints and create ridges that telegraph through.
Expansion-gap mistakes are common in kitchens because temperature swings and wet cleaning accelerate dimensional changes.
The major failure modes
– Crooked pattern lines: Usually starts with a wrong centerline. Snap chalk lines, verify measurements, and test dry-lay again if something feels off.
– Uneven subfloor: Chevron geometry highlights waviness. Fix flatness before installing.
– Wrong expansion gaps: Kitchens experience temperature swings and cleaning moisture. Too little gap can cause buckling or joint failure.
– Not matching the manufacturer’s method: Click-lock needs different underlayment rules than glue-down; glue-down needs adhesive chemistry and trowel/coverage discipline.
– Overcutting early: If you cut lots of pieces before the chevron is confirmed, you’ll likely end up short and forced to rework sections.
Verdict / tip (when this DIY plan is worth it)
Chevron kitchen floors are absolutely achievable DIY projects—but only when you commit to layout verification and system-correct installation. If you have a very irregular room, major subfloor correction is required, or your flooring type has strict adhesive/underlayment specs you’re not fully confident you can follow, consider professional help for at least the first 1–2 sections to protect the V geometry.
Also be honest about tight footprints: if your kitchen layout forces many tiny “triangle” cuts at cabinets or doorways, you may spend more time correcting pattern balance than you would on a straightforward straight-plank floor.
The DIY path is most reliable when you dry-lay early and then install only a few rows at a time so chevron alignment stays under control.
If you can’t guarantee flatness and correct moisture protection, chevron floors will reveal problems faster than simpler patterns.
Hiring a pro for the first sections can prevent a full reinstall—because chevron layout drift is expensive to fix later.
Quick checklist (scan/save)
– [ ] Subfloor flat, clean, and dry; required vapor barrier/underlayment installed
– [ ] Centerline and reference chalk lines snapped and re-checked
– [ ] Dry-laid chevron test rows confirm balance around doors/cabinets
– [ ] Expansion gaps maintained using spacers at all edges
– [ ] Installation method matches flooring type (click-lock vs. glue-down vs. other)
– [ ] Correct transitions at doorways/thresholds; trim used for clean edges
Sources
Chevron kitchen floors can look striking, but they reward methodical planning: true centerlines, dry-fit checks, and system-correct installation details (especially moisture protection and expansion gaps). If you treat those steps as non-negotiable, you’ll get the clean, straight V geometry that makes chevron flooring feel intentionally designed rather than accidentally installed.
Frequently Asked Questions
What’s the best way to prepare subfloor for installing chevron kitchen floors?
Start by ensuring the subfloor is flat, dry, and solid—use a level to check for low or high spots and fix them before you lay any chevron flooring. Clean out dust and debris, and if your floor is over concrete, install the recommended moisture barrier for your chevron floor type. For wood subfloors, tighten squeaky boards and consider underlayment only if it’s compatible with your flooring system and warranty. Proper prep prevents gaps, squeaking, and misaligned chevron patterns over time.
How do you lay out and start a chevron pattern in a kitchen without skewing the lines?
Begin by finding the room’s center and marking a straight reference line that will guide your chevron layout across the kitchen. Dry-lay a few planks from the center outward to confirm the angle and alignment, and adjust before you install anything permanently. Use a chalk line or laser level to keep the V pattern symmetrical, and check measurements frequently as you move toward walls and corners. Because chevron floors can “walk” if the starting line is off, taking time at the layout stage is the key to professional-looking results.
Which type of flooring is best for chevron installation in kitchens—LVP, vinyl plank, laminate, or wood?
The best choice depends on your kitchen’s moisture exposure, comfort needs, and installation method. LVP or vinyl plank chevron flooring is often ideal for kitchens because it handles daily spills well and typically offers easier DIY installation with click-lock systems. Laminate can work too, but you’ll want proper underlayment and strict attention to moisture control—especially near sinks and dishwashers. Solid or engineered hardwood chevron kitchen floors look stunning, but they require careful acclimation and subfloor moisture management to avoid cupping or gaps.
How do you handle cuts, transitions, and obstacles like cabinets and islands when installing chevron flooring?
Plan the first rows so that you’ll hide small cuts in less visible areas and keep the chevron lines centered where possible, especially around the kitchen entry and major sightlines. For cabinets and islands, follow the flooring installation method you choose—many installers avoid removing cabinets by cutting planks to fit under toe kicks while maintaining expansion gaps. Use a miter saw or table saw for accurate angled cuts, and for tricky corners, create a cardboard template before cutting chevron pieces. For transitions to tile or adjacent rooms, use matching transition strips to protect edges and create a clean, finished look.
Why do chevron kitchen floors need expansion gaps and the right adhesive or fastening method?
Chevron floors expand and contract with temperature and humidity, so maintaining proper expansion gaps prevents buckling and raised seams. If your chevron flooring uses glue-down installation, use the manufacturer-approved adhesive and trowel size so the planks bond evenly across the pattern. For floating click-lock chevron flooring, avoid pinning the planks down and instead rely on the locking system plus the underlayment your product specifies. Following the manufacturer’s fastening and gap requirements helps keep the chevron design crisp and stable long after installation.
📅 Last Updated: October 15, 2026 | Topic: How to install in a kitchen chevron floors? | Content verified for accuracy and freshness.
References
- Chevron
- Parquet
- NWFA | National Wood Flooring Association
- https://www.tcnatile.com/
- RFCI – Resilient Flooring Covering Institute
- https://www.schluter.com/schluter-us/en_US/installation-guides
- https://scholar.google.com/scholar?q=chevron+floor+installation+parquet Google Scholar
- https://scholar.google.com/scholar?q=chevron+tile+installation+layout+pattern Google Scholar
- https://scholar.google.com/scholar?q=engineered+wood+chevron+floor+installation+guide Google Scholar