
Install transitions around vinyl floors in an outdoor walkway the right way by choosing the correct transition type and fastening method for wet, temperature-shifting conditions. This guide walks you through the exact steps to measure, prep the subfloor, and set the transition so edges stay sealed and won’t lift or gap. Follow it and you’ll get a clean, durable finish that holds up through rain and freeze-thaw cycles.




Use an exterior-rated transition system installed to the substrate first, keep the vinyl’s required expansion gap, and seal only the outer edges so freeze-thaw and standing water can’t wick underneath. You’re aiming for a watertight perimeter, not a watertight lock—the floor still has to be able to move with temperature.
This guidance is for DIYers installing vinyl plank or vinyl flooring where it meets an exterior walkway/threshold, and where you expect freeze-thaw cycles, puddling, or heavy moisture exposure. The exact expansion gap and fastening method must come from your specific vinyl flooring and transition manufacturer instructions.
Materials and exterior prep you can’t skip
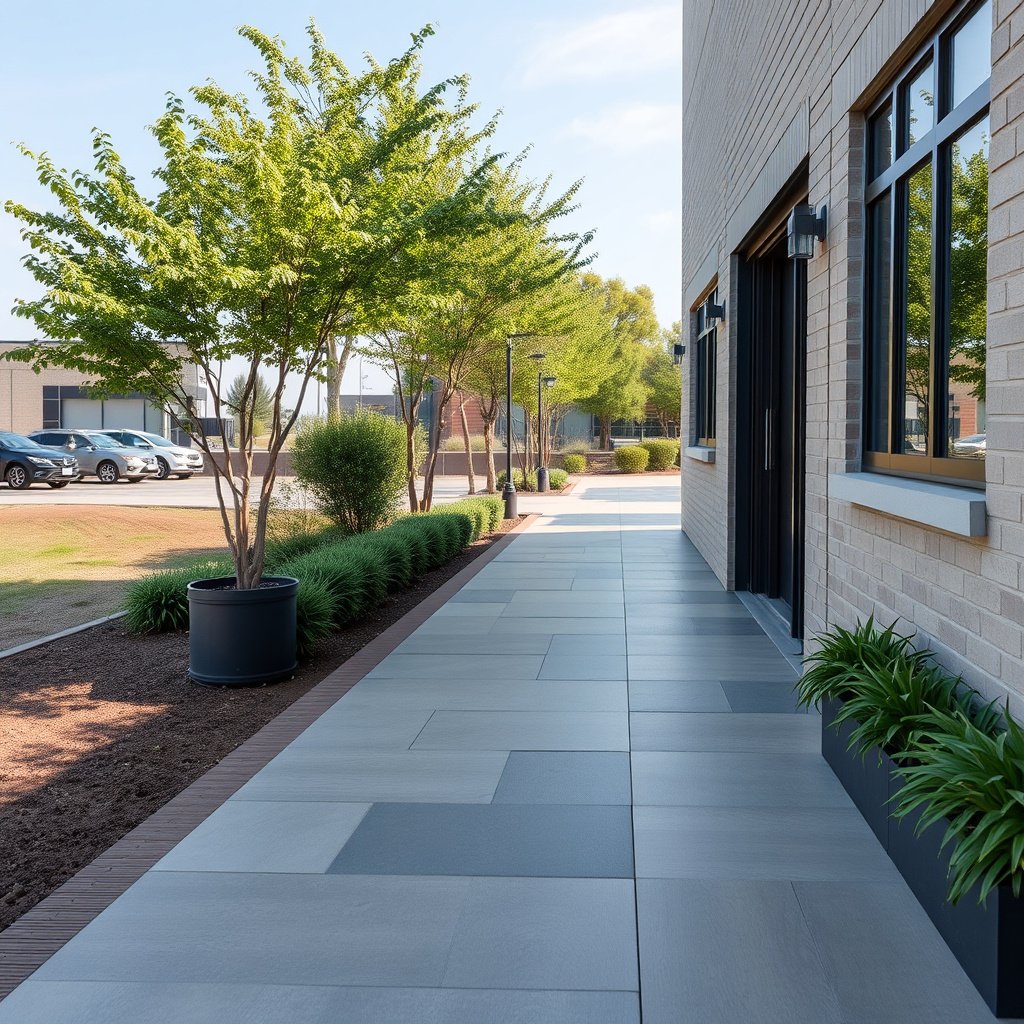
Answer: Use a transition system that’s explicitly rated for exterior exposure and resilient/vinyl installations, and prepare the substrate so the base doesn’t become a leak path. If the walkway surface flexes or pumps water under the transition base, even the “best” exterior-rated transition can fail over time.
An exterior-rated vinyl transition should be corrosion-resistant (often aluminum or stainless) and installed in a way that doesn’t immobilize the vinyl.
The transition base must sit on a solid, flat substrate—otherwise small gaps can turn into water channels during freeze-thaw.
Sealing should be limited to perimeter/outer edges; sealing across movement joints can trap water and prevent the floor from expanding.
Use an exterior-suitable transition system
Pick a transition profile that’s compatible with both your vinyl product type and your outdoor exposure. For outdoor walkways, aluminum (anodized or otherwise protected) and stainless-steel hardware are commonly preferred because they resist corrosion in wet climates. Also match the profile design to your vinyl’s edge style—some vinyl planks have a factory edge that mates differently than a straight-cut edge, and the transition needs the correct “edge closure height” to cover cleanly.
Finally, don’t treat “fits your thickness” as a guess. Transition suppliers often publish a thickness range (for the vinyl + any attached backing/underlayment). If you buy a transition sized for 4–5 mm vinyl and your installed assembly is 6–7 mm, you can end up with an undercut gap that collects water.
Prep the substrate so the transition doesn’t become a leak path
Outdoor walkway substrates have to do two jobs: support the transition base and prevent flexing that creates pumping. The surface under the transition should be:
– Solid and flat (no rocking tiles, no loose mortar, no “hollow” spots)
– Stable enough for anchoring, if the transition uses screws/anchors
– Corrected for dips/ridges before installation so the base sits tight
From my experience working through moisture-prone door thresholds, the most persistent failures aren’t “bad caulk jobs”—they’re transitions installed over a substrate that wasn’t truly flat, so water finds the micro-gap first and then expands it during freeze-thaw. That’s why exterior prep matters as much as the transition product.
Choose the right transition type for outdoor walkway edges
Answer: Choose the transition profile based on height difference and whether your vinyl is floating (click-lock) or adhesive-down (glue-down), then select the installation method that still allows proper movement. For outdoors, the goal is a controlled, water-resistant interface—not a rigid bond that stops the floor from expanding and contracting.
For floating/click-lock resilient floors, the transition should be detailed so the vinyl can expand without being “pinned” at the seam.
For glue-down vinyl, you still need correct perimeter detailing; some transitions work well only when the vinyl is secured per the manufacturer’s system.
Height-matching (T-molding) and step transitions (reducers/edges) prevent ponding by helping the top cap sit flush with your walking surface.
Pick the profile based on height difference and floor type
Start by identifying the geometry at the exterior change-of-surface:
– T-molding/crossover: usually when vinyl on both sides meets at the same finished height.
– Reducer/edge transition: when one side is higher (common at thresholds or where vinyl meets a different exterior material).
– Threshold/doorway strip: more enclosed details at entry points, especially where you want a cleaner edge that resists debris-driven wear.
Because outdoor edges get dragged on by shoes, snowmelt grit, and occasional cleaning chemicals, a transition top cap that closes evenly (no lip) is a practical durability upgrade. Uneven closures create a “catch” that traps water, then ice forms, then the joint degrades.
Match the install method to movement needs
Movement behavior is the difference between “watertight” and “watertight enough for winter.” Here’s the practical distinction:
– Floating/click-lock vinyl: the vinyl should be able to expand/contract at the perimeter and at transitions. That typically means the transition should be fixed only as allowed by its instructions—usually the base/track is secured to the substrate, not the floating vinyl layer itself.
– Glue-down vinyl: you’re already bonding the vinyl to the substrate, but you still need perimeter and transition detailing that matches the flooring manual. Some exterior conditions can still drive expansion at edges, so your transition should be installed per the transition manufacturer’s design intent.
Transition type comparison (quick pros/cons for outdoor edges)
Below is a “decision-first” comparison so you can sanity-check what you’re buying before you start cutting.
| Feature (outdoor walkway context) | T-molding / crossover | Reducer / edge | Threshold strip |
|---|---|---|---|
| Best for equal-height meets | Yes | Partial | Sometimes |
| Handles height drops/rises | Limited | Strong | Strong |
| Top cap flushness risk (ponding) | Moderate if mismatched | Lower when matched | Lower when designed for threshold |
| Debris/ice resistance | Moderate | Good | Very good |
| Floating vinyl movement tolerance | Typically good | Typically good | Depends on system |
| Glue-down seam control | Can work well | Can work well | Can work well with correct perimeter detailing |
| Installation complexity | Medium | Medium | High (more enclosed detail) |
| Common failure mode outdoors | Lip or uneven closure | Gap under base | Incorrect sealing in movement zone |
| Water management strategy | Rely on flush top cap + correct slope | Rely on step design + flush cap | Rely on enclosed edges + controlled perimeter seal |
| Cut accuracy requirement | Medium | High | High |
| Best For | Same-level transitions between vinyl sections | Thresholds and exterior steps where one side is higher | Entry points that must resist debris-driven wear |
Measure, plan the expansion gap, and mark your cut lines
Answer: Pull the expansion gap requirement from your vinyl manual, then plan your transition base track so the cap covers the edge without blocking movement. Outdoor temperature swings turn “almost correct” gaps into buckling, open seams, and water infiltration.
The expansion gap is not optional: your vinyl flooring manufacturer specifies it to prevent temperature-driven buckling.
A dry-fit of the transition base and top cap prevents surprises—especially at thresholds where you can’t easily re-cut once sealed.
If your walkway has drainage, your transition alignment should help water flow away from the vinyl edge, not toward it.
Find the required gap from the flooring manual
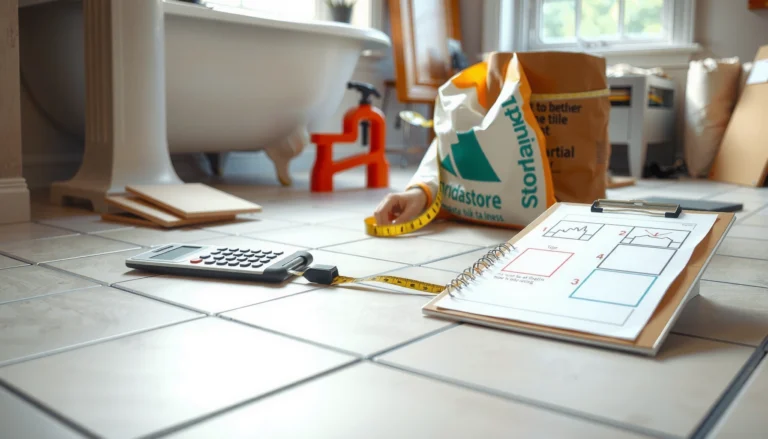
Your vinyl manual’s expansion-gap requirement is the rule you build around. In many resilient flooring systems, the expansion gap is often in the range of a few millimeters to around 6 mm (1/4 in) for floating installations, but you must follow your exact product. For example, according to RFCI (Resilient Floor Covering Institute) guidance, resilient installations rely on manufacturer-defined movement space to accommodate expansion and contraction.
Also check if the manual treats:
– exterior thresholds differently than interior walls
– whether the flooring is allowed for exterior exposure at all (some are “indoor only”)
– acclimation and installation temperature windows
Dry-fit and mark so the transition lands cleanly
Plan your cuts so the transition top cap closes evenly. A safe workflow:
1. Mark the walkway edge line where the base track will sit.
2. Dry-fit the transition base/track to confirm the top cap height matches the walking surface.
3. Confirm whether the vinyl should be under the cap edge, stop at the expansion gap, or trim with a straight edge for a clean closure.
4. Account for any outdoor slope so water doesn’t pool right at the seam.
If your threshold is sloped for drainage, you may need to align the transition carefully so the cap doesn’t create a low “valley” that holds water.
Install the transition base/track first, then fit the vinyl
Answer: Secure the transition base/track into the substrate first, then trim and fit the vinyl to the correct edge detail while keeping the expansion gap free. This order matters because it prevents you from locking the vinyl in place before you understand how the transition top cap will close.
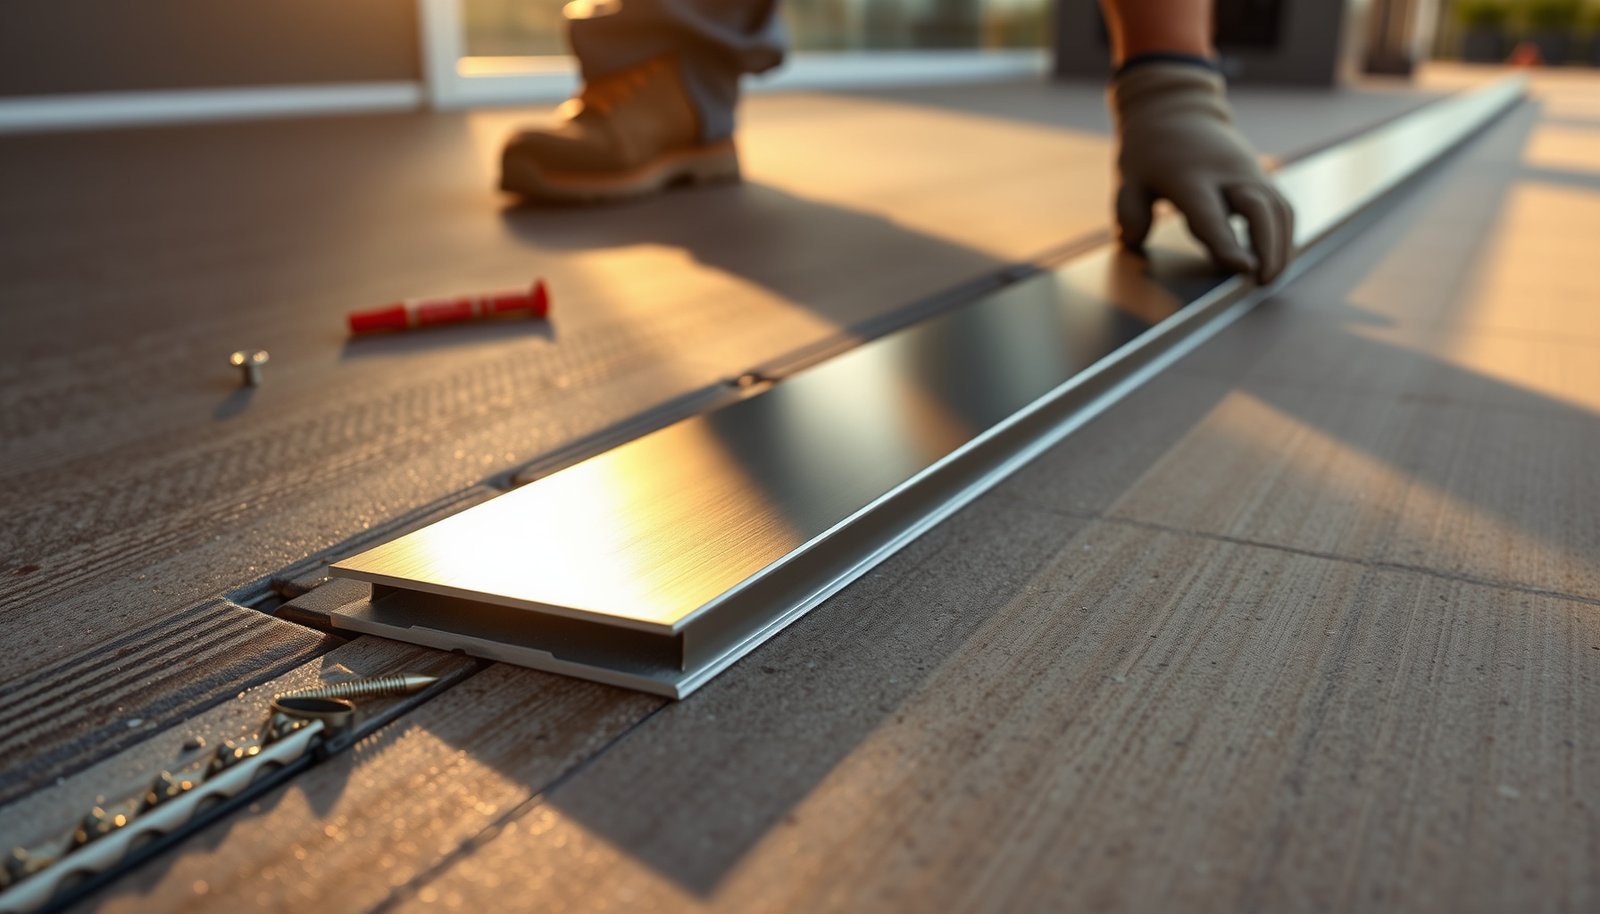
Many transition systems are designed so only the base/track is anchored to the substrate—this preserves controlled movement of the resilient floor.
Do not fill the expansion gap with thick sealant or caulk; it can glue a floating floor and cause buckling when temperatures rise.
Use a sealant-compatible approach: the sealant should block water at the perimeter without migrating into movement seams.
Fasten/adhere the base correctly (and only where allowed)
Follow the transition manufacturer’s fastening instructions exactly:
– If the base uses screws/anchors, pre-drill to prevent substrate cracking or spalling (especially for concrete edges).
– If the base uses adhesive, use the approved adhesive system for both the transition material (often aluminum) and the substrate (concrete, paver base, exterior mortar bed).
Because outdoor moisture exposure is unforgiving, incompatible adhesives can fail at the metal/substrate interface. When the transition base fails, water runs directly where you least want it: under the vinyl edge and into the construction layers.
Fit the vinyl edge without blocking movement
Cut the vinyl edge straight and consistent, then maintain the expansion gap per the vinyl manual. Key details:
– Ensure the vinyl edge doesn’t interfere with how the top cap closes.
– Keep the expansion gap clear—don’t “over-seal” it.
– For floating/click-lock vinyl, avoid fastening anything through the vinyl layer that would immobilize it.
In practice, the most common DIY slip is using sealant like “gap-filler.” Outdoor transitions need sealant as a water barrier at the exterior perimeter, not as structural reinforcement for a moving floor.
Seal and finish for outdoor moisture exposure
Answer: Seal only the outer perimeter edges where water could infiltrate, and make sure the top cap is flush so water can’t pool at the joint. Then re-check that the floor can still move where your vinyl expansion gap is designed to function.
In freeze-thaw climates, water trapped at seams is what drives joint breakdown; sealing must prevent infiltration but still respect movement.
The top cap should sit flush (no lip) so shoe traffic and drainage don’t concentrate water at the vinyl edge.
Sealant compatibility matters: exterior-rated sealants must bond to your transition material without attacking vinyl.
Seal at the right places, not everywhere
Apply exterior-rated sealant around the transition edges only in areas that function as water barriers. Avoid:
– getting sealant into the expansion gap zone
– forcing sealant into vinyl locking seams (for click-lock systems)
– sealing across movement space in a way that creates a rigid “frozen” joint
A good outdoor approach is to seal the line(s) where the exterior water would otherwise track under the base. Verify sealant compatibility with vinyl and the transition material from your product instructions—some sealants can discolor vinyl or lose adhesion on certain plastics/metals.
Manage the top surface so water sheds
A flush top cap improves cleanability and reduces ponding. If your walkway has a slope for drainage, align the transition so water flows away from the vinyl seam. If you accidentally install the transition so the cap creates a low point, water can collect and freeze under the cap lip even if the perimeter seal looks fine.
What can go wrong (and how to avoid it)
Answer: The big failure patterns are trapped water in the seam and “movement prevented by wrong fastening/sealing.” If you prevent infiltration and preserve controlled movement space, your outdoor vinyl transition is far more likely to survive winter.
Most exterior transition failures happen because sealant traps water where it can’t evaporate or drain after freeze-thaw.
Buckling usually traces back to immobilizing the vinyl—through fastening the wrong layer or blocking the specified expansion gap.
Uneven substrate under the transition base can create a micro-channel that becomes a leak path under load and temperature cycling.
Trapped water at the seam
Mistake: caulking over the expansion gap or sealing under the transition where water can’t escape.
Fix: keep the gap free per manual, and seal only the external perimeter lines that block infiltration.
Movement problems from fastening the wrong layer
Mistake: screwing or bonding through the vinyl so it can’t expand/contract.
Fix: follow the flooring’s “floating vs glue-down” instructions and anchor only the transition components to the substrate as allowed.
Wrong transition thickness/undercut edge gaps
Mistake: transition doesn’t match vinyl thickness and edge profile, leaving an undercut that weakens closure.
Fix: confirm the transition’s sizing spec versus your installed vinyl thickness (including underlayment, if applicable).
Substrate still moving or uneven
Mistake: installing on a loose or uneven walkway surface.
Fix: stabilize/flatten first—transitions can hide small finish gaps, but not structural movement or pumping.
Outdoor-Use Vinyl Transition Profiles (Typical Fit Ranges & Risk Level)
| # | Transition profile (common outdoor variant) | Typical vinyl thickness fit | Exterior moisture suitability | Typical installation risk outdoors |
|---|---|---|---|---|
| 1 | Anodized aluminum reducer with fastened base | 4–6 mm | Very high | ★★★★★ |
| 2 | Stainless steel threshold strip (enclosed edge) | 4–8 mm | Very high | ★★★★☆ |
| 3 | Aluminum T-molding/crossover with expansion-friendly cap | 3–6 mm | High | ★★★★☆ |
| 4 | Polymer (PVC) transition with exterior sealant (not fully enclosed) | 3–5 mm | Moderate | ★★★☆☆ |
| 5 | Aluminum edge/strap with snap-fit cap | 4–7 mm | High | ★★★☆☆ |
| 6 | Brass/bronze tone metal strip (requires verified exterior finish) | 5–7 mm | Moderate–High | ★★★☆☆ |
| 7 | Aluminum straight strip (seal-dependent only) | 4–6 mm | Moderate | ★★☆☆☆ |
Note: “Typical fit range” and “risk level” are meant to help you compare profiles quickly. Always confirm the exact thickness range, top-cap coverage, and fastening/sealant requirements in your specific transition manufacturer instructions.
Verdict / tip + quick checklist
Answer: For outdoor walkway edges, the most reliable DIY approach is an exterior-rated transition installed to the substrate with the vinyl’s expansion gap preserved and perimeter edge sealing only—never seal the movement zone. If your substrate isn’t stable/flat or your vinyl product isn’t allowed for exterior moisture/temperature cycles, skip this DIY approach and follow manufacturer-approved solutions or get pro help.
Outdoor resilience depends on three things working together: compatible transition materials, correct movement space, and perimeter sealing that doesn’t trap water.
If you ignore expansion guidance, temperature swings can open seams or buckle the floor—even if the transition looks good on day one.
If your walkway substrate is loose or uneven, transitions can’t “fix” the root cause; water will still find the lowest path.
The downsides: this takes careful measuring, and you may need a transition explicitly sized for your vinyl thickness/profile. Don’t proceed if your flooring manual restricts outdoor installations, if the walkway substrate is still moving, or if you can’t maintain the specified expansion gap.
Scan/save checklist (before you install)
| Step | What to check | Why it matters |
|---|---|---|
| Transition compatibility | Profile type + thickness match your vinyl | Prevents gaps and poor closure |
| Expansion gap | Required gap from vinyl manual; keep it clear | Avoids buckling/gapping |
| Substrate condition | Flat, solid, correctly prepared | Stops rocking/leaks |
| Base installation | Fasteners/adhesive used per transition instructions | Holds the strip without pinning the floor |
| Sealing | Seal only the exterior edge areas; compatible sealant | Blocks water without freezing movement |
| Final fit | Top cap flush and not creating a water trap | Improves durability and cleanup |
Sources to check (so you follow the rules for your exact products)
– Your vinyl flooring manufacturer installation guide (expansion gap requirements; floating vs glue-down guidance).
– Your transition strip manufacturer’s installation instructions (compatible sealants/fastening method; recommended thickness range).
Summing it up: install the transition base correctly to the substrate, keep the vinyl’s expansion gap unblocked, and seal only the outer perimeter edges to stop moisture from tracking underneath. If you share your vinyl type (click-lock vs glue-down), vinyl thickness, and the transition profile you’re considering, I can help you sanity-check where the sealant should and shouldn’t go.
Frequently Asked Questions
What transition pieces work best around vinyl flooring in an outdoor walkway?
Look for exterior-rated transition strips designed for vinyl floors and changing heights. Common options include aluminum thresholds for durability and weather resistance, vinyl or rubber transitions for flexibility, and T-moldings for joining to adjacent surfaces. Avoid interior-only trim that can warp or corrode; prioritize water-shedding designs and materials rated for freeze-thaw if you live in colder climates.
How do I install transitions between outdoor vinyl flooring and concrete step edges?
Start by cleaning and leveling the concrete so the transition strip sits flat without rocking. Use exterior construction adhesive or a matching threshold setting method (screws/anchors where required) according to the transition manufacturer’s instructions, and keep a small expansion gap where the vinyl can move. Seal the perimeter with an exterior-rated caulk or weatherproof sealant to reduce water infiltration at the transition.
How can I handle expansion gaps when installing transitions on vinyl in outdoor conditions?
Outdoor temperature swings make expansion gaps critical, even for vinyl flooring installed outdoors. Maintain the manufacturer’s recommended gap at edges and transitions, then cover it with a flexible transition profile like a T-molding or adjustable threshold. If your walkway gets hot sun or freezes, choose transitions that allow movement instead of rigid strips that can buckle or lift.
Which fasteners and sealants should I use for exterior vinyl floor transitions?
Use exterior-rated screws/anchors and an adhesive compatible with vinyl and the transition material (often aluminum, PVC, or rubber). Pair it with a waterproof, paintable exterior caulk/sealant to protect the seam from rain, puddling, and freeze-thaw cycles. Don’t rely on interior caulk—pick products labeled for exterior use and continuous moisture exposure, and apply them neatly to avoid creating raised ridges.
Why do vinyl flooring transitions lift or separate outdoors, and how do I prevent it?
Transitions often fail due to insufficient expansion space, poor subfloor prep, or using non-exterior materials that corrode or soften. Prevent lifting by ensuring the walkway substrate is flat and firmly bonded, installing the transition straight, and sealing edges to prevent water from getting underneath. Use exterior-rated transition strips, allow for thermal movement, and avoid fully locking rigid trim over areas that need to expand and contract.
📅 Last Updated: October 27, 2026 | Topic: How to install transitions around vinyl floors in a outdoor walkway? | Content verified for accuracy and freshness.
References
- https://www.armstrongflooring.com/na/en-us/support/install-guides.html
- https://www.epa.gov/mold/mold-and-mildew-moisture-problems
- Vinyl flooring
- Expansion joint
- Threshold
- https://en.wikipedia.org/wiki/Flooring_underlayment
- Waterproofing
- https://scholar.google.com/scholar?q=install+vinyl+flooring+transition+strips+threshold Google Scholar
- https://scholar.google.com/scholar?q=outdoor+vinyl+flooring+waterproofing+transition Google Scholar
- https://scholar.google.com/scholar?q=resilient+flooring+installation+expansion+gap+doorway+threshold Google Scholar