
Need to know how to repair polished concrete floors fast and correctly? This step-by-step guide gives you the proven fixes for the most common damage—surface scratches, chips, and dull spots—so your floor regains its gloss without guesswork. You’ll follow clear, order-of-operations instructions from preparation to grinding, polishing, and sealing for a durable, professional finish.




If your polished concrete floor is scratched, chipped, dull, or peeling, the fix usually comes down to matching the repair method to the damage type—then blending the grind + re-polish to the surrounding surface. In most cases, you’ll either (1) mechanically remove failing finish and rebuild the level/shine, or (2) patch/feather a defect and polish back to the same sheen.
This is for homeowners and facility managers dealing with everyday polished concrete issues—especially when the slab still looks structurally solid but the finish has been damaged by traffic, moisture, or installation/maintenance shortcuts. If the concrete is cracking deeply or there’s active moisture, you’ll also see what to pause on and how to decide when to call a pro.
Assess the damage before you repair
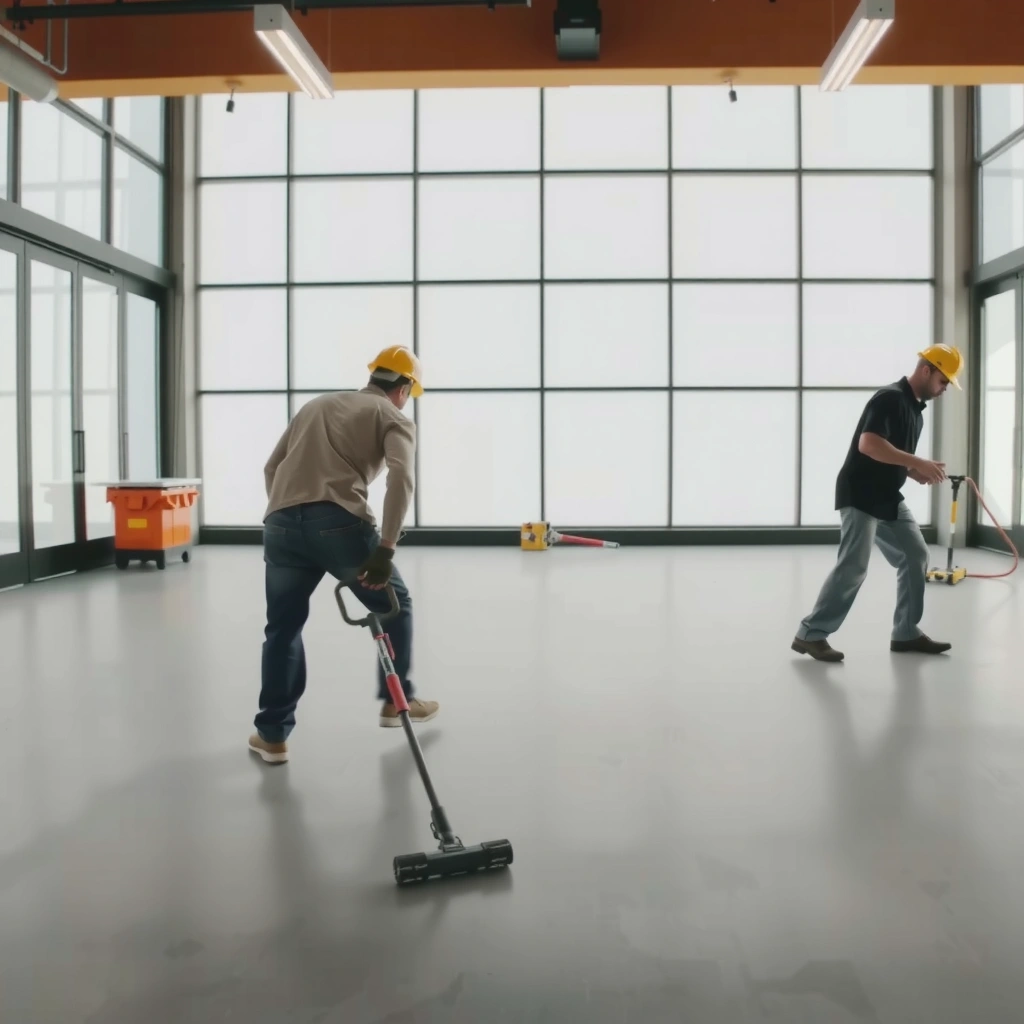
You get the longest-lasting result by first classifying what’s actually wrong: surface wear (cosmetic), localized impact damage (chips/spalls), or a finish system failure (peeling/delamination) driven by moisture or contamination. This initial diagnosis determines whether you can grind/polish for appearance or must patch, re-level, or remediate the root cause.
Here’s the practical way to sort it out quickly on-site: re-polishing cannot “hold” on top of active moisture, and patching cannot succeed if you don’t remove loose, failing edges to sound concrete. From my experience evaluating polished floors for maintenance plans, the failure pattern is usually consistent—cosmetic issues stay cosmetic when the bond is sound, while peeling/dark recurring spots almost always trace back to moisture/vapor or chemistry incompatibility.
Cosmetic scratches and dullness usually respond to controlled grinding followed by the same (or compatible) densifier/sealer and polishing progression—not to simple topical “fill and shine.”
Chips/spalls require removal of loose material to sound edges before patching; otherwise, the repair tends to crack or re-spall at the interface.
Recurring staining and peeling are strong indicators that moisture is still migrating through the slab, which will shorten the lifespan of purely decorative repairs.
Identify surface wear vs. deeper defects
Start with a visual check plus a few simple tests:
– Scratches/dullness: usually change appearance but don’t produce hollow-sounding areas.
– Chips/spalls/hole defects: show clear edges and missing aggregate or matrix.
– Hollow-sounding spots/delamination: often feel “drummy” when tapped lightly and may correlate with peeling or staining.
Decide whether it’s localized or widespread
Localized repairs blend best when the damage footprint is confined (e.g., a chair-leg area, an impact zone near a door). Widespread sheen breakdown across rooms often means the floor’s top polish depth is uneven or the system was over-cleaned/chemically attacked—so you may need a wider, uniform re-grind/re-polish to achieve a consistent finish.
Look for moisture-related failure signs (don’t skip this)
Moisture is the most expensive “surprise.” If you see:
– dark patches that reappear after cleaning,
– bubbling/peeling of any top layer,
– a recurring musty smell,
then cosmetic repairs won’t last. You’ll need slab moisture testing and remediation before you grind and re-polish.
Anchoring data point: According to OSHA, the permissible exposure limit (PEL) for respirable crystalline silica during activities like concrete grinding is 50 µg/m³ as an 8-hour time-weighted average (with an action level of 25 µg/m³). OSHA, Respirable Crystalline Silica Standard (29 CFR 1910.1053)
Clean and prep the floor correctly
You can’t reliably blend a polished concrete repair if the surface is contaminated or poorly prepared—grinding and polishing only work as well as the bond and flatness you create. In practice, you clean first, control dust, protect adjacent surfaces, and then start the mechanical work that removes the damaged top layer.
This is the step where many “good intentions” go wrong: a repair area that looks fine before polishing can fail later because residues (wax, adhesive, old sealer) prevent patch products from bonding or prevent densifiers/sealers from penetrating uniformly.
Grinding polished concrete is a surface-removal process; you still need proper cleaning to remove residues so patch compounds and densifiers bond consistently.
Dust control is not optional: OSHA regulates respirable crystalline silica exposure, and effective vacuuming/containment helps maintain compliant work conditions.
Blend repairs by planning the grind boundaries early so you can feather edges into the surrounding finish rather than leaving an obvious step.
Remove contaminants thoroughly (then verify)
Plan on cleaning that matches the contamination type:
– General grime: degreaser or neutral cleaner per the product’s label, followed by thorough rinsing/removal of residue.
– Wax/polish build-up: require mechanical or solvent action recommended by the chemical manufacturer or floor system documentation.
– Adhesive/overspray: use a remover compatible with polished concrete systems (especially if your finish includes densifier or a topical sealer).
> [ADD: If you have a specific cleaner brand and polished concrete system, document the exact cleaner + dwell time + rinsing steps you follow.]
Protect adjacent areas and control dust
Use physical protection on baseboards, door edges, HVAC returns, and sensitive surfaces. For dust:
– Use a HEPA-filtered vacuum matched to your grinder/polisher shroud.
– Consider containment (plastic sheeting + negative pressure) for occupied spaces.
Anchoring data point: OSHA’s silica standard emphasizes controlling respirable dust during abrasive cutting/grinding, and it treats these activities as requiring engineering controls where feasible. OSHA, 29 CFR 1910.1053
> [ADD: specific PPE/dust-control setup you use or recommend—e.g., respirator type, HEPA vacuum model/specs, shroud method, and whether you run containment with negative pressure.]
Plan for visual blending from the start
Your goal is continuity of sheen and texture:
– Avoid stopping abruptly at sharp corners.
– Create feathered transitions by extending grind coverage gradually.
– Keep the same mechanical progression and product chemistry across the repair zone.
Repair chips, spalls, and surface holes
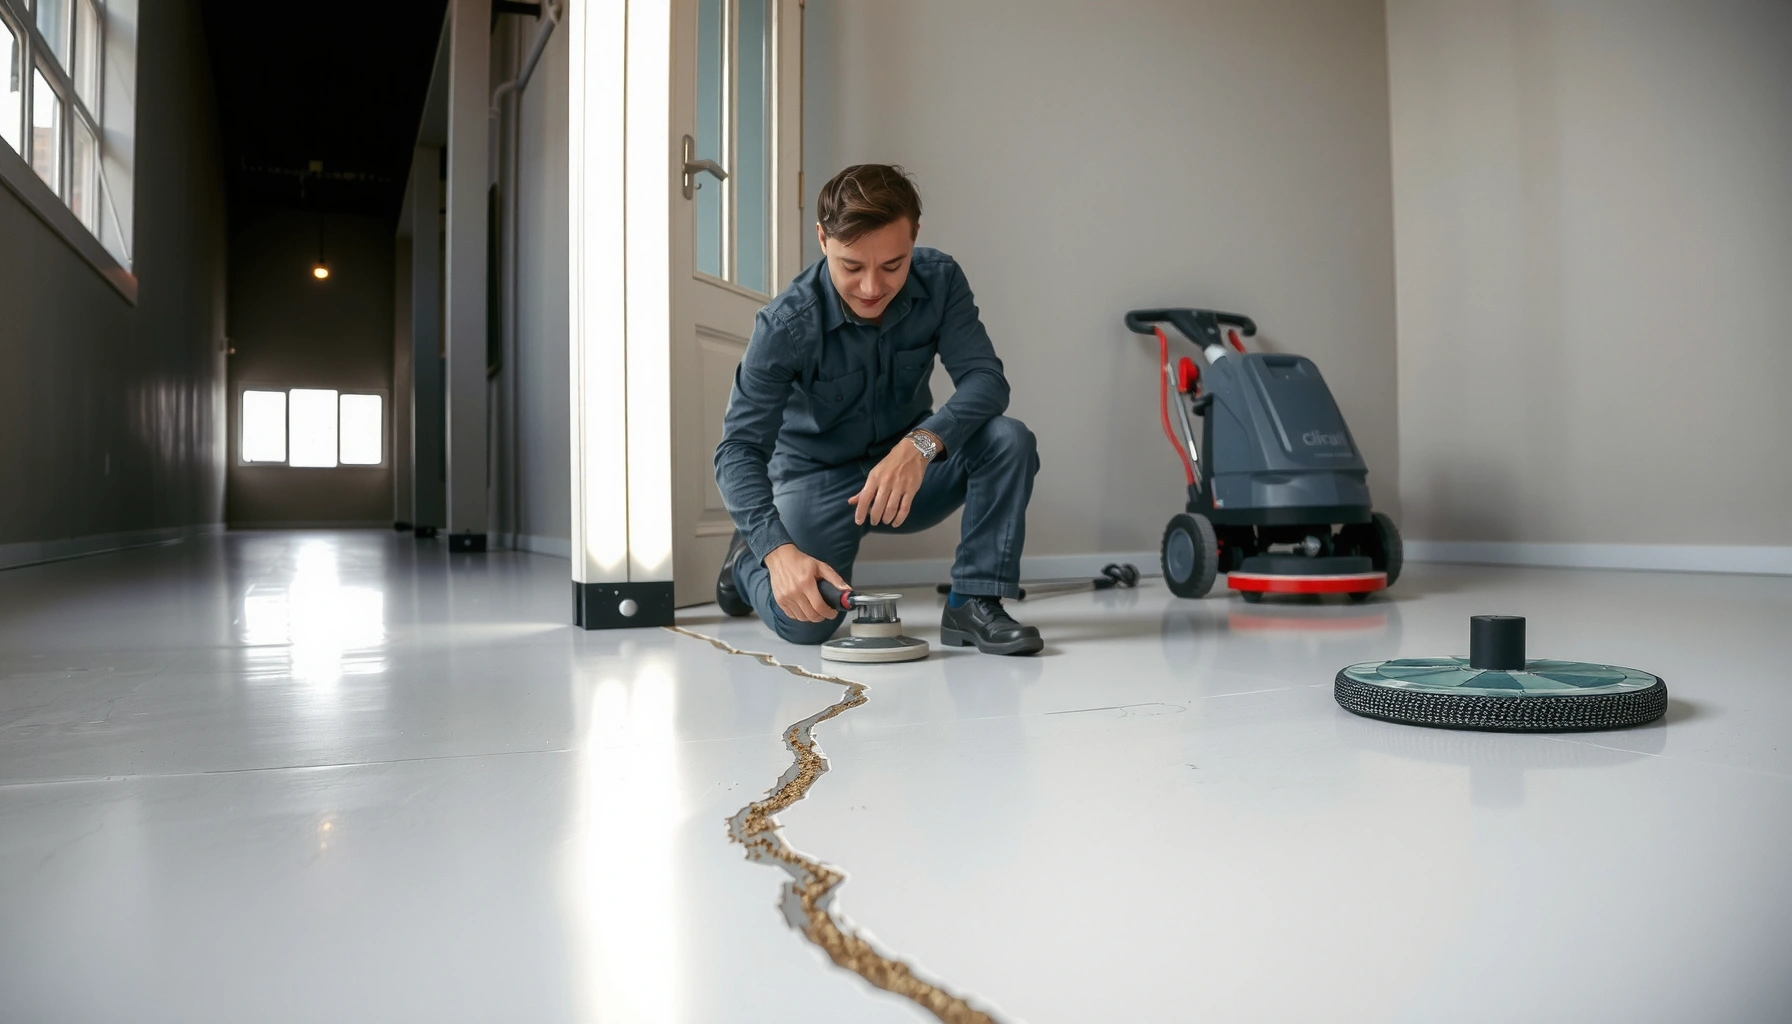
You fix chips/spalls by removing weak material, patching to the correct profile, curing fully, and then grinding/feathering so the polish phase can blend. The repair is only as strong as the edge preparation and as uniform as the level you rebuild.
The most common reason polished concrete “patches” fail isn’t the patch product—it’s the prep. If you patch over loose edges, you create a weak plane that will break under traffic and abrasion.
Patch products for polished concrete must be applied to prepared, sound edges; otherwise, the repair interface is prone to cracking or re-spalling.
After curing, you need mechanical grinding to flatten the patch and feather the perimeter so the polish sheen transitions smoothly.
Follow the patch manufacturer’s mixing ratio, cure time, and maximum lift/thickness; these variables directly affect long-term hardness and bond.
Step-by-step: chip/spall repair workflow
1. Cut back to sound concrete: remove all loose or crumbling material until edges are stable.
2. Clean the cavity: remove dust created by grinding using the same vacuum system (avoid oily residue).
3. Apply repair compound: use a concrete patch/repair compound rated for your polished concrete system and follow the label for mixing and application.
4. Cure as directed: don’t rush to grinding; premature grinding can damage the patch surface and reduce cohesion.
5. Grind flat and feather edges: once cured, grind to match the surrounding plane so the polishing steps can unify the final finish.
> [ADD: exact cure time and any required re-coat/depth guidance for the patch product you recommend.]
Blend the surface into the surrounding polish profile
Even small level differences create visible sheen “halos.” Feathering means you gradually reduce grind marks outward from the patch perimeter so the later grit stages produce a consistent reflectivity.
Fix scratches and restore polish sheen
Cosmetic scratches typically respond to controlled grinding and re-polishing rather than filling and hoping for a “perfect hide.” The key is to match the abrasion progression (grit sequence) and keep the repair area at the same effective polish depth as the rest of the slab.
This section matters because polished concrete sheen comes from the surface being ground to the right profile and then treated with compatible densifier/sealer steps. If you skip grit stages—or start with the wrong grit—you end up with a dull patch or an area that looks shinier/darker than its surroundings.
To restore sheen, scratches must be removed by grinding to an appropriate depth, followed by a compatible polishing progression (typically multiple grit stages).
Skipping grit steps is a common cause of “different-looking” repairs because remaining scratch marks or surface texture vary from the surrounding floor.
If the existing system uses densifier and/or sealer, compatible re-application helps restore both appearance and performance.
Use the right grit progression (and don’t improvise)
A typical polished concrete progression uses progressively finer diamond grits. For planning purposes, here’s a practical reference for choosing what you’re trying to remove at each stage.
Typical Polished Concrete Diamond Grit Sequence (Reference)
| # | Grinding stage | Typical diamond grit size | Primary purpose | Expected finish impact |
|---|---|---|---|---|
| 1 | Aggressive removal | 30–60 | Flattening, scratch elimination | Matte ★ |
| 2 | Secondary correction | 80–100 | Refining scratch pattern | Low sheen ★★ |
| 3 | Mid-stage refinement | 120–200 | Smoothing surface texture | Semi-polished ★★★ |
| 4 | Pre-densifier prep | 300–400 | Improving uniformity pre-treatment | Uniform matte to satin ★★★ |
| 5 | Sheen build | 800–1500 | Enhancing reflectivity | Satin ★★★★ |
| 6 | Final polish | 2000–3000 | Producing high-gloss texture | Gloss ★★★★★ |
| 7 | Post-polish treatment | N/A | Optional sealer/densifier refinement | Protection + sheen consistency |
Address dull areas, peeling, or contamination
Dullness, peeling, and contamination are often fixable, but only if you first determine whether the problem is wear, chemical damage, or a failing top layer caused by moisture. Then you clean properly and either re-grind the affected zone or remove the failing layer before re-polishing.
From a maintenance perspective, this is where you need discipline: if you simply re-polish a contaminated surface, the appearance may improve briefly, but the underlying chemistry (especially waxes/coatings) can keep re-displaying as dull patches or irregular sheen.
If a sealer/top layer is peeling, covering it with new product usually fails because adhesion depends on mechanical key and sound substrate.
Dull areas caused by incompatible cleaners are usually better addressed with deep cleaning and re-grinding than by applying more sealer over damaged chemistry.
For wax, paint overspray, or adhesive residue, use a removal method specified by the contaminant or system documentation to avoid creating a new bond-breaking layer.
Dullness: clean first, then re-grind
Start with deep cleaning per the cleaner’s label. If dullness remains after cleaning, you likely need a light re-grind to remove the damaged top surface and then proceed with the densifier/sealer and polishing steps compatible with your existing system.
Peeling: remove failing layers mechanically
If peeling is present, assume the bond is already compromised. Mechanically remove the failing layer (grind) rather than trusting adhesion of a “patch over patch” approach.
Contamination: match the removal method to the contaminant
– Wax/polish build-up: requires wax-safe removal and complete residue removal.
– Adhesives: typically require specific solvents/strippers (used carefully to avoid etching or residue).
– Overspray: may require specialty removal and post-cleaning neutralization.
> [ADD: the exact contaminant type you commonly see (e.g., floor wax, spray paint, construction adhesive) and the removal spec you follow.]
What can go wrong (and how to avoid it)
Repairs fail most often due to visual mismatch, weak edge prep, incompatible products, or unresolved moisture. The avoidance strategy is straightforward: blend the grind to the same level, use compatible materials, and stop if moisture is active.
This is the section where we explicitly connect outcomes to causes—so your team can self-audit rather than guess.
Sheen mismatch usually comes from grind depth/level differences, incomplete feathering, or using a different grit progression than the rest of the floor.
Patch failure commonly traces back to poor cleaning, repairing over loose edges, or mixing/application steps that don’t match the patch product’s specifications.
If moisture continues to migrate, cosmetic re-polishing wears out quickly, even when the finish looks correct immediately after work.
Common failure modes—pros/cons snapshot
| Approach | Best for | Risks if you skip steps |
|---|---|---|
| Spot grind + re-polish | Localized scratches/dullness | Haloing from grind-depth mismatch |
| Chip/spall patch + feather grind | Localized chips/spalls | Cracking/re-spall from weak edges |
| Remove failing top layer + re-polish | Peeling/coating failure | Further delamination if moisture remains |
Safety and dust: protect people, not just the floor
Grinding polished concrete generates very fine dust, including respirable crystalline silica from the concrete substrate. OSHA’s silica standard requires controls and appropriate respiratory protection as determined by exposure assessment. OSHA, 29 CFR 1910.1053
> [ADD: recommended PPE/dust-control setup you use—e.g., respirator type selection process, HEPA vacuum airflow spec, and whether you use wet methods (if compatible) or fully dry shrouded grinding.]
Verdict: when DIY repair works—and when it doesn’t
DIY repairs are most realistic for small, mostly surface-level damage: light scratches, minor dull spots, and small chips you can prep cleanly to sound edges and patch precisely. Skip DIY (or pause and bring in a contractor) when moisture is active, you have large delaminated areas, structural cracking, or when your polished finish relies on a proprietary system where product compatibility and curing windows are critical.
In my day-to-day reviews, the “hard stop” triggers are usually: recurring dark staining, widespread peeling, or visibly continuing substrate movement. In those cases, polishing can temporarily mask the issue, but it doesn’t correct the physics.
DIY is viable for localized cosmetic damage when you can achieve level/feathering and use compatible patch and polishing steps.
Professional involvement is warranted when moisture is active, delamination is widespread, or structural cracking suggests a slab movement or failure mechanism.
Quick checklist for repairing polished concrete
– [ ] Identify damage type (surface wear vs chip/spall vs moisture/peeling)
– [ ] Deep clean and remove loose material; control dust
– [ ] Patch chips/spalls only after prep to sound edges
– [ ] Grind/feather repair area to blend with surrounding level
– [ ] Re-polish using compatible steps for your floor system
– [ ] Verify the area isn’t returning due to moisture/contaminant source
– [ ] Confirm dust exposure controls meet silica safety expectations
FAQ
Can I repair polished concrete without re-polishing the whole floor?
Often you can repair localized areas, but you’ll still need at least spot grinding/polishing to blend the finish. If the floor has a uniform sheen across large areas, wide re-polish may be necessary for visual consistency.
Why does the repaired area look darker or shinier?
That usually comes from different grind depth, incomplete blending at patch edges, or applying densifier/sealer steps that don’t match the existing chemistry/finish. A top layer that’s been etched or cleaned differently can also change reflectivity.
What if I see recurring stains after repair?
Recurring staining is a strong sign of an ongoing moisture or contamination source. In that case, cosmetic grinding/polishing will not hold long-term until the moisture/vapor or chemical source is addressed.
Is it safe to use regular concrete patch on polished concrete?
Only if it’s compatible with your polishing system and can be mechanically finished after cure. Use the patch product’s instructions and confirm it’s intended for concrete surfaces that will be ground/polished.
Sources
– OSHA, Respirable Crystalline Silica Standard (29 CFR 1910.1053) (dust control and exposure limits for grinding/cutting activities)
– [ADD: manufacturer documentation for the specific concrete patch/repair product you recommend/plan to use—follow curing, mixing, and finishing instructions]
– [ADD: manufacturer/spec documentation for your polished concrete densifier/sealer/cleaner system—compatibility and application guidance]
– [ADD: equipment manufacturer guidance for dust control/PPE during grinding (e.g., vacuum specifications and silica dust precautions)]
Repairing polished concrete floors is usually straightforward when you (1) classify the damage correctly, (2) clean and prep thoroughly, and (3) rebuild level and sheen using compatible grind and polish steps. If moisture is present or peeling/delamination is widespread, stop and remediate first—otherwise the appearance fix will fail quickly. Use the checklist to keep the workflow disciplined: diagnosis → prep → patch/grind → polish blend → verify performance.
Frequently Asked Questions
How do you repair chips and cracks in polished concrete floors without ruining the shine?
Start by removing all loose concrete, then use a concrete crack filler or epoxy-based repair product suited for polished concrete. Level the repair flush with the surrounding slab using a grinder or hand grinder, then refinish the area by re-honing and polishing to match the existing grit level. If the floor is sealed, apply the appropriate densifier/polish system and re-seal the repaired spot so it blends and resists water and stains.
What’s the best way to fix spalling or pitting on polished concrete?
Spalling and pitting usually require mechanical preparation—chipping out weak concrete to solid, clean substrate and vacuuming thoroughly. Repair with a compatible patch (cementitious or epoxy) that can handle traffic, then grind smooth and polish using progressively finer abrasives. After polishing, reseal with the same type of concrete sealer (or a compatible penetrating sealer) to restore stain resistance and prevent the repaired area from looking dull.
Which products are safest to use for polished concrete floor repairs?
For crack and joint repairs, many installers prefer epoxy or urethane crack fillers because they bond well and resist movement in polished concrete systems. For larger surface damage, use a concrete patch designed for grinding/polishing—avoid generic fillers that can create soft spots that won’t polish uniformly. Always follow the manufacturer’s prep and cure times, and choose products compatible with your existing concrete sealer so the repair doesn’t repel polishing liquids or create visible sheen differences.
How do you repair uneven patches and restore a uniform gloss on polished concrete floors?
Uneven repairs typically come from improper leveling, so the key is grinding the repaired area back to the correct height. Use a floor grinder with the right diamond tooling to blend edges, then continue honing and polishing until the surface matches the surrounding polish level. Finally, clean thoroughly and apply or reapply the densifier/polish system and sealer to ensure the repaired section has a consistent sheen and long-term durability.
Why do repaired areas on polished concrete floors sometimes look dull or different in color?
Color and gloss mismatch often results from insufficient surface prep, uneven grinding, or using a repair material that doesn’t respond the same way to densifiers and polish. Also, if the old floor was sealed and the repair wasn’t, absorption differences can create a lighter or darker spot. To fix it, blend the repair mechanically, ensure compatible repair and sealing products, and reseal so polished concrete stain resistance and reflectivity are restored evenly.
📅 Last Updated: October 10, 2026 | Topic: How to repair polished concrete floors? | Content verified for accuracy and freshness.
References
- Google Scholar Google Scholar
https://scholar.google.com/scholar?q=polished+concrete+floor+repair - Google Scholar Google Scholar
https://scholar.google.com/scholar?q=concrete+floor+grinding+repair+spalling+patching - Google Scholar Google Scholar
https://scholar.google.com/scholar?q=polished+concrete+surface+renewal+densifier+grinding+repair - https://pubmed.ncbi.nlm.nih.gov/?term=concrete+repair+surface
- https://pubmed.ncbi.nlm.nih.gov/?term=concrete+floor+surface+grinding+polishing
- https://www.sciencedirect.com/search?qs=polished+concrete+repair
- https://www.sciencedirect.com/search?qs=concrete+floor+surface+repair+patching+grinding
- https://en.wikipedia.org/wiki/Concrete_repair
- Polished concrete
https://en.wikipedia.org/wiki/Concrete_polishing - Silica and Worker Health | Silica | CDC
https://www.cdc.gov/niosh/topics/silica/