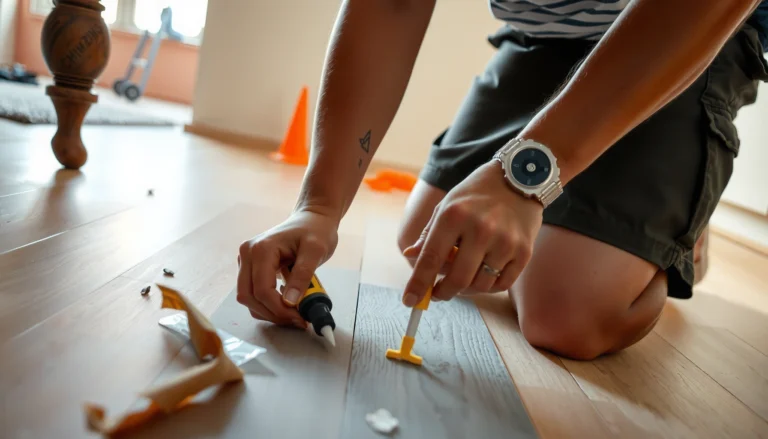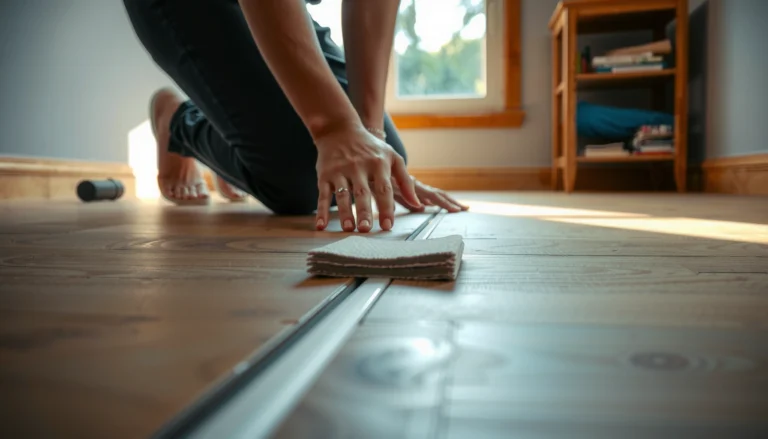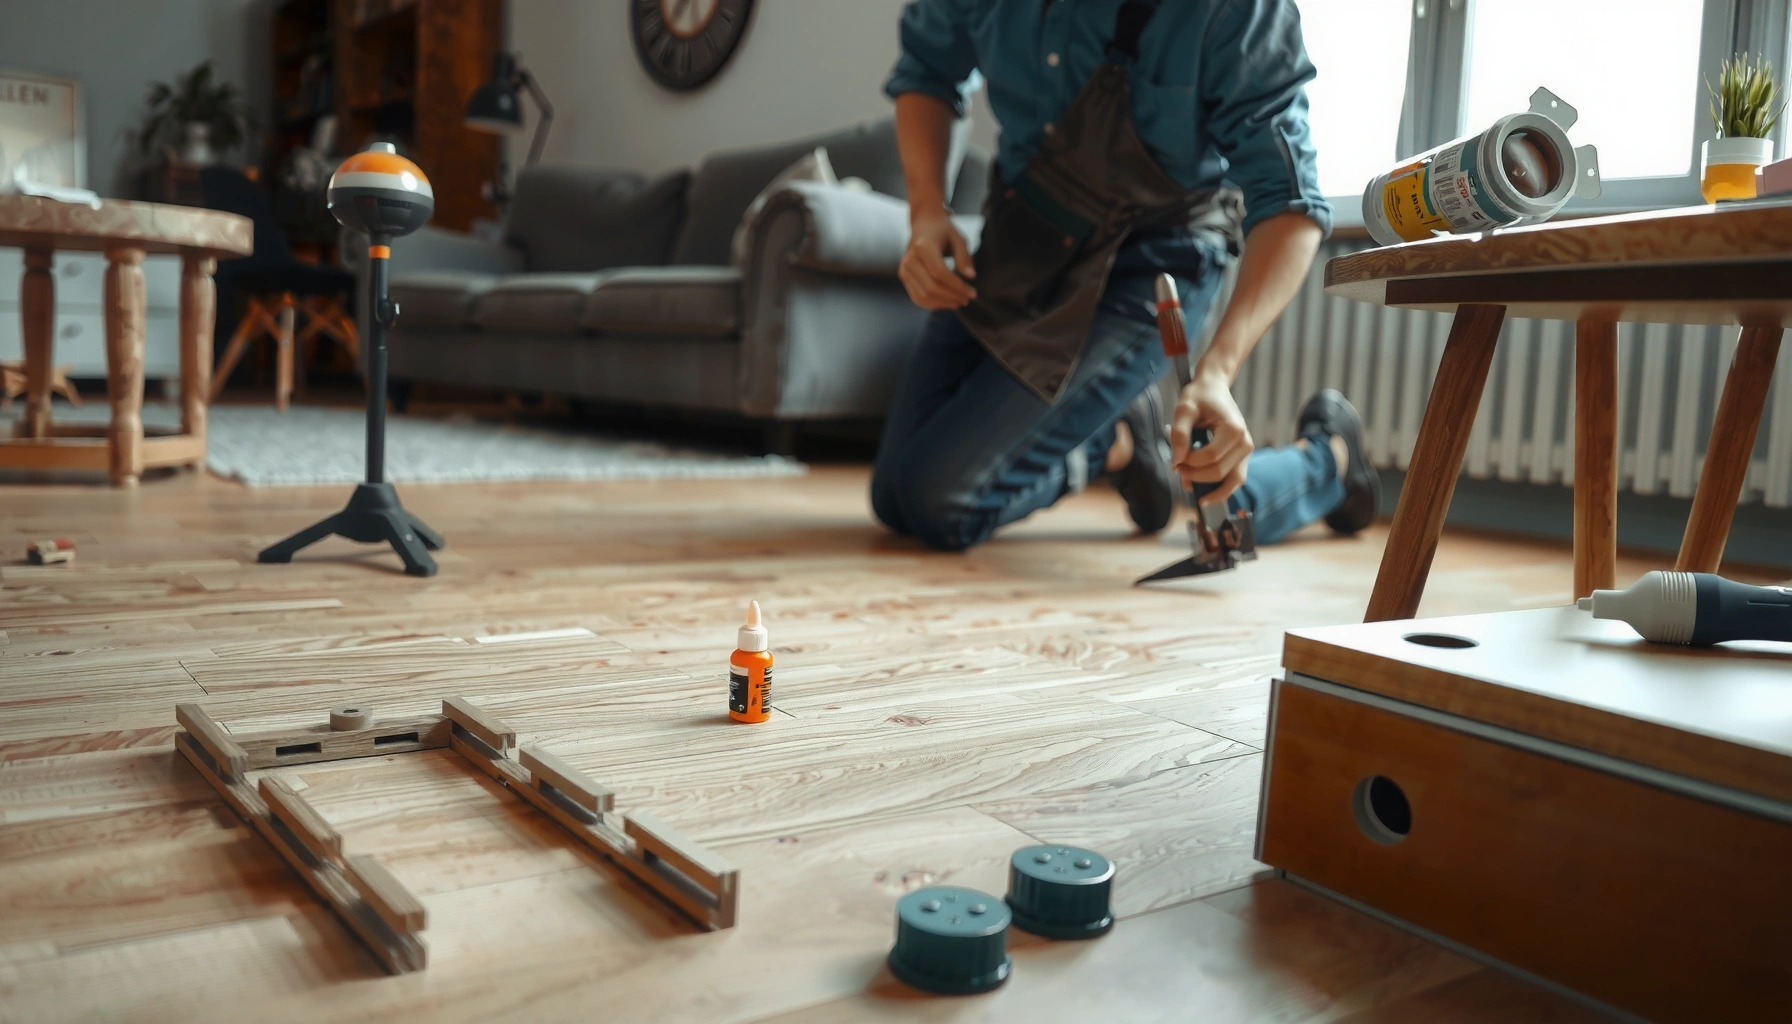

Buckling in laminate floors isn’t something you should guess at—this guide shows you the exact fix based on the cause, so your boards stop lifting and stay flat. You’ll learn how to identify moisture-related expansion, subfloor issues, or installation gaps fast, then apply the correct remedy without trial-and-error. By the end, you’ll know whether you can correct it with drying and re-spacing or whether a section needs to be removed and replaced.




Buckling in laminate floors is usually caused by moisture trapped under the planks or by the floor being installed without enough expansion space. The fix is to identify the moisture source, remove any affected planks (if needed), correct the subfloor issue, then reinstall with proper gaps and an appropriate underlayment. You’ll learn how to diagnose what’s driving the buckles and which steps actually restore a flat, stable surface.
If your laminate looks “wavy,” has lifted edges, or boards are rippling after spills, humidity swings, or a recent installation, this guide is for you. It’s also useful when the problem only shows up in one area (like near a door, sink, or window), which often points to a specific moisture or installation cause.
Step 1: Identify the cause before you repair

If you treat buckling as a cosmetic problem, it usually returns—because laminate moves when moisture and pressure conditions change. Your first job is to find the moisture path (or the missing expansion space) so the fix stops the “re-buckling loop.”
Buckling that starts near exterior openings (doors/windows) strongly suggests localized moisture intrusion or condensation, not random material defect.
Laminate fails most often when subfloors exceed common moisture-readiness thresholds used in flooring standards (e.g., concrete relative humidity limits).
Installation without manufacturer-required expansion gaps can cause pressure buildup as temperatures and humidity change.
Check for moisture sources (the “wetting”)
Start with the most likely contributors:
– Past leaks and slow seepage: under-sink leaks, dishwasher hose drips, refrigerator water lines, or bathroom plumbing.
– Condensation and HVAC cycling: bathrooms, entryways, or rooms with poor airflow where surfaces stay colder for longer.
– Cleaning residues: repeated wet mopping or steam cleaning that leaves water at seams/edges.
– “Spill transfer” that looks small: a spill that never fully dried can wick through seams, especially with damaged edges or gaps.
In my experience, the fastest way to narrow this down is to map the buckling pattern on the floor plan (room sketch + outlet/fixture locations). The “map” usually points to a specific wetting cycle rather than a random humidity swing.
Look for “where it starts” (pattern recognition)
Use the buckling’s footprint:
– Localized area buckling: often near a door, sink, or window = localized moisture path, drainage issue, or poor flashing/caulking.
– Whole-room waviness: often = subfloor-wide moisture, missing vapor strategy, or uneven base that magnifies movement everywhere.
Inspect the subfloor flatness and condition (the “stage”)
Laminate needs a stable, even base; unevenness acts like a lever for every seasonal change.
– Check for high spots (telegraph through as stiffness) and low spots (allow movement until boards lift).
– If you see soft, darkened, or crumbling subfloor near the buckles, assume moisture has reached the base and plan on correcting it before reinstalling.
Step 2: Confirm the severity (and whether you can flatten it)
If the moisture source is ongoing or the planks are permanently distorted, “flattening” rarely lasts. The durable decision is whether to wait and dry or replace the affected section.
If joints are gapped and the buckling continues after the area dries, the planks are likely permanently bowed and replacement is the reliable fix.
Trying to force-lay already bowed laminate can trap trapped pressure in the locking system and worsen separation.
Slight lift vs. permanent deformation
Use visible cues:
– Slightly lifted edges, minimal bowing: you may be able to reinstall by relieving pressure after you stop the moisture source and allow thorough drying.
– Visible bowing, rippling, open joints, or ongoing movement: plan to replace affected planks. Forcing them flat can lock the problem in and accelerate edge swelling.
Don’t “work around it” while the underlying issue is active
Once the floor absorbs moisture, you’re fighting both:
1) Material expansion, and
2) Pressure distribution across the locking joints.
The buckles often look worse after you “fix” them prematurely—because the next humidity cycle reactivates the same conditions.
Moisture readiness benchmarks to anchor your diagnosis
To avoid guessing, confirm subfloor moisture with a method appropriate to your substrate:
– According to ASTM F2170, concrete relative humidity is often limited to ≤ 75% RH for resilient floor installations (commonly referenced in flooring readiness guidance). (ASTM F2170)
– According to ASTM F1869, moisture vapor emission rate is often limited to ≤ 3.0 lb/1000 sq. ft./24 hr (commonly referenced readiness threshold). (ASTM F1869)
– According to ASTM F1482, subfloor flatness is commonly specified around 3/16 in over 10 ft for installation performance (exact requirements can vary by product/system). (ASTM F1482)
(Your laminate manufacturer can set different, stricter, or substrate-specific limits—use their installation guide as the final authority.)
Step 3: Remove affected planks and fix the subfloor/subbase
If moisture got under the planks—or the subfloor isn’t flat—your repair has to start under the surface. Lift the buckled section, verify dryness and base condition, correct the base problem, then reinstall.
Drying must come before reinstallation; otherwise, new planks can move again because the moisture drive is still active.
When laminate buckles after localized wetting, underlayment and the subfloor area beneath should be inspected for dampness and loss of integrity.
Remove the buckled boards (assess, then decide)
– Lift the affected planks carefully to avoid damaging the locking edges more than necessary.
– Check underlayment condition (dark staining, wetness, delamination) and the subfloor surface (soft spots, swelling, discoloration).
If the underlayment is part of a moisture-barrier system, replacing it can be just as important as replacing planks.
Dry thoroughly (don’t skip this)
Before reinstalling:
– Increase airflow (fans) and dehumidification if needed.
– Let materials reach a stable baseline where they don’t feel cool/damp to the touch.
– If you’re dealing with concrete, consider confirming moisture readings with the appropriate test method instead of relying on “looks dry.”
Correct the base issue (flatness and integrity)
Your goal is a base that supports movement without allowing pressure spikes:
– High spots: sand/grind or remove as appropriate.
– Low spots: use a compatible patch/leveling system designed for that substrate.
– Damaged underlayment: replace, don’t “patch around” the barrier.
– Loose subfloor: secure or replace compromised decking—movement under laminate is a common hidden driver of repeat buckling.
Moisture-control planning snapshot (quick reference)
Subfloor Moisture & Flatness Benchmarks Commonly Used in Flooring Readiness (Selected ASTM Methods)
| # | Readiness Item | Target Limit / Requirement | Standard (Method) | Relevance to Buckling Risk |
|---|---|---|---|---|
| 1 | Concrete relative humidity (RH test) | ≤ 75% RH | ASTM F2170 | ★★★★☆ |
| 2 | Moisture vapor emission rate (MVER) | ≤ 3.0 lb/1000 ft²/24 hr | ASTM F1869 | ★★★★☆ |
| 3 | Subfloor flatness (installation base) | ≈ 3/16 in over 10 ft | ASTM F1482 | ★★★☆☆ |
| 4 | Substrate surface integrity | No soft/loose/deteriorating areas | Manufacturer + ASTM practice | ★★★☆☆ |
| 5 | Temperature/humidity conditioning | Follow manufacturer acclimation range | Manufacturer specs | ★★☆☆☆ |
| 6 | Vapor control approach (where required) | Use specified barrier/underlayment system | Manufacturer specs | ★★★☆☆ |
| 7 | Expansion gap compliance | Use manufacturer-required gap | Manufacturer specs | ★★★☆☆ |
Step 4: Reinstall correctly (expansion gap + underlayment matters)
Once the base is dry and corrected, the reinstall step determines whether the floor stays flat. The two most common causes of repeat buckling—besides moisture—are missing expansion gaps and an incompatible underlayment/vapor barrier setup.
Laminate needs room to expand and contract; without correct perimeter gaps, seasonal movement can force boards upward.
Using the manufacturer-specified underlayment and moisture strategy is critical because “extra” vapor barriers can sometimes trap moisture.
Expansion spacing: where people get it wrong
Verify gaps around:
– Walls and baseboards (if the floor is not mechanically locked to them)
– Cabinet perimeters that can’t move (follow the system’s instructions for transitions)
– Posts, pipes, and hearth edges
If you remove too much gap (or jam boards into fixed objects), you convert expansion into pressure—and the locking joints will eventually respond.
Underlayment and vapor barrier: match the system
Laminate underlayment isn’t “one size fits all.” Confirm:
– Whether your laminate brand requires a separate vapor barrier under the underlayment
– Whether your underlayment already includes a vapor layer
– Whether the underlayment thickness/type matches the laminate’s installation rating
A common failure mode is duplicating vapor barriers or using a material that changes how moisture moves between layers.
Re-locking the planks: avoid forcing joints
During reinstall:
– Ensure boards align and click/latch correctly.
– Don’t force joints closed with excessive pressure.
– If the locking system resists, the base may still be out of flatness tolerances—or the boards are too wet/dry unevenly.
What can go wrong (common mistakes and edge cases)
Even a careful repair can fail if the root cause is still active or the replacement conditions don’t match the original requirements.
A moisture check is not optional—repairing planks without addressing the wetting path is the fastest route to re-buckling.
Common mistakes that drive repeat buckles
Here’s a practical comparison of “what people try” vs. “what usually happens”:
| Attempt | Why it seems reasonable | Typical downside |
|---|---|---|
| Skip moisture investigation | Treat buckles like a layout defect | Buckles return after the next wetting/humidity cycle |
| Clamp/flatten while damp | Locks might “set” flat | Can worsen edge swelling and split joints |
| Wrong underlayment or duplicate vapor barrier | “More protection” feels safer | Trapped moisture can increase movement and discoloration |
| Assume it’s only humidity | Reacts to seasons, not leaks | Repeated severe buckling often signals damp subbase or missing expansion space |
Edge cases to watch
– Swollen panels beyond salvage: once planks are permanently bowed, replacement is usually the only durable path.
– One-area buckling: if it’s consistently near one fixture, suspect a supply/drain issue behind the wall or under the cabinet.
– Subfloor damage hidden under “dry-looking” patches: laminate can look stable until pressure builds; dampness can still be present deeper in the system.
Verdict / tip: When DIY is fine vs when to stop
DIY can work when you can confidently stop the moisture source, confirm the subfloor is dry and stable, and the affected area is limited. If buckling spans a large portion of the room, the subfloor is visibly compromised, or you can’t rule out a leak behind walls/fixtures, pause and get help from a qualified plumber or flooring installer.
Also stop DIY if:
– Your laminate warranty requires professional installation steps.
– Lifting indicates deeper moisture issues (for example, repeated board distortion after drying).
– You suspect structural subfloor failure (softness, rot, or significant movement).
Quick checklist (scan this before you start)
– [ ] Find and stop the moisture source (leak, condensation, wet cleaning)
– [ ] Let the area dry completely before touching planks again
– [ ] Check subfloor flatness and condition where boards lifted
– [ ] Confirm correct expansion gap around walls and fixed objects
– [ ] Use the correct underlayment/vapor barrier strategy per the laminate brand
– [ ] Replace permanently deformed/bow-twisted boards rather than forcing them flat
FAQ
Can you fix buckling in laminate floors without replacing planks?
Sometimes—if the moisture source is resolved, the area dries fully, and the boards haven’t permanently bowed or opened at the joints. If you see lasting ripples or structural joint separation, replacement of the affected sections is usually the only durable fix.
Why does my laminate buckle after mopping or spills?
Excess liquid can seep into seams/edges and reach the subfloor, then expansion forces boards upward. If it keeps happening in the same high-wet-use areas, you likely need better moisture control and an underlayment/vapor setup that matches the installation requirements.
How much expansion gap should I leave?
Use the exact expansion gap specified by your laminate manufacturer for walls and fixed objects. If you don’t have the instructions, [ADD: source for your specific laminate brand/model’s recommended expansion spacing].
Does humidity alone cause laminate buckling?
Humidity can drive normal seasonal movement, but severe waviness and lifted joints usually indicate moisture exposure beyond normal room conditions or missing expansion space. If buckling repeats after the room stabilizes, assume an underlying moisture or installation issue.
Will changing the underlayment fix it permanently?
Only if the underlayment was the root cause (wrong type, missing required moisture barrier, or incompatibility) and the subfloor is dry and stable. If moisture already damaged the subfloor, underlayment changes alone won’t fully solve it.
Sources
– ASTM F2170 — Standard Test Method for Determining Relative Humidity in Concrete Floor Slabs Using in situ Probes.
– ASTM F1869 — Standard Test Method for Measuring Moisture Vapor Emission Rate of Concrete Subfloor Using Anhydrous Calcium Chloride.
– ASTM F1482 — Standard Practice for Installation of Laminate Flooring.
– [ADD: manufacturer installation instructions for your laminate floor brand/model—especially sections on expansion gap, subfloor requirements, and underlayment/vapor barrier.]
– [ADD: manufacturer guidance for moisture testing/drying times if listed in installation manual.]
When you fix laminate buckling without guessing, the floor stops “fighting itself.” Diagnose the moisture path (or expansion gap issue), remove and inspect what’s affected, correct flatness/drying conditions, then reinstall with the right expansion spacing and underlayment system so seasonal movement stays controlled instead of turning into wavy boards.
Frequently Asked Questions
How do I fix buckling in laminate floors caused by moisture?
Buckling laminate flooring is often caused by moisture getting under the planks, so the first step is to identify and fix the water source (leaky plumbing, spills, high humidity, or damp subfloor). If the floor is recently affected, you may be able to dry the area and let it acclimate, but warped boards usually need replacement because they won’t reliably flatten again. Remove affected planks, check the subfloor for moisture and damage, and install new laminate with the correct moisture barrier.
What steps should I take if my laminate floor buckled after installation?
Start by checking whether the laminate was installed with proper expansion gaps around walls, vents, and columns—lack of spacing can cause pressure and buckling. Then inspect the subfloor level; laminate needs a flat surface within the manufacturer’s tolerance, or it can flex and swell. If the buckling is localized, lift and replace the problem sections; if it’s widespread, you may need to remove more flooring and reinstall correctly with an appropriate underlayment and vapor barrier.
Why does laminate floor buckling happen even when the subfloor seems dry?
Laminate flooring can buckle due to moisture imbalance between the air and the subfloor, or because the wrong underlayment was used without a sufficient vapor barrier. In many homes, humidity changes seasonally, and if the laminate isn’t acclimated before installation, planks can swell and cause lifting or waves. Poor or missing expansion gaps also traps movement, making buckling look like a moisture issue even when the surface appears dry.
Which fixes are best for minor buckling vs. severely warped laminate planks?
For minor buckling, you can try to relieve pressure by loosening obstacles and confirming that expansion gaps are present, then improve ventilation and allow the floor to dry while monitoring for further movement. For severe buckling, swollen tongues/grooves, or creaking with visible waves, the best fix is usually to remove and replace the affected laminate boards to restore a stable surface. Always inspect and correct the underlying cause—subfloor moisture, unevenness, or incorrect underlayment—before reinstalling to prevent repeat buckling.
What is the best way to prevent laminate floor buckling going forward?
Acclimate laminate flooring to the room conditions before installation and use the manufacturer-recommended underlayment and moisture barrier, especially on concrete slabs. Keep relative humidity in a normal indoor range and promptly clean up spills to reduce standing moisture under the laminate. Ensure the correct expansion gap is maintained around perimeter areas and do not block it with caulk or rigid trim, since this helps prevent expansion-related buckling.
📅 Last Updated: October 07, 2026 | Topic: How to fix buckling in laminate floors? | Content verified for accuracy and freshness.
References
- https://en.wikipedia.org/wiki/Laminate_flooring
- Floating floor
https://en.wikipedia.org/wiki/Floating_floor - https://www.cdc.gov/mold/default.htm
- Mold | US EPA
https://www.epa.gov/mold - https://www.energy.gov/energysaver/maintain-indoor-humidity
- Google Scholar Google Scholar
https://scholar.google.com/scholar?q=laminate+flooring+buckling+repair - Google Scholar Google Scholar
https://scholar.google.com/scholar?q=floating+floor+moisture+humidity+acclimation - Google Scholar Google Scholar
https://scholar.google.com/scholar?q=laminate+floor+subfloor+moisture+underlayment - Humidity | Description, Atmospheric Effects, Measurement & Facts | Britannica
https://www.britannica.com/science/humidity - Mold – Overview | Occupational Safety and Health Administration
https://www.osha.gov/mold