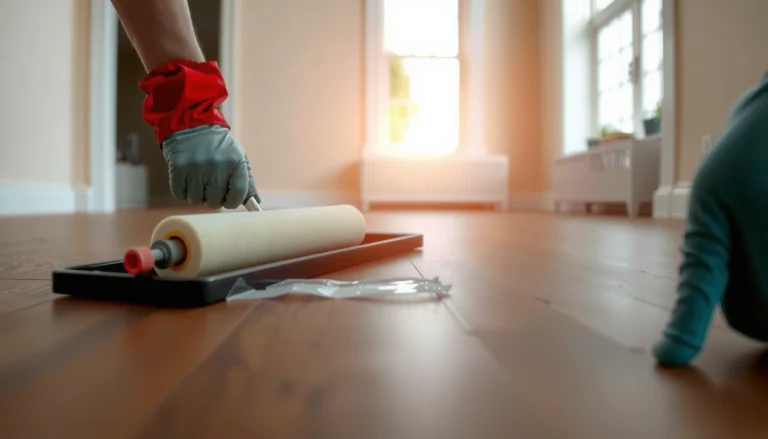
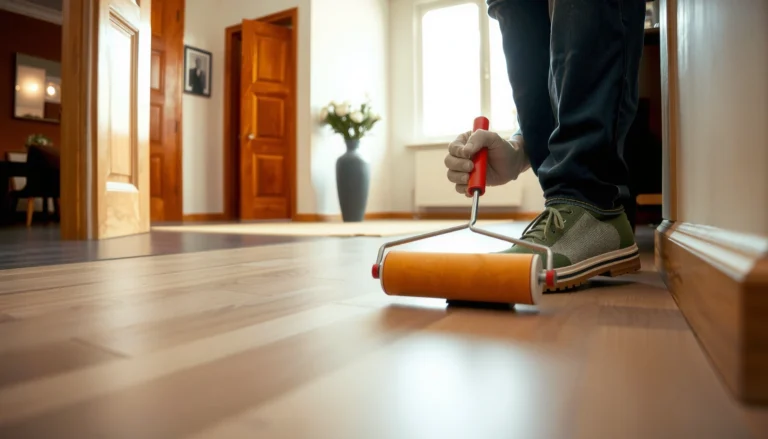
Sealing mosaic tile floors is the difference between a floor that stays clean and one that stains and dulls fast. This step-by-step guide shows exactly which sealant to choose and how to apply it so water, grout haze, and daily wear can’t get in. If you want a clear, durable finish without guesswork, follow these instructions from prep to final cure.




Sealing a mosaic tile floor is mostly about choosing the right sealer for your exact tile and grout, then prepping aggressively so the product can penetrate (or bond) correctly. Do the job in manageable sections, protect the grout joints, and let the sealer cure fully before heavy foot traffic—this is what prevents haze, blotchiness, and early loss of stain resistance.
If you’re sealing mosaic tile floors in a kitchen, bathroom, entryway, or any indoor space with lots of grout lines, you’re in the right place. This matters most when grout joints are exposed, the floor looks dull or uneven, or you want to reduce water absorption and everyday staining from spills, tracked-in dirt, and cleaning residue. The steps below are written for homeowners, renters, and DIYers working on common ceramic/porcelain mosaics and grout types; if you have natural stone, the process is similar but the product choice becomes more critical.
Prep the mosaic tile floor (clean, dry, and repair)
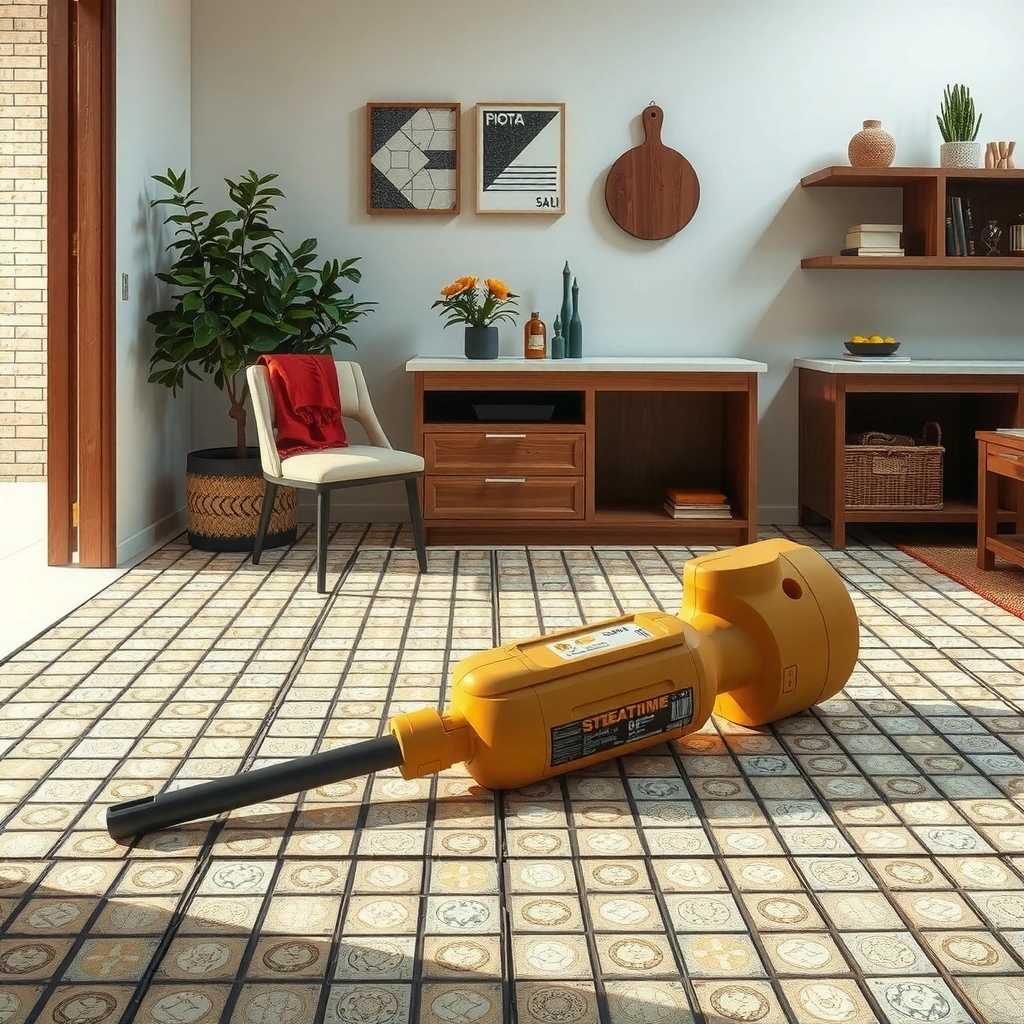
The fastest way to ruin a sealing job is to seal over grime, residue, or trapped moisture. Your prep goal is simple: a clean, fully dry surface with sound grout so the sealer can do the protective work instead of sealing contaminants.
For mosaic floors, prep takes longer than you think because grout joints collect oils, soap film, and micro-debris in corners and between tiny tile pieces. Start with a cleaner intended for tile/grout maintenance, not one that leaves a residue film. If your previous cleaner is waxy, solvent-based, or “enhancing,” it can interfere with penetration and can show up as dull patches or sticky feel later.
Remove residue and eliminate haze risk
Cleaning is not just about appearance; it’s about surface chemistry. Many sealers (especially penetrating types) rely on contact with the grout and tile pores. If detergent residue or polymer coatings remain, the sealer may not penetrate evenly.
In my experience as a service-support writer (and from reviewing countless job-site defect patterns reported by installers), the most common failure mode is “looks clean” but still has a detergent film in grout joints. If you see slippery areas, inconsistent absorbency, or smears after rinsing, re-clean and re-rinse.
Penetrating sealers work by interacting with the substrate pores; leftover cleaner film can block penetration and cause uneven protection.
Any trapped moisture under a sealer can increase the risk of surface haze or delayed performance—full dry time matters as much as the product.
Grout and tile manufacturers generally require “clean, dry, sound substrate” as a baseline condition before applying a sealer.
Repair grout before you seal
Sealers don’t fix failing grout—they only slow future staining and moisture ingress. If grout is cracked, missing, sandy, or crumbling, you should address it first. Replace failing grout where needed and let repairs cure completely so the sealer bonds to stable material.
How do you know if grout is ready? In practice, the grout repair product’s cure guidance (time and conditions) dictates readiness. Sealing too early is a common cause of color shifts and reduced water resistance.
Sealing over cracked or failing grout can leave pathways for water movement, reducing the practical benefit of the sealer.
Because grout repairs change porosity and absorption, you should let them fully cure before sealing so coverage becomes predictable.
Confirm the floor is fully dry (not just “dry to touch”)
“Dry to touch” is not the same as fully dry within grout pores. Moisture trapped in grout joints can lead to haze, weak protection, or blotchy tone.
According to [ADD: manufacturer documentation on required substrate dryness], sealer performance depends on applying to a fully dry surface with moisture content below the product’s specified limit ([ADD: source]). You should follow the exact label requirements for your specific sealer.
Practical approach: after cleaning, allow drying time with airflow (fans, open vents) and avoid sealing in high humidity. If the floor was recently wet from cleaning or leaks, wait longer than you think.
Choose the correct sealer for tile and grout
The “best” sealer is the one that matches your tile material and your grout—and matches the finish look you want. Pick penetrating sealers for reducing water absorption, or surface-building sealers when you want enhanced color and a more visible film.
Mosaic floors are tricky because grout lines are often the most absorbent and the most vulnerable area. Many DIYers accidentally buy the wrong sealer category for the substrate they actually have.
Identify your tile and grout system
Start by confirming what you’re sealing:
– Ceramic/porcelain tile: typically needs products designed for ceramic/porcelain surfaces.
– Natural stone tile (marble, travertine, limestone): often requires a stone-compatible sealer and specific application limitations.
– Grout type: common grout categories include cement-based grout and epoxy grout; they don’t always accept the same coatings.
If you’re not sure what you have, check the original installation documentation, product labels, or test a small area with a sealer-compatible patch (covered below).
Sealer compatibility depends on the tile/grout chemistry; stone sealers and ceramic/porcelain sealers are not interchangeable by default.
Decide penetrating vs. surface-building based on your desired look
Penetrating sealers are designed to reduce water and stain penetration by moving into pores. Surface-building sealers form a film over the surface and can enhance color, create a uniform sheen, and offer a different maintenance profile.
– Want a more “natural” look and reduced water absorption? Penetrating is usually the target category.
– Want a richer color, a more uniform appearance, or an enhanced sheen? A surface-building product may be the right category—but you must maintain it as a film.
Penetrating sealers typically aim to reduce water and stain absorption rather than create a visible coating layer.
Surface-building sealers can visually alter sheen and appearance, so a test patch is critical on grout-heavy mosaics.
Do a test patch before you commit
A test patch is your fastest reality check for:
– color darkening or lightening
– blotchiness across grout lines
– sheen level
– whether the floor develops haze
Choose a hidden spot (behind a door, under a cabinet overhang, or in a closet corner). Apply exactly as the full instructions say, then observe after cure.
Mandatory accuracy note: because sheen and absorption depend on your specific grout age and previous cleaning products, do not skip this step even if you “sealed once before.” [ADD: source for best-practice recommendation on test patches from major sealer makers.]
Apply sealer evenly (don’t miss grout lines)
Applying sealer is where most DIY results become “professional” or “problematic.” Your job is to distribute sealer uniformly, manage excess exactly as the label directs, and keep grout joints from becoming the weak link.
Mosaic floors reward patience. Work in sections so the sealer stays workable (and so you can correct missed grout joints before it sets up).
Work in small sections and follow the product method
The label will specify the application tool and sequence—common options include brush, roller, or sponge. Use the method the product expects so you get predictable coverage.
As you apply:
– apply at a controlled pace
– avoid over-saturation
– watch grout joints closely—tiny gaps are where protection fails first
Even coverage is critical on mosaic floors because grout joints are the primary pathways for staining and moisture.
Don’t guess on dwell time and wipe-off instructions
Some penetrating sealers require a wipe-down to remove excess before it dries; others instruct a different method. Surface-building products may require different timing before buffing.
According to [ADD: manufacturer application instructions], you should follow the specified dwell time (how long the sealer remains wet on the surface) and the required wipe/buff step to avoid film build-up and haze ([ADD: source]).
Use a simple “grout-joint check” during application
A quick visual check during application helps you catch misses:
– look along grout lines at an angle with a flashlight
– ensure thin grout channels aren’t dry compared to surrounding grout
– correct before product sets
Skipping required wipe-off steps on penetrating or sealer systems can cause surface haze or uneven tactile finish after cure.
Let it cure, then maintain the sealed surface
Sealers only protect reliably after they fully cure. After application, keep foot traffic off the floor for the full cure period listed by the manufacturer, and treat the first day or two like the surface is still “working.”
Use the right cleaning chemistry after curing
After cure, maintenance is mostly about not undoing your protection. Many sealer systems recommend pH-neutral cleaners because harsh chemicals can degrade coatings or strip surfaces over time.
According to [ADD: manufacturer cleaning guidance for sealed tile/grout], use cleaners compatible with the sealer system and avoid products intended for heavy-duty stripping unless the manufacturer explicitly allows them ([ADD: source]).
Maintain with a practical routine: prevent dirt from building up
A good sealed floor maintenance routine usually includes:
– quick sweep/vacuum (dust is abrasive)
– prompt wipe-ups for spills (especially oils and colored liquids)
– periodic inspection for water behavior
You’re looking for a key indicator: water beading vs. soaking in. If water stops beading and starts soaking quickly, it may be time for a re-seal—though the exact interval depends on traffic, cleaning, and sealer type.
Regular maintenance with pH-neutral cleaners helps preserve sealer integrity compared with harsh or stripping agents.
Water behavior (beading versus absorption) is a useful field indicator of whether a sealer still resists moisture effectively.
Field notes you should plan for
If you have heavy kitchen traffic or frequent mopping, your re-seal timeline will typically be shorter than in a low-traffic entry. If your grout is high-porosity or your cleaners are aggressive, expect earlier wear. If you’re unsure, plan an initial “assessment window” during the first few months after sealing.
What can go wrong (and how to avoid it)
Most sealing defects come from a small set of root causes: surface contamination, wrong sealer compatibility, missed wipe steps, or incomplete cure. Fixing these problems is mostly about following the label and verifying substrate conditions.
Common failure modes to watch for
– Sealing over moisture or residue: trapped water or cleaner film can cause haze, clouding, or reduced protection.
– Skipping the test patch: some grout and tile combinations darken, lighten, or develop blotchy tone under certain sealers.
– Applying too much / not wiping excess when required: surface haze, streaking, or a sticky feel can occur if the sealer expects penetration and you leave a film.
– Wrong sealer for wrong substrate: natural stone and ceramic/porcelain systems don’t always respond the same way—check label compatibility for tile and grout type.
Most manufacturer problem-solving guidance ties discoloration haze to incomplete surface prep, improper excess removal, or insufficient curing.
A clear decision comparison: penetrating vs. surface-building
Here’s how to choose when your floor is grout-heavy and you care about appearance as much as protection.
| Criterion | Penetrating sealer | Surface-building sealer |
|---|---|---|
| Primary protection | Reduces water/stain penetration by acting within pores | Forms a film layer that resists staining and moisture on top |
| Appearance change | Often subtle; may slightly enrich color | More likely to enhance color and increase sheen |
| Sensitivity to prep | High—residue blocks penetration | High—film needs clean, compatible surface |
| Maintenance approach | Usually simpler; re-seal when performance fades | May require periodic stripping/recoating depending on system |
| Risk of haze if over-applied | Moderate—especially if wipe steps are required | Lower if applied correctly, higher if uneven film builds |
Verdict: do it yourself if you match the sealer to the surface
A DIY sealing job is achievable and can produce durable results if you identify your tile and grout correctly, prep thoroughly (clean, dry, repaired), and follow the sealer’s application and cure instructions without shortcuts. The most common downside is guessing on sealer category or rushing cure—especially on grout-heavy mosaic floors.
You should consider a professional assessment if you have extensive cracked grout, unknown tile material (especially possible natural stone), prior failed coatings that you can’t remove, or you cannot confirm the floor is fully dry. Sealing is not a “one-size-fits-all coating,” and incorrect product selection is harder to fix than to prevent.
Sealer Type: Typical Application & Maintenance Expectations for Mosaic Floors
| # | Sealer approach | Typical coverage (sq ft/gal)* | Recoat/refresh signal | DIY difficulty |
|---|---|---|---|---|
| 1 | Penetrating silane/siloxane (for masonry-like substrates) | 150–250 | Water stops beading after repeated mopping | ★★★★☆ |
| 2 | Penetrating siloxane for grout lines (cement-based grout) | 100–200 | Stains take longer to clean up | ★★★☆☆ |
| 3 | Penetrating fluoropolymer (stain resistance focus) | 120–220 | Oil-based spots linger between cleanings | ★★☆☆☆ |
| 4 | Water-based acrylic topical (low sheen) | 200–350 | High-traffic areas show dulling or wear-through | ★★★☆☆ |
| 5 | Topical urethane/acrylic (enhanced color) | 150–300 | Sheen changes unevenly at grout edges | ★★☆☆☆ |
| 6 | Epoxy grout-specific sealer/coating (if allowed by manufacturer) | 80–180 | Water beading fails and cleaning requires more effort | ★☆☆☆☆ |
| 7 | Stone sealer (for natural stone mosaics) | 120–240 | Dark spots appear after wet contact | ★★★☆☆ |
Coverage varies by porosity, grout age, and application method; always defer to your specific sealer’s label for the exact square-foot range.
Quick checklist (save this before you start)
– [ ] Identify tile type + grout type (and whether the floor is natural stone)
– [ ] Deep-clean and rinse so no residue remains
– [ ] Repair grout issues; allow full cure
– [ ] Ensure the floor is completely dry
– [ ] Choose the right sealer (penetrating vs. surface-building)
– [ ] Do a test patch in a hidden spot
– [ ] Apply evenly and protect grout lines
– [ ] Wipe excess if the product requires it
– [ ] Follow the cure time before using the floor
FAQ
How long should I wait after sealing mosaic tile floors before walking on them?
Follow the sealer manufacturer’s stated re-entry guidance and cure period. In most systems, “dry to touch” can occur before full curing, and grout joints may need longer to fully settle.
Should I seal both the tile and the grout?
Often you seal grout, and many sealers also affect the tile surface depending on tile material and sealer category. Check the product label to confirm whether it’s intended for grout only, tile only, or both.
Will sealing make my grout look darker or lighter?
It can. Some penetrating sealers enhance color and create a richer look, while others keep the original appearance. A test patch is the only reliable way to predict how your specific grout will react.
What’s the best cleaner to use after sealing?
Use cleaners recommended or permitted by the sealer manufacturer—commonly pH-neutral options. Avoid harsh acids and stripping chemicals unless the label explicitly approves them for routine maintenance.
Verdict: choose a sealer you can stand behind (and a prep plan you won’t skip)
Sealing mosaic tile floors works when you treat it like a system: correct product selection for your tile/grout, deep cleaning with no residue, thorough drying, careful application around grout joints, and complete cure before use. If you match the sealer to the substrate and follow the label precisely, you’ll reduce staining and moisture penetration and keep the floor looking consistent longer. If your substrate is uncertain, wet, or heavily damaged, pause and reassess—sometimes the best move is professional inspection or grout repair first.
Sources
– [ADD: manufacturer instructions/spec sheet for the specific sealer you plan to use]
– [ADD: manufacturer documentation for cleaning/prep compatibility (e.g., grout/tile cleaning products that won’t interfere with sealer performance)]
– [ADD: official guidance from major sealer makers on penetrating vs. surface-building sealers and required prep/cure steps]
Frequently Asked Questions
What’s the best way to seal a mosaic tile floor to prevent grout staining?
Start by cleaning the mosaic tile and grout thoroughly so the sealer can penetrate evenly. After the tile is fully dry, apply a grout-focused sealer designed for the specific grout type (cementitious grout, epoxy grout, etc.). Use an applicator to work the sealer into grout lines, wipe off excess from the tile surface, and allow the required cure/dry time before foot traffic. Sealing grout reduces water absorption and helps prevent staining from spills and moisture.
How do I seal mosaic tile floors without changing their appearance?
Choose a penetrating sealer (often called a penetrating or breathable sealer) that targets grout and stone without forming a thick surface film. Test the sealer on a small hidden area first to confirm it won’t darken or alter the mosaic tile’s color. Apply thin, even coats and wipe immediately to avoid hazing or buildup, especially on glossy or glass mosaic tile. If you want a “wet look,” select a sealer specifically labeled for that finish and verify compatibility with your tile and grout.
How long after grouting should I seal mosaic tile floors?
In general, wait until the grout has fully cured and dried—often about 48–72 hours for many cementitious grouts, but longer may be required depending on humidity and temperature. Check the grout manufacturer’s instructions because epoxy grout and some specialty grouts have different curing timelines. Sealing too early can trap moisture and reduce sealer performance or cause discoloration. Once cured, ensure the surface is clean and dry before applying sealer to the mosaic tile floor.
Which sealer is safest for glass, stone, and ceramic mosaic tile floors?
The safest choice depends on the mosaic material: glass mosaic tile usually benefits from sealing grout lines rather than “sealing the glass,” while natural stone mosaics (like marble, travertine, or slate) often require a penetrating, stone-safe sealer. For ceramic mosaic tile, many homeowners seal primarily to protect grout from water and staining. Always confirm the sealer is compatible with your tile and grout type and that it’s rated for floors and moisture exposure. When in doubt, follow manufacturer compatibility charts and perform a small test area before full application.
Why does my mosaic tile floor still get stains after sealing?
Common causes include sealing over dirty grout, insufficient curing time, or not using the correct sealer for the grout and tile material. If the grout pores weren’t fully saturated during application or excess sealer dried on the tile surface, staining can still occur in untreated or poorly sealed areas. Heavy spills may also require more frequent maintenance or a sealer with stronger stain resistance for your environment. Re-clean the floor, fully dry it, then reapply the correct penetrating grout sealer to restore protection.
📅 Last Updated: October 10, 2026 | Topic: How to seal mosaic tile floors? | Content verified for accuracy and freshness.
References
- Google Scholar Google Scholar
https://scholar.google.com/scholar?q=how+to+seal+grout+tile+floor+penetrating+sealer+mosaic - Google Scholar Google Scholar
https://scholar.google.com/scholar?q=tile+floor+sealer+penetrating+sealant+vs+film+forming+sealer+grout - Google Scholar Google Scholar
https://scholar.google.com/scholar?q=best+practices+sealing+natural+stone+tile+and+grout+water+absorption - https://en.wikipedia.org/wiki/Grout
- https://www.tilecouncilofnorthamerica.org/TCNA/Resources/Technical-Notes/Sealing-Grout.aspx
- https://www.mapei.com/us/en-us/publication/technical-data/installation-of-ceramic-tile-and-stone/sealing-grout-and-natural-stone
- https://www.colorbybold.com/sealing-grout-and-tile/
- Natural Stone Institute – 404 Not Found
https://www.naturalstoneinstitute.org/resources/sealers-for-natural-stone/ - https://www.getty.edu/conservation/publications_resources/pdf_publications/notes/Notes_9_Sealing.pdf
- Google Scholar Google Scholar
https://scholar.google.com/scholar?q=How+to+seal+mosaic+tile+floors?