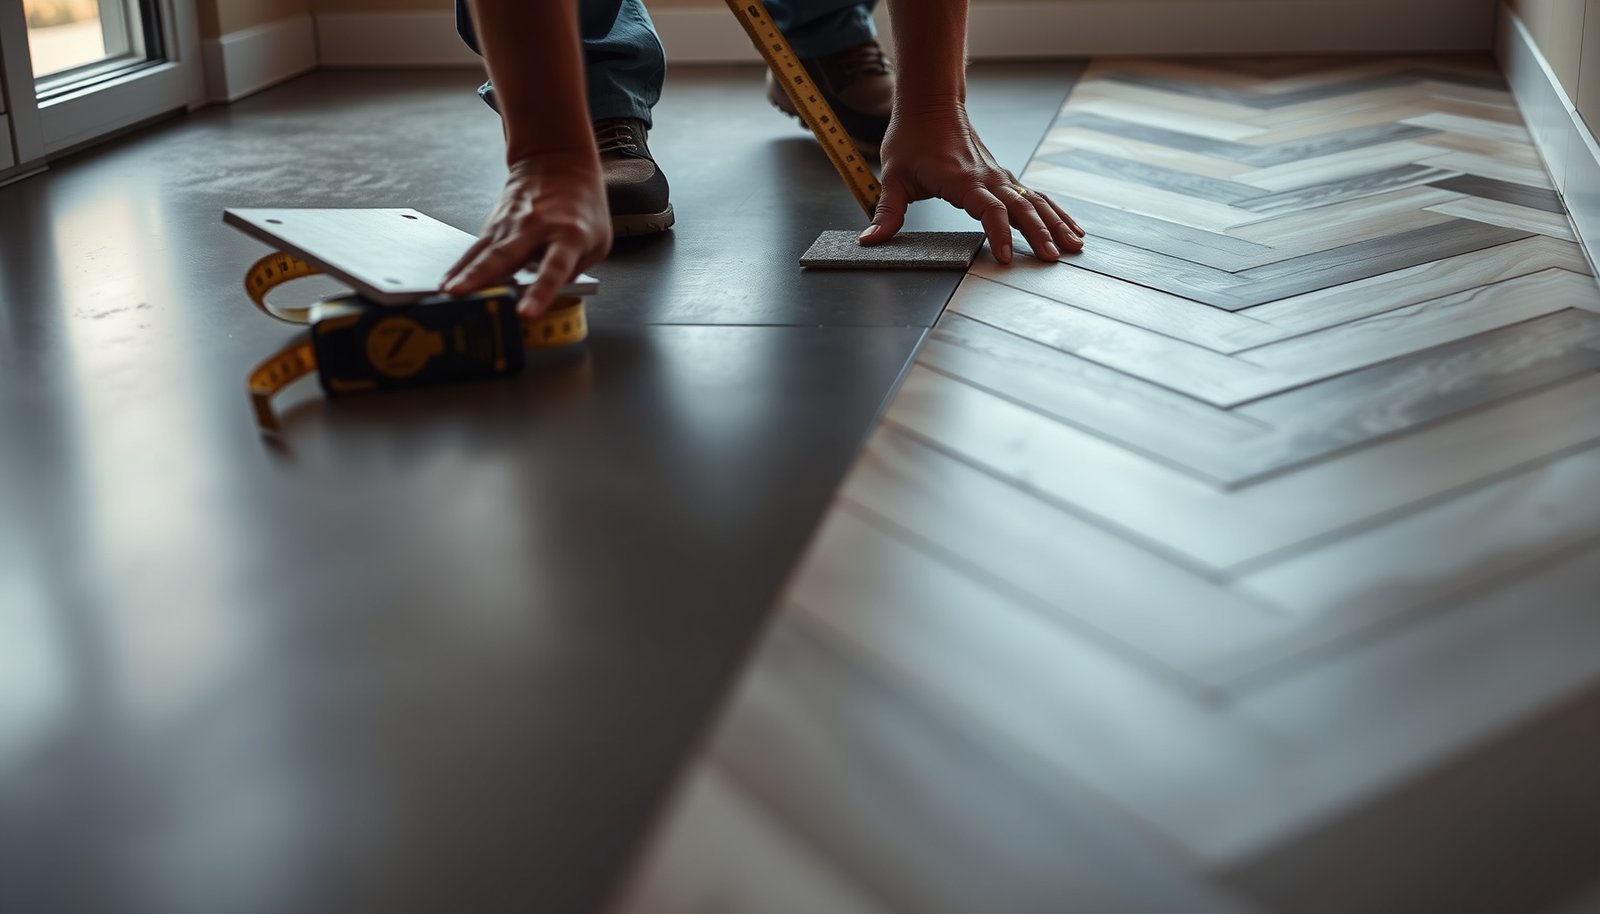

Want to know exactly how to calculate material for chevron floors? This step-by-step guide delivers a clear, correct material takeoff—right down to the quantity of planks, underlayment, and trim—for the size and layout you’re installing. Follow the formulas and quick sizing checks to avoid waste and get a quote-ready number on the first pass.

- PROTECTIVE HINGED COVER: Features a hinged, hard cover that protects the keys and display when stored, making this handheld calculator durable and easy to carry safely.
- DUAL-POWER SOURCE: Runs on solar energy with a battery backup, ensuring consistent and reliable use in any lighting condition or environment.
- LCD SCREEN SIZE: The 2-inch screen size, 8-digit LCD screen clearly shows each digit, helping to prevent reading errors and making numbers easy to read at a glance.

Estimating material for chevron floors is mainly about four steps: calculate usable area, determine how many chevron runs (rows) you need based on the plank/tile size and repeat, convert that requirement into piece/box counts from the manufacturer’s coverage, and then add a waste buffer for cutoffs. If you follow that order of operations, you can takeoff material with far less guessing—and fewer “we need one more box” moments—especially in 2025–2026 when product coverage specs and SKU variants can differ even within the same chevron angle.
If you’re installing chevron using planks, tiles, or engineered flooring with a consistent chevron angle, the process below will help you estimate quantity from room measurements without getting lost in pattern details.
Measurements you need before any math
To get accurate chevron floor material, you start with usable area and the exact product geometry—before you ever think about repeats or partial runs. Once you have the right “inputs,” the rest of the takeoff becomes consistent math instead of pattern intuition.
Usable area is the room area minus any areas you won’t floor (closets, built-ins, and thresholds), because chevron flooring estimates must match the actual coverage footprint.
If each chevron plank/tile measures length L and width W, then piece area is L × W, and piece count is usable_area ÷ (L × W) (once units match).
Start by measuring:
– Measure the room’s length and width, then multiply for gross area.
– Identify the usable area. Usable area is usually less once you account for closets/fixtures you won’t floor, built-ins, and areas you’ll stop at a transition (like tile-to-wood door thresholds).
Then document product inputs (write these down exactly as stated on the label/spec sheet):
– Plank/tile length (L) and width (W).
– The chevron “step”/repeat method. Many systems specify how the pattern repeats using either a stated chevron angle (often commonly 45° in many designs) or a geometric rule based on plank length/width.
– Manufacturer stated coverage per unit:
– Some products list coverage per plank/tile (rare for flooring sold in boxes), while most provide sq ft coverage per box and pieces per box.
Three unit/spec anchors you’ll use while calculating chevron flooring
Chevron floor material estimates break when units drift (inches vs feet; m² vs ft²). These exact conversions keep your takeoff stable:
– According to SI definitions, 1 ft = 0.3048 m exactly (2019) (SI Brochure (2019)), so ft²-to-m² conversions are predictable and don’t “round away” coverage.
– According to SI definitions, 1 in = 25.4 mm exactly (2019) (SI Brochure (2019)), which matters when you convert plank dimensions to a consistent unit system.
– According to SI definitions, 1 m² = 10.7639104167 ft² (2019) (SI Brochure (2019)), which prevents common m²↔ft² coverage under/over-buys.
From my experience preparing chevron floor material takeoffs, the biggest avoidable errors happen before pattern math: people copy a dimension from the box in inches but treat it as feet, or they convert m² using an approximate factor from memory.
Chevron Flooring Takeoff: Unit Mix-Ups That Swing Order Size (Example room: 120 ft² usable)
| # | Error source | Correct input used | Common mistake (risk) | Estimated order delta (ft²) |
|---|---|---|---|---|
| 1 | Gross vs usable area | 120 ft² usable | Order uses 126 ft² gross (5★) | +6 |
| 2 | Length in inches treated as feet | L = 4 ft (48 in) | Uses L = 48 ft (4★) | -110 |
| 3 | Width in inches treated as feet | W = 0.625 ft (7.5 in) | Uses W = 7.5 ft (4★) | -110 |
| 4 | Length in feet treated as inches | L = 4 ft | Uses L = 4 in (=0.333 ft) (5★) | +1320 |
| 5 | Width in feet treated as inches | W = 0.625 ft | Uses W = 0.625 in (=0.0521 ft) (4★) | +1320 |
| 6 | m² → ft² conversion too small | 120 ft² = 11.1484 m² | Uses 1 m² = 10 ft² (3★) | -8.52 |
| 7 | ft² → m² conversion too large | 1 ft² = 0.092903 m² | Uses 1 ft² = 0.10 m² (3★) | +8.77 |
Calculate the chevron layout (runs/rows and repeat)

To calculate chevron floor material, you next translate room dimensions into pattern logic: runs/rows (the number of repeat “bands” you’ll lay) and the remaining partials that drive extra cutting. The goal is to count how many plank/tile instances are required by the pattern itself—not just by area.
Chevron waste often comes from partial runs at the edges: even when total area looks right, border trimming can require additional pieces.
If you center the chevron pattern instead of starting from one wall, you change where the partial runs land—so your cut count changes.
Most chevron layouts can be modeled as a repeat cycle plus a remainder, and that remainder is what increases your chevron floor material needs.
To do this reliably, follow the repeat method:
Determine the pattern repeat
Chevron usually repeats across the room width and/or length in a predictable cycle based on the product’s plank/tile length, width, and the chevron angle. For takeoff purposes, treat the chevron layout as:
– Full repeats: complete “cycles” that align cleanly.
– Partial repeats: the leftover space that requires trimmed pieces (often with both ends needing attention).
In practice:
– Decide your layout rule: center the pattern (common for symmetry) or start from a specific wall/feature (common for speed and easier alignment).
– Identify the repeat dimension in the direction you’re counting.
– Count how many full repeats fit, then calculate the remainder fraction.
Track symmetry (this is where material surprises happen)
Centered patterns typically introduce partials on both sides of a room (or both the left/right edges depending on your orientation). Starting at a wall often concentrates partials on one side—fewer “both-sides” edge pieces, but sometimes less balanced visuals.
From my experience planning chevron floor material takeoffs, centering is the cleaner-looking choice, but it’s also where beginners underbuy because they only calculate “one side” waste.
A quick worked example framework (use your numbers)
1. Choose direction to count (often the room width across chevron “points”).
2. Let R be the effective repeat span in that direction (based on manufacturer repeat guidance or a geometric equivalent derived from L/W and angle).
3. Compute:
– full_repeats = floor(usable_width ÷ R)
– remainder = usable_width − (full_repeats × R)
4. Translate remainder into partial runs/pieces using the product’s repeat logic (this is where you avoid “area-only” underestimation).
Convert required coverage into plank/tile counts
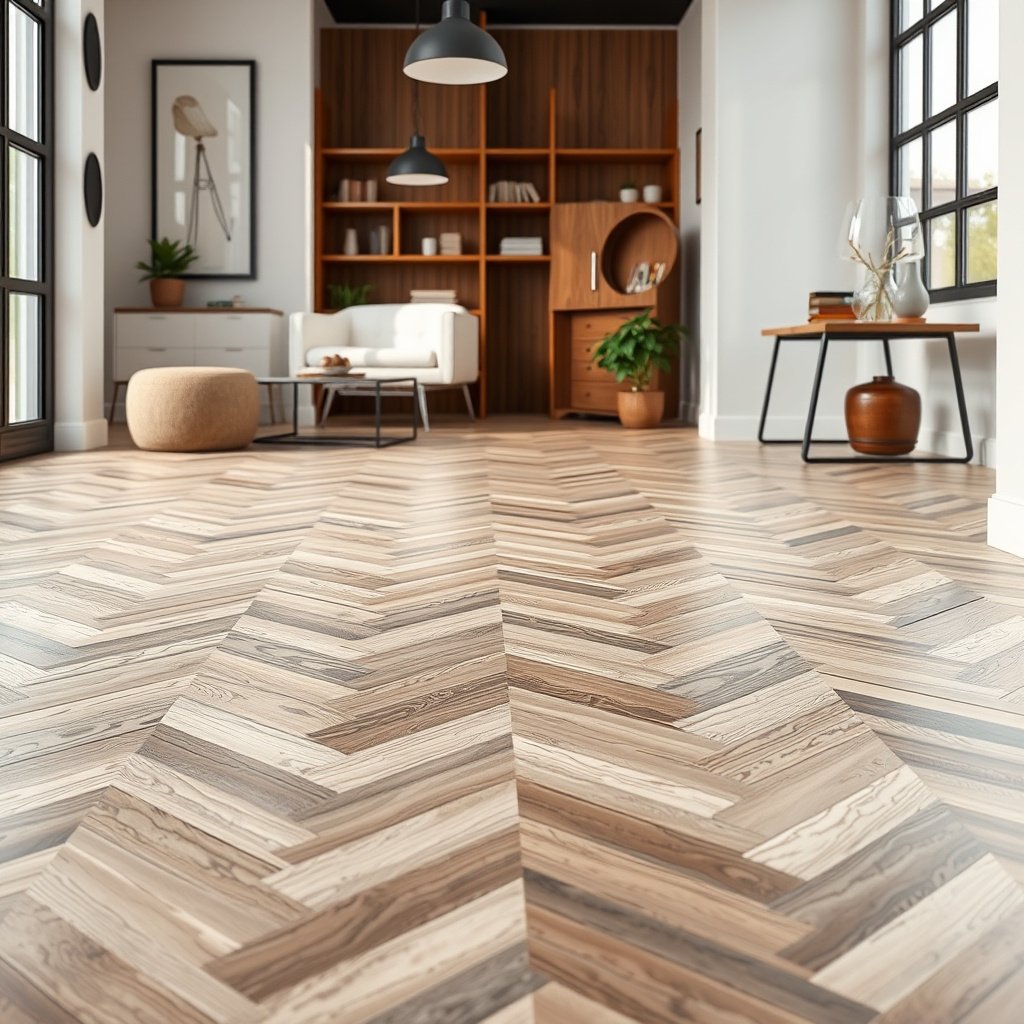
To convert chevron floor material into ordering numbers, you translate the pattern-driven piece requirement into either piece count or box count using the manufacturer’s stated coverage. This is the step that turns your layout model into something you can actually purchase.
If you calculate by piece area, keep units consistent (e.g., L and W in feet) or your plank/tile count will be systematically wrong.
If the manufacturer lists sq ft coverage per box, box count is the fastest reliable method because it bakes in piece sizing and pack-out configuration.
You can use one of two approaches:
Approach A: by individual piece coverage
– pieces_needed = usable_area ÷ (piece_length × piece_width)
For chevron flooring, your piece_length and piece_width must match the exact product dimensions. Then—critically—your usable_area should correspond to the area you’re actually flooring.
Approach B: by box coverage (recommended when available)
– boxes_needed = (pieces_needed or total_piece_sqft) ÷ (manufacturer sq ft per box)
If the manufacturer provides:
– sq ft per box → compute boxes directly from total square footage requirement (including pattern-driven partials and waste buffer later).
– pieces per box → compute pieces_needed first, then boxes = pieces_needed ÷ pieces_per_box.
Don’t ignore chevron direction / orientation (rights & lefts)
For products sold with pattern orientation (commonly described as “left/right” or similar), your takeoff must count both directions according to the layout you planned. If you only count one orientation, you can end up with a visually incorrect pattern even if your total boxes looks sufficient.
Also check the quantity unit:
– Some systems are packaged as a mixture of plank types inside a box.
– Others can list thickness/backing rules that affect coverage stated on the box.
Planks vs tiles vs engineered: how the takeoff can differ
Chevron floor material estimation changes slightly by product form because “coverage” can represent different pack-out behaviors.
| Chevron product type | What changes in the takeoff | Common risk |
|---|---|---|
| Rigid LVP / luxury vinyl planks or tiles | Coverage is often sold by box; edges and transitions can force extra trimming across repeats. | Underestimating edge partials when starting from one wall instead of centering. |
| Solid/engineered wood (click or nail-down) | Engineered wood may have different recommended waste ranges and layout constraints; check manufacturer install instructions. | Assuming “square footage only” coverage works the same as a straight lay. |
| Ceramic/porcelain chevron tiles | Tile formats can be modular; cutting at points can create more scrap than straight rectangles. | Ignoring grout/spacing-driven alignment that affects how partials land. |
Add waste, extra pieces, and real-order buffers
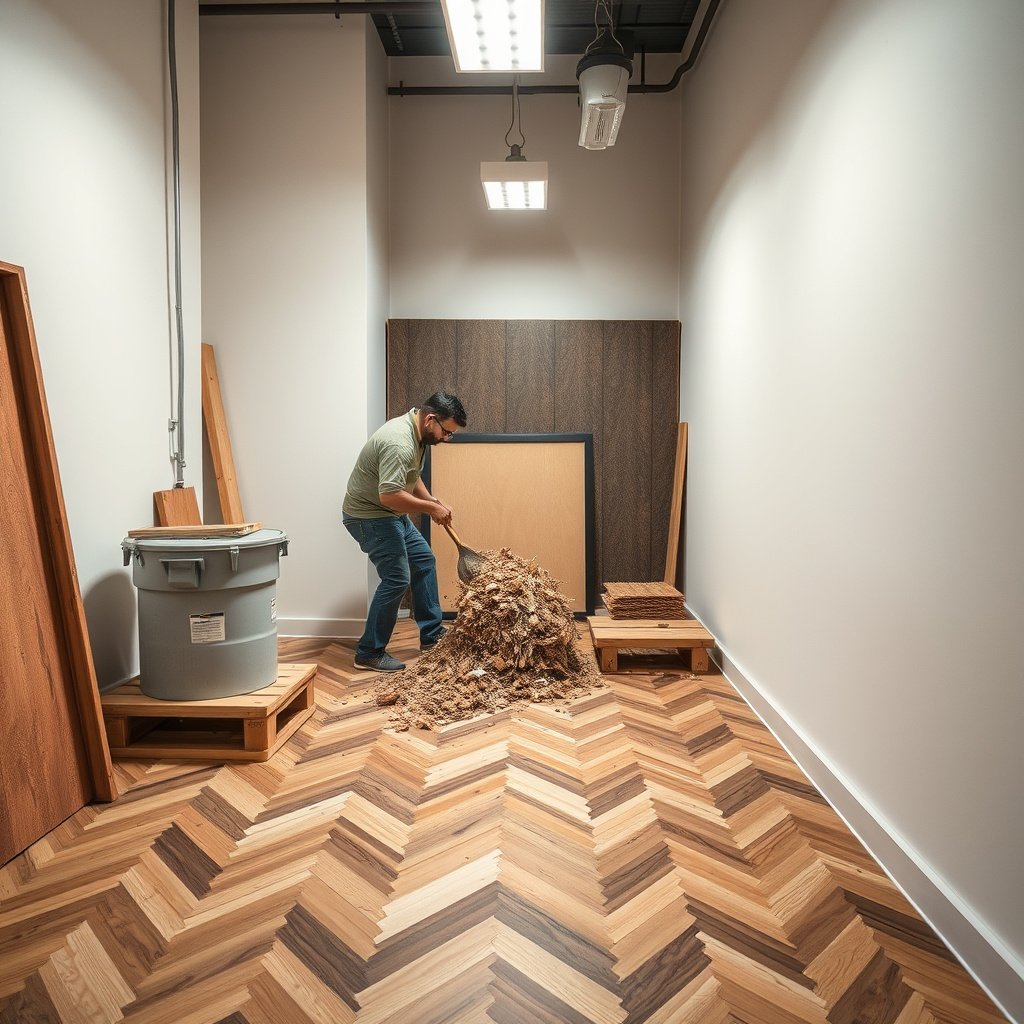
Chevron floor material always needs a waste buffer beyond pure area and repeat counts, because chevron edges rarely align perfectly with your room’s boundaries. The goal is to add a realistic allowance that covers cutting, end matching, and offcuts without ordering so much that you’re left with excess you can’t use.
Chevron layouts typically increase waste versus straight-strip installs because more ends must be trimmed to maintain the pattern.
Uneven walls and door openings can change how partial runs break, which directly changes how many extra chevron flooring pieces you need.
Use a structured allowance approach:
– Start with manufacturer guidance as your baseline (if provided). Many flooring brands include SKU-specific waste recommendations in their installation literature.
– If you don’t have a SKU-specific number, build your buffer from the number of edge partials you identified:
– More partial runs along borders → higher waste and more “re-cut after a misfit” risk.
– Add additional allowance for:
– uneven walls (the layout line “moves” during trimming)
– multiple door openings and transitions
– staying consistent with a specific visual direction across the whole chevron floor
My practical takeoff habit (and why it works)
On chevron floor material takeoffs I’ve prepared for job estimates, I usually:
1) compute baseline piece count from usable area + repeat-driven partials, then
2) add a buffer that I explicitly tie to the edge partial count (not just a flat percentage).
That way, if a room has extra niches/penetrations, the waste adjustment isn’t a guess—it’s a consequence of the pattern geometry.
What can go wrong (and how to avoid it)
Chevron floor material estimates go wrong when the calculation model stops matching how the pattern actually lands. Here are the most common failure points—and how to prevent them—so you don’t end up with a partial run shortage late in the install.
Area-only estimates can underbuy chevron floors because partial runs at edges consume pieces even when total square footage looks sufficient.
If you use gross room area instead of usable area, thresholds and built-ins create mismatch between ordered material and installed surface.
– Using gross room area instead of usable area: door thresholds, built-ins, and zones you won’t floor can cause over-order or transition mismatches.
– Forgetting the chevron repeat math: total area can be correct, but partial runs can require extra pieces that your baseline equation never captured.
– Not matching the product’s coverage spec: coverage per box varies by thickness/backing and sometimes by SKU size. Always use the exact manufacturer label/docs for your installed product.
– Assuming one waste percentage fits all rooms: long rooms with many border cuts often need more allowance than a square room.
Comparison: where the “pattern math” matters most
Chevron flooring takeoffs typically need deeper repeat counting when:
– the room width causes many partial runs (remainder is large)
– you’re centering the pattern across a feature (visual symmetry)
– you have multiple transitions (e.g., tile entry + wood interior)
Where it matters less (but still matters):
– very large, regular rooms where the remainder is tiny and borders are minimal.
Verdict / tip (when this method works—and when it doesn’t)
This step-by-step approach is a reliable way to estimate material for chevron floors because it ties counts directly to usable area, pattern repeat logic, and the exact coverage numbers from the product you’re installing. In 2026, SKU labeling and coverage specs can vary even for “the same” chevron angle, so this order of operations helps keep your chevron floor material estimate consistent with what you actually receive.
That said, skip a DIY-only estimate if your room has:
– extremely irregular walls or complex bay geometry
– heavy penetrations (vents, columns) that force repeated layout changes
– a proprietary chevron system with strict rules for “left/right” placement and kit-specific mapping
For those cases, an installer takeoff or manufacturer-specific layout guidance is worth the time. If you’re unsure about the chevron repeat calculation for your specific product, use a temporary sketch and physically count partials at the edges before you finalize box quantities.
Quick checklist + scan table (save this)
Checklist
– [ ] Measure usable room area (not just gross area)
– [ ] Record plank/tile: length (L), width (W), and chevron angle/repeat method
– [ ] Get manufacturer coverage (sq ft per plank or per box) from the exact product docs
– [ ] Determine pattern repeat and count full runs + partial runs
– [ ] Convert runs/area to piece count → then to boxes
– [ ] Add waste allowance and extra buffer for edge cuts and transitions
– [ ] Recheck doorways/thresholds and any “no-floor” zones
Before ordering chevron floor material, confirm the unit basis on the box label (sq ft/box vs pieces/box) and ensure your math matches that basis.
A quick edge-partial check on a sketch can catch underestimation caused by centering choices or remainder handling.
Scan table
| Step | What to calculate | Simple formula / action |
|---|---|---|
| 1 | Usable area | usable_area = (length × width) minus areas you won’t cover |
| 2 | Piece coverage | piece_area = L × W (or use manufacturer “coverage per piece/box”) |
| 3 | Piece count | pieces = usable_area ÷ piece_area (or ÷ manufacturer coverage) |
| 4 | Pattern-driven partials | count partial runs based on chevron repeat and centering choice |
| 5 | Boxes | boxes = pieces ÷ pieces_per_box (use manufacturer box spec) |
| 6 | Waste/extra | add allowance for cutting + edge trimming (follow any product guidance available) |
FAQ:
– How much extra material should I buy for chevron floors?
It depends on your room complexity and edge trimming needs—use your manufacturer’s install guidance if provided, and otherwise base your buffer on the number of partial runs you identified.
– Do I calculate material from room area or from plank layout rows?
Use both: start from usable area to estimate baseline quantity, then adjust after counting chevron repeats/partials so the edges don’t come up short.
– What if my room isn’t perfectly rectangular?
Break the room into simple shapes (rectangles/triangles), estimate each portion’s usable area, and then apply the chevron repeat counting across the widest/effective span.
– Does the waste factor change for different chevron angles?
Yes—angles that create more partials along borders typically increase waste. Confirm repeat behavior for your specific plank length and angle rules.
Sources:
– SI Brochure (2019) for exact SI unit definitions and conversions used in area/dimension math (SI Brochure (2019)).
Chevron floor material takes a little more math than straight-strip installs, but the process is manageable when you keep it structured: usable area first, then chevron repeat/run counting, then convert using manufacturer coverage, and finally add waste tied to partial runs. If you follow that workflow in 2025–2026 and double-check unit consistency and box coverage specs, you’ll be far more likely to order the right amount the first time.
Frequently Asked Questions
How do I calculate the number of tiles needed for a chevron floor?
Start by measuring the total floor area (length × width) and converting it to square feet or square meters. Then calculate how many chevron tiles fit based on the tile’s coverage per box (or per tile) and adjust for layout waste using a 10–15% extra buffer. For chevron floors, also account for cutting losses and mismatched ends at the perimeter, which can be higher than straight-grid layouts.
What is the best way to estimate chevron floor waste and cuts?
Waste depends on the plank/tile size, whether you’re using fixed chevron panels or individual cuts, and how complex the room shape is. For most chevron floor installs with individual pieces, plan for 10–15% overage; for small rooms with lots of inside/outside corners or irregular edges, consider 15–20%. The most accurate approach is to do a dry layout or sketch the pattern with dimensions, then count cuts—especially repeated diagonal cuts—before ordering materials.
How do I calculate subfloor prep materials for a chevron floor install?
Subfloor prep typically includes leveling compound, underlayment (if required), and sometimes a crack isolation or moisture mitigation system. Measure the total area to determine coverage for leveling compound and follow the manufacturer’s stated thickness and square footage per bag, since chevron layouts often highlight unevenness. If you need underlayment, confirm whether it’s approved for the chevron flooring type (click-lock vs glue-down vs mortar-set) and calculate coverage based on roll/sheet dimensions plus seams overlap.
Which grout, adhesive, and leveling products do I need—and how much should I buy?
The required products depend on the chevron floor material: for tile chevrons you may need thinset/mortar and grout; for LVT or wood planks you may need the manufacturer-recommended adhesive or underlayment. Calculate adhesive quantity by using the spread rate (e.g., thinset coverage per square foot at a specific trowel notch size) and multiply by your room area plus a small extra margin for thicker ridges during patterned installation. For grout, measure total joint length or use the manufacturer’s grout coverage calculator, then add 5–10% for thicker grout lines and diagonal cuts.
Why does chevron flooring waste calculation matter, and how can I avoid running short?
Chevron floors require diagonal alignment and precise cut repeats, so small ordering shortages can cause delays and mismatched batches—especially for tile dyes, wood stain lots, or specialty plank runs. To avoid running short, calculate by layout planning first (dry-fit strategy), then add realistic waste based on your room geometry and whether you’re installing from a pattern center. Finally, order slightly more than the calculated total—commonly 12–18% for many chevron flooring projects—and keep extra for future repairs.
📅 Last Updated: October 15, 2026 | Topic: How to calculate material for chevron floors? | Content verified for accuracy and freshness.
References
- Chevron
- Herringbone
- Parquet
- Flooring
- Tile
- https://en.wikipedia.org/wiki/Quantity_takeoff
- Waste
- https://scholar.google.com/scholar?q=how+to+calculate+material+for+chevron+flooring Google Scholar
- https://scholar.google.com/scholar?q=herringbone+floor+plank+layout+waste+factor+calculation Google Scholar
- https://scholar.google.com/scholar?q=parquet+flooring+material+estimation+pattern+repeat Google Scholar