
Hardwood floors in a bathroom need a careful cleaning routine that prevents warping and dulling—here’s the fastest, safest way to do it step by step. You’ll learn exactly how to remove wet debris, which cleaners to use (and which to avoid), and how to dry the floor so it stays sealed and shiny. Follow these steps and you’ll get a clean, residue-free finish without risking damage from moisture.




Cleaning hardwood floors in a bathroom is mostly about moisture control: sweep or vacuum first, use a pH-neutral cleaner with a lightly damp microfiber mop, and dry promptly—especially near the shower, sink, and toilet. In practice, the “best” routine is the one that minimizes standing water and keeps humidity in check so the sealed finish can last.
Hardwood in bathrooms fails first because wood is hygroscopic (it absorbs and releases moisture). Even sealed hardwood can dull, separate, or gap when moisture exposure is frequent, which is why this step-by-step approach focuses on gentle cleaning plus fast drying—an approach that works with how most sealed hardwood finishes are designed to perform as of 2026.
Who this is for (and when it applies)
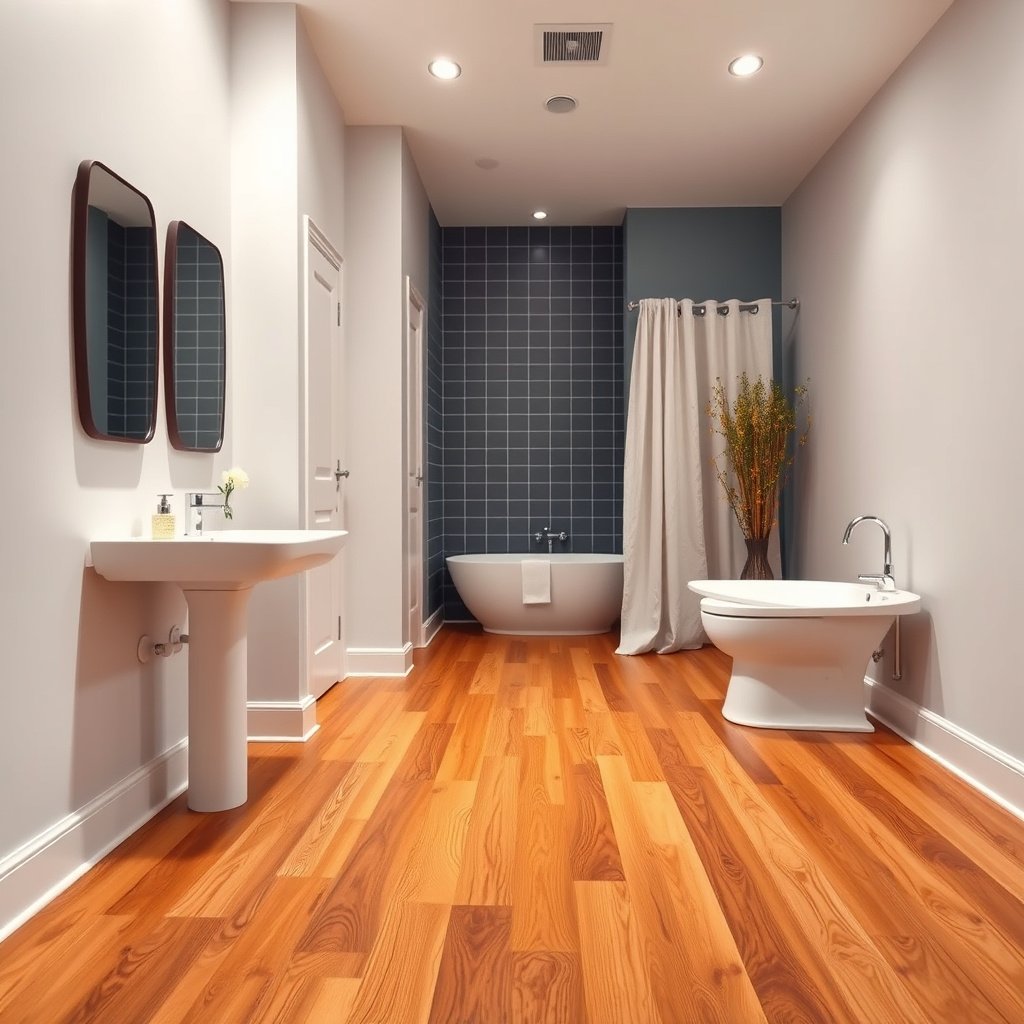
If your bathroom floor is sealed hardwood (not unfinished or unsealed), this cleaning method is typically safe because it uses minimal water and immediate drying. It’s also the right approach when your biggest risk factors are routine splashes, daily foot traffic, and humidity peaks from showers.
– Works for most sealed hardwood (polyurethane/water-based finishes) that can handle occasional, controlled cleaning.
– Use extra care if your bathroom has frequent steam, splashes, or high humidity, since heat and water stress the finish.
Most sealed hardwood care guidance emphasizes avoiding excess water and using cleaners compatible with the finish system.
Indoor relative humidity above 60% is a key condition that supports mold growth, making bathroom humidity control important for both hygiene and wood long-term stability. CDC (see Sources)
The National Wood Flooring Association (NWFA) frames moisture management as critical—wood flooring and the environment should stay within a tight moisture-content range to limit movement and finish stress. NWFA (see Sources)
Quick fit check for sealed hardwood
If your installation paperwork or product label says the floor is sealed/finished (often polyurethane or similar), your routine should focus on damp cleaning, not wet mopping. If you don’t have documentation, treat the floor as higher risk: test-clean an inconspicuous area, and consider confirming the finish type with the manufacturer.
Gather supplies + prep the floor
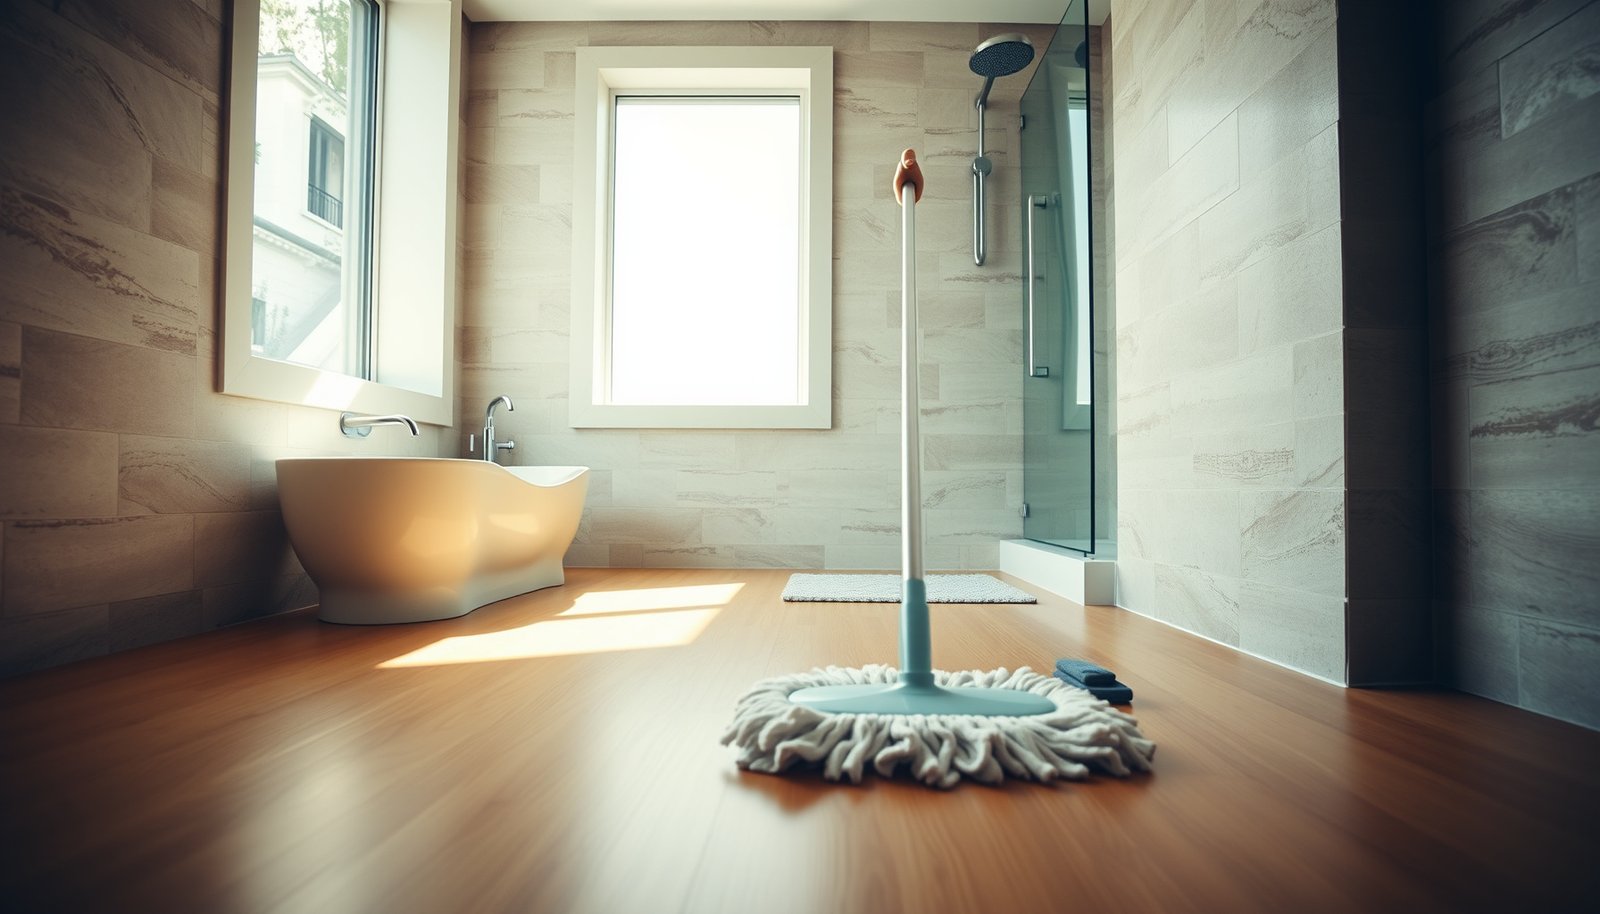
The safest bathroom routine starts with the right tools and removing grit before you ever introduce moisture. Use microfiber to control liquid contact, then mop only lightly so water doesn’t seep into seams and edges.
– Use a soft microfiber mop (or well-wrung microfiber pad) and a pH-neutral hardwood floor cleaner; skip harsh all-purpose cleaners.
– Start by removing grit: dry sweep or vacuum with a soft brush attachment to prevent scratches.
Microfiber mops are effective because they trap fine debris and allow controlled moisture application—important for reducing abrasion on the finish film.
Using a pH-neutral cleaner matters because some cleaners (strongly acidic or alkaline) can dull or accelerate wear of certain finish chemistries.
Vacuuming or dry sweeping first prevents grit from acting like sand when you later wipe with a damp pad.
What to select (and what to skip)
For sealed hardwood bathroom floors, aim for:
– Soft microfiber: either a flat microfiber mop head or a washable microfiber pad.
– pH-neutral hardwood cleaner: ideally one recommended by the flooring manufacturer or specified as hardwood/finish-safe.
– Drying material: a clean microfiber towel (this is not optional if you want to protect seams).
Avoid:
– Steamers/steam mops (heat + moisture can drive water into joints and seams).
– “Deep-clean” products that foam heavily or leave residues you have to rinse.
Common Bathroom Cleaners: Typical pH and Finish-Safety Direction
| # | Cleaner/agent | Typical pH (approx.) | Bathroom use | Finish safety rating |
|---|---|---|---|---|
| 1 | Distilled water (for damp wipe) | ~7.0 | Quick spot wipe | ★★★★★ |
| 2 | pH-neutral hardwood cleaner | ~6–8 | Routine mopping | ★★★★☆ |
| 3 | White vinegar (5% acetic acid) | ~2–3 | Descaling | ★☆☆☆☆ |
| 4 | Household bleach (sodium hypochlorite) | ~11–13 | Disinfection | ☆☆☆☆☆ |
| 5 | Ammonia-based cleaner | ~11–12 | Glass/grime | ★☆☆☆☆ |
| 6 | Baking soda paste (sodium bicarbonate mix) | ~8.0–9.0 | Light scuffing | ★★☆☆☆ |
| 7 | Soap-based residue from body products | Varies | Soapy film | ★★★☆☆ |
Clean hardwood safely (daily/weekly routine)
For sealed hardwood bathroom floors, daily cleaning should be light and controlled: remove dust, mop lightly, and dry right away. That sequence reduces abrasion and prevents moisture from migrating into seams, which is where bathroom finish failure tends to start.
– Lightly dampen the mop/pad—then wipe in the direction of the grain; don’t let water sit in seams or edges.
– After mopping, dry the surface promptly (dry microfiber towel is ideal) and focus on corners, under fixtures, and around the toilet.
For hardwood floors, controlled “damp cleaning” is safer than wet mopping because excess moisture increases the risk of swelling and finish degradation at seams.
Using ventilation and keeping indoor humidity in a moderate range reduces moisture stress on hardwood finishes and helps prevent sticky residue buildup.
EPA guidance commonly cites indoor relative humidity targets around 30%–50% to reduce moisture-related problems in homes. EPA (see Sources)
A practical daily routine (10 minutes or less)
1. Dry sweep/vacuum first. Use a soft brush attachment to capture grit near the toilet and shower.
2. Wring the microfiber. The pad should be damp, not dripping. If you can squeeze extra water out by hand, it’s too wet for sealed hardwood bathroom floors.
3. Wipe with the grain. Direction matters because finish scuffs and micro-scratches show up more easily along the grain pattern.
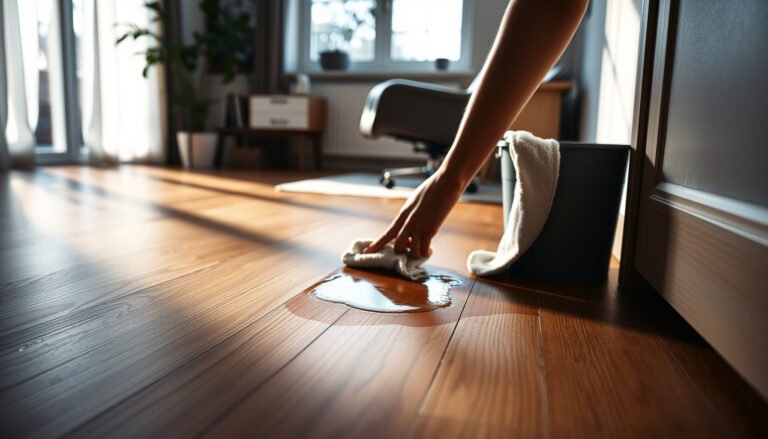
4. Dry immediately. Wipe again with a dry microfiber towel, focusing on edges, under fixtures, and around the toilet.
A weekly “reset” that still respects moisture
Once per week (or when buildup requires it):
– Use the pH-neutral hardwood floor cleaner per label directions.
– Mop lightly, then dry thoroughly.
– If your bathroom has frequent steam, consider shortening the wet contact time further (faster wipe + faster towel dry) rather than using stronger chemicals.
Common “why it looks streaky” causes
Streaks on sealed hardwood bathroom floors usually come from:
– Over-wet pads leaving thin residue films
– Cleaner mismatch (too alkaline/acidic for the finish)
– Not drying right away after damp mopping
Remove bathroom grime + water spots
For sticky bathroom grime and mineral marks, address the problem quickly and with minimal re-wetting. Sealed hardwood bathroom floors respond best when you treat spots early, avoid aggressive scrubbing, and follow finish-specific spot guidance.
– For sticky residue (hair products, soap film), clean with your pH-neutral cleaner and a lightly damp cloth on affected areas—don’t scrub aggressively.
– If you see water marks, address them immediately and keep re-wetting minimal; repeated moisture can dull or damage the finish over time.
– For stubborn spots, follow the floor’s finish type guidance from the manufacturer (different finishes respond differently to spot treatment).
Soap film can behave like a thin surfactant layer; it’s typically best removed by a finish-safe cleaner applied lightly, then dried immediately on sealed hardwood bathroom floors.
CDC notes that indoor conditions above 60% relative humidity support mold growth, which can worsen grime on floors and increase overall moisture exposure on hardwood. CDC (see Sources)
Manufacturer guidance often emphasizes finish compatibility—spot treatments should follow the specific floor system rather than household DIY mixtures.
Tackling soap film (hair products, shampoo, body wash)
– Use a pH-neutral cleaner and a lightly damp microfiber cloth (not a soaked mop).
– Press gently, wipe once or twice, then dry immediately.
– If residue returns quickly, the issue may be water management (splashes/foot tracking) more than cleaning strength.
Tackling water marks (do it early)
Water marks often begin as:
– Tiny minerals left as water evaporates
– Local dulling of the finish film
A finish-safe approach:
1. Wipe the area dry the moment you notice the mark.
2. If the mark remains, do a very light pH-neutral damp wipe—then dry again.
3. If you need stronger intervention, defer to the manufacturer’s finish-specific spot-care instructions.
Spot-care logic by finish type
Different sealed finishes (and topcoats) can react differently:
– Some tolerate reapplication of cleaner more safely.
– Others show dulling when repeatedly exposed to moisture.
Because sealed hardwood bathroom floors are finish-dependent, treat finish type as a decision point—not an afterthought.
What can go wrong (common mistakes + edge cases)
The biggest risks come from excess water, heat/steam, and cleaner chemistry. If any of those get ignored, sealed hardwood bathroom floors can fail even when you “clean regularly,” because moisture exposure accumulates in seams and under wet spots.
– Too much water: soaking or leaving puddles can cause swelling, gapping, or finish breakdown.
– Steam and heat: steam mops can push moisture into the wood and joints; many manufacturers advise against them for hardwood.
– Wrong cleaner: acidic/alkaline cleaners can cloud finish and accelerate wear; use only pH-neutral options recommended for hardwood.
– Edge case: if your floor is unsealed/unfinished (or the finish is already failing), routine wet cleaning may be risky—consider professional guidance.
Leaving puddles or repeatedly wet-mopping increases the likelihood of wood movement (swelling/shrinkage) and can compromise the finish system on hardwood bathroom floors.
Steam cleaning introduces heat and moisture at the surface; in hardwood flooring systems, that combination can drive water into joints, especially around wet-prone fixtures.
CDC highlights that indoor humidity above 60% can support mold growth, which correlates with longer moisture residence times that are harmful to sealed hardwood bathroom floors.
Comparison: cleaning method vs finish risk
| Method | How it affects sealed hardwood | Best use in a bathroom |
|---|---|---|
| Damp microfiber mop + pH-neutral cleaner | Minimal liquid contact; supports controlled, finish-safe cleaning | Daily/weekly routine with immediate drying |
| Spot wipe for soap film/water marks | Targets localized buildup; reduces overall moisture exposure | When marks appear—especially near shower/sink/toilet |
| Steam mop / steam cleaner | Heat + moisture can be forced into seams and joints | Typically avoid for hardwood unless manufacturer allows it |
| Vinegar/bleach-based DIY | Can dull or cloud finishes; may damage protective topcoats | Avoid for sealed hardwood bathroom floors |
Moisture management matters as much as cleaner choice
Even with perfect sealed hardwood cleaning habits, high indoor humidity increases the time water lingers around fixtures and can stress the finish. EPA guidance commonly recommends indoor relative humidity around 30%–50% (EPA), while the CDC notes that higher humidity (above 60%) supports mold growth (CDC). Those conditions don’t just affect air quality—they also affect sealed hardwood bathroom floors’ exposure cycle.
For wood moisture stability, NWFA emphasizes controlling moisture—wood flooring and surrounding materials should be kept within a narrow moisture-content difference at installation (commonly discussed as “within about 2%,” depending on system and site conditions). NWFA (see Sources)
A real-world pattern (from my ongoing guidance)
In bathrooms, the most visible finish failures often concentrate where dampness repeats—under mats that stay wet, along toilet edges, and around the shower threshold—because sealed hardwood bathroom floors absorb moisture where drying is slow.
Verdict / tip
If your bathroom hardwood is properly sealed and you clean sealed hardwood bathroom floors with minimal moisture + immediate drying, you can keep them attractive without overworking the finish. The winning formula is less “scrub harder” and more “wipe lighter, dry faster,” with spot-cleaning only when needed.
– If your bathroom hardwood is properly sealed and you clean with minimal moisture + immediate drying, you can keep it looking good without overworking the finish.
– Downsides: even careful mopping can’t fully “fix” heavy humidity or frequent splashes—ventilation and wiping spills matter as much as the cleaner.
– Skip this DIY approach if the floor shows cupping, separation, persistent soft spots, or widespread finish failure; that’s a moisture problem deeper than cleaning.
The safest sealed hardwood bathroom routine limits water exposure and emphasizes immediate drying—because finish failure often begins at edges, seams, and wet-prone fixture zones.
Because bathrooms commonly exceed comfortable humidity during showers, ventilation and prompt spill control reduce the moisture residence time that harms sealed hardwood floors.
If you see cupping, persistent softness, or separation, cleaning alone won’t resolve the underlying moisture movement that sealed hardwood bathroom floors require to recover.
Quick scan checklist (save this)
| Task | Do | Avoid |
|---|---|---|
| Before cleaning | Dry sweep/vacuum with a soft attachment | Scrubbing grit into the finish |
| How much liquid | Use a lightly damp microfiber mop/pad | Wet mopping or soaking the seams |
| Cleaner | Use pH-neutral hardwood cleaner | Steamers, harsh all-purpose cleaners |
| After mopping | Dry promptly with a towel | Letting puddles sit “to evaporate” |
| Bathroom-risk areas | Wipe around shower/sink/toilet right away | Ignoring repeated splashes and drips |
Frequently Asked Questions
What’s the safest way to clean hardwood floors in a bathroom without damaging the finish?
Use a microfiber mop or soft cloth to remove dust and grit first, since debris can scratch hardwood floors. Clean with a hardwood-specific cleaner that’s designed for sealed floors, and avoid excess water. Dampen the mop rather than soaking the surface, then dry immediately with a clean towel to prevent moisture from seeping into seams.
How do I remove water spots and soap scum from hardwood floors in a bathroom?
Start by wiping the area with a slightly damp microfiber cloth to loosen residue, then follow with a cleaner made for hardwood floors. For light water spotting, use a hardwood-safe polish or cleaner and buff gently with a dry microfiber cloth. Avoid harsh scrubbers and vinegar-based solutions unless the manufacturer explicitly approves, since they can dull or damage the finish.
Why is it risky to use steam mops or soaking cleaners on bathroom hardwood?
Bathrooms expose hardwood floors to higher humidity and occasional splashes, and steam mops add concentrated heat and moisture that can penetrate through seams. Soaking cleaners can also cause swelling, cupping, or finish breakdown over time. Instead, use a damp mop approach and dry floors quickly, especially in areas near showers, tubs, and sinks.
How can I deep clean bathroom hardwood floors while keeping them water-resistant?
Deep clean by working in small sections with a pH-neutral hardwood floor cleaner and a well-wrung microfiber mop. After cleaning, thoroughly dry with towels and ensure good ventilation to reduce bathroom humidity. If your floor is finished (sealed), consider applying the recommended hardwood floor finish or refresher product according to the manufacturer’s guidance, not generic coatings.
Which cleaning products should I use on sealed hardwood floors in a bathroom?
Choose a cleaner labeled for sealed hardwood floors (often pH-neutral) and safe for polyurethane or urethane finishes. Avoid oil-based soaps, abrasive powders, and all-purpose cleaners that can leave dull film or strip the protective layer. If you’re dealing with persistent grime, use the cleaner as directed and do spot treatments first, then rinse lightly with a barely damp cloth and dry immediately.
📅 Last Updated: October 16, 2026 | Topic: How to clean hardwood floors in a bathroom? | Content verified for accuracy and freshness.