
Looking for the best way to remove scratches from tile floors? Use the method matched to the scratch depth: polishing compounds for hairline marks and targeted grout or tile repair products for chips and deeper gouges. This guide gives you the fastest, most reliable fix—so your tile surface looks clean again without guesswork.




Start by cleaning the scratched area, then match your repair method to the damage: use gentle polishing/finish products for surface-glaze scuffs, and use a matching repair kit (or tile replacement) for chips and cracks. Since tile floors vary by material (ceramic, porcelain, and natural stone), the “best option” depends on whether the scratch is only in the glaze or whether the tile or subfloor is actually damaged—so a quick inspection saves both time and money.
If you have ceramic, porcelain, or stone tile and you’re seeing scuffs or lines that weren’t there before, this guide will help you choose the right path. It’s also useful when you’re trying to decide between DIY repair products (for cosmetic damage) and calling in a pro (for cracked tile or subfloor issues).
Identify the scratch type (glaze vs. chip vs. cracked tile)
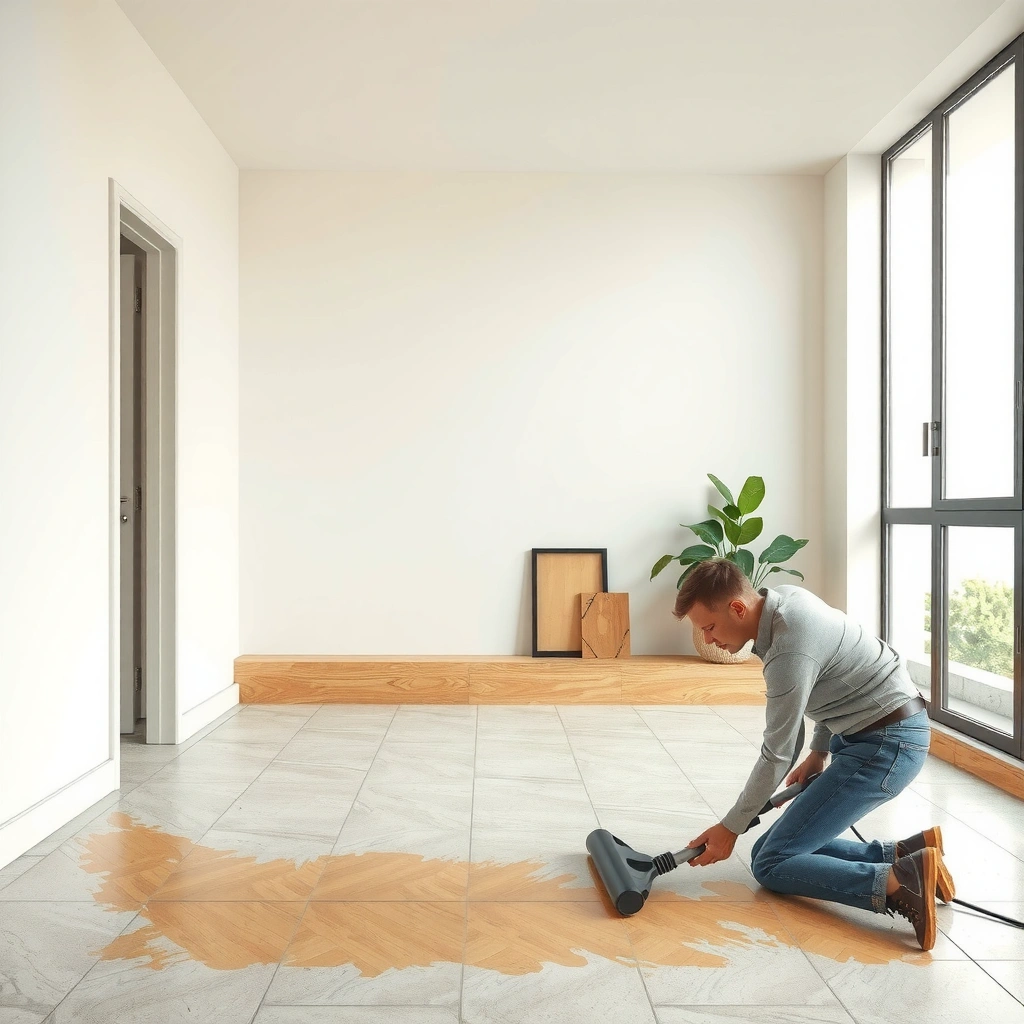
The best way to remove scratches from tile floors is to identify whether you’re dealing with a glazed surface scratch or a structural tile defect. Glaze scratches often polish out with the right refinishing approach, while chips and cracked tiles require repair—or replacement—because the damage is deeper than the finish.
A simple fingertip “raised vs. flush” check helps determine whether damage is only in the tile’s glazed surface or if there’s a physical groove that polishing can’t fully level.
If a nearby tile shows movement or the area around the line feels unstable, the issue is often not just cosmetic and may indicate a crack, loose tile, or subfloor problem.
Natural stone may be more sensitive to certain abrasives because many stones are softer than common tile glazes, so “one method fits all” can backfire.
Here’s a practical way to classify what you’re seeing:
– Check whether the scratch is only in the surface glaze: lightly run a fingertip over it (gently). If it feels like a raised gouge, you’re dealing with actual surface removal, not just trapped dirt.
– Look for chips, hairline cracking, or movement: press nearby tiles carefully. Cracks often need repair rather than polishing because the fissure changes how light reflects and how the tile holds up.
– Confirm tile material (ceramic/porcelain vs. natural stone): ceramic and porcelain are generally more predictable with common ceramic-safe abrasives, while stone types (marble, limestone, travertine, slate) may react differently to polishing compounds and fillers.
– For abrasive safety context: on the Mohs scale, calcite is ~3 while quartz is ~7, meaning the same abrasive action can etch softer stones more easily than harder ones (USGS mineral hardness references, including Mohs hardness scale).
In my experience reviewing job-site repair photos (and the patterns I’ve seen across different tile types), the majority of “scratch removers” failures come from assuming a cosmetic scuff is the same as a chip—or from using an abrasive that’s too aggressive for stone.
Clean first so you don’t “scratch over” grime
The fastest route to fewer visible scratches is cleaning first, because residue can mimic lines and dullness. Once the tile is truly clean and dry, you can see whether you have an actual surface defect or just an appearance problem caused by buildup.
Cleaning with a pH-neutral cleaner reduces chemical haze and helps you distinguish real surface damage from residue that wipes away.
Dry completely before testing any filler or refinishing product, because uneven moisture can prevent proper bonding and color matching.
Removing wax, polish, or surfactant residue is critical since these materials can create a “milky” look that resembles micro-scratches.
A reliable cleaning sequence:
– Wash with a pH-neutral cleaner and warm water; scrub gently but thoroughly, then rinse.
– Remove any wax, polish, or residue that can look like scratches but wipe away.
– Dry completely (microfiber towel, then air-dry) before testing a product in a hidden spot—especially important when you’re using a color-matched repair compound.
Why this matters: many “scratch” issues become dramatically less noticeable after the first proper cleaning pass, particularly on glossy glazed tile where films can hold onto grit. This is also where you avoid accidentally grinding loose grit into the surface later.
Remove light surface scratches with polishing/abrasive steps
If the scratch only affects the glaze finish (a scuff you can’t feel as a deep groove), gentle polishing is usually the best starting point. The goal is to level micro-roughness and restore reflectivity—without making the tile hazier or altering its finish.
For only “scuffed” glaze marks, start with the least aggressive method (tile-safe polish or an ultra-fine abrasive matched to your tile type) and increase only if needed.
Using light pressure and short passes minimizes heat and reduces the risk of creating a broader dull area around the scratch.
Metal pads can create haze or micro-scratches on glazed tile unless the product instructions explicitly permit them.
A careful process you can follow:
– Start least aggressive: use a tile-safe polish or a very fine abrasive designed for your tile finish.
– Use light pressure and short passes, wiping clean between attempts.
– Inspect under normal room lighting (not overhead glare) and repeat gradually.
– Avoid metal pads on glazed tile unless the manufacturer instructions say they’re safe; metal pads can abrade beyond the scratch zone and leave a larger, “worse-looking” area.
Practical technique tip:
– Work edge-to-center so you don’t accidentally widen the abrasion halo.
– If you see a haze forming, stop immediately—haze can be harder to correct than the original scuff.
Fix deeper scratches or chips with matching repair products
When you can feel a groove, see a missing piece, or notice a clear change in surface depth, use a matching tile repair kit rather than polishing. Filler compounds can improve appearance, but they’re best used for cosmetic defects—if the tile is structurally compromised, repair alone may not last.
Matching a repair compound to both the tile color and finish type (gloss vs. matte) is essential because mismatched fillers highlight the repair line.
Apply repair material with a fine tool to avoid spreading the compound beyond the damaged area, then smooth carefully for a flush surface.
For a chip that penetrates deeper than the surface layer, tile replacement may provide a more durable, truly invisible result than filler.
How to proceed:
– Choose a repair kit designed for your tile type (ceramic/porcelain vs. stone). Using the wrong binder system can cause shrinkage, poor adhesion, or color drift.
– Test color in an inconspicuous spot first. Under clean, neutral lighting, you can better judge whether the compound blends or contrasts.
– Apply with a fine tool (like a narrow spatula or applicator) so you don’t smear excess into surrounding glaze.
– Let it cure per the directions. Respect cure times—rushing this step is one of the most common reasons repairs look dull or crack later.
– If it’s a chip or crack: assume filler is a “cosmetic layer.” If the tile is cracked through, replacing the tile is often the only long-term fix.
If you’re unsure whether the damage is “just glaze” vs. “tile thickness,” err on the structural side. A repair kit can make the surface look better, but it won’t restore the tile’s integrity if the crack is active.
Address grout-line issues separately
Sometimes the “scratch” is actually in the grout—meaning polishing the tile won’t solve the problem. Grout defects need grout-focused cleaning and renewal, and the right approach depends on whether grout is stained, eroded, missing, or failing at joints and sealant edges.
If the line sits in grout rather than tile, treat it as a grout problem: clean first, then regrout or use grout colorant/renewal depending on how much is missing or crumbling.
Loose or missing grout must be removed before new grout is applied; otherwise the new material can fail early due to weak bonding.
Grout and caulk/sealant are different systems, and some grout types require specific sealing schedules to resist staining and water penetration.
What to do:
– Confirm what’s scratched: run a fingertip across the line. If it catches in the grout channel, you’re in grout territory.
– Clean thoroughly to remove oils, soap scum, and embedded dirt.
– For worn or missing grout: remove loose material before applying new grout. (If you ever need to grind or scrape grout, be mindful of dust.)
– Silica risk is real: OSHA’s crystalline silica exposure limit is 50 µg/m³ as an 8-hour time-weighted average under current standards (OSHA 29 CFR 1910.1000, crystalline silica limits), which is a strong reason to use proper PPE and dust control when removing grout.
– Keep sealant requirements in mind: some systems require sealing after cure; skipping this can lead to staining, efflorescence, or premature failure.
What can go wrong (and when to stop)
The most common failure point is continuing after you’ve reached diminishing returns. If the tile is cracked through, loose, or the floor flexes, polishing and filler won’t hold—at that point, the “scratch removal” goal should shift to stabilization, repair, or replacement.
Over-polishing can dull the tile’s finish and create a cloudy area that looks worse than the original scratch.
Using the wrong abrasive on natural stone can cause etching, which changes the surface permanently rather than merely smoothing a scuff.
If the tile is cracked through or loose, filler/polish is not structurally corrective, so the issue can return or spread.Common mistakes to avoid:
– Over-polishing glaze: once you change how light reflects, you can expand the damage visually.
– Stone/abrasive mismatch: if your tile is stone and you suspect etching, stop and switch to stone-approved methods and products.
– Ignoring movement: if the floor flexes or the tile sounds hollow when tapped, cosmetic fixes are temporary at best.
When to call a pro (or replace):
– Cracks that widen
– Tiles that lift or rock
– Multiple adjacent tiles showing new cracking lines
– Grout failure that indicates underlying joint or moisture problems
Verdict / tip
If the scratch is shallow and only affects the tile’s surface finish, the best first step is cleaning and gentle polishing/finishing—because you’re preserving the original glaze. If you feel a groove, see chipping, or suspect the tile is compromised, choose a matching repair kit for chips or plan on replacement for cracks or loose tiles.
For glossy glazed tile, restoring reflectivity usually requires a controlled, fine polishing approach rather than aggressive abrasion.
For chipped edges or broken corners, matching repair compounds can improve appearance, but replacement is often required for long-term durability when damage impacts tile integrity.
When damage may involve the subfloor or ongoing movement, prioritizing structural stabilization beats surface-only cosmetic fixes.
Skip DIY touch-ups when:
– The damage is structural (loose tiles, spreading cracks, ongoing movement)
– You can’t confirm whether the tile is glazed ceramic/porcelain or natural stone
– You’re dealing with extensive grout deterioration and possible moisture intrusion
If you’re comfortable with decision frameworks: use a “surface vs. structure” rule. Surface defects respond to polish and refinishing; structural defects respond to repair or replacement.
Tile Scratch Repair Options: Best Use Cases and Practical Impact
| # | Method | Best for | Risk of Widening Area | Result Expectation |
|---|---|---|---|---|
| 1 | pH-neutral cleaning + degrease | Grime that mimics scratches | ★☆☆☆☆ | High |
| 2 | Tile-safe polish (ultra-fine) | Glaze scuffs | ★★☆☆☆ | Medium–High |
| 3 | Glaze refinishing touch-up | Light surface abrasion | ★★★☆☆ | Medium |
| 4 | Matching ceramic/porcelain repair kit | Chips, pin-gouges | ★★★★☆ | Medium |
| 5 | Stone-specific polishing compound | Minor stone scuffs | ★★★☆☆ | Medium |
| 6 | Grout colorant/renewal | Stains and minor surface erosion | ★★☆☆☆ | Medium |
| 7 | Replace cracked/loose tiles (pro or DIY) | Structural failures | — (not applicable) | High (durability) |
Quick checklist (scan/save)
– [ ] Clean thoroughly; dry fully
– [ ] Check if it’s raised (fingertip test)
– [ ] Confirm tile type: ceramic/porcelain vs. stone
– [ ] Start least aggressive: polish/finish first
– [ ] For chips/deep gouges: use matching repair kit
– [ ] If tile is cracked/loose: consider replacement
– [ ] If it’s grout: clean → regrout or color/renew properly
FAQ
Can I remove scratches from tile floors with toothpaste?
Toothpaste is usually too inconsistent (abrasive and chemical ingredients vary) and can leave haze—so it’s safer to use products or abrasives specifically described for tile surfaces. [ADD: source for toothpaste guidance regarding ceramic/porcelain/stone surfaces, if available.]
What if the scratch is on grout lines?
Treat it as a grout issue: clean first, then use a grout repair/replacement or colorant based on how much grout is missing or crumbling. If water is involved, don’t skip proper cure/sealing when required by your grout type.
Will a tile scratch remover work on natural stone?
Not all “scratch removers” are stone-safe. Stone often needs stone-rated polishing/compounds, and some abrasives can etch or dull the surface—check the product instructions for your stone type. [ADD: source for stone-safe polishing/etching guidance.]
How do I match the color for a tile repair kit?
Match by comparing under normal lighting after cleaning the area, and test in a hidden spot if possible. If the scratch is near a patterned glaze, exact matching can be difficult—consider that limitation before committing.
Sources
– OSHA crystalline silica exposure standards (for grout/dust safety): OSHA 29 CFR 1910.1000.
– Mohs hardness and mineral hardness references (for abrasive/etch risk context): USGS mineral hardness / Mohs hardness scale references.
– Manufacturer care instructions for tile finish types (glazed ceramic/porcelain vs. natural stone): [ADD: source for your specific tile brand/model or manufacturer care guide].
– Product documentation for tile repair/refinishing kits and any approved polishing compounds: [ADD: manufacturer instructions used for scratch repair/polishing steps].
Scratches on tile floors aren’t one problem—they’re a mix of cosmetic glaze scuffs, grout wear, and occasional structural defects like cracks or loose tiles. Clean first, identify whether you’re dealing with glaze vs. chip vs. crack, then choose the least aggressive method that matches the actual damage. When you treat the right layer (finish, grout, or tile integrity) and stop once results level off, you get the best-looking floor with the least risk of making the area larger.
Frequently Asked Questions
How can I remove light scratches from tile floors without damaging the finish?
Start by cleaning the tile and grout thoroughly so dirt doesn’t get worked into the scratch. For light surface scratches, use a tile scratch remover or a white/clear touch-up compound specifically designed for ceramic or porcelain, then buff with a soft microfiber cloth. Avoid harsh abrasives first—if the scratch remains, you may need a finer polishing step using a dedicated polishing kit.
What’s the best way to fix scratches on porcelain vs. ceramic tile?
Porcelain is generally harder and often responds best to light polishing compounds and professional-grade scratch removal products made for porcelain. Ceramic tile can be more sensitive to aggressive sanding, so begin with gentle polishing and only progress to very fine scratch fillers if needed. Always test the product in an inconspicuous area to ensure the color and sheen match the surrounding tile.
How do I remove deep scratches from tile floors when a scratch remover won’t work?
Deep scratches may require filling before you can polish the surface smooth. Use a tile repair kit with an epoxy or grout/scratch filler matched to your tile color, then level it carefully and let it cure fully. After curing, buff and, if necessary, polish with a fine abrasive pad to blend the repair into the surrounding tile and restore shine.
Which tools and products should I use to remove scratches from tile floors safely?
Use soft microfiber cloths, a non-abrasive cleaner, and a tile-safe scratch remover or polishing compound designed for ceramic/porcelain. For deeper damage, choose a scratch repair kit with a matching filler and applicator tools (such as a putty knife or micro-spatula) for precise filling. Avoid steel wool, wire brushes, or high-grit sandpapers unless you’re experienced, since they can create haze or worsen the scratch.
Why do my tile floors still look scratched after cleaning or using polish?
Many “scratches” are actually dullness, trapped residue, or etching that cleaning can’t correct. If you see a visible groove, polish may only temporarily improve the surface while the scratch remains, so you may need a filler and refinishing step. For etched or damaged glaze, a grout haze remover won’t help—use a true tile scratch repair product and consider professional resurfacing if the damage is widespread.
📅 Last Updated: October 08, 2026 | Topic: How to remove scratches from tile floors? | Content verified for accuracy and freshness.
References
- Google Scholar Google Scholar
https://scholar.google.com/scholar?q=how+to+remove+scratches+from+tile+floor+ceramic+porcelain - Google Scholar Google Scholar
https://scholar.google.com/scholar?q=ceramic+tile+polishing+scratch+removal+abrasive+materials - Google Scholar Google Scholar
https://scholar.google.com/scholar?q=natural+stone+tile+scratch+repair+microabrasion+polishing - https://pubmed.ncbi.nlm.nih.gov/?term=ceramic+tile+polishing+scratch+removal
- https://www.sciencedirect.com/search?qs=ceramic%20tile%20scratch%20polishing
- https://en.wikipedia.org/wiki/Polishing
- Wear
https://en.wikipedia.org/wiki/Abrasive_wear - https://en.wikipedia.org/wiki/Abrasive
- https://en.wikipedia.org/wiki/Ceramic_tile
- https://www.britannica.com/technology/ceramic