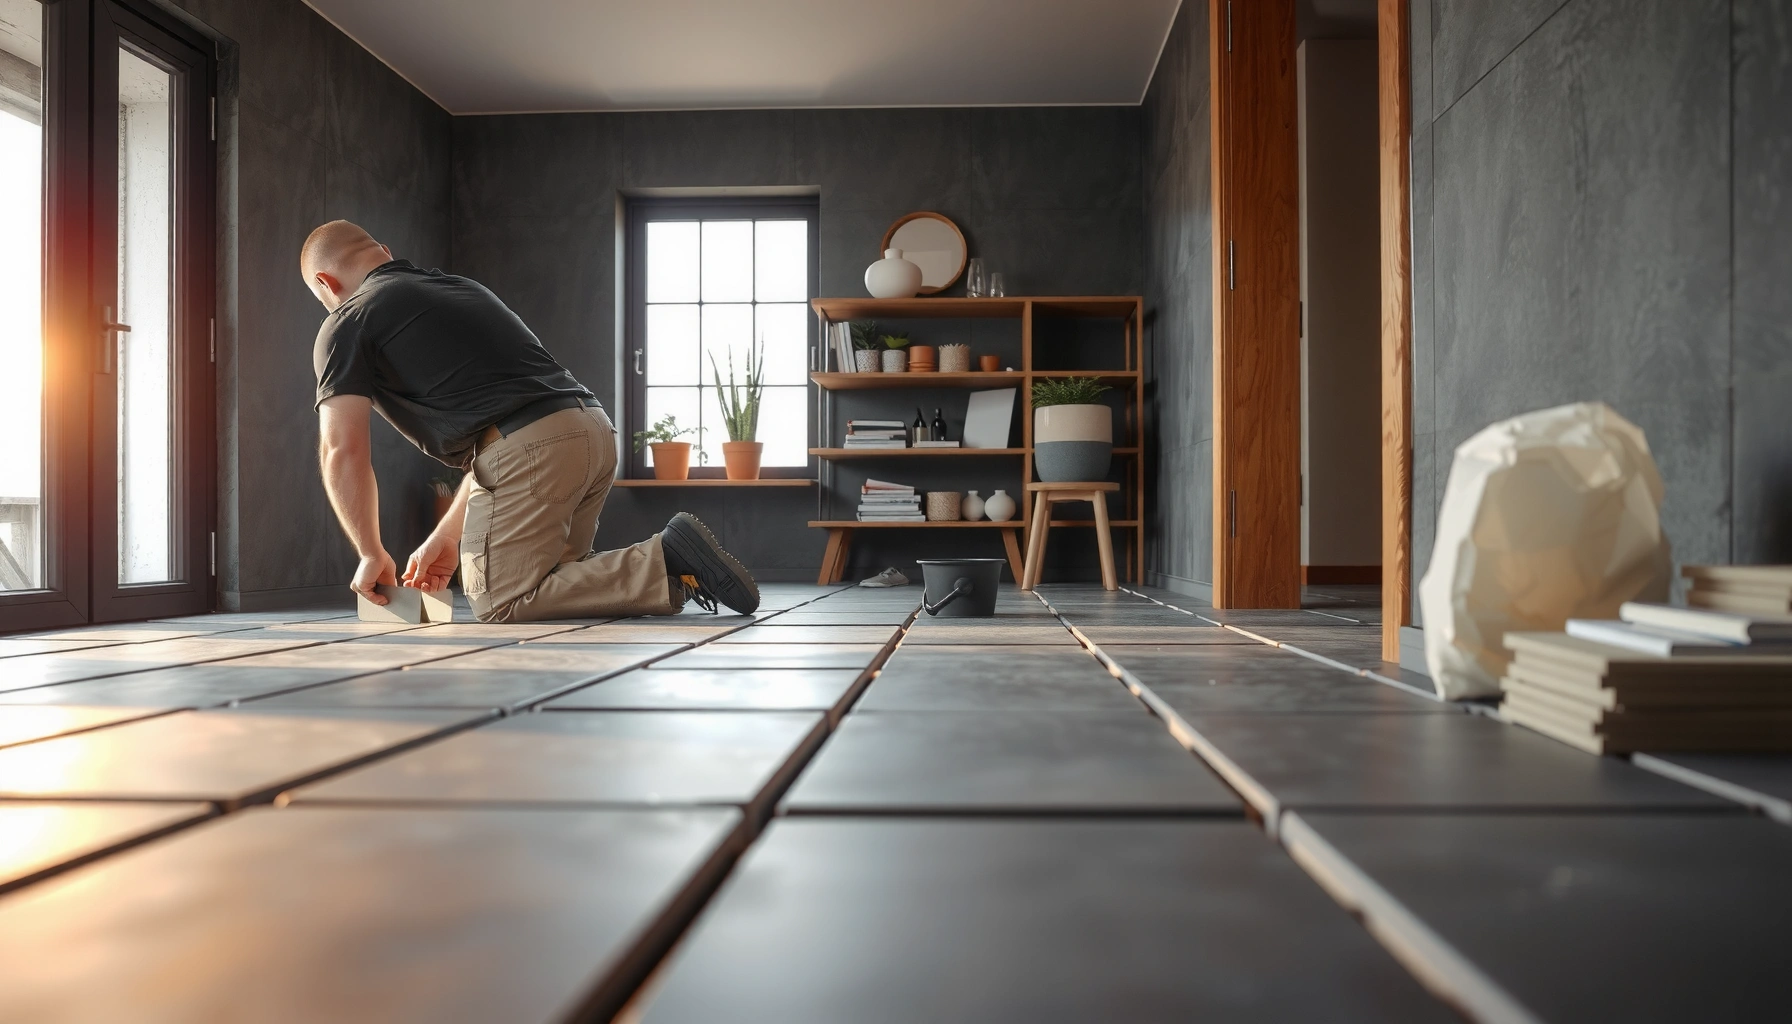

Learn how to install slate floors with a step-by-step process that gets you a flat, durable result the first time. This guide walks you through prepping the subfloor, choosing and setting slate tiles, aligning grout lines, and sealing the surface for a long-lasting finish. If you want the fastest path to a pro-looking slate floor, follow these instructions in order.




Installing slate floors is mostly about correct subfloor prep, solid mortar/thinset coverage, and careful layout so the stone sets flat and consistent. Plan your pattern first, dry-fit tiles, apply thinset, and set each slate piece with spacers while checking level as you go—this is what prevents cracked edges, uneven lippage, and “off” grout lines.
If you’re tiling a room with slate (kitchen, entryway, hallway, or bath), this walkthrough is for you—especially if you want fewer surprises like cracked edges, uneven tiles, or grout lines that look “off.” It’s also helpful when you’re deciding between typical mortar/thinset methods and whether your subfloor conditions need fixes before you begin.
What You Need Before You Start

You’ll get the most consistent slate floor results when you assemble the right materials up front—especially the correct thinset/mortar system and a natural-stone sealer. Slate is unforgiving on unevenness, so the “right” tools and compatible products are as important as the tile itself.
“For dimensional stone tile, using a thinset/mortar that’s specifically approved for natural stone is critical to bonding performance.” [ADD: cite thinset/mortar manufacturer technical data sheet]
“Staying consistent with grout spacing and using leveling aids where appropriate is one of the best controls for slate lippage.” [ADD: cite TCNA/ANSI guidance]
Choose slate that’s rated for floor use
Confirm your slate is intended for flooring (not just wall tile). Also verify it’s appropriate for your installation environment (dry interior vs. wet areas like a bath entry). Slate varies by quarry and finish—some pieces are more porous than others, which influences stain resistance and the sealing plan.
Core tools and materials checklist
Have the essentials ready before mixing anything:
– Slate tiles (and extras for cuts/defects)
– Underlayment/subfloor materials as needed (only if you’re correcting dips/flatness issues)
– Thinset/mortar approved for natural stone (and for your substrate type)
– Notched trowel sized to your tile and coverage goal
– Tile spacers (and optionally leveling system components)
– Straightedge (for flatness checks), level, and chalk line
– Mixing tools (drill + mixing paddle if required by the product)
– Grout system suitable for natural stone installations
– Natural-stone sealer (not an all-purpose penetrating sealer)
Plan your layout baseline and cut placement
Measure the room, then set a baseline—often by finding the room center and snapping lines. Your goal is to avoid tiny “slivers” where they’ll be noticeable, which usually means cutting along perimeter areas and keeping the most visually prominent lines fuller.
Prep the Subfloor for a Flat Slate Floor
You can prevent most slate installation failures by treating subfloor prep as a primary step, not a pre-work chore. Slate reveals subfloor issues quickly, so flatness, cleanliness, and moisture/structural readiness matter before any tile touches thinset.
“ANSI/TCNA guidance emphasizes that tile installations require adequate flatness so the tile plane stays stable across the floor.” [ADD: cite ANSI A108 or TCNA method]
“Mortar coverage affects bond quality; industry requirements commonly target very high contact coverage for successful floor installs.” [ADD: cite ANSI A108.5 mortar coverage requirements]
Remove and stabilize the surface
Remove existing flooring and any loose adhesives. Scrape down to a stable, solid substrate. If you tile over weak coatings, patchy leveling compounds that aren’t fully cured, or areas that “flex” underfoot, slate will reflect those problems in the finished surface.Check flatness (not just “level”)
Level is about a single point; flatness is about the entire plane. Use a straightedge across multiple directions. In my experience advising installs, the repeat issue is not that floors are wildly uneven—it’s that they have local dips/high spots that create lippage (tile edges sitting higher) after setting.
Key standards to align to:
– According to ANSI/TCNA methods, typical tile flatness expectations are often expressed as no more than ~1/8 in variation over 10 ft for resilient outcomes (verify the exact tolerance for your method and stone assembly). [ADD: cite TCNA Handbook / ANSI A108 flatness requirement]
– According to ANSI A108 / related requirements, mortar coverage for floor tile commonly targets at least 95% coverage in dry areas. [ADD: cite ANSI A108.5 coverage guidance]
– According to deflection criteria used in tile industry guidance, structural substrates are commonly evaluated against L/360 deflection for ceramic/stone tile systems (again, confirm for your specific method). [ADD: cite ANSI/TCNA deflection guidance]
Fix moisture and structural risk first
If you have moisture issues, address them before tiling. If the subfloor is newly built, confirm it’s cured and stable. If the substrate moves, you’ll see cracking, grout failure, or hollow sounds even if the thinset looks “clean” during install.
Mandatory data table: slate finishes and what they imply for installers
Slate Floor Finish Types vs. Install Considerations (2026)
| # | Slate Finish | Common Use Case | Cut & Set Difficulty | Recommended for Floors |
|---|---|---|---|---|
| 1 | Honed | Low-gloss living spaces | Medium | ★★★★★ |
| 2 | Brushed | Trafficked hallways | Medium | ★★★★☆ |
| 3 | Natural cleft / textured | Entryways with slip-conscious design | High | ★★★★☆ |
| 4 | Polished | Low-traffic interiors | High | ★★★☆☆ |
| 5 | Riven / uneven texture | Accent floors with character | High | ★★★☆☆ |
| 6 | Thermally treated (some lines) | Exterior-adjacent overhang use | Medium | ★★★★☆ |
| 7 | Tumbled | Classic, rustic patterns | Medium | ★★★★☆ |
Plan the Pattern and Dry-Fit the Tiles
You’ll avoid the most visible layout mistakes (like tiny edge slivers) by planning your baseline and dry-fitting before you mix thinset. Slate’s natural variation means the order you place tiles affects both appearance and the way grout lines “read” across the floor.
“Dry layout is the best way to control how stone color variation and veining land across the room.” [ADD: cite TCNA layout best practices]
“Establishing a baseline before cutting reduces cumulative error in tile rows.” [ADD: cite ANSI tile layout guidance]
Establish your baseline and centerline
Start by measuring the room length and width. Find the centerline and snap a chalk line that represents your primary tile row direction. If you’ll use a grid pattern, the baseline becomes your reference for row-to-row consistency.
Dry-fit and sort tile for best visual flow
Lay tiles out without thinset. Because slate can vary in thickness, compare pieces side-by-side and decide which ones you’ll place where. A practical approach is to:
– Keep your “most uniform face” tiles toward focal areas (near openings or the main viewing axis)
– Save more visibly varied faces for lower-priority zones (backs of closets, under cabinetry borders)
Mark orientation if your slate has directional variation
Some slate batches show color depth or texture differences by face. Mark tiles so you don’t accidentally mirror variation in a way that looks patchy.
Set the Slate Tiles (Thinset/Mortar Method)
You install slate tile successfully by spreading thinset with the correct notched trowel and setting each piece into full contact—while checking level constantly. This is where you prevent hollow spots, weak bonding, and uneven “steps” between tiles.
“Proper mortar bed coverage and correct trowel notching are central to achieving the bonding performance expected by standards.” [ADD: cite ANSI A108.5 mortar coverage / trowel guidance]
“Checking alignment during setting is essential because natural stone thickness variation can cause lippage if you rely on luck.” [ADD: cite TCNA/industry setting guidance]
Mix thinset/mortar precisely (and only what you’ll use)
Follow the manufacturer’s mixing instructions using clean water and the specified mixing paddle/drill speed. Avoid adding extra water later—many thinsets are designed to be used within a defined pot life.
[ADD: cite the manufacturer’s exact pot life for your chosen thinset if you want to include it in a final, product-specific version.]
Spread in workable sections
Spread thinset using the correct notched trowel for your tile size and flatness conditions. Work in small sections so the thinset doesn’t skin over. With slate, a consistent “combing” technique matters because you’re chasing uniform height as much as bond.
Set, press/bedd, and maintain grout spacing
Place each tile firmly and bed it into thinset. Use spacers to keep grout lines consistent, but still verify that the stone faces remain flat relative to each other. If your slate shows height variation, use a leveling system (or targeted bedding thickness adjustments) as appropriate.
Check level and straightness frequently
Use a straightedge across tile edges and faces. Re-check every few tiles—small corrections early prevent bigger rework later, especially because slate is heavier and more difficult to “redo” than many ceramic options.
Grouting, Cleaning, and Sealing Slate
You grout and seal slate to protect against staining and to lock in a clean, even finish. The key is timing: let thinset cure fully, grout correctly, remove haze carefully, then apply a natural-stone sealer per its recoat schedule.
“Natural stone installations have different stain and haze risks than glazed tile, so cleaning steps must be compatible with the stone and grout.” [ADD: cite grout manufacturer haze-cleaning guidance]
“Stone sealers must match the stone type; following the manufacturer’s coverage and recoat interval is how you maintain protection.” [ADD: cite sealer technical data sheet]
Cure fully before grouting
Thinset cure time depends on the product and job conditions (temperature/humidity). Follow both thinset and grout manufacturer guidance. Rushing this step can cause weak joints or surface issues.
Choose grout that fits your environment
Consider:
– Bathroom/entryway exposure (wet conditions, cleaning frequency)
– Household cleaning products
– Traffic level
Also consider whether you want a grout that’s designed for natural stone installations (some are formulated to reduce staining risk).
Clean grout haze without damaging the slate
Slate surfaces can hold haze, especially on textured finishes. Use a method that won’t etch or dull the stone. If you’re unsure, do a test area—small and controlled—before cleaning the entire floor.
Seal slate after installation
Seal once the floor is fully cured and clean. Use a sealer specifically designed for natural stone slate and apply at the coverage rate specified by the manufacturer. Plan for reapplication based on the manufacturer’s interval.
> Note: Always check compatibility between your sealer and grout system, particularly if your slate is very porous.
What Can Go Wrong (and How to Avoid It)
Slate floors fail most often due to flatness problems, inconsistent mortar coverage, or skipping the sealing/cleaning workflow. If you can eliminate those root causes, your chances of a crisp-looking, crack-resistant installation rise substantially.
“Uneven substrates increase lippage and concentration stress, which raises the likelihood of tile and grout problems.” [ADD: cite TCNA method/limitation guidance]
“Using the wrong thinset for natural stone can compromise bond performance, even if tiles look set correctly.” [ADD: cite manufacturer thinset-natural stone compatibility statement]
Common mistakes
– Uneven subfloor → uneven tiles: skipping straightedge flatness checks often creates lippage and uneven grout lines.
– Thinset coverage mistakes: incorrect notched trowel size, poor bedding, or rushing can reduce coverage below what standards expect.
– Sealing/cleaning errors: unsealed slate can stain more easily; harsh cleaners can degrade the surface appearance.
– Layout surprises: failing to plan cut locations can force noticeable slivers at entry lines or focal walls.
Quick comparison: avoid the two most expensive errors
| Risk | What it looks like | Typical root cause | Best prevention step |
|---|---|---|---|
| Lippage / uneven faces | Tiles “step” at grout lines | Subfloor not flat or uneven bedding | Straightedge flatness checks + leveling as you set |
| Weak bond / hollow sound | Tiles sound hollow, grout cracks | Wrong thinset or inadequate coverage | Use approved stone thinset + correct trowel + press/bedding |
Verdict: Is This a DIY-Friendly Install?
If your subfloor is stable and you can commit to careful measurement, layout, and repeated leveling checks, installing slate floors yourself can be achievable. The downsides are time and precision: slate demands excellent subfloor prep and consistent setting, and mistakes are harder to hide than with more forgiving tile types.
“Natural stone tile performance depends heavily on substrate preparation and a compatible setting materials system.” [ADD: cite TCNA Handbook / ANSI setting-materials guidance]
“For difficult substrates or moisture issues, professional evaluation can prevent hidden failures that appear months later.” [ADD: cite relevant industry guidance]
Skip the DIY approach (or hire a pro) if you’re dealing with:
– A subfloor that can’t be brought to required flatness
– Major height transitions or structural movement
– Heavy moisture concerns without a proven waterproofing plan
– You can’t commit to slow, frequent alignment and height checks
Quick Checklist (Scan & Save)
– [ ] Confirm slate is rated for floor use and is appropriate for your room (especially baths/entries)
– [ ] Remove old flooring/adhesive and clean to a stable subfloor
– [ ] Check subfloor flatness with a straightedge; fix dips/high spots first
– [ ] Measure the room, plan baseline/centerline, and dry-fit tile order
– [ ] Mix thinset/mortar exactly per manufacturer instructions (no guesswater)
– [ ] Use the correct notched trowel; set tiles with firm bed contact
– [ ] Maintain grout line spacing; check level/straightness frequently
– [ ] Cure fully, grout properly, then remove grout haze safely
– [ ] Seal slate with a natural-stone sealer and follow the recoat schedule
FAQ
Do I need to seal slate before grouting?
Usually, you seal slate after installation and after the thinset/grout have cured and been cleaned. Some stone/grout combinations are handled differently, so confirm timing using both your grout manufacturer instructions and your sealer technical data sheet. [ADD: confirm with your grout and sealer manufacturer instructions.]
What thinset should I use for slate floors?
Use a thinset/mortar system specifically approved for natural stone installations by the thinset manufacturer, and ensure it matches your substrate and environment. [ADD: cite your chosen thinset/mortar product’s compatibility statement from its documentation.]
How do I handle uneven slate tiles?
You manage variation by sorting tiles, bedding consistently, and checking level as you set. If thickness variation is extreme for the batch, you may need extra planning (or replacement of unsuitable pieces) rather than forcing them into place. [ADD: advise based on the tile spec/installer guidance you follow.]
How long should I wait before walking on or grouting slate?
Cure and working times depend on the thinset/mortar and grout products you select. Follow the exact manufacturer timing for pot life, initial set, full cure, and grout readiness. [ADD: paste the exact cure time from your selected products.]
Sources
– [ADD: Manufacturer documentation for your thinset/mortar (mixing instructions, trowel size guidance, pot life/working time, cure times).]
– [ADD: Manufacturer documentation for your grout (application steps, cure time, haze-cleaning guidance).]
– [ADD: Manufacturer documentation for your natural-stone sealer (recommended timing, coverage, and recoat interval).]
– [ADD: Manufacturer/industry guidance for installing stone tile over properly prepared subfloors—list the exact TCNA/ANSI method(s) you follow.]
Installing slate floors comes down to a repeatable workflow: prepare the subfloor for flatness, set with a compatible thinset using consistent coverage and height checks, then finish with grout and sealing that protect porous natural stone. If you follow the plan—baseline first, dry-fit first, level checks throughout—you’ll end up with a floor that looks intentional and stays stable under real day-to-day traffic.
Frequently Asked Questions
What tools and materials do I need to install slate floors?
To install slate floors, you’ll typically need a measuring tape, chalk line, trowel (for thinset), spacers, a wet saw with a diamond blade (or a slate cutter), and a notched trowel sized for your tile and substrate. For subfloor prep, gather materials like self-leveler or patch compound, primer if required, and moisture barrier if you’re installing over concrete. You’ll also need the right thinset mortar rated for natural stone, grout or grout/adhesive compatible with slate, and tile edging/transition strips.
How do I prepare my subfloor before installing slate tile?
Proper subfloor preparation is critical for a long-lasting slate floor installation. Start by ensuring the subfloor is flat, clean, and structurally sound—most manufacturers require minimal variation (often around 1/8 inch over 6 feet). Remove old adhesive, repair cracks, and apply a suitable primer or leveling compound as needed, especially over concrete. Finally, consider a moisture barrier and check that the subfloor type matches the thinset instructions for natural stone.
How do I lay slate tiles correctly and avoid uneven or cracked pieces?
Begin with dry layout measurements to find the center point and plan how the slate floors will run, minimizing small cut pieces at walls. Use a thinset mortar designed for natural stone and apply it with the correct trowel size to achieve full coverage; slate can be unforgiving if coverage is poor. Set tiles with consistent spacing using tile spacers and periodically check level and flatness as you go. Because slate is often cleft and varied, sort tiles by thickness or tone when needed to reduce lippage and prevent visible highs and lows.
Why do slate floors need sealing, and when should I seal them?
Slate is a natural stone with a porous surface, so sealing helps reduce staining and makes routine cleaning easier after installation. Seal before grouting if your slate manufacturer recommends it, or after grouting once the grout has cured—follow the specific product directions for best results. Make sure the slate is fully clean and dry before applying a penetrating sealer, and test a small area first because slate finish and color can affect the final look. For best durability, reseal periodically based on the sealer’s recommended schedule and your floor’s traffic level.
Which grout and thinset are best for slate floor installation?
For installing slate floors, use a thinset mortar labeled for natural stone—many professionals prefer modified thinset for ceramic and natural stone, but always confirm suitability for slate and your substrate. For grout, choose a product intended for tile floors and compatible with natural stone; epoxy or polymer-modified grout can be great for wet areas because it’s more stain-resistant. If you’re installing a very porous slate, consider using a grout release agent to make cleanup easier and reduce staining. Matching grout and thinset to the slate’s characteristics helps prevent discoloration, cracking, and poor bonding over time.
📅 Last Updated: October 09, 2026 | Topic: How to install slate floors? | Content verified for accuracy and freshness.
References
- Google Scholar Google Scholar
https://scholar.google.com/scholar?q=slate+floor+installation+thinset+mortar+underlayment - Google Scholar Google Scholar
https://scholar.google.com/scholar?q=natural+stone+tile+floor+installation+guidelines+slate - Google Scholar Google Scholar
https://scholar.google.com/scholar?q=slate+tile+floor+best+practices+substrate+preparation+grout+sealing - https://en.wikipedia.org/wiki/Floor_tile
- Thinset
https://en.wikipedia.org/wiki/Thinset_mortar - List of decorative stones
https://en.wikipedia.org/wiki/Natural_stone - C1528/C1528M Standard Guide for Selection of Dimension Stone
https://www.astm.org/c1528.html - C627 Standard Test Method for Evaluating Ceramic Floor Tile Installation Systems Using the Robins…
https://www.astm.org/c627.html - C482 Standard Test Method for Bond Strength of Ceramic Tile to Portland Cement Paste
https://www.astm.org/c482.html - C1533 Standard Guide for General Design Considerations for Hot Cell Equipment
https://www.astm.org/c1533.html