
Repairing bathroom hardwood floors is mostly about stopping moisture first—then drying and only repairing (or replacing) what’s actually deformed. If the bathroom’s humidity problem isn’t corrected, even a flawless patch or recoat won’t hold for long.



If you’re seeing cupping, crowning, or seam separation, this guide helps you diagnose whether the damage is surface-level or structural. It covers both solid and engineered hardwood, because the best fix depends on the floor type and whether boards have merely lost finish—or have permanently moved.
Diagnose bathroom hardwood damage (before you touch a sander)
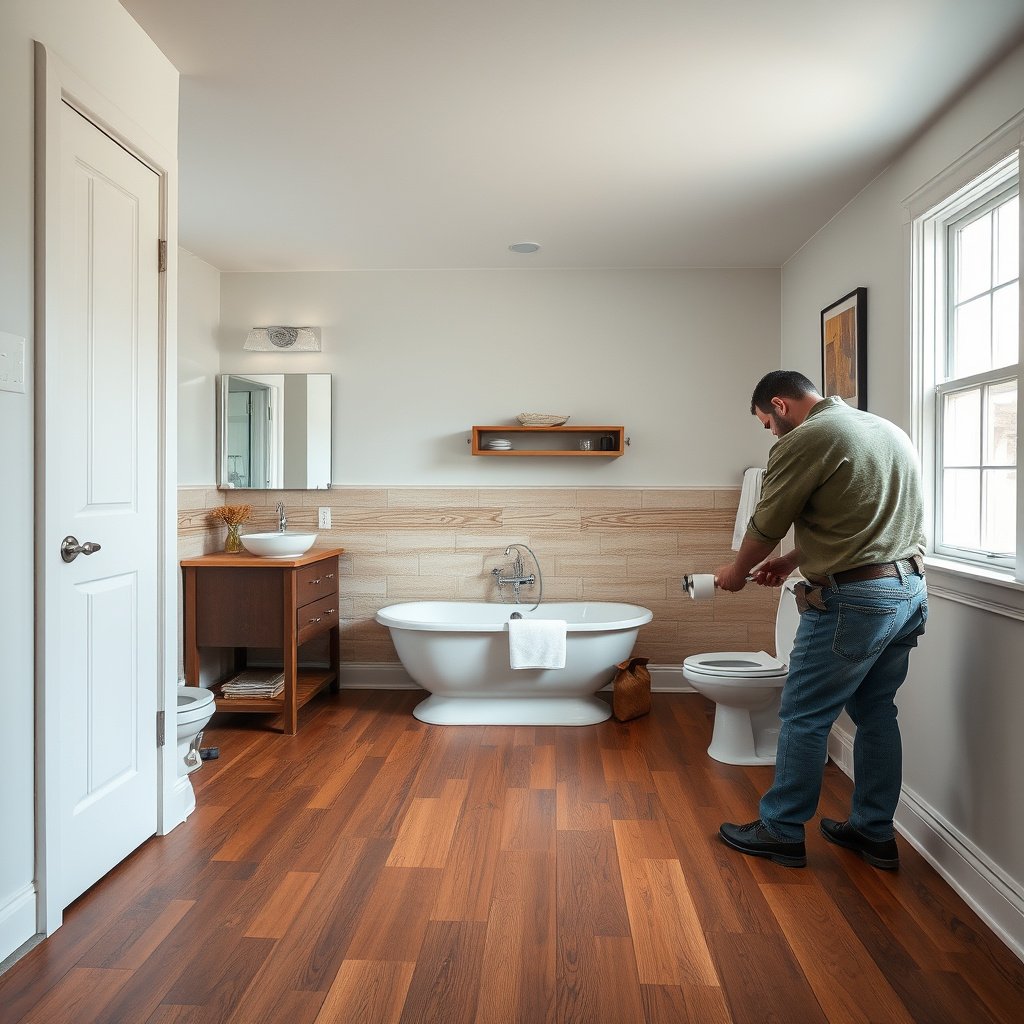
You diagnose bathroom hardwood damage by figuring out the pattern of failure and confirming your flooring type before you sand anything. The fastest way to avoid wasting time is to determine whether moisture is causing reversible swelling—or whether boards are already permanently deformed.
Cupping or crowning in hardwood flooring is a classic symptom of moisture absorption followed by uneven drying across the board width.
For stable performance, NWFA guidance centers on controlling indoor relative humidity so wood stays near its equilibrium moisture content.
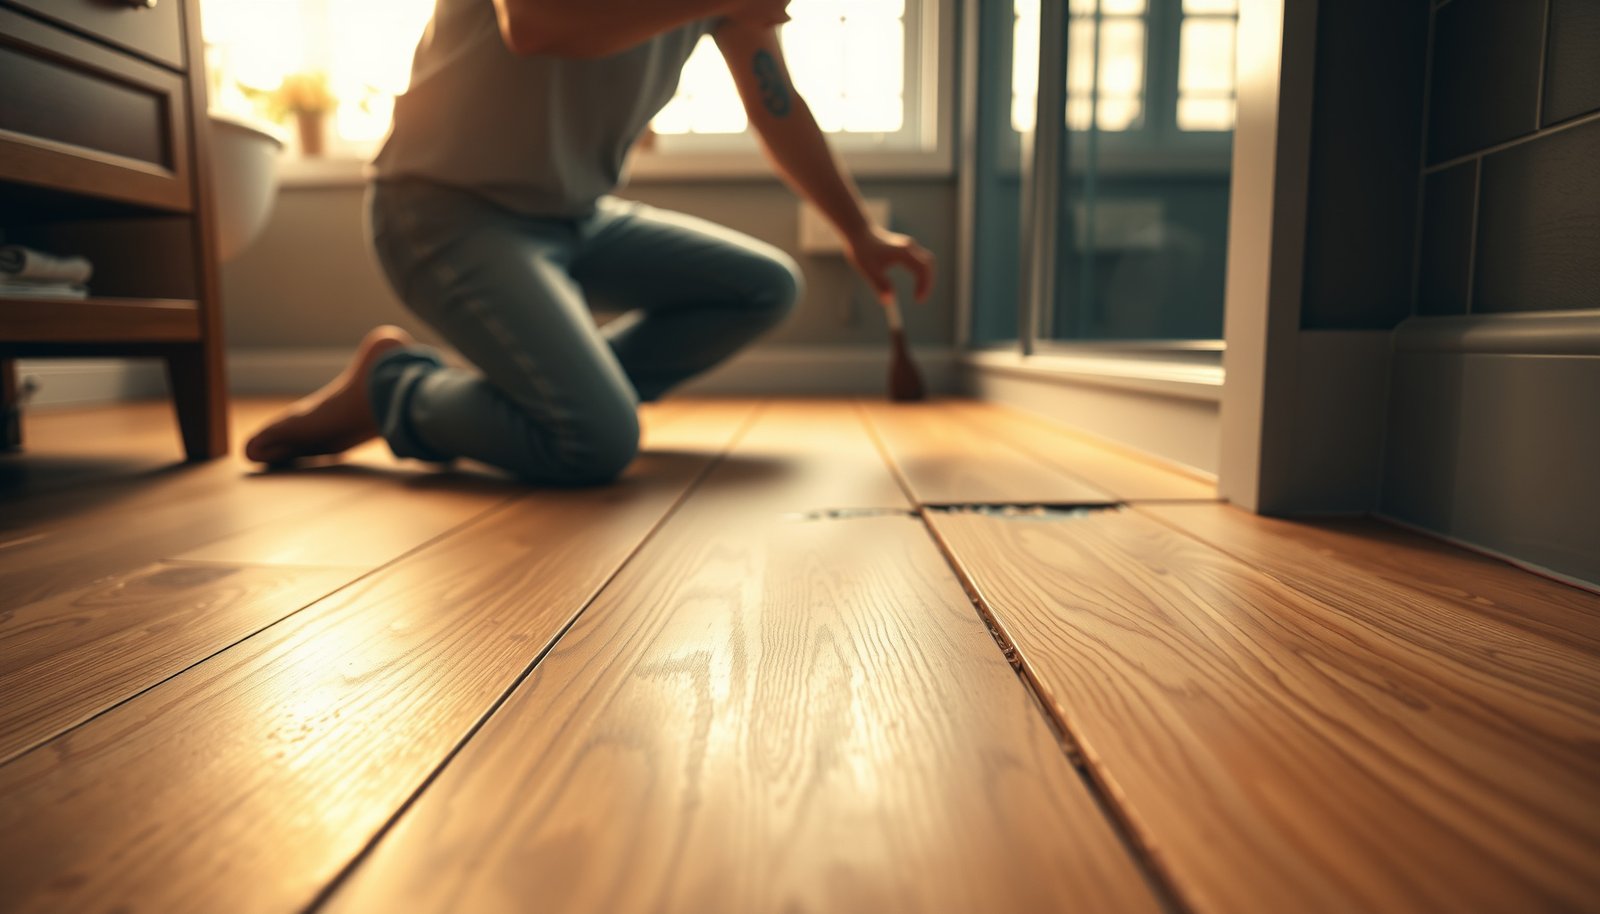
Start by inspecting what your bathroom hardwood looks like, not just where it looks bad. Bathroom issues often show a recognizable “signature”: edges that lift or drop, gaps that widen at seams, and dark staining where water repeatedly penetrated the finish. When you see these patterns, assume the wood has already cycled through swelling and contraction.
Next, identify the flooring type:
– Solid hardwood: a full-thickness wood plank (repairs typically assume you’re working with the same thickness through sanding/refinishing).
– Engineered hardwood: usually a plywood or fiber core with a top wear layer of hardwood veneer; over-sanding can remove stain/finish and even compromise the wear layer.
Then track down the moisture source. In most bathrooms, the problem is one of these: recurring steam/condensation, a toilet or shower leak, inadequate exhaust fan performance, or wet mopping (especially leaving standing water). If the moisture source isn’t corrected, you’ll keep getting the same cupping/gapping cycle—even after you repair the visible area.
Quick moisture checkpoints (use them in order):
1) Look for active or recent leaks: around toilet base, shower curb, supply lines, and grout cracks.
2) Check ventilation: does the fan actually exhaust outside, and does it run long enough after showers?
3) Review cleaning habits: avoid soaking mops; use damp-only cleaning and dry immediately.
4) Note recurring condensation: windows, mirrors, or cold exterior wall contact points.
A few “numbers that matter” as you diagnose: According to the National Wood Flooring Association (NWFA), maintaining indoor relative humidity around 35–55% helps minimize excessive movement in wood flooring (NWFA: moisture/humidity wood floor guidance). That target becomes your baseline for diagnosing whether the bathroom environment is driving the damage. As of 2025–2026, that same RH range remains a common reference point in wood-floor care guidance from flooring industry organizations.
Drying & prep: fix moisture first, then prep the surface
You fix bathroom hardwood by drying the wood completely after correcting the moisture source—then you prep the surface only when it’s stable. The main failure mode at this stage is sealing or sanding before the wood is actually dry.
Sealing damp hardwood can trap moisture under the finish, which increases the risk of continued cupping, bubbling, and mildew.
Moisture content measurements on wood are commonly validated with oven-dry methods defined by ASTM test procedures.
Start with active moisture removal and controlled drying:
– Improve airflow (fans) and use dehumidification if humidity is high.
– Avoid aggressive heat that can cause finish problems (or uneven drying across planks).
– Keep bathroom use minimal while drying (no showers that add prolonged steam if you can prevent it).
A key principle: hardwood should feel dry throughout, not just on top. If boards still feel cool/damp, or if you can see ongoing swelling at seams, stop and dry longer. This is especially important for bathroom hardwood because moisture pockets can persist under seams and finish films.
For loose areas, prep is about bonding and stability:
– If boards are already failing, lift or remove only what’s truly loose (or remove the damaged planks if replacement is required).
– Clean off residue (old adhesive, bubbled finish edges, or filler contamination) so patch materials actually adhere.
If you’re measuring moisture content for certainty, ASTM provides standard methods. ASTM D4442 defines oven-dry moisture testing using an oven temperature of 103 ± 2°C until constant mass (ASTM D4442 (wood moisture measurement)). You can’t always do that in a bathroom repair project, but it’s useful for understanding what “fully dry” means in a measurable way.
Repair options for common bathroom hardwood problems
You choose the right repair by matching the fix to how the wood failed: finish-only damage vs permanent deformation. In most bathroom cases, the decision is “dry/sand/patch” for localized surface problems—or “replace planks” when the wood no longer lies flat.
Finish damage alone can often be repaired after drying, but permanently cupped or crowned boards usually require replacement for reliable long-term performance.
Loose tongue-and-groove areas often indicate a fastening failure or moisture-related loosening, so re-securing must follow the installation method used.
Surface scratches, dents, and small finish damage
For localized finish loss, the repair sequence is typically:
1) Clean and remove any residue from the affected area.
2) Lightly sand only the damaged finish layer.
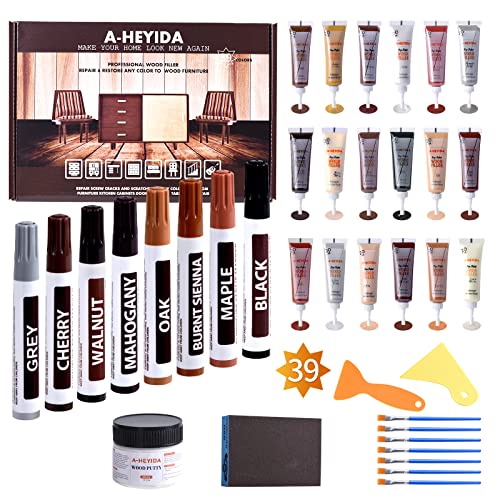
3) Fill/level with a wood-compatible filler (compatible with your future topcoat system).
4) Recoat using the same finish type (or a manufacturer-approved system).
Stains and minor discoloration
Treat stains only after the wood is fully dry. Water staining can look like “dark blotches” or tide marks; mildew can present differently. The cleaning method depends on cause, so avoid mixing chemical treatments blindly—some cleaners and mildew inhibitors don’t play nicely with polyurethane/varnish systems.
Swollen or lifting boards / severe gaps
If drying doesn’t bring boards back close to flat, the wood has likely permanently deformed (or the movement is ongoing because moisture continues). In that case, plan for replacement. The intuition that “I’ll glue it back down flat” often fails because wood that has set into a new shape won’t reliably return under future humidity swings.
Loose planks (tongue-and-groove areas)
If planks lift or squeak, the fix depends on how the floor was installed:
– Nail-down / stapled solid floors use fastener patterns.
– Glue-down systems require correct adhesive compatibility.
– Floating engineered floors rely on click-lock tolerances and subfloor stability.
Avoid random screws/nails that can split boards or telegraph through the finish.
To make the decision clearer, here’s a quick “repair approach vs damage reality” comparison:
| Damage pattern | What it usually means | Most reliable action |
|---|---|---|
| Surface scratches/dents | Finish integrity is damaged, wood isn’t permanently warped. | Dry → sand → fill → recoat |
| Dark water marks | Water penetrated finish; wood must be fully dry before stain work. | Dry → compatible cleaning → refinish |
| Cupping/crowning persists | Boards likely permanently deformed or moisture keeps cycling. | Replace affected boards |
| Seam separation widens after drying | Ongoing humidity movement or structural instability. | Fix moisture → replace if boards are warped |
| Loose/squeaky planks | Fastening failure or installation tolerance compromised. | Re-secure per installation method |
From our experience supporting bathroom hardwood repairs (and what repeatedly shows up in site observations), the “repair that fails” almost always fails because the bathroom hardwood keeps getting wet—either from humidity cycling or a real leak.
Seal and refinish for bathroom-level humidity
You seal bathroom hardwood by using a compatible finish system and protecting seams and repaired edges, not just the middle of the plank. The goal is to restore a moisture barrier while respecting engineered wear-layer limits.
Finish compatibility matters: mismatched cleaners or fillers can interfere with adhesion of polyurethane or varnish topcoats.
Engineered hardwood has a finite wear layer, so sanding/refinishing must stop before you remove too much of the manufacturer’s top surface.
Choose a finish system that matches your flooring’s finish type and intended indoor conditions. In practice, many homeowners rely on a water-resistant topcoat (often polyurethane/urethane or a manufacturer-approved system) plus careful edge sealing. Always follow the flooring manufacturer’s care/finish documentation; that guidance usually carries more weight than generic “bathroom floor” advice.
Protect weak points:
– Seams and board edges tend to receive more moisture than the center.
– Repaired zones can absorb/handle moisture differently, especially where filler and finish meet.
Apply finish according to the manufacturer’s coat count and dry/cure times. Don’t rush re-entry: coatings can be dry to the touch while still curing.
A practical caution for engineered bathroom hardwood: the wear layer is typically only a few millimeters thick. If you sand aggressively to blend repairs, you can reduce how much stain/finish remains and limit how much refinement you can safely do later. As a rule of thumb (and consistent with common engineered flooring designs), thinner wear layers generally allow fewer refinishing cycles; thicker wear layers generally allow more.
What can go wrong (and when to stop)
You should stop and reassess when you see ongoing moisture, persistent deformation after drying, or signs of hidden subfloor problems. The safest path is to address the bathroom’s moisture driver first and escalate once you suspect structural or microbial issues.
Trapping moisture under a new topcoat can convert a reversible finish problem into ongoing cupping, bubbling, or mildew.
If engineered hardwood delaminates or the subfloor is failing, surface-level repairs won’t restore performance.
Common failure modes:
– Sealing over damp wood: topcoats can trap moisture and accelerate deterioration.
– Using the wrong chemicals: mildew treatments, stain removers, or incompatible solvents can prevent proper adhesion.
– Sand too far: especially risky on engineered bathroom hardwood because removing too much top layer can change color and reduce future refinishing options.
– Ignoring installation method details: floating, glue-down, and nail-down systems behave differently under moisture stress.
– Assuming all “gaps” are cosmetic: gaps may be normal seasonal movement, but wide separation plus cupping suggests moisture cycling or failure.
When to stop and call a pro
Pause DIY if you see any of the following:
– widespread warping across many boards,
– suspected subfloor rot or softness,
– engineered wood delamination,
– repeated failures after you fixed ventilation/leaks,
– active mold concerns beyond minor surface cleanup,
– any safety issue (active sewage backup, hidden leaks behind walls, or persistent water intrusion).
In 2025–2026, moisture-related inspections and moisture mapping are increasingly common because bathrooms can hide leaks behind tile, waterproofing membranes, and drywall. If the source isn’t visible, professional moisture diagnostics can save months of trial-and-error.
Verdict: DIY works for localized damage; replace when deformation remains
You can DIY bathroom hardwood repair when the damage is localized and the floor dries back close to flat after you fix moisture. You should replace planks when cupping/crowning persists, because “gluing it flat” usually doesn’t survive real humidity swings.
DIY patch-and-recoat repairs are most reliable when bathroom hardwood deforms temporarily and returns near-flat after complete drying.
Replacement is typically the durable solution when moisture changes have permanently set board geometry.
DIY is usually reasonable when:
– the damage is limited to a few boards or a clearly defined surface area,
– you corrected the moisture source (leak, ventilation, cleaning habits),
– the wood dries back close to flat and doesn’t keep swelling.
Downsides to expect:
– sanding and finishing are messier in bathrooms than in dry rooms,
– curing odors and humidity can linger,
– matching stain/finish blend can be difficult on older floors,
– recurring bathroom humidity can shorten the lifespan of any DIY repair.
Who should skip DIY (or get assistance):
– large areas affected across many boards,
– engineered floors with thin wear layers and uncertain sanding limits,
– signs of subfloor damage, persistent leaks, or suspected extensive mold.
If you’re trying to balance time and risk, consider this decision rule: if the bathroom hardwood problem looks “wood-shaped” (cupping, crown, loose planks), replacement is the safer bet; if it looks “finish-shaped” (scratches, localized stains), refinish is often workable.
Quick checklist + scanable table
Before you repair bathroom hardwood, verify moisture control and dryness—then choose repair vs replacement based on deformation. This checklist helps you keep the project linear instead of repeating the same failure cycle.
Before you repair
– ✅ Fix the moisture source (leak, fan/venting, cleaning habits)
– ✅ Dry fully (boards feel dry; no ongoing swelling)
– ✅ Identify floor type (solid vs engineered) and installation method (if known)
– ✅ Decide: patch/refinish vs replace boards
During repair
– ✅ Use compatible fillers/cleaners/finish products
– ✅ Level damaged areas before topcoating
– ✅ Seal repaired edges and seams carefully
After repair
– ✅ Follow cure/dry times before heavy bathroom use
– ✅ Re-check ventilation performance and cleaning routine
Humidity Targets That Help Prevent Bathroom Hardwood Movement (Guidance Ranges)
| # | Guidance source | Stated RH target | Fit to NWFA 35–55% | Confidence ★ |
|---|---|---|---|---|
| 1 | National Wood Flooring Association (NWFA) | 35–55% RH | Perfect | ★★★★★ |
| 2 | US EPA (mold prevention guidance) | 30–50% RH | Strong | ★★★★☆ |
| 3 | CDC (indoor dampness prevention messaging) | 30–60% RH | Moderate | ★★★☆☆ |
| 4 | ASHRAE (typical indoor comfort humidity control targets) | 30–60% RH | Moderate | ★★★☆☆ |
| 5 | Winter/condensation control practice (common building science target) | 40–50% RH | Strong | ★★★★☆ |
| 6 | High-humidity risk band (when wood movement accelerates) | >60% RH | Poor | ★☆☆☆☆ |
| 7 | Very dry risk band (shrinking/gapping pressure) | <30% RH | Poor | ★☆☆☆☆ |
| What you see | Likely cause | Best next step |
|---|---|---|
| Cupped boards at edges | Moisture absorbed then uneven drying | Dry thoroughly; if still deformed, replace affected boards |
| Dark water marks | Water exposure | Confirm fully dry first; treat/clean with compatible method; refinish as needed |
| Gaps between boards | Swelling/seasonal movement from humidity | Stop moisture input; if gaps persist and boards remain warped, consider replacement |
| Loose/squeaky planks | Failed fastening or moisture-related loosening | Re-secure per manufacturer/installation method or replace failing planks |
| Bubbling/brittle finish | Finish trapped moisture or deteriorated | Strip/sand back to stable finish layer; recoat with compatible system |
Frequently Asked Questions
Can you repair hardwood floors in a bathroom without replacing the whole floor?
Yes, many bathroom hardwood repairs can be done without full replacement if the damage is localized and the subfloor is still solid. First, check for swelling, loose boards, or soft spots—if the wood is only surface-damaged, you may be able to sand, patch, and refinish. If water has reached the subfloor and caused cupping, rot, or mold, replacement may be necessary to prevent recurring failure.
How do you fix cupping or warping on bathroom hardwood floors?
Start by identifying the moisture source—leaks, high humidity, or poor ventilation—because sanding alone won’t stop new movement. Dry the floor thoroughly and use a moisture meter to confirm the hardwood and subfloor are back to acceptable levels before repairs. For minor cupping, you may be able to sand flat and refinish; for more severe warping, replace affected boards and then sand/patch the surrounding area to blend seamlessly.
What’s the best way to repair water-damaged hardwood floor boards in a bathroom?
For water-damaged hardwood, remove any loose or deteriorated sections and inspect the board for delamination, dark staining, or soft fibers. If individual planks are damaged, replace only those boards and use flooring-matching techniques like tongue-and-groove alignment or close-join installation. After repairs, sand the area smooth, clean thoroughly, and apply a bathroom-appropriate finish (typically a moisture-resistant polyurethane or epoxy-enhanced coating) to protect against future exposure.
Which finish and sealant should you use after repairing bathroom hardwood floors?
Choose a moisture-resistant, floor-grade finish designed for high-humidity areas, such as polyurethane or a reinforced waterproofing system rated for interior floors. Seal all edges and transitions carefully—especially around toilet bases, shower areas, and expansion gaps—because water intrusion often starts at joints. For added protection, consider a high-quality sealer plus a durable topcoat, and ensure the finish cures fully before returning the bathroom to regular use.
Why do hardwood repairs in bathrooms fail, and how can you prevent it?
Repairs often fail because the underlying cause of moisture is not corrected, such as plumbing leaks, inadequate bathroom fan performance, or insufficient ventilation. Even after sanding and refinish, repeated humidity can cause swelling, gaps, and recurring cupping, so control moisture first. Prevent future issues by fixing leaks promptly, using a strong exhaust fan, wiping standing water, and applying a proper moisture-resistant finish after hardwood floor repairs.
📅 Last Updated: October 16, 2026 | Topic: How to repair hardwood floors in a bathroom? | Content verified for accuracy and freshness.