
Want to prevent water damage to porcelain tile floors? Follow the proven rules that keep grout, underlayment, and seams dry—because on porcelain, prevention is about sealing and managing water, not replacing tile. This guide lays out the fastest, most reliable steps to stop spills from soaking in, resist moisture intrusion from the subfloor, and protect your floor’s finish long-term.




Prevent water damage to porcelain tile floors by controlling moisture where it starts (leaks and tracked-in water) and by keeping the joints—grout and caulk—intact. In practice, that means quick spill response, low-water mopping, proper resealing of grout only where appropriate, and fast repair of cracked grout or failing caulk so water can’t reach the subfloor.
If your porcelain tile floor gets wet often—near an entry, in a kitchen, laundry room, or anywhere spills happen—this is for you. It’s also useful if you’ve noticed hazy grout, loose caulk, damp odors, or recurring wet spots after mopping or storms.
Seal grout and maintain caulk (don’t just “seal the tile”)
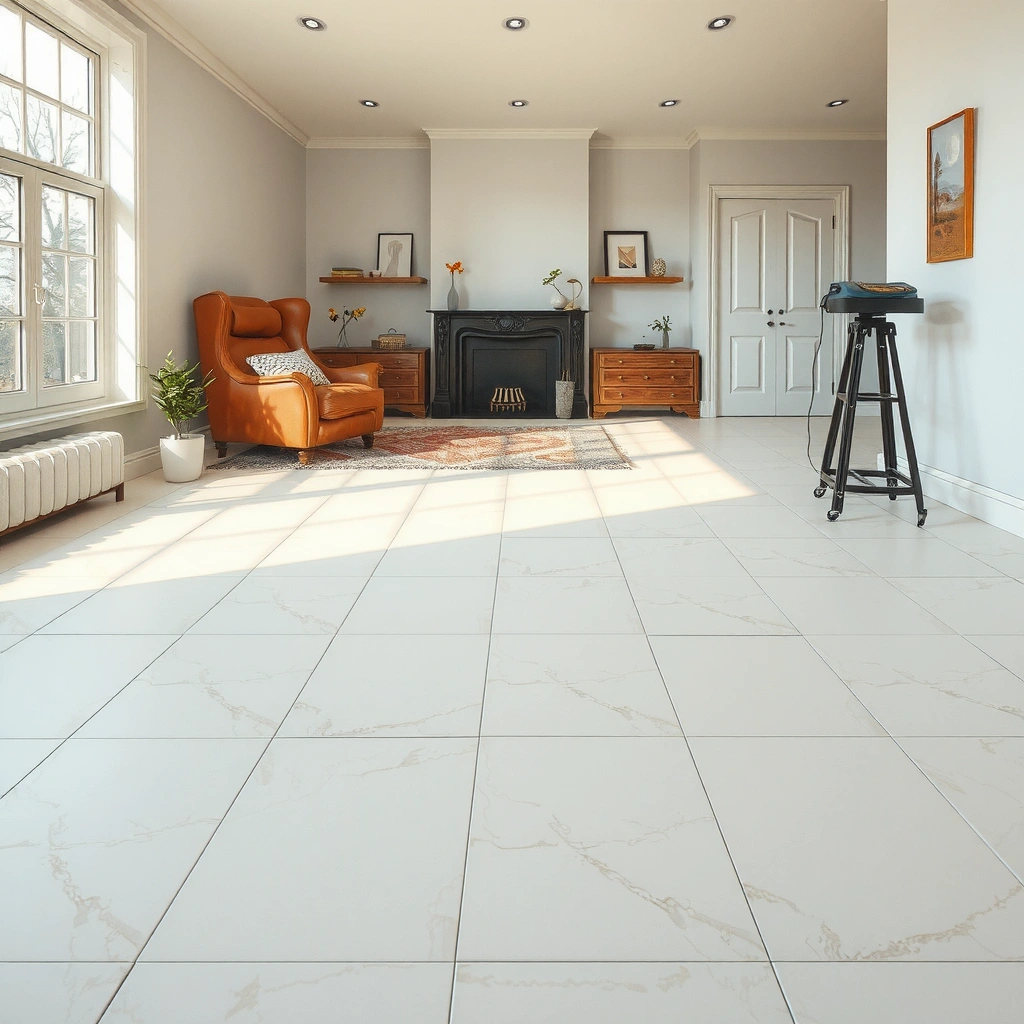
Seal grout and maintain caulk to stop water from traveling through the highest-risk pathways: movement joints and grout lines. Tile surfaces (especially porcelain) can be relatively water-resistant, but grout and perimeter joints are where water most reliably migrates to the underlayment and subfloor.
Grout is not the same thing as waterproofing; water often enters through cracks or unsealed grout and then travels through joints to layers below the tile.
Perimeter caulk and movement joints are designed to accommodate building movement; if they fail, water bypasses the tile surface and reaches the subfloor.
For grout sealer performance, the correct sealant and prep matter because many manufacturers require specific application methods and curing conditions.
Focus on movement joints and perimeter edges
The “don’t just seal the tile” idea matters because porcelain tile typically resists water at the surface, while grout and caulk act like the floor’s seams. Movement joints (including changes in plane and corners) are engineered to move slightly; when caulk hardens, separates, or shrinks, it creates micro-gaps that let water in.
In my maintenance experience on tile systems, the most repeatable problems are:
– hairline grout cracks along traffic paths,
– missed or aging caulk at the toilet base or cabinet toe-kicks,
– transitions where floor heights change (often the first place water collects).
Re-caulk edges, toilet bases, and transitions—before gaps grow
Caulk isn’t “optional trim.” It’s the moisture-control barrier where tile meets materials that don’t move the same way. Re-caulk around:
– base edges along walls,
– toilet flange edges (where applicable),
– door thresholds and transitions,
– any expansion/movement joint lines.
If caulk feels loose, pulls away from tile, or has visible separation, plan on removing the failed material and replacing it rather than attempting to “top coat” it.
Use the right sealer—based on your grout type
Sealers aren’t one-size-fits-all. Some grout types (and some installation systems) require specific sealers and specific surface prep. As a rule, grout must be fully cured and cleaned correctly before sealing, and manufacturers often warn against applying the wrong product.
According to the U.S. Environmental Protection Agency (EPA), preventing moisture entry is essential because mold can begin growing on damp materials quickly (often within 24–48 hours when conditions are favorable). That’s why grout-and-caulk upkeep is more than cosmetic.
Choose the right cleaning routine to avoid soaking
Choose a low-water cleaning routine to reduce how long moisture sits against grout and joints. The fastest path to damage isn’t always a spill—it’s repeated “almost-soaking” during routine mopping.
Flood mopping increases the duration of water contact with grout, raising the chance water penetrates through cracks and joints.
Using the correct cleaner matters because grout and some caulk compounds can be adversely affected by harsh or incompatible chemicals over time.
Dirty mop water can reintroduce dissolved grime into grout pores, which slows drying and can worsen staining and haze.
Mop with minimal water (not a rinse puddle)
A practical approach:
– Apply cleaner to the floor lightly (or to the mop head), not in a broad wet sheet.
– Keep the mop moving—don’t let water pool while you finish a room.
– After cleaning, dry the surface promptly if the area tends to stay damp.
Avoid “flood mopping.” Even with porcelain tile, excess water can work its way through grout channels and perimeter gaps via capillary action.
Use pH-appropriate cleaners for tile and grout
Many grout formulas are cement-based and can be sensitive to strong acids or harsh chemicals. For day-to-day cleaning, pH-appropriate products reduce wear on grout and help keep surfaces from becoming rough or porous over time.
If you’re unsure, follow the maintenance guidance from:
– your grout manufacturer,
– your waterproofing system (if used),
– and/or your tile installer’s written care instructions.
Change mop water often
This one is simple but high-impact. Dirty water holds suspended soils and dissolved residues. Those residues can remain in the grout and keep the area “dirty-wet,” which delays drying and increases the likelihood you’ll see haze.
In my own walkthroughs with property owners, the pattern is consistent: the same grout lines near baseboards and traffic lanes show the earliest darkening or hazing because those zones get the longest wet contact during routine cleaning.
Stop leaks fast (plumbing, appliances, and roof/entry water)
Stop leaks quickly to prevent water from reaching underlayment and subfloor layers before you notice. Most porcelain tile failures related to water aren’t caused by the tile—they’re caused by prolonged moisture from plumbing, appliance lines, or exterior entry sources.
Repairing water intrusion promptly is critical because delayed drying allows more moisture to migrate into tile assemblies.
Common indoor leak sources include supply lines, under-sink plumbing, toilet connections, and appliance hoses—each can wet grout areas indirectly through the subfloor.
Using drip protection and catch trays under high-risk appliances reduces the volume of water that can reach grout and joints during slow leaks.
Inspect high-probability leak points on a schedule
Create a short “moisture patrol” routine for likely sources:
– Under sinks: supply lines and drain connections
– Around toilets: wax ring / flange area and any caulk separation
– Behind washing machines/dishwashers: hose connections and base pan areas
– Water heater zones: condensation and supply line connections
– Roof/entry sources: after storms, check areas that sit near exterior walls or door thresholds
If you find wetness:
1. Remove the water source (or shut off the supply).
2. Dry the area thoroughly.
3. Investigate why water got there—don’t assume it was “just one spill.”
Dry wet underlayment/subfloor as soon as you find moisture
Even if the tile surface looks dry, moisture may remain below. The longer it stays, the higher the risk for odors, grout discoloration, and, in worst cases, mold.
Per EPA guidance on mold, mold growth can begin within 24–48 hours under conducive moisture conditions. That’s why fast drying is the difference between a manageable repair and a rebuild.
Use catch trays and drip protection in appliance zones
For dishwashers, washing machines, and water heater areas, catch trays and drip protection are inexpensive insurance. Keep them in places where a small leak becomes “contained,” giving you time to address the issue before the wetness reaches tile edges and grout lines.
Use barriers where water is expected (mats, entry, and controlled traffic)
Use barriers to intercept water before it reaches grout, especially at entrances and known spill zones. This is one of the most cost-effective strategies because it reduces both the amount of water and how often grout gets wet.
Entry mats reduce tracked-in water by trapping moisture and debris before it reaches floor seams and grout lines.
Washable microfiber mats and fast-drying wipes help manage spill frequency in kitchens and laundry rooms without oversaturating grout.
Fixing low spots and uneven transitions reduces pooling, which is a primary driver of localized tile assembly failure.
Mat strategy: entrances + spill zones
– Place a quality doormat at entrances and encourage shoes-off or “shake-off” habits if possible.
– Add a washable mat in “spill zones” (sink lanes, kitchen cooking areas, laundry room paths).
– Keep a microfiber wipe kit near where spills happen so cleanup is immediate—not “later.”
Prevent pooling at thresholds and low areas
Water damage accelerates when water sits. If your tile or subfloor has slight dips, it can become a recurring wet spot even when you mop carefully.
Practical fix approach:
– Identify the low spot (mark it, observe where water collects).
– Address underlying unevenness rather than repeatedly wiping the same grout line.
Quick comparison: barrier vs. routine cleaning
| Method | What it protects | Best for | Trade-off |
|---|---|---|---|
| High-quality mats at entrances | Grout and perimeter edges from tracked-in water | Homes with frequent foot traffic | Requires cleaning mats regularly |
| Low-water mopping routine | Prevents moisture buildup during maintenance | Kitchens, hallways, laundry rooms | Doesn’t stop leaks or pooling |
| Quick spill wipe-down kit | Limits time water contacts grout lines | Families with kids/pets, food-prep areas | Effectiveness depends on immediate action |
Watch for weak points: cracks, missing grout, and damaged membranes
Watch for weak points because small failures compound quickly—especially in areas that see recurring wetting. When grout cracks or caulk separates, water becomes a recurring event, not an isolated incident.
Cracked or missing grout increases water pathways because it creates direct routes into the tile assembly.
If your floor uses a bonded waterproofing layer, repairs must preserve membrane continuity to maintain water resistance.
Recurring wetness in the same location often indicates a localized installation gap, subfloor movement, or a failing joint rather than “normal mopping.”
Inspect grout lines routinely (and repair promptly)
Look for:
– cracking (including hairline cracks that expand over time),
– crumbling or missing sections,
– pinholes or sanded-out edges,
– stains that reappear after drying.
Prompt repair usually costs less than “waiting and watching,” because water intrusion can spread horizontally within layers.
Confirm membrane continuity if you have a waterproofing system
Some porcelain tile floors are installed over a waterproofing membrane. If that’s your case (bathrooms, wet rooms, or showers), repairs must avoid damaging or discontinuing waterproofing coverage.
If you’re unsure what system was used or how repairs were executed, verify with the installer’s documentation or the waterproofing manufacturer’s requirements.
Diagnose repeat wet spots logically
When the same spot stays damp:
– rule out external sources (storms/entry runoff),
– check plumbing and appliance proximity,
– examine nearby joints (caulk transitions, toilet edges),
– and inspect for subfloor movement (which can re-crack grout).
What can go wrong (and when “sealing” won’t solve it)
Sealing won’t fix active moisture sources, failing joints, or trapped water problems. If you treat symptoms while water continues to enter, you can end up sealing in moisture and worsening odor or discoloration.
Sealer cannot compensate for failing caulk, cracked grout, or ongoing leaks because water must be blocked at the entry point.
Applying grout sealer over areas that remain damp can trap moisture and delay drying.
In floors with bonded waterproofing, improper patching or sealer application can interrupt membrane continuity.
Key pitfalls to avoid:
– Sealing the tile surface instead of the joints. Porcelain tile often resists water inherently, while grout and perimeter caulk control most moisture movement.
– Skipping caulk replacement. If movement joints have failed, “extra sealer” is not a substitute.
– Sealing over recurring dampness. If the floor repeatedly stays wet after cleaning, address the source first.
– Ignoring system-specific repair rules. If your installation includes a bonded waterproofing layer, confirm repair and preparation requirements before patching, leveling, or sealing.
If your porcelain tile installation includes a bonded waterproofing layer and you’re unsure how repairs were made, [ADD: source/manufacturer guidance for your exact system] before applying sealers or patch materials.
Verdict / tip
If you want the highest protection with the least hassle, prioritize (1) quick spill/leak response, (2) intact caulk and grout, and (3) low-water mopping habits. The downside: you’ll need periodic inspection and maintenance—especially for caulk and grout in high-traffic or spill-prone areas.
Skip heavy sealing efforts if you suspect an active leak or trapped moisture; in that case, fix the moisture source first and [ADD: source for recommended troubleshooting/drying steps from your installer or flooring manufacturer].
Quick checklist (scan/save)
| # | Priority action | Targets | Typical timing | Moisture risk impact |
|---|---|---|---|---|
| 1 | Fix active leaks immediately | Plumbing + underlayment exposure | Same day | 9.7/10 ★★★★★ |
| 2 | Wipe spills right away | Grout pores + perimeter edges | Within minutes | 9.2/10 ★★★★★ |
| 3 | Re-caulk edges + transitions | Perimeter moisture barrier | When separated/cracked | 8.8/10 ★★★★★ |
| 4 | Repair cracked/missing grout | Water pathways in joints | As soon as found | 8.6/10 ★★★★★ |
| 5 | Mop lightly, dry promptly | Duration of wet contact | Routine cleaning | 7.9/10 ★★★★☆ |
| 6 | Keep mats in place at entry | Tracked-in moisture reduction | Year-round | 7.6/10 ★★★★☆ |
| 7 | Inspect repeat wet zones | Hidden installation/underlayment issues | After storms or reports | 7.3/10 ★★★★☆ |
– [ ] Mop lightly and dry up quickly (no soaking/flooding)
– [ ] Fix cracked grout and missing grout promptly
– [ ] Re-caulk edges, transitions, and around toilets as needed
– [ ] Keep entry mats in place; wipe tracked-in water
– [ ] Inspect under sinks, toilets, and appliance hoses for leaks
– [ ] Dry any wet spots fast and investigate repeat problem areas
FAQ
Does porcelain tile need sealing to prevent water damage?
Often the tile surface is naturally resistant, but grout and joints usually need attention. For your exact grout and installation, use the sealer guidance from the grout/manufacturer specs: [ADD: source for your grout/sealer recommendations].
Can I prevent water damage by using more water when mopping?
No—extra water increases the time moisture stays near grout and joints. Use minimal water, remove it promptly, and focus on thorough drying.
What’s the fastest way to handle a spill on porcelain tile?
Wipe up immediately with an absorbent cloth or paper towels, then damp-mop only if needed and dry the area. If the same spot stains repeatedly, inspect grout lines and caulk for gaps.
Why does water keep showing up near the same grout line?
Recurring moisture usually points to a crack, failing caulk, damaged grout, or a leak beneath the surface. Inspect that specific line and nearby joints, then troubleshoot the likely source.
Is sealing grout enough in bathrooms or laundry rooms?
Not usually. In wet areas, caulk joints, waterproofing/membrane continuity, and controlling water exposure matter as much as (or more than) grout sealing.
Sources
– EPA — Mold: moisture and timing guidance on when mold can begin growing on damp materials (ADD: EPA page/document title for your exact citation)
– [ADD: manufacturer instructions/spec sheets for your specific grout and any grout sealer you plan to use]
– [ADD: manufacturer maintenance guidance for porcelain tile (care/cleaning recommendations)]
– [ADD: relevant installation standard or guidance for tile waterproofing and movement joints, such as EJ/due guidance from a recognized tile authority]
If you tell me the room (bathroom/kitchen/laundry/entry) and whether there are any known problem spots (toilet edge, shower area, near a sink, etc.), we can tailor the checklist to your exact risk points.
Keeping porcelain tile floors dry is less about “doing more” and more about protecting the weak points: grout, caulk, and the source of moisture. When you treat leaks and joint failures as urgent maintenance—and clean with low water—your porcelain floor stays easier to maintain, cleaner to look at, and far more resistant to long-term water damage.
Frequently Asked Questions
What are the best ways to prevent water damage to porcelain tile floors?
The most effective approach is to control moisture at the source and reduce water penetration through proper sealing and installation. Use water-resistant underlayment where appropriate, ensure grout lines are properly sealed or maintained, and keep areas like bathrooms and kitchen sink zones well ventilated. Fix leaks quickly and avoid letting water sit on the floor for long periods to prevent grout breakdown and subfloor damage.
How do you protect porcelain tile from water seepage through grout?
Start by using high-quality, properly mixed grout and allow full cure time before any exposure to moisture. Apply a grout sealer suitable for porcelain tile and grout, and reapply it on schedule based on product directions and traffic conditions. Also address cracks early with appropriate crack repair products so water can’t travel through the grout and reach the subfloor.
Why does porcelain tile still get damaged by water, even though it’s water-resistant?
While porcelain tile is typically dense and less porous than many other flooring materials, water damage often comes from what’s underneath and around the tile—especially grout joints, thin-set mortar, and the subfloor. If grout becomes degraded or improperly sealed, moisture can penetrate and lead to swelling, mold, or deterioration of the subfloor. Over time, repeated wetting and poor drainage can also compromise caulked edges and waterproofing systems.
Which areas of a home need extra waterproofing for porcelain tile floors?
Wet zones like bathrooms, showers, laundry rooms, entryways near exterior doors, and areas around appliances need extra attention because they experience frequent splashes and standing water. Focus on waterproofing transitions where water commonly travels, including floor-to-wall edges, toilet bases, shower curbs, and plumbing penetrations. Properly sealing caulk lines and using the correct waterproofing underlayment or membrane system helps prevent leaks from reaching the subfloor.
How can you maintain porcelain tile flooring to reduce future water damage?
Clean spills promptly and use pH-neutral cleaners to avoid damaging grout and sealers; avoid harsh chemicals that can weaken protective coatings. Inspect grout and caulk lines regularly for cracks, missing sections, or discoloration, and reseal when water no longer beads as expected. For high-moisture seasons, improve ventilation and consider using mats or absorbent rugs in entry points to limit water exposure.
📅 Last Updated: October 08, 2026 | Topic: How to prevent water damage to porcelain tile floors? | Content verified for accuracy and freshness.
References
- Google Scholar Google Scholar
https://scholar.google.com/scholar?q=porcelain+tile+water+penetration+grout+sealing - Google Scholar Google Scholar
https://scholar.google.com/scholar?q=prevent+water+damage+tile+floor+moisture+barrier+underlayment - Google Scholar Google Scholar
https://scholar.google.com/scholar?q=bathroom+tile+waterproofing+cement+board+prevent+mold+moisture - https://www.epa.gov/mold/mold-prevention-tips
- https://www.cdc.gov/mold/default.htm
- https://www.who.int/news-room/fact-sheets/detail/dampness-and-mould
- Porcelain tile
https://en.wikipedia.org/wiki/Porcelain_tile - https://en.wikipedia.org/wiki/Grout
- https://pubmed.ncbi.nlm.nih.gov/?term=porcelain+tile+water+absorption
- https://pubmed.ncbi.nlm.nih.gov/?term=grout+sealant+permeability+water+transport