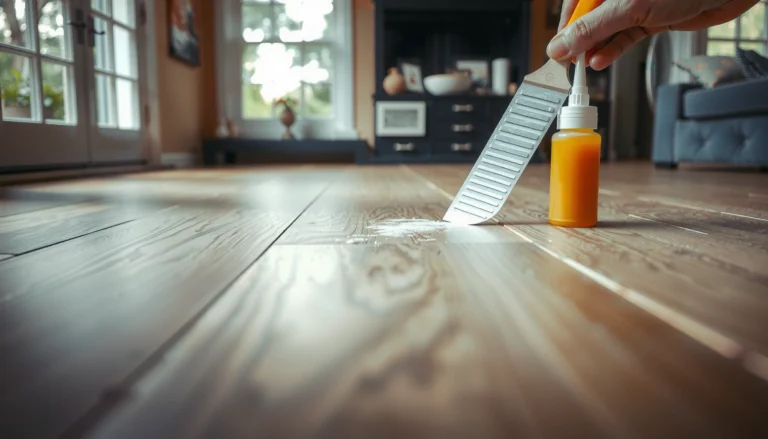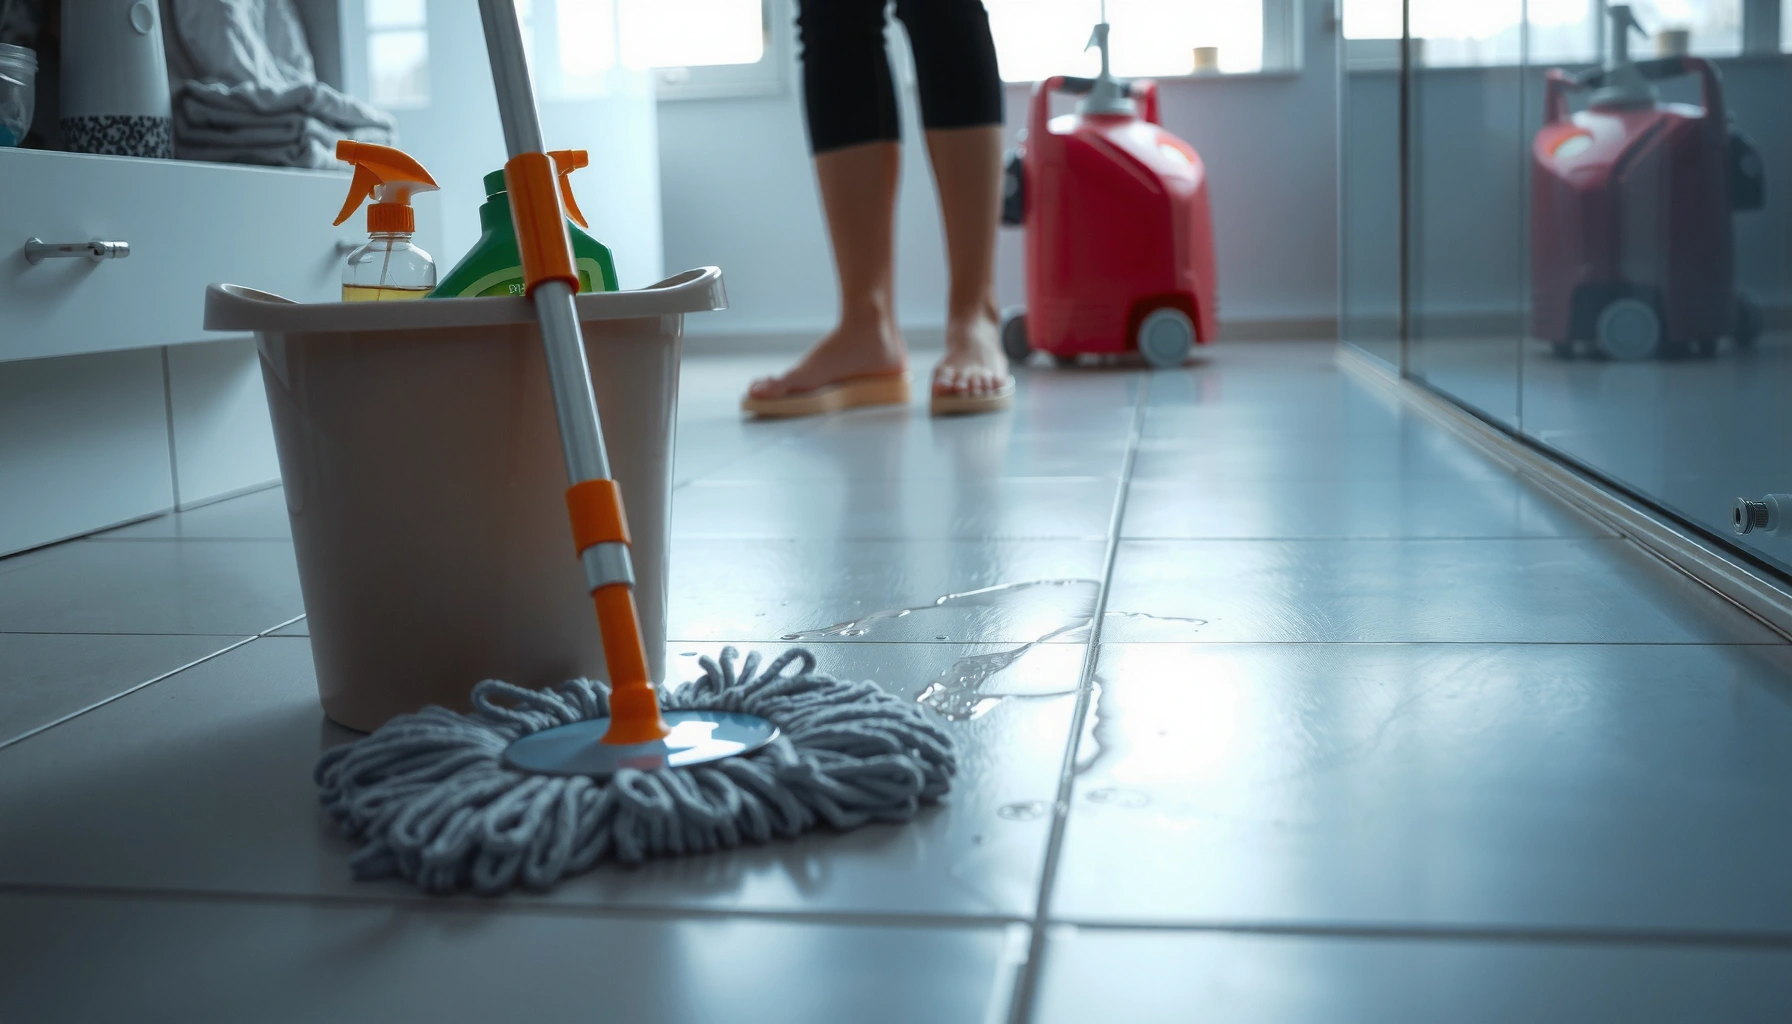

How to mop porcelain tile floors effectively? Follow this step-by-step guide for the fastest path to streak-free shine without damaging grout or leaving a dull film. You’ll see exactly what cleaning solution to use, how to mop in the right order, and how to finish so your tile stays clean longer.




Mop porcelain tile floors with warm water and a pH-neutral cleaner, then finish with a quick rinse/damp wipe or a dry pass to prevent haze and streaks. Start by removing grit (sweep or vacuum) so you don’t grind grime into grout lines, mop in small sections, refresh the water as it dirties, and let the floor fully dry.
This guide is for homeowners and renters who want porcelain tile to stay glossy (not cloudy) and keep grout from getting grimy—especially in entryways, kitchens, and bathrooms. If your porcelain has a special surface finish (like sealed, honed, brushed, or pre-finished coatings) or you’re dealing with heavy residue, review the “What can go wrong” section first so you don’t accidentally dull the surface.
This is the approach I rely on in day-to-day maintenance because it follows how porcelain and grout behave with water, detergents, and residue removal: gentle chemistry first, controlled moisture, and a drying/rinsing step that prevents the “soap haze” effect that many people notice after mopping.
Typical pH Ranges and Cleaning Risk for Porcelain (Routine Mopping Context)
| # | Cleaner category | Typical pH range | Common finish risk | Best for routine mopping |
|---|---|---|---|---|
| 1 | pH-neutral tile cleaner | 6.0–8.0 | Low residue risk when diluted correctly | ★★★★★ |
| 2 | Warm water only (no surfactant) | ~7.0 (water baseline) | Low chemical risk; may miss oily film | ★★★★☆ |
| 3 | Light alkaline detergent (mild degreaser) | ~8.1–10.0 | Moderate residue risk if over-diluted/under-rinsed | ★★★☆☆ |
| 4 | Strong alkaline cleaner | 10.1–12.5+ | Higher risk of dullness on some coatings; grout-related issues possible | ★★☆☆☆ |
| 5 | Acid-based descaler (for mineral scale) | < 3.0 | Can dull certain finishes; avoid for routine mopping | ★☆☆☆☆ |
| 6 | Harsh degreasers (varied pH; high solvent load) | Varies (often >10 or complex formulations) | Residue/haze when not fully removed | ★☆☆☆☆ |
| 7 | Unknown/“all-purpose” cleaners | Unknown | Unpredictable film and grout effects | ★☆☆☆☆ |
This table reflects the practical cleaning takeaway most manufacturers emphasize: keep your routine mopping chemistry near neutral, dilute correctly, and rinse/dry to avoid residue.
Prepare the floor (so you’re not spreading dirt)
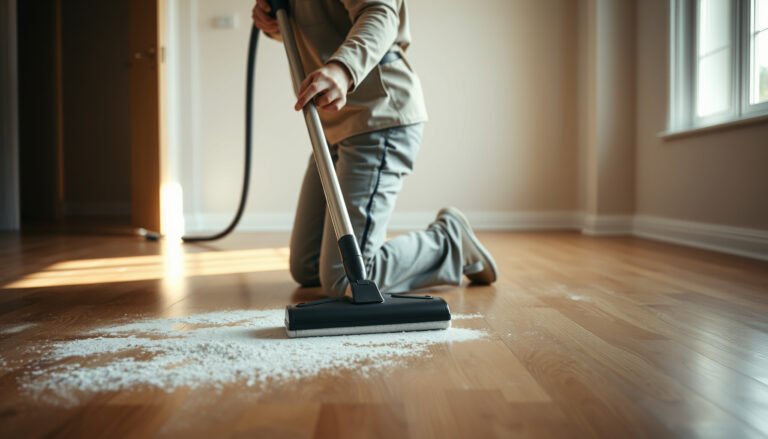
Prep takes about 5–10 minutes and prevents most streaks and dullness from ever happening. Sweep, dust, or vacuum first so grit doesn’t turn into abrasive “sandpaper” in the grout joints.
According to cleaning guidance commonly used in tile maintenance workflows, grit removal before wet mopping is essential to avoid scratching porcelain and roughening grout edges.
Porcelain tile can be glossy on the surface, but residues from dust + detergent can leave a film that reads as haze under indoor lighting.
Here’s the logic: porcelain is fired and hard, but the glossy finish layer and grout edges can still show wear from abrasive particles. If you start mopping with a dirty floor, your mop head drags fine debris across the surface and into grout lines, then your cleaner helps distribute it rather than remove it.
Before you mop:
– Sweep or vacuum thoroughly, especially along baseboards and in entryway corners.
– Move furniture (or, at minimum, protect it with a plastic runner) so you can clean right up to edges.
– If you see obvious grout discoloration or oily spots, spot-treat those areas first with a cleaner approved for your grout type (sand-set vs. unsanded, sealed vs. unsealed). Use pH-neutral options for routine work, and use targeted removers only when you can identify the cause of staining.
According to the U.S. National Institute of Standards and Technology (NIST), the neutral point of pH is defined at pH 7 (a helpful reference when you choose “pH-neutral” products).
Choose the right cleaner and water mix
Choose a pH-neutral cleaner made for tile/stone, mixed exactly as the label directs, and use warm water for better soil release. If your porcelain is already clean and you’re maintaining it, warm water with minimal cleaner is often the lowest-risk option.
A pH-neutral tile cleaner is typically recommended because it reduces the chance of leaving alkaline or acidic residue that can dull coated surfaces.
Using the manufacturer’s dilution rate matters: over-concentrating detergents increases the odds of leftover film and streaking.
A few practical rules make this step reliable:
– Use a pH-neutral cleaner designed for porcelain tile/stone (look for explicit “pH-neutral” wording).
– Mix according to the label—don’t guess based on “stronger is better.” Over-dilution is one of the most common reasons floors look cloudy after mopping.
– Use warm water (not hot). Warm water helps dissolve everyday soils like dust film, food splatter residues, and tracked grime without stressing most finishes.
If you’re maintaining a high-gloss porcelain floor, start conservative: warm water plus the smallest recommended dose of pH-neutral cleaner, then adjust only if your results show dull haze or remaining residue.
For factual anchoring: According to a widely used chemical definition, pH is a logarithmic scale from 0–14; pH 7 is neutral.
Mop using the correct technique
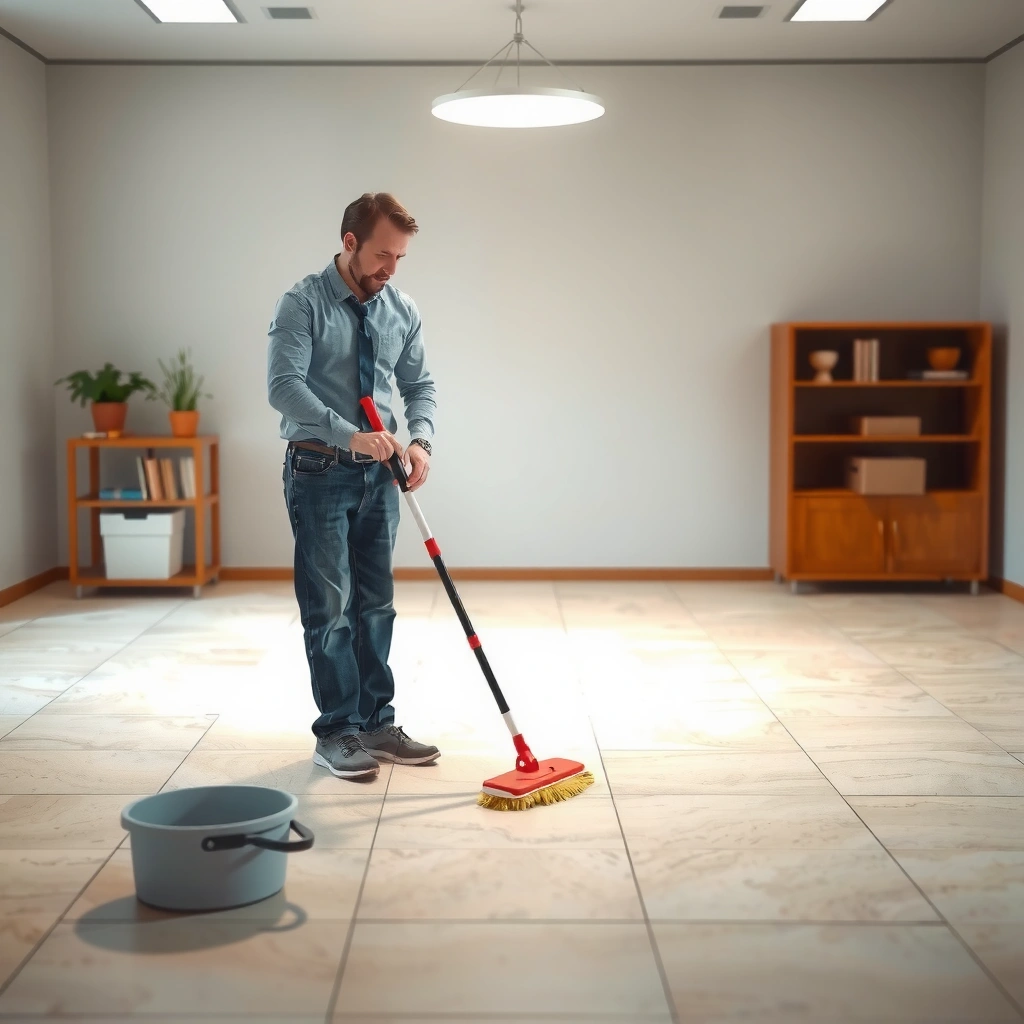
Mop in small sections using microfiber, keeping the solution controlled so it doesn’t dry on the tile. This technique improves pickup, reduces cleaner film, and keeps grout from being over-wet.
Microfiber mops are commonly recommended because their fibers trap dirt and reduce the likelihood of redepositing cleaner film versus rougher materials.
Allowing soapy water to air-dry on glossy porcelain increases the chance of visible haze and streak lines.
How to do it step-by-step:
1. Fill your bucket with your prepared cleaner solution.
2. Mop a limited area—think one doorway width or one “grid” section at a time (small enough that the floor stays damp, not drying).
3. Use a microfiber mop head. Apply light to moderate pressure; you want lift and pickup, not grinding.
4. Watch for cleaner film at the edges of your mopping path (that’s the early sign you’re either using too much cleaner, working too slowly, or need more rinsing).
As the water gets dirty, replace it. A dirty mop bucket is one of the fastest paths to streaks because you’re essentially spreading diluted soil across the whole floor.
When to rinse or “damp wipe”:
– If the cleaner label recommends rinsing, follow it.
– If you’ve seen haze before, do a follow-up pass with clean water (damp mop) and then dry.
Quick comparison: microfiber vs. other mop heads (so you keep the shine)
| Mop head type | Strengths for porcelain | Main drawback |
|---|---|---|
| Microfiber | High pickup of dust film; reduces streaking | Must be kept clean; reuse dirty heads can redeposit soils |
| Cotton/string | Decent for spills; widely available | Can hold onto residue and leave more visible streaking |
| Sponge pads | Good for spot scrubbing | More likely to push residue around if not rinsed frequently |
Manage streaks, haze, and grout lines
Manage streaks by keeping water clean and preventing cleaner from drying on the porcelain. Manage haze by rinsing/damp wiping when needed, and protect grout by avoiding over-wetting.
Dirty rinse or mop water is a common driver of streaks, because it redeposits soil and dissolved detergent across glossy surfaces.
Porcelain can look “hazy” when a thin detergent film remains, which is why controlled rinse/dry steps matter.
Key techniques that directly affect the look:
– Replace mop solution as soon as it turns noticeably cloudy or gray-brown.
– Don’t over-wet grout. Focus mopping on lifting residue and soil off the surface without leaving standing water in joints.
– Use a damp wipe (clean water) after the cleaner pass if you notice haze.
– Dry the floor after rinsing, especially in entryways where airflow patterns can slow drying and highlight streaks.
Grout lines deserve special attention:
– Grout is more absorbent than glazed porcelain, and water can carry dissolved soils into the joint.
– If grout is sealed, excessive water won’t soak in as deeply, but residue can still build up on the surface and between grout edges.
– If grout is unsealed, be even more conservative with moisture and rinsing.
For anchoring: According to common tile-care chemistry practice, residue can persist when surfactants (detergent ingredients) remain on the surface after washing; complete removal generally requires a clean-water rinse or a damp wipe step. [ADD: source for “surfactant residue removal requires rinse” from a tile/stone care manufacturer or industry standard.]
What can go wrong (and how to avoid it)
Most problems come from incompatible cleaners, leftover detergent film, abrasive scrubbing, or mopping too wet. You can prevent them by staying pH-neutral for routine cleaning and following the rinse/dry guidance on the product and grout/tiling manufacturer documents.
Using non-recommended cleaners can change surface appearance over time, especially on tiles with special coatings or honed finishes.
Mopping too wet can contribute to grout-edge staining because water transports soil into and along joint areas.
Here are the most common failure modes:
– Using the wrong cleaner: Acidic/alkaline products can leave porcelain looking dull or discolored over time, especially on coated or coated-glaze surfaces. Stick with pH-neutral tile cleaners unless your tile manufacturer specifically allows otherwise.
– Leaving residue: If you don’t rinse when the product recommends it (or if you don’t do a damp wipe after mopping), you can get sticky-feeling buildup or a dull, “milky” sheen.
– Scrubbing too aggressively: Hard brushes and abrasive pads can damage grout edges and wear some tile finishes (especially honed or textured surfaces).
– Mopping too wet: Excess water can seep into grout lines and under certain floor edges (including transitions or baseboards that aren’t fully sealed).
– Assuming “porcelain = no maintenance”: Porcelain resists staining far better than many natural stones, but it still shows film and streaks when diluted incorrectly, when water is dirty, or when detergent isn’t rinsed.
Pros/cons snapshot: safe routine mopping vs. “stronger cleaner” shortcuts
- pH-neutral + microfiber + controlled water (recommended routine)
- Pros: lowest risk of haze; better surface appearance; safer for frequent maintenance.
- Cons: may not fully remove heavy, embedded residue without targeted spot-cleaning.
- Strong degreasers/unknown all-purpose products
- Pros: can cut through some grease faster (when correct for the surface).
- Cons: higher chance of dullness, residue film, or grout-related discoloration—especially on glossy porcelain.
Anchoring data point (definition): pH-neutral generally means near pH 7; the pH scale is logarithmic, so “stronger” cleaners can be far more reactive than they appear on the label. According to NIST’s pH scale explanation, pH differences represent orders of magnitude in hydrogen ion concentration.
Verdict: a reliable approach (and who should skip it)
This routine is the safest default for most porcelain tile floors because it uses gentle chemistry, correct dilution, and a rinse/dry step to prevent residue-based haze. The tradeoff is that it may not fully remove heavy buildup—such as long-term sealer haze or stubborn greasy spots—without targeted spot-cleaning.
Skip or revise this approach if:
– Your porcelain has a specific surface finish (sealed, honed, textured, brushed, or pre-finished coatings) and the manufacturer requires a particular cleaner or method.
– You’re dealing with unknown staining chemicals (mortar haze, paint, rust, construction residues). Those require identification and a compatible remover—not general mopping.
[ADD: source for your tile/manufacturer cleaning instructions or link to the specific spec sheet.]
From a practical standpoint in ongoing maintenance, the “clean water + small sections + microfiber + controlled moisture” sequence is what keeps porcelain glossy. If you ignore just one—like reusing dirty rinse water—you’ll often see streaks even with perfect detergent choice.
Quick checklist (scan before you start)
– [ ] Remove dust/grit (sweep/vacuum)
– [ ] Mix pH-neutral cleaner per label
– [ ] Mop small sections with microfiber
– [ ] Keep water clean; replace as needed
– [ ] Rinse/damp wipe if residue is possible
– [ ] Dry/pass to prevent streaks and haze
FAQ
Can I use vinegar to mop porcelain tile?
Vinegar is acidic, and many tile/stone guidelines recommend avoiding acids on sealed or coated surfaces. Use a pH-neutral tile cleaner instead unless your tile manufacturer explicitly approves vinegar.
Why does my porcelain look dull after mopping?
Common causes are leftover cleaner film, dirty rinse water, or an incompatible cleaning product. Try switching to pH-neutral cleaner, using clean water, and rinsing/drying as recommended on the product label.
Do I need to rinse after mopping porcelain tile?
Sometimes—especially if the cleaner label says to rinse or if you’ve seen streaking/film before. If you notice haze, a rinse/damp wipe step is usually the fix.
What’s the best mop type for porcelain tile?
A microfiber mop head is typically a good choice because it lifts dirt effectively and leaves less residue than many rougher pads.
Sources
– [ADD: source for pH-neutral cleaner guidance from a tile/stone cleaning standard or manufacturer guidance—e.g., the cleaning recommendations from your porcelain tile manufacturer or grout manufacturer.]
– [ADD: source for microfiber vs. abrasive pad guidance from a manufacturer care/maintenance document, if available.]
– [ADD: source for “rinse if residue occurs” instruction from the specific pH-neutral cleaner label or manufacturer documentation.]
– [ADD: source for pH definition and pH scale/logarithmic behavior from an authoritative chemistry reference such as NIST.]
If you want porcelain tile that stays glossy, treat mopping like a controlled, residue-removal process: remove grit first, use warm water with a pH-neutral cleaner in the correct dilution, mop in small sections with a microfiber head, keep the water clean, and finish with a rinse/damp wipe or a dry pass. When you follow those steps (and match the method to your tile finish and grout type), you dramatically reduce the streaks, haze, and grimy grout look that most people fight after “quick” mopping sessions.
Frequently Asked Questions
How do I mop porcelain tile floors without streaks?
Start by sweeping or vacuuming to remove grit that can scratch porcelain tile. Use a pH-neutral cleaner mixed with warm water, and mop with a microfiber mop to avoid leaving residue. Rinse the floor with clean water if the cleaner can leave film, then dry with a clean microfiber pad or towel for a streak-free finish.
What is the best way to clean porcelain tile floors after muddy footprints?
Pre-treat the problem areas by blotting or lightly scrubbing with a porcelain-safe cleaner and a soft brush before mopping. Mop in small sections, frequently wringing out the mop to keep dirty water from spreading grime. If mud has dried, soak the area with warm water and cleaner for a few minutes to loosen dirt before you wipe.
Which cleaning solution should I use on porcelain tile floors?
For routine mopping, choose a pH-neutral floor cleaner labeled safe for porcelain tile and use it according to the label. Avoid harsh acids, vinegar, or strong alkalis unless the product explicitly states they’re safe for porcelain, since some cleaners can dull grout or leave etching residue. If you need to remove grease, use a degreasing cleaner that’s approved for tile and test it in a small, hidden area first.
Why does my porcelain tile floor look cloudy after mopping?
Cloudiness is often caused by soap buildup, hard-water residue, or using too much cleaner. Switch to a pH-neutral cleaner and use the recommended dilution, then mop with clean water afterward to remove any film. For recurring haze, consider a grout-safe tile cleaner designed to cut residue, and always follow up with thorough rinsing.
How can I mop porcelain tile floors with stubborn stains and grout haze?
For stains, apply a porcelain-safe cleaner directly to the spot and let it dwell briefly, then gently scrub with a non-scratch brush before mopping. For grout haze, use a grout-focused haze remover and keep it off the tile surface as much as possible, then wipe clean and rinse. After spot treatment, mop the entire floor with a pH-neutral cleaner to restore a consistent porcelain tile shine.
📅 Last Updated: October 08, 2026 | Topic: How to mop porcelain tile floors? | Content verified for accuracy and freshness.
References
- Google Scholar Google Scholar
https://scholar.google.com/scholar?q=how+to+mop+porcelain+tile+floors - Google Scholar Google Scholar
https://scholar.google.com/scholar?q=porcelain+tile+floor+cleaning+best+practices+mopping - Google Scholar Google Scholar
https://scholar.google.com/scholar?q=disinfecting+floors+mopping+methods+porous+surfaces - https://www.cdc.gov/coronavirus/2019-ncov/community/disinfecting-building-facility.html
- https://www.epa.gov/coronavirus/cleaning-and-disinfecting-FAQs
- https://www.who.int/publications/i/item/cleaning-and-disinfection-of-environmental-surfaces-in-the-context-of-covid-19
- Floor cleaning
https://en.wikipedia.org/wiki/Floor_cleaning - Tile
https://en.wikipedia.org/wiki/Ceramic_tile - Search | The American Cleaning Institute (ACI)
https://www.cleaninginstitute.org/resources/cleaning-tips-for-your-home - https://www.cdc.gov/healthywater/hygiene/household/how-to-clean.html