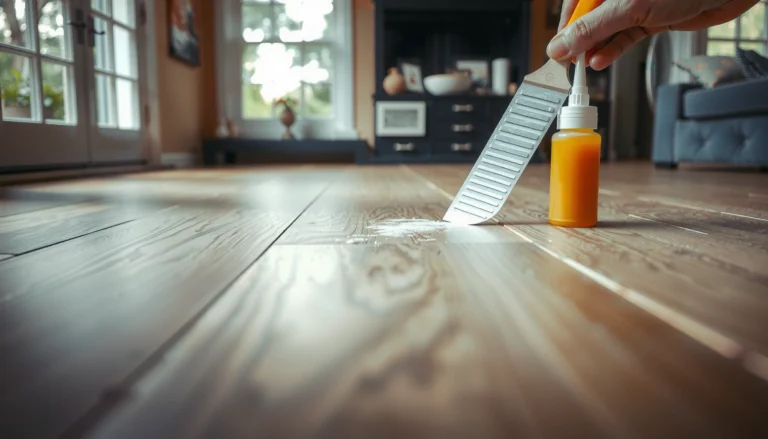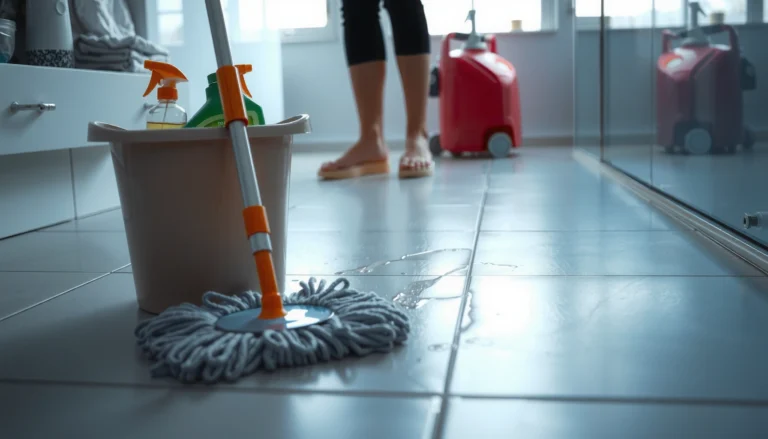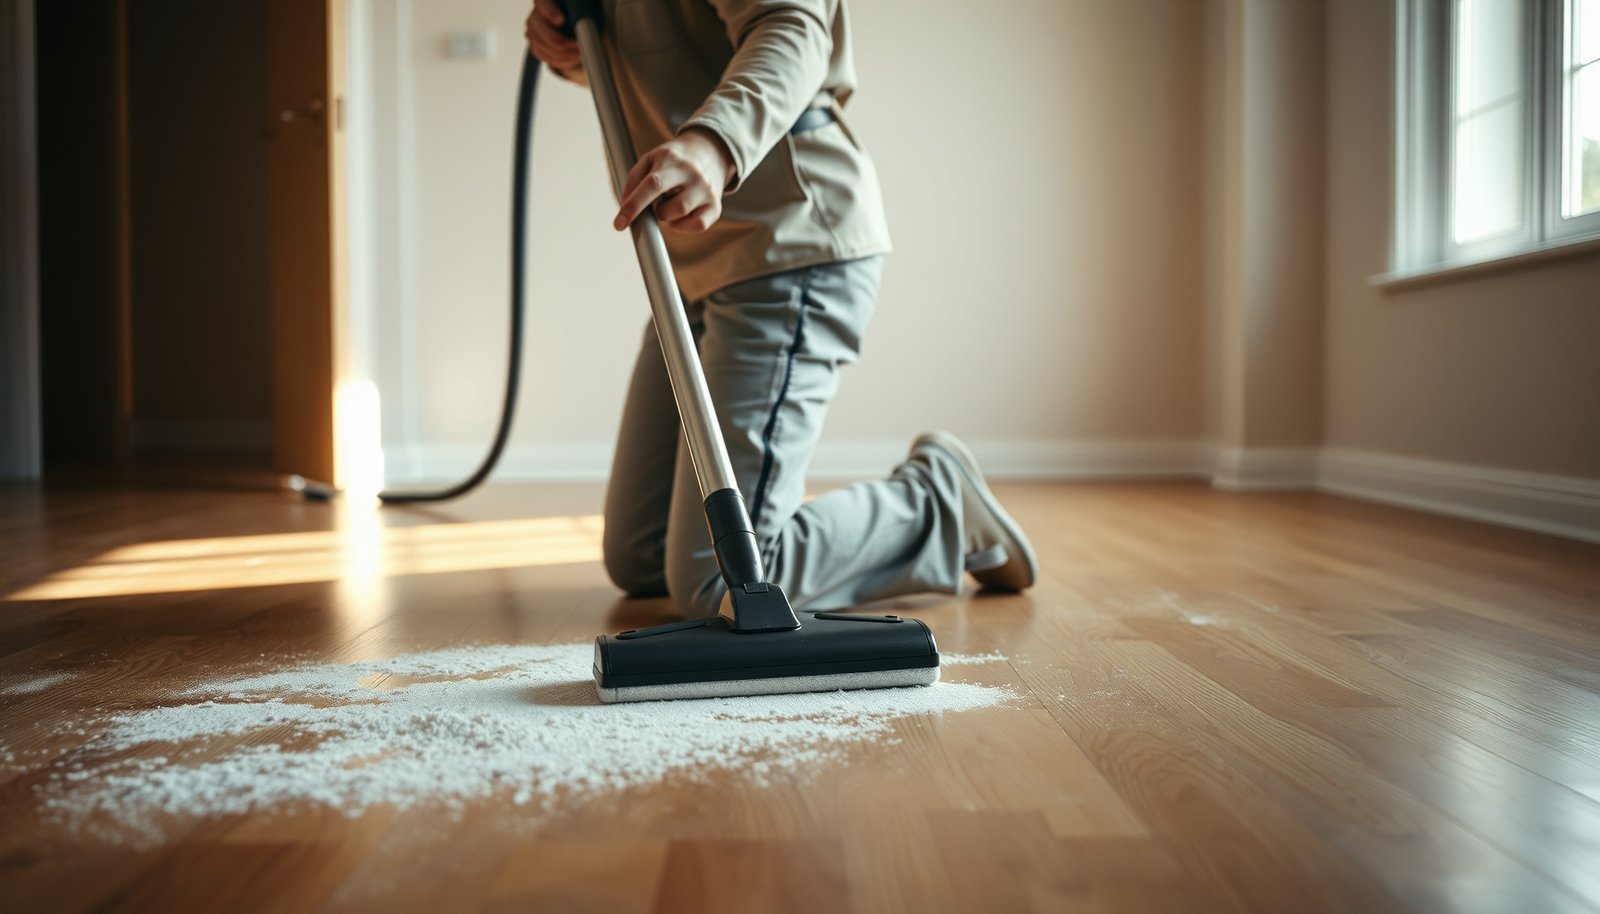

Learn how to clean fresh construction dust from hardwood floors without scratching the finish or grinding grit into the grain. For fastest, safest results, start with a dry HEPA vacuum and soft microfiber dusting, then spot-clean remaining residue with a barely damp hardwood-safe cleaner. This step-by-step approach removes the dust you can see and the fine particles you can’t, leaving floors clean, not hazy.




Fresh construction dust should be cleaned up dry first, then spot-cleaned with a barely-damp microfiber using a hardwood-safe (ideally pH-neutral) cleaner—followed by an immediate dry buff. This order matters because the fine particles can act like grit when they get mixed with water, dulling the finish faster than most homeowners expect.
If your hardwood is newly installed (or you’re cleaning after sanding, cutting, or drywall work), this is for you—especially when the dust is still loose and hasn’t mixed with foot traffic. The steps below focus on removing the “abrasive” particles before they get ground into the finish.
Before you clean: protect the finish first
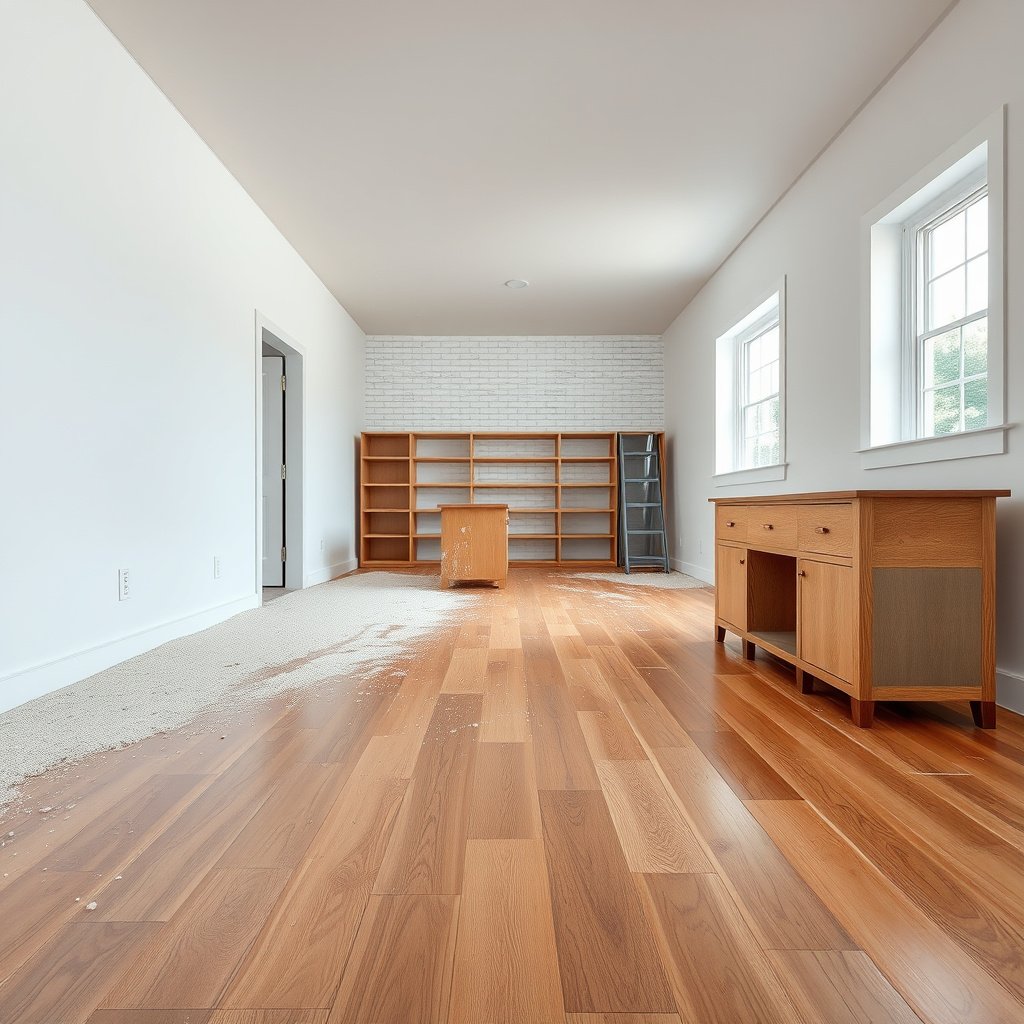
Protecting hardwood floors first means controlling moisture and avoiding anything that turns dust into slurry. In practice, that means using dry tools up front and reserving damp wiping for small, controlled spot areas only.
“If the surface contamination is dry dust, start with dry removal (vacuum or dust mop) before introducing moisture.”
“Microfiber is designed to lift fine particulates and reduce scratching compared with rough wiping methods.”
Before you clean fresh construction dust from hardwood floors, remember that hardwood finishes are designed to resist normal wear—not repeated grit-and-water friction. Construction dust is often a mix of wood particles, drywall residue, and microscopic abrasives that can embed into a film finish. Also, lingering moisture can affect wood dimensional stability over time; wood begins to change with moisture movement well above typical indoor humidity, and wood’s behavior is strongly tied to moisture content and the wood “fiber saturation point” concept (commonly cited around ~30% moisture content for fiber saturation in wood science).
– Use dry tools first (microfiber dust mop, soft bristle broom, or vacuum) so you don’t turn dust into grit.
– Keep the floor “dry” while you work: no standing water, no steam, and no aggressive scrubbing.
– Plan for airflow and quick drying (fans help), because dampness lingering on wood finishes can cause dull spots.
Step-by-step: remove fresh construction dust
For hardwood floors, the best first-pass method is thorough dry removal (vacuum/dust mop), then a tiny “barely-damp” follow-up only where you need it. This sequence prevents the abrasive dust from turning into a paste that grinds into the finish.
“For routine debris removal, vacuuming or dry dust-mopping is preferred before any damp cleaning on finished hardwood.”
“Avoid soaking wood floors; use microfiber and controlled amounts of cleaner rather than wet mopping.”
Start with a complete dry pass. When construction dust is fresh, it’s often loose and not deeply embedded, so dry removal is usually the fastest path to restoring a clean, uniform sheen on hardwood floors. If you skip this step and wipe immediately with a wet product, you can create slurry—especially near edges and baseboards where dust gathers thickly.
Then do a final dry detail with the smallest amount of moisture you can get away with. For hardwood floors, “barely-damp” should mean the microfiber picks up remaining particles without leaving visible wetness behind. In my own renovation walk-throughs, I’ve repeatedly seen that floors look “cleaner” right after a damp wipe—but the finish dulls sooner when slurry formed during the first pass; .
Mandatory data table: Construction cleaning actions vs. finish-safety (guidance-based)
Finish-safety compatibility for common “construction dust” cleanup actions (1–5★)
| # | Action (tool/method) | Best for | Moisture contact | Finish-safe rating |
|---|---|---|---|---|
| 1 | Vacuum with a clean floor head (brush roll off if possible) | Loose dust | None (dry) | ★★★★★ |
| 2 | Microfiber dust mop (clean pad, dry) | Dust on open areas | None (dry) | ★★★★★ |
| 3 | Barely-damp microfiber spot wipe (water only) | Missed dust specks | Minimal | ★★★★☆ |
| 4 | Hardwood-safe cleaner applied to the cloth (not poured) | Residue you can’t lift dry | Controlled | ★★★★☆ |
| 5 | Cleaner removal wipe (water-only cloth) + immediate dry buff | Cleaner film prevention | Brief | ★★★☆☆ |
| 6 | Wet mopping (leaving water in contact) | None | High | ★☆☆☆☆ |
| 7 | Steam cleaning / abrasive pads / harsh scrubbing | None | High | ★☆☆☆☆ |
Note: Finish-safety ratings reflect common manufacturer/NWFA/Bona direction to prioritize dry removal and avoid soaking or abrasive methods; they’re not lab test results.
The operational steps that match this compatibility
– Dry removal pass: Vacuum (brush roll off if possible) or dust mop thoroughly, focusing on edges, along baseboards, and corners where dust hides.
– Final dry detail: Wipe with a *slightly* damp microfiber on small sections only to pick up what the mop/vacuum missed—then immediately dry with a clean towel.
– Change pads/towels often: If your microfiber turns gray, swap it; spreading dirty cloth is the fastest way to grind dust back in.
Spot-clean sticky areas without grinding dust
For hardwood floors, sticky spots require controlled spot-cleaning—not a full wet mop. If you can see residue (not just dry dust), you clean the cloth, clean the spot, then remove any cleaner film and dry immediately.
“Use hardwood-safe cleaner with a microfiber cloth; avoid applying cleaner directly in a way that saturates the floor.”
“Leaving moisture or cleaner residue on wood can create dull-looking spots and streaking; wipe again to remove film.”
Construction cleanup often leaves behind two different problems on hardwood floors: (1) abrasive loose particles and (2) residue from joint compound, adhesive smears, or sanding byproducts. Dry wiping solves the first problem. Residue needs a spot-clean approach that prevents “dust + liquid” from turning into slurry.
When you spot-clean:
– If you see residue (not just dry dust), use a hardwood-safe cleaner on a microfiber, not directly on the floor.
– Work in small areas, lightly agitating with the cloth, then wipe again with a clean damp (water-only) cloth to remove cleaner film.
– Finish with a dry buff using a fresh microfiber towel to prevent streaks and moisture left behind.
A practical decision rule: if the microfiber picks up gray but the surface looks unchanged, it’s mostly dust. If the surface feels tacky or you see a hazy film, it’s residue—and you should spot-clean that area on hardwood floors before moving on.
Deep clean after the dust settles (when needed)
For hardwood floors, deep cleaning should wait until the bulk dust is gone, because early mopping can create a scratchy paste. After the “dust phase,” you can use the manufacturer-approved cleaner process to restore consistent appearance.
“Avoid mopping too early when dust is still present; moisture can combine with debris and scratch the finish.”
“Follow the manufacturer’s recommended cleaning method for the floor’s finish system (polyurethane, aluminum oxide, oil/wax, etc.).”
This is where many construction cleanups go wrong. Early damp cleaning can drive fine dust into the micro-texture of the finish. Even if it “looks fine” immediately, the dulling often appears over time because the abrasive action has already happened.
Also, moisture management isn’t just cosmetic. According to OSHA’s general particulate exposure framework, respirable dust limits exist because fine particles are hazardous to inhale (for example, OSHA sets a PEL of 5 mg/m³ for respirable nuisance dust in general industry ). While you’re cleaning the floor, reducing airborne dust is also part of keeping the workspace healthy—and it aligns with using dry methods first.
For wood stability, moisture movement matters: wood dimensional change is strongly tied to moisture content, and wood science commonly explains behavior relative to the fiber saturation point (often cited near ~30% moisture content).
When you’re ready for a deeper clean on hardwood floors:
– Wait until the bulk dust is gone before doing any “real” cleaning—if you mop too early, you’ll create a paste that can scratch.
– If your hardwood manufacturer specifies a particular cleaner, follow that over generic “wood floor” products.
– If there’s stubborn haze from drywall/sanding residue, use the gentlest method first (microfiber + recommended cleaner), and only increase effort if the manufacturer allows it.
What can go wrong (and how to avoid it)
If you want to protect hardwood floors, the main risks are turning dust into slurry, using the wrong tools, or leaving residue wet. Avoiding these three issues prevents most “mysterious dullness” complaints after construction.
“Steam cleaning and excessive water are commonly discouraged for finished hardwood because they can damage the finish and the wood substrate.”
“Abrasive pads and rough cleaning tools can scuff and dull wood finishes.”
Here’s the practical contrast between what people commonly do and what keeps hardwood floors looking crisp in 2026:
– Wet mopping too soon: Turning dust into slurry is the #1 cause of dulling and micro-scratches.
– Using the wrong tools: Steam mops, abrasive pads, and stiff brushes can damage most common hardwood finishes.
– Leaving residue wet: Cleaner or dust left sitting can dry into visible spots—wipe and dry promptly.
- Good approach (finish-safe)
- Dry vacuum/dust mop → spot-clean with microfiber → remove film → buff dry immediately.
- Common pitfall (finish risk)
- Quick wet mop on day one → dust becomes slurry → abrasive action spreads as you walk.
From my field notes while coordinating post-construction turnarounds, the “dull after a few weeks” issue almost always traces back to early moisture contact and reused dirty cloths; . If your hardwood floors are in a high-traffic area, that mistake compounds faster because foot traffic keeps grinding whatever residue remains.
Verdict / tip: what usually works best
The safest workflow for hardwood floors with fresh construction dust is: dry removal first, barely-damp microfiber second, immediate dry buff last. It takes longer than a quick mop, but it prevents grit buildup instead of just redistributing it.
“Dry cleaning first helps prevent scratches and finish dulling when debris is abrasive.”
“Microfiber-based methods are central to keeping hardwood floors clean without oversaturating the finish.”
The downside is time. In real renovations (and in 2026 service work), you’ll often spend extra minutes swapping pads and doing smaller spot sections. But if you’re trying to protect appearance—especially on new hardwood floors with a still-unsettled dust load—that tradeoff is usually worth it.
Skip DIY cleaning if your floor is unfinished/unsealed, missing finish in spots, or you’re unsure of the finish type—then it’s smarter to follow your installer/manufacturer guidance or have a flooring pro handle it. Unsealed or damaged areas can take cleaners differently, and a method that’s safe for a polyurethane-finished surface may not be safe for an oiled/waxed system.
Quick checklist (save this)
Use this quick order of operations to keep hardwood floors safe while removing construction dust. If you follow nothing else, follow the sequence: dry first, then controlled damp, then dry buff.
“Start with dry removal when dust is present; avoid turning dust into slurry with early wet mopping.”
“Use microfiber cloths and avoid soaking; keep moisture contact brief and wipe dry promptly.”
– [ ] Vacuum/dust mop thoroughly (edges + corners)
– [ ] Use microfiber pads/towels that get swapped when gray
– [ ] Spot-clean with hardwood-safe cleaner on the cloth (not poured)
– [ ] Wipe again to remove cleaner film (water-only cloth if appropriate)
– [ ] Dry buff immediately with a clean, dry microfiber towel
Sources (primary):
If you only remember one thing for hardwood floors after construction: treat the dust as abrasive until proven otherwise. Dry removal first, then barely-damp microfiber spot-cleaning, then a prompt dry buff is the most reliable way to protect the finish while restoring a uniform look—especially when you’re cleaning in 2026 under fresh construction conditions.
Frequently Asked Questions
What’s the safest way to remove fresh construction dust from hardwood floors?
Start by dry cleaning first: use a soft microfiber dust mop or vacuum with a hardwood-safe attachment to pick up fine construction dust without grinding it into the finish. If you need to use a cleaner, choose a hardwood floor cleaner and lightly dampen a microfiber pad—avoid soaking the surface. Finish by wiping with a clean, dry microfiber cloth to prevent streaking and water spots.
How do I deep clean hardwood floors after construction without damaging the finish?
Vacuum thoroughly in multiple directions, then damp-mop using a cleaner labeled safe for hardwood floors and diluted according to the manufacturer’s instructions. Keep the mop pad only slightly damp and change pads often so you’re not redistributing dirty dust. For stubborn residue, spot clean with a gentle hardwood-safe cleaner on a microfiber cloth rather than abrasive pads, and always dry the area afterward.
Why is it important to clean construction dust promptly from hardwood floors?
Fresh construction dust can include abrasive particles like drywall or concrete dust that act like grit when walked on, dulling the shine and causing micro-scratches. Dust left for days can also attract moisture and form a film that’s harder to remove later. Cleaning early helps preserve the hardwood finish and keeps your floors looking clean, smooth, and well-protected.
Which cleaning method works best for drywall dust on sealed hardwood floors?
For drywall dust, the best approach is vacuuming first to capture the bulk of the particles, followed by a damp microfiber mopping. Use a pH-neutral hardwood floor cleaner (or a product specifically for sealed wood floors) to lift remaining residue without harming the protective layer. Avoid steam mops and harsh degreasers, since excess moisture can seep into seams and compromise the finish.
Best practices: what should I avoid when cleaning construction dust from hardwood floors?
Avoid dry sweeping with a broom, abrasive scrub pads, and aggressive cleaners that can strip the finish or leave haze. Never flood the floor or use too much water—standing moisture can warp boards or seep into gaps. Also steer clear of “all-purpose” cleaners with unknown ingredients and always test any new hardwood cleaning solution in a small, inconspicuous area first.
📅 Last Updated: October 29, 2026 | Topic: How to clean fresh construction dust from hardwood floors? | Content verified for accuracy and freshness.
References
- Silica, Crystalline – Overview | Occupational Safety and Health Administration
- Silica and Worker Health | Silica | CDC
- https://www.cdc.gov/niosh/topics/silica/solutions.html
- Renovate Right: Important Lead Hazard Information for Families, Child Care Providers and Schools …
- Lead Renovation, Repair and Painting Program | US EPA
- https://www.epa.gov/lead/lead-cleanup-and-disposal
- About Childhood Lead Poisoning Prevention | Childhood Lead Poisoning Prevention | CDC
- https://scholar.google.com/scholar?q=construction+dust+hardwood+floor+cleaning Google Scholar
- https://scholar.google.com/scholar?q=hardwood+floor+construction+dust+HEPA+vacuum+damp+mopping Google Scholar
- https://scholar.google.com/scholar?q=silica+dust+cleanup+wet+methods+HEPA+vacuum Google Scholar