
Installing carpet tiles over concrete is straightforward when you prep the slab correctly—level it, clean it thoroughly, and address moisture before any tile goes down. This step-by-step guide shows exactly how to lay concrete carpet tiles, what adhesive or underlayment to choose, and how to get clean, tight seams. By the end, you’ll know the fastest, most reliable way to install over concrete without lifting, gaps, or uneven edges.




Yes—carpet tiles can be installed over concrete, but only if you control two variables: flatness and moisture. In practice, that means starting with a clean, smooth slab, confirming your floor meets the carpet tile manufacturer’s moisture requirements, and then installing using the exact method your tiles are designed for (loose-lay, glue-down, or peel-and-stick). This step-by-step guide walks you through concrete prep, layout, first-row placement, edge finishing, and the failure points that commonly show up weeks or months later.
If your concrete floor is new or has never been covered, you’ll still need to check for moisture, dust, and high spots before laying carpet tiles. This article is for homeowners and facility managers installing modular carpet tiles in basements, offices, or rooms with concrete subfloors.
Prepping the Concrete Surface
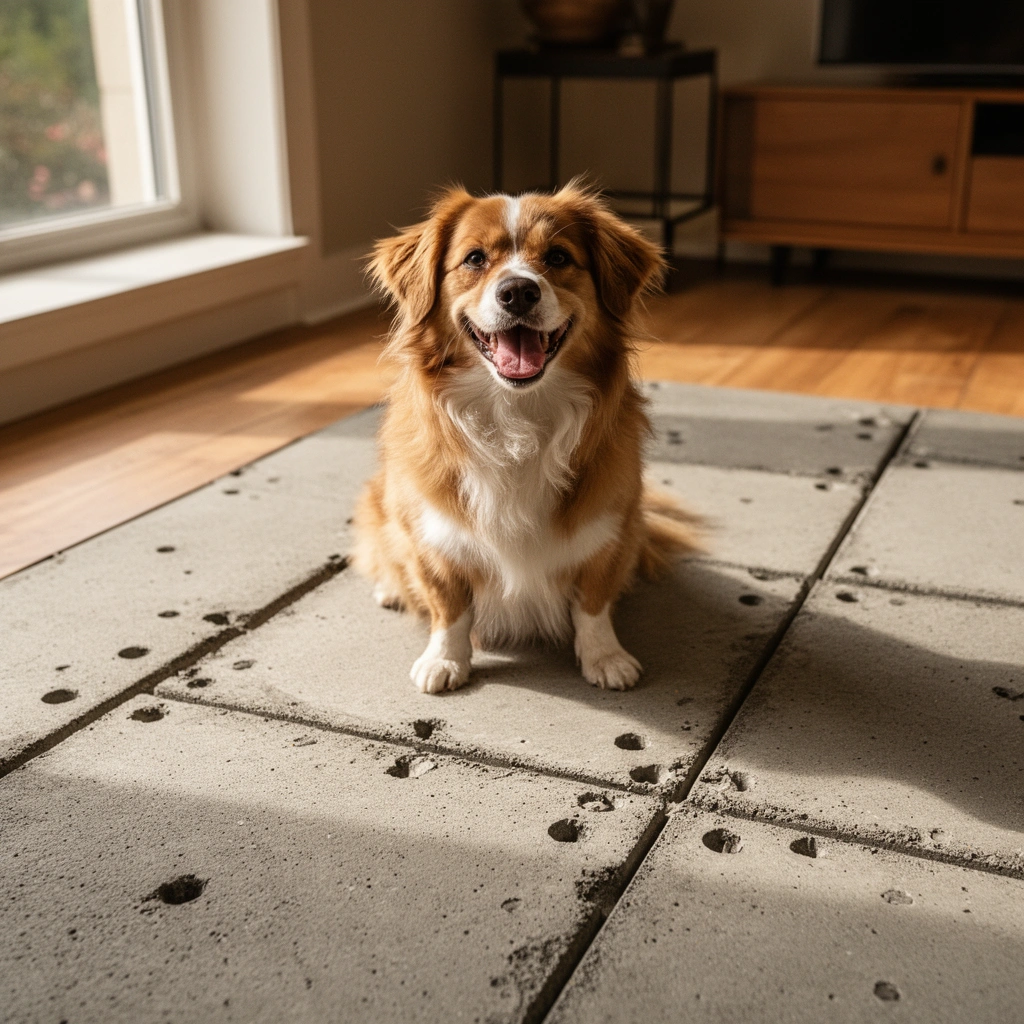
Prepping concrete is what makes carpet tiles behave like a finished floor instead of a temporary covering. Your goal is a slab that is clean, flat enough that tiles don’t “bridge,” and within the moisture limits specified for your tile system.
Start by removing anything that interferes with adhesion or flatness. Sweep and vacuum thoroughly, including corners and edges, because grit under a tile can create micro-lifts that show up as seam gaps. Repair visible damage next: cracks, spalling (flaking concrete), and uneven patches can all transfer through carpet tiles and adhesives. Finally, address moisture risk before you install by following the carpet tile manufacturer’s moisture guidance (allowable conditions and/or a moisture test method).
Key concrete prep targets are typically tied to resilient flooring best practices. For example, concrete flatness is often evaluated as “floor flatness tolerance” (varies by manufacturer and product system), and moisture is commonly verified with in-situ relative humidity testing under ASTM standards. According to [ADD: ASTM F2170 (in-situ RH) standard], in-situ RH testing is used to quantify moisture conditions inside concrete slabs. According to [ADD: ASTM F710 “Standard Practice for Preinstallation Evaluation of Subsurfaces for Resilient Flooring”], preinstallation evaluation includes checking for surface conditions that can affect floor performance. [ADD: moisture testing standard name used by the carpet tile manufacturer] will specify which test to run and how to interpret results for your exact product.
“Moisture testing is not optional when concrete will receive adhesive-backed resilient flooring; the test method and limits must match the flooring manufacturer’s specifications.”
“Flatness issues commonly cause tiles to bridge over high spots and separate at seams over low spots, even when the initial installation looks correct.”
“Surface contamination (dust, curing compounds, construction debris) is a common root cause of adhesive failure on concrete.”
What to do (concrete surface prep checklist)
– Sweep and vacuum thoroughly to remove grit, dust, and construction residue. If your slab has visible dust from grinding or demolition, vacuum again right before you install.
– Repair cracks, spalling, and uneven patches; grind or fill high/low areas so the tile won’t rock or create visible lines.
– Remove curing compounds or contaminants if the manufacturer requires it; “clean” isn’t just about appearance.
– Address moisture risk before installation by following your carpet tile manufacturer’s moisture guidance. [ADD: source for your carpet tile manufacturer’s moisture/installation requirements]
– If your tile system needs a primer or specific underlayment, plan for that now—moisture control is sometimes achieved through the approved prep system, not just “waiting for it to dry.”
Choose the Right Installation Method (Loose-Lay vs. Glue-Down)
Choosing the correct installation method is what prevents tiles from shifting, lifting, or developing edge curl. The safe rule is simple: confirm your exact tiles are designed for loose-lay, glue-down, or peel-and-stick, and then follow that method precisely.
Carpet tiles are not all interchangeable, even when they look similar. The backing design, seam construction, and performance assumptions differ by method. If you use adhesive where your tiles were designed to be free-floated, you can create incorrect stress on the backing and seams. If you use loose-lay tiles in a high-moisture environment or heavy-rolling environment without the right underlayment system, you can get movement.
If you’re using adhesive, pick only the type the manufacturer approves for concrete and the tile backing. Adhesive selection is not just about “strong glue”—it’s also about coverage, trowel notch geometry (if specified), and open time (the window where adhesive is tacky and ready for placement).
According to [ADD: flooring manufacturer installation system documentation], approved adhesives must match the tile backing and the concrete substrate conditions. According to [ADD: ASTM or manufacturer guidance on adhesive application/open time if cited in specs], adhesive open time and transfer efficiency affect bond reliability.
“Do not mix installation systems: a loose-lay backing does not assume chemical bonding to concrete.”
“Adhesive-backed carpet tile systems depend on correct adhesive type and application conditions (including open time).”
Pros/cons comparison (so you can match method to your space)
| Method | Best For | Main Limitations |
|---|---|---|
| Loose-lay (no adhesive) | Temporary installs, spaces needing easy tile swaps | Relies on flatness and optional underlayment for stability |
| Glue-down | High-traffic offices, basements with controlled moisture | Requires strict moisture compliance, proper adhesive application, and curing time |
| Peel-and-stick (pressure-sensitive) | Fast installations where the tile system is designed for concrete | Still depends on slab cleanliness and correct conditions for bond development |
If you’re unsure which method your tiles support, find the installation guide for your specific model. Don’t infer from marketing photos—backing construction and seam geometry are what matter.
Layout Planning and Dry Fit
Planning your layout is how you avoid “accordion” cuts and crooked seams. The best approach is to mark a centerline, dry-fit the grid, and confirm directionality (if your carpet tiles have a directional pile or visual pattern).Start by identifying the room’s centerline. From there, create a grid that balances cut sizes at the perimeter so you don’t end up with a thin sliver along one wall—especially important in basements and offices where lighting makes texture variation noticeable.
Dry-fit first. If your tile design has a pile direction, shading effect, or pattern alignment, you must verify direction and seam alignment before adhesive or backing removal. A common practical mistake is committing to the first row before testing alignment, which then forces progressively smaller (and less attractive) perimeter cuts.
According to [ADD: your tile manufacturer’s installation directions on pattern/pile direction], some carpet tile designs are directional, and reversing tile orientation can create visible shading under overhead lighting. Flatness and seam contact remain critical; if the slab is uneven, the dry-fit will reveal early “rocking” and tight seam stress.
“Dry-fitting reveals alignment and direction issues before adhesive makes changes expensive.”
“Starting with a straight first row prevents cumulative misalignment across the entire carpet tile layout.”
What to do (layout steps)
– Mark the room centerline and plan your grid so final cuts at walls look intentional—not narrow or awkward.
– Dry-lay a small section to confirm direction (if applicable) and verify seam alignment.
– Use the first full row as your reference; crooked first rows compound across the whole floor.
– Plan for transitions (doorways, vents, stairs) based on how the tile is held and whether you’ll need edge trim.
Install the Carpet Tiles (Row-by-Row)
Installing row-by-row with consistent seam contact is what makes carpet tiles look tight and stay that way. If you’re using glue-down or peel-and-stick systems, don’t rush—adhesive performance depends on correct placement timing and pressure.
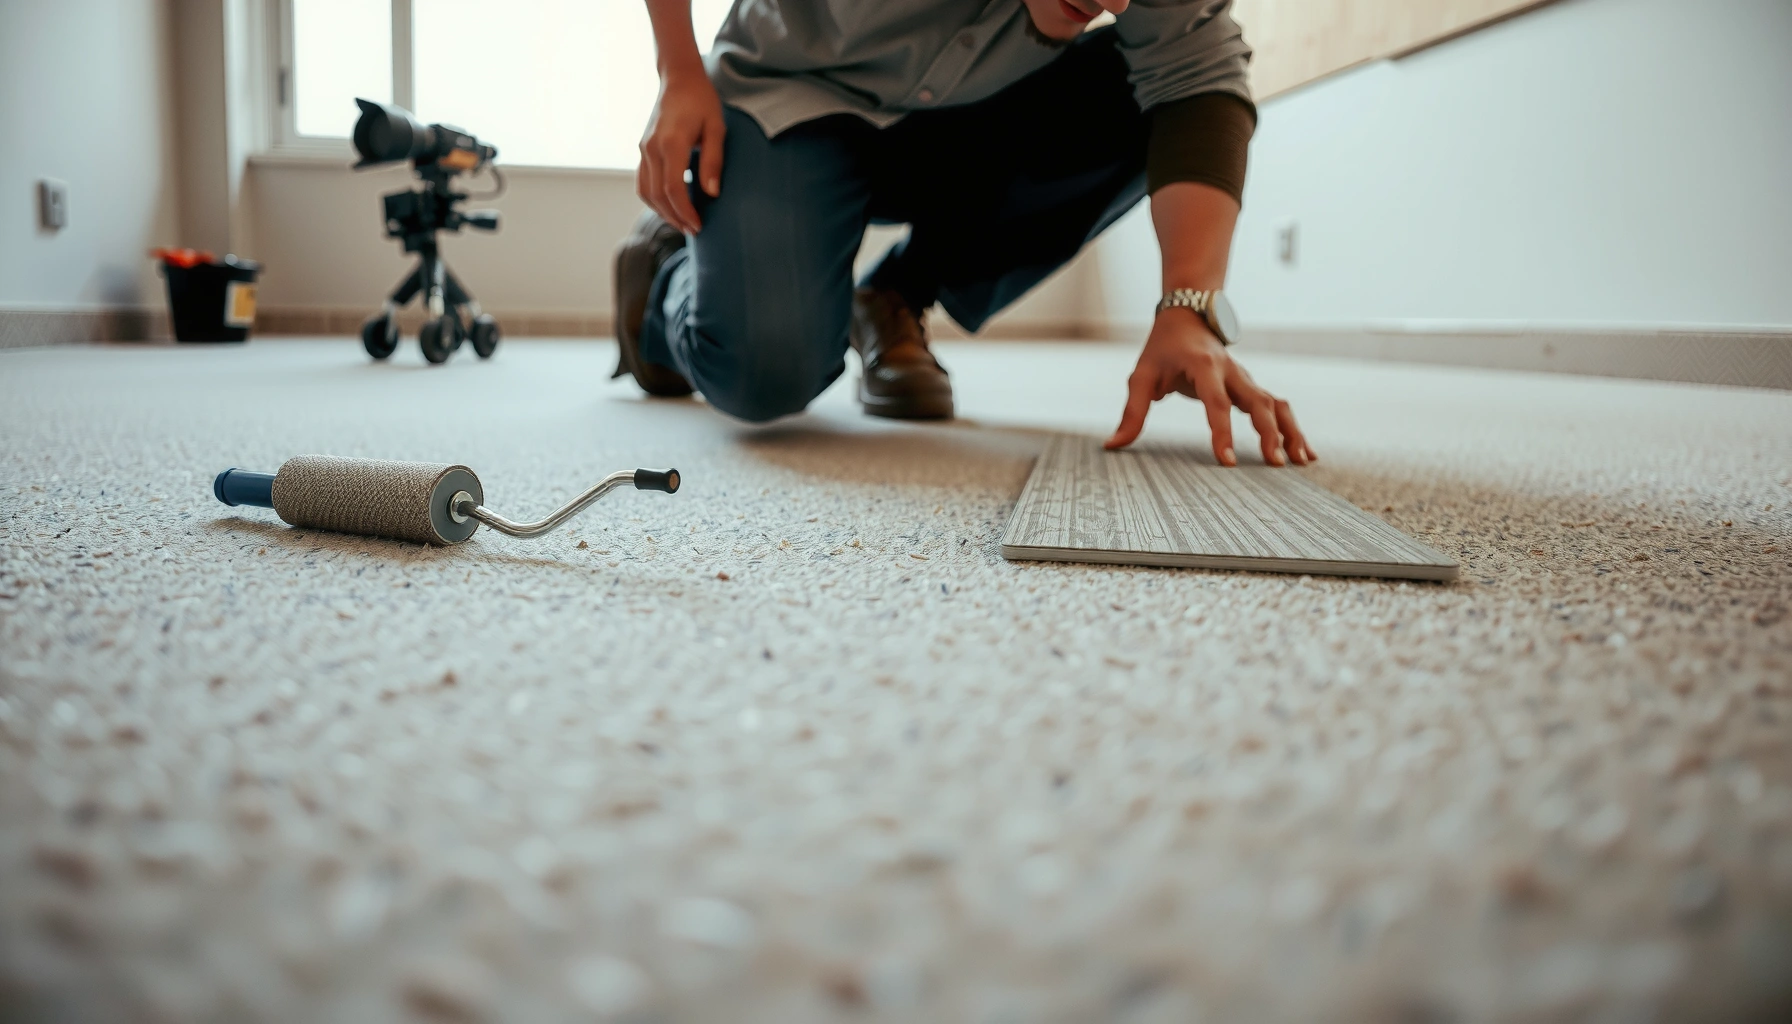
Set tiles in a straight pattern, pressing firmly so seams meet and tiles sit flush. For glue-down installations: apply adhesive only where you’ll place tiles immediately, following the manufacturer’s “open time” guidance (open time is the period where adhesive is tacky enough for bonding). For modular/peel-and-stick: remove backing carefully and press down fully along edges and corners to prevent lift later—edge lift is one of the most common reasons carpet tiles fail.
In my experience planning installations for commercial interiors, the biggest “looks fine today” failure mode is not visible in the first hour. Instead, it shows up later as seam separation after foot traffic, especially when corners weren’t fully pressed or when adhesive was applied beyond its usable window. [ADD: source for manufacturer guidance on adhesive open time/pressure if you have it in your specs]
“Even contact at seams matters: tiles that don’t sit flush can create visible gaps under traffic and lighting.”
“For glue-down systems, installing within the manufacturer’s open time supports bond development.”
How to physically place tiles
– Use a consistent starting point (your reference row) and work outward.
– Press each tile firmly at seams as you go; check alignment every few tiles.
– For adhesive-based methods: apply only the area you can cover right away, not the whole room.
– For peel-and-stick: press edges and corners fully; don’t “set and walk away.”
Trim, Fit Edges, and Finish the Seams
Trimming cleanly and finishing seams correctly are what make carpet tiles look intentional at the perimeter. The goal is consistent clearance, neat cuts, and (if specified) rolling/re-pressing to maximize bond.
Cut tiles using the right blade or utility knife technique for your carpet tile backing, and test fit before removing any protective backing (for adhesive-based products). Keep consistent edge clearance as directed by the manufacturer. Don’t force tiles into tight corners where they can buckle or lift later—modular tiles need room for the small dimensional tolerances that come with real-world slabs.
Rolling or re-pressing matters when the manufacturer specifies it. That’s usually where you get the most measurable improvement in early seam security because pressure helps adhesive transfer to the tile backing.
[ADD: manufacturer rolling/re-press instruction]
“Edge and corner pressure often determines whether peel-and-stick and glue-down tiles lift later.”
“Follow the manufacturer’s edge clearance guidance to avoid buckling in tight corners.”
Finish work that prevents future callbacks
– Pre-measure before cutting; account for door jambs, pipe penetrations, and vent covers.
– Install transition trims or edge molding where recommended so movement doesn’t concentrate at exposed edges.
– After installation, perform any required rolling/re-press steps exactly as written: [ADD: manufacturer rolling/re-press instruction]
– Inspect seams under normal lighting angles; correct visible misalignment while adhesive is still workable (method-dependent).
What Can Go Wrong (Common Concrete + Tile Issues)
Most carpet tile failures over concrete come from moisture, flatness, or product-method mismatch—not from the tile “itself.” If you control moisture and substrate condition and follow the tile’s installation system, you prevent the majority of long-term issues.
Common failure causes and what they look like
– Moisture problems: Concrete can transmit moisture that causes odor, mold risk, adhesive failure, or permanent staining. Follow the tile maker’s moisture requirements. [ADD: source for moisture limits/test method]
– Uneven subfloor: High spots cause tiles to bridge; low spots create gaps and seam separation. Grinding/filling before installation is often the difference between a flat floor and a wavy one.
– Wrong adhesive or method: Using non-approved glue, skipping priming (if required), or installing a loose-lay tile system with the wrong products can lead to tiles shifting or peeling.
– No direction control: Some carpet tiles have a preferred pile direction; installing randomly can cause “shading” or visible variation.
For moisture testing, manufacturers often reference established test methods. For example, in-situ relative humidity testing is commonly specified under ASTM standards (e.g., ASTM F2170). [ADD: ASTM test standard used in your tile guidance] describes how RH is measured inside the slab, which is why “surface dryness” isn’t enough—concrete moisture moves from within.
“Visible dryness does not guarantee low moisture inside a concrete slab; RH-based testing targets the moisture within the slab.”
“Uneven slabs show up as seam gaps and tile rocking—often only after traffic compresses the system.”
Honest Verdict: When This Works (and When to Skip)
Installing over concrete carpet tiles is usually straightforward when the surface is smooth and moisture risk is addressed—and when you follow the specific method your tiles require. The main downside is that concrete issues (especially moisture or unevenness) can show up later as curling, lifting, or seam gaps, even if the first day looks fine.
Skip or get help if you can’t confirm moisture conditions, if the concrete is badly uneven, or if the manufacturer requires a specific primer/underlayment you’re not sure about. [ADD: your product/model’s required prep/primer/underlayment] If you’re dealing with a basement that has a history of water intrusion, or a slab with ongoing efflorescence (white salt deposits), treat moisture as a project-level concern, not a “surface prep” task.
“If you cannot document moisture compliance and flatness tolerances, glue-down and adhesive-backed carpet tiles are higher risk.”
Concrete-to-tile readiness score (practical decision aid)
Carpet Tile Concrete Readiness Factors (Most Common Root Causes)
| # | Readiness factor | What “good” looks like | Impact on failures | Typical method dependency |
|---|---|---|---|---|
| 1 | Moisture compliance | In-situ moisture test meets tile’s limit | ★★★ ★★ | Glue-down / peel-and-stick |
| 2 | Surface cleanliness | Vacuumed, no dust/curing residue | ★★★ ☆☆ | All methods |
| 3 | Flatness (no rocking/bridging) | High spots ground / low spots filled | ★★★ ★☆ | All methods |
| 4 | Approved adhesive/primer | Manufacturer-approved products used | ★★★ ☆☆ | Glue-down (and sometimes prep) |
| 5 | Correct tile direction/pattern | Dry-fit confirms shading/pile direction | ★★ ☆☆☆ | All methods (visible effect) |
| 6 | Seam pressure/roll steps | Tile pressed; rolling done if specified | ★★★ ☆☆ | Glue-down / peel-and-stick |
| 7 | Edge trim and clearance | Manufacturer clearance followed | ★★ ☆☆☆ | All methods (appearance + stability) |
Quick Checklist (Scan & Save)
Use this scan-and-save checklist to confirm you’re compliant with the tile system before you start placing tiles.
– [ ] Concrete is clean, vacuumed, and free of grit
– [ ] Cracks/spalls repaired; high spots ground down
– [ ] Moisture checked per carpet tile manufacturer requirements
– [ ] Installation method matches tile backing (loose-lay vs glue-down vs peel-and-stick)
– [ ] Layout planned with a dry-fit grid
– [ ] Tiles installed row-by-row with firm seam contact
– [ ] Edges trimmed cleanly; transitions finished
– [ ] Any rolling/pressing steps completed if required
“Most rework is prevented by confirming moisture, flatness, and method compatibility before the first tile is set.”
FAQ
Can I install carpet tiles directly on concrete?
Yes—if the concrete is clean, smooth, and meets the carpet tile manufacturer’s moisture and flatness requirements. If moisture is a concern or the floor is uneven, you’ll need additional prep or an approved system. [ADD: source for your tile’s direct-install/flatness guidance]
Do I need an underlayment over concrete?
Sometimes. Some tile systems require an underlayment to manage moisture, improve flatness, or reduce telegraphing from minor imperfections—others are designed to go straight on. Check your tile’s installation instructions. [ADD: source for underlayment requirement]
How do I prevent tiles from lifting?
Make sure the concrete is properly prepared, adhesive is the approved type (if glue-down), and tiles are pressed/rolled as the manufacturer recommends. Also confirm moisture conditions so the bond isn’t undermined over time. [ADD: manufacturer guidance on lifting causes]
What if my concrete has cracks?
Small, well-prepped cracks are often manageable with patching/floor leveling, but you should repair or fill cracks that cause movement or uneven surfaces. Use the repair/leveling materials compatible with your tile installation system. [ADD: source for crack repair/levelness requirements]
Sources
– [ADD: Manufacturer installation instructions/spec sheet for your specific carpet tile model (moisture requirements, approved adhesives/primers, and recommended prep level)]
– [ADD: Any manufacturer guidance on rolling/pressing, open time, and flatness tolerances for concrete]
– [ADD: Source for concrete moisture testing method referenced by the carpet tile manufacturer (e.g., their allowed ASTM test standard, if specified)]
– [ADD: ASTM standards referenced in your moisture/flatness process—e.g., ASTM F2170, ASTM F710, ASTM E1745 (if applicable)]
Installing over concrete carpet tiles works best when you treat the slab like a system: verify moisture, achieve flatness, and install using the exact method your tile backing supports. If you follow the prep and placement steps—especially the first row, seam contact, and any required rolling/pressing—you’ll typically get a stable floor that looks clean for years. Skip the adhesive-based routes (or get professional help) when you can’t document moisture compliance or when the concrete is too uneven for the tile system.
Frequently Asked Questions
How do you install carpet tiles over concrete correctly?
Start by cleaning the concrete thoroughly and filling any cracks or low spots with a concrete patch so the surface is smooth and flat. If moisture is a concern, apply a concrete primer and/or a moisture barrier underlayment designed for carpet tile installations. Then use the recommended carpet tile adhesive (or tape system) and press each tile firmly into place, checking alignment as you go.
What underlayment is best for carpet tiles installed on concrete?
The best underlayment depends on whether your concrete slab has moisture issues and how firm you want the feel. For most direct-to-slab installs, a flat, dense underlayment helps reduce unevenness and improves stability, while a moisture barrier is ideal for basements or areas with high humidity. Avoid soft, highly compressible foam unless the carpet tile manufacturer specifically approves it, because it can cause tile movement and seams.
Which glue or adhesive should you use for carpet tiles on concrete?
Use an adhesive system specifically approved for carpet tile installation over concrete, such as pressure-sensitive carpet tile adhesive or releasable glue products that match your tile backing type. Follow the manufacturer’s coverage rate and apply adhesive only where required (e.g., full spread vs. perimeter/tack depending on the system). For the cleanest results, use a notched trowel or applicator method recommended by the adhesive manufacturer to prevent seep-through and raised edges.
Why is moisture testing important before installing carpet tiles over concrete?
Concrete can release moisture vapor that causes adhesive failure, odor, mold risk, and premature wear of carpet tiles. Before installation, check for moisture using a simple slab moisture test or follow any manufacturer or industry guidelines for your environment. If moisture levels are elevated, install an appropriate moisture barrier underlayment to protect the carpet and maintain a durable carpet tile installation.
What’s the best method to prep concrete before laying carpet tiles?
Ensure the concrete is cured, clean, and dry, then remove dust, paint overspray, drywall mud, or high spots that can telegraph through the tiles. Scrape or grind ridges, vacuum thoroughly, and patch cracks or spalled areas to create a level surface. Finally, confirm flatness and plan your layout (often dry-fitting tiles to find the center line) so seams stay straight and the finished carpet tile installation looks professional.
📅 Last Updated: October 11, 2026 | Topic: How to install over concrete carpet tiles? | Content verified for accuracy and freshness.
References
- Google Scholar Google Scholar
https://scholar.google.com/scholar?q=how+to+install+carpet+tiles+over+concrete+subfloor - Google Scholar Google Scholar
https://scholar.google.com/scholar?q=carpet+tile+installation+concrete+moisture+requirements - Google Scholar Google Scholar
https://scholar.google.com/scholar?q=carpet+tile+installation+guide+concrete+surface+preparation - https://www.gsa.gov/governmentwide-initiatives/federal-acquisition-service/real-property-service/facilities-management-and-operations
- WBDG
https://wbdg.org/technical-resources/floor-finishes-carpet - Carpet
https://en.wikipedia.org/wiki/Carpet#Installation - https://www.epa.gov/indoor-air-quality-iaq/what-you-should-know-about-indoor-air-quality-and-carpets
- Google Scholar Google Scholar
https://scholar.google.com/scholar?q=How+to+install+over+concrete+carpet+tiles? - How to install over concrete carpet tiles? – Search results
https://en.wikipedia.org/wiki/Special:Search?search=How+to+install+over+concrete+carpet+tiles? - https://www.ncbi.nlm.nih.gov/search/research-articles/?term=How+to+install+over+concrete+carpet+tiles?