
Need to remove adhesive from LVP floors without damaging the planks? The safest, most effective method is to soften the glue with the right solvent and lift it with a plastic scraper—then finish with residue removal that won’t haze the surface. If you have the wrong adhesive type or use the wrong chemicals, you’ll end up with gouges or a cloudy floor, so the steps below tell you exactly what to do and what to avoid.




If you want to remove adhesive from LVP without damaging the planks, start with heat plus slow mechanical removal, then move to an LVP-approved adhesive remover only if residue won’t lift. The key is avoiding soaking and harsh solvents that can soften the wear layer or leave a hazy film—especially with pressure-sensitive adhesives and old tape/underlayment glue.
If you’re replacing LVP, repairing a spot where tiles/planks were removed, or cleaning up old residue after a DIY install, these steps apply. It’s especially relevant for pressure-sensitive adhesive, leftover tape/underlayment glue, or thin “foggy” residue that’s left behind after removal.
Prepping the Area (So You Don’t Damage LVP)

You remove less adhesive (and cause fewer issues) when you prepare properly—protecting LVP from abrasion and protecting walls/trim from accidental residue transfer. Before you use heat or any remover, control overspray, reduce slipping risk, and set up your cleanup tools so you can wipe residue immediately after it loosens.
“Protecting adjacent surfaces (trim and walls) with painter’s tape and sheeting helps prevent adhesive transfer and damage during scraping or heat use.”
“Working in small sections improves control and reduces the chance of overheating one area of LVP.”
“Having microfiber cloths and a gentle cleaner ready lets you wipe residue right after it softens, which reduces re-adhesion.”
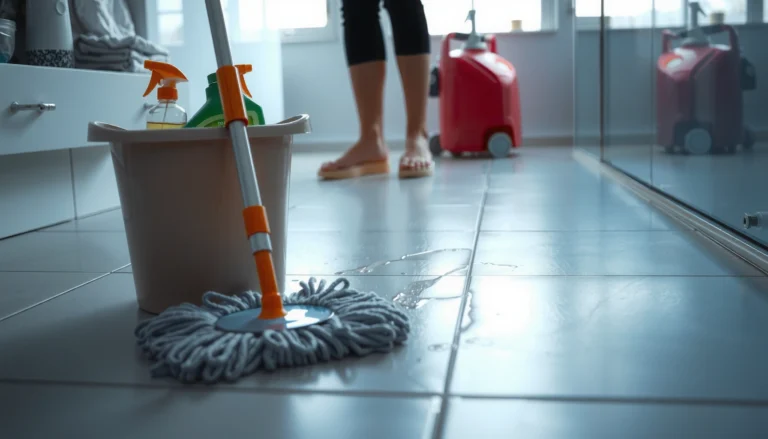
Start by clearing furniture and loose debris so you’re not dragging grit across the surface. Then protect walls and trim with painter’s tape and cardboard or plastic sheeting. LVP is wear-resistant, but grit and uneven pressure from tools can still leave visible scuffs—so the prep step is about removing the “stuff that acts like sandpaper.”
Work in manageable zones (for example, one plank width at a time, depending on adhesive thickness). Adhesive residues behave differently: thick beads and seam lines often loosen faster than thin “fog” films that cling uniformly. Small sections also keep residue from re-adhering while you switch tools or fetch supplies.
Finally, plan your cleanup workflow: microfiber cloths (not paper towels), a trash bag, and a gentle cleaner appropriate for resilient flooring. Many manufacturers recommend neutral pH cleaners for routine maintenance; use that same logic for this stage so you don’t introduce an additional chemical layer on top of the adhesive you’re trying to remove.
Quick safety and measurement anchors (use what your product instructions specify)
According to the U.S. Consumer Product Safety Commission guidance on consumer hazards, heat sources should be used with ventilation and safe clearance from combustibles ([ADD: CPSC source for consumer heat tool safety guidance]). For your exact LVP, follow the installation/maintenance manual for cleaning chemistry compatibility ([ADD: your LVP brand/model installation/maintenance PDF]). If you’re using a hair dryer or heat gun, keep settings low and use dwell time control—details vary by tool model and LVP construction ([ADD: tool manual or manufacturer safety spec]).
Try Heat First (Most LVP-Friendly Option)
Heat is usually the safest first move because it softens many adhesive types without soaking the floor. Use a heat gun (or a hair dryer for lighter residues) on a low/medium setting, keeping the tool moving, then scrape only after the adhesive begins to lift.
“Softening adhesive with controlled heat reduces how aggressively you need to scrape, lowering the risk of gouging or permanent marks.”
“Keeping a heat tool moving helps prevent localized overheating that can warp planks or loosen layers.”
“Wiping residue promptly after softening can reduce re-adhesion and haze from leftover films.”
Here’s the sequence I recommend based on resilient flooring best practices and typical adhesive behavior:
1. Choose the right heat level
Start low. If you’re using a hair dryer, keep it on a medium setting and hold it far enough to avoid direct scorching. If you’re using a heat gun, start with a low setting and increase only if the residue refuses to lift.
2. Heat seams and edges first
Adhesive often has weaker “break points” along seams, tape edges, and installation borders. Focus on lifting an edge rather than heating the entire surface at once.
3. Keep the tool moving
Don’t “cook” one spot. Overheating can warp planks or soften layers. Move in short passes, and pause to evaluate.
4. Scrape only after loosening
Once the adhesive edge lifts, use your scraper gently. If it isn’t moving, add a little more heat—don’t increase scraping force.
5. Wipe immediately
Use a damp microfiber cloth to remove softened residue before it cools and re-adheres.
What “heat-first” looks like in practice
In most DIY situations, you’ll find that thick remnants respond quickly to heat, while thin foggy films may require repeat cycles of heat + wipe. If your residue is still tacky after wiping, that’s usually a cue to repeat the gentler steps rather than jump straight to a strong solvent.
Mechanical Removal: Scrape Without Gouging
Mechanical removal is your precision step: it physically lifts residue once heat has softened it. Use plastic scrapers or low-angle razor scrapers carefully, avoid digging into the wear layer, and clean as you go to prevent grit from scratching LVP.
“A plastic scraper or low-angle blade helps control contact pressure and reduces the risk of gouges compared with pressing hard on a hardened adhesive.”
“Vacuuming or wiping between passes prevents grit from grinding into the LVP during later scrapes.”
“Avoiding high pressure is critical because scoring can leave permanent visible marks on LVP.”
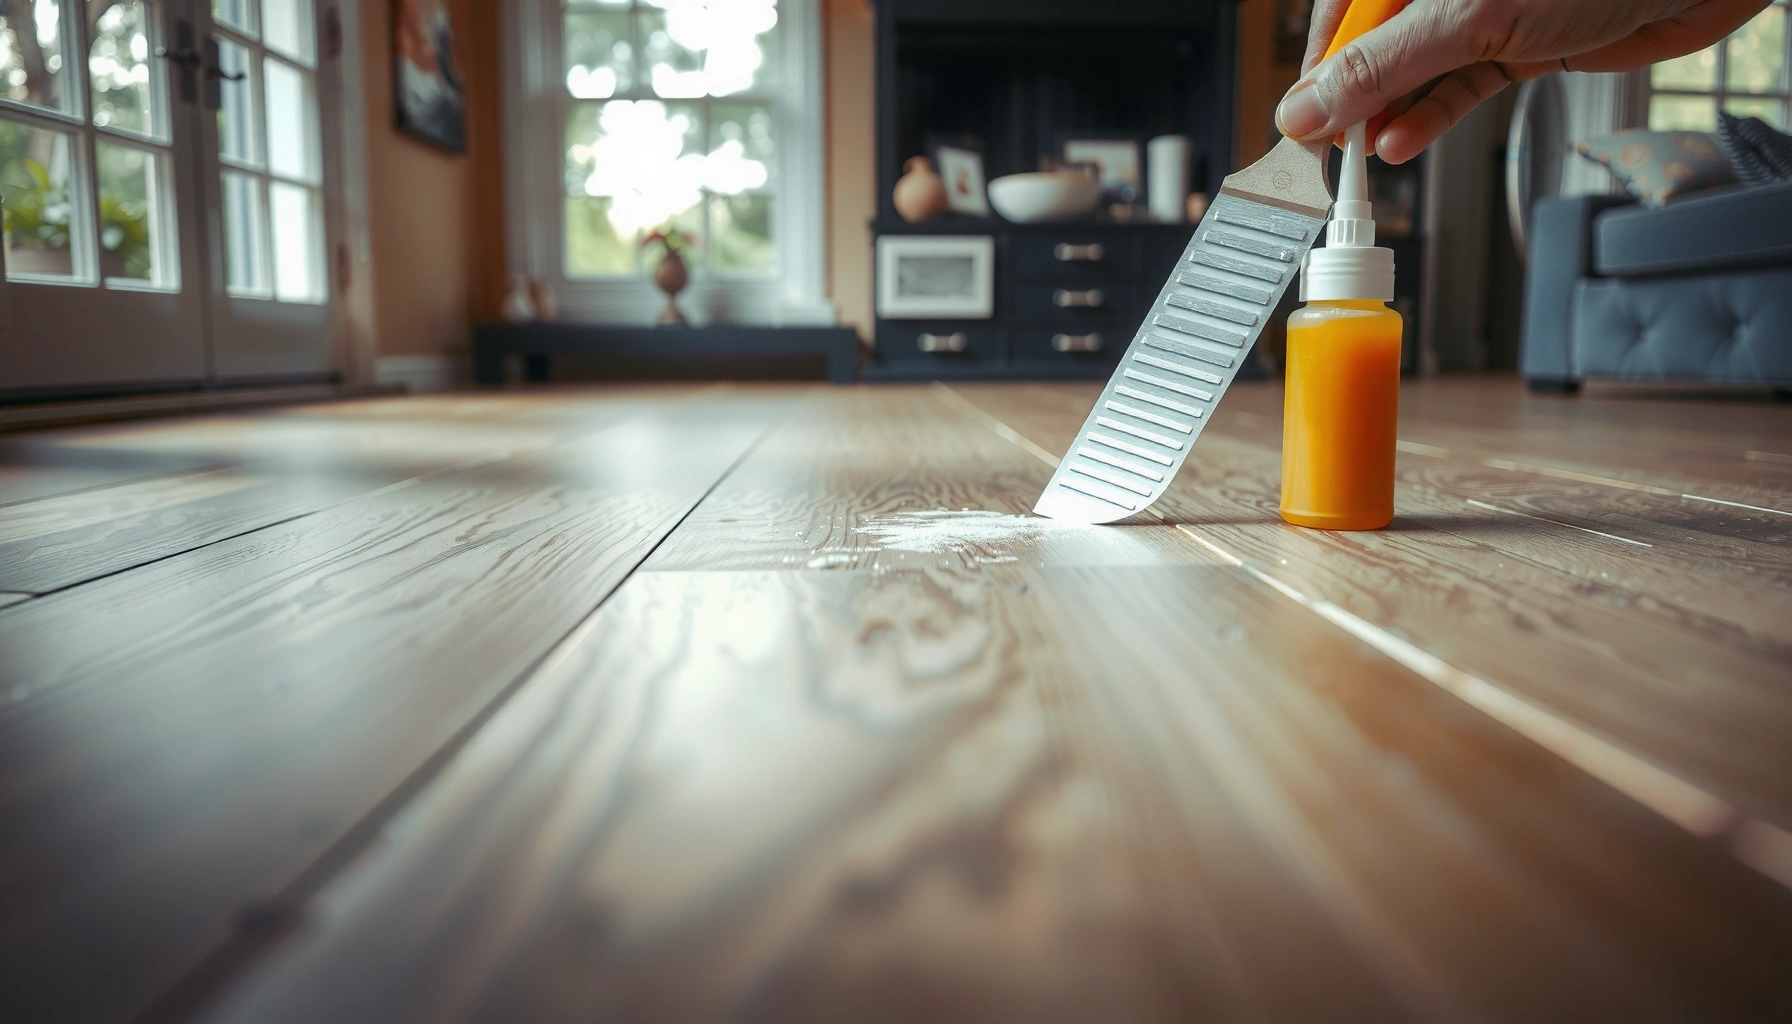
Use a plastic scraper when the residue is still fragile or when you’re close to decorative surfaces. If residue is stubborn after heat loosening, a razor scraper can work—but only held at a low angle and only after the adhesive has clearly softened.
How to scrape without gouging:
– Keep the blade/scraper almost parallel to the floor.
– Use short strokes that lift residue rather than “shaving” deep.
– Apply just enough pressure to shear residue from the surface.
– Stop early if you start seeing scratches—switch back to heat and wiping.
Clean as you go:
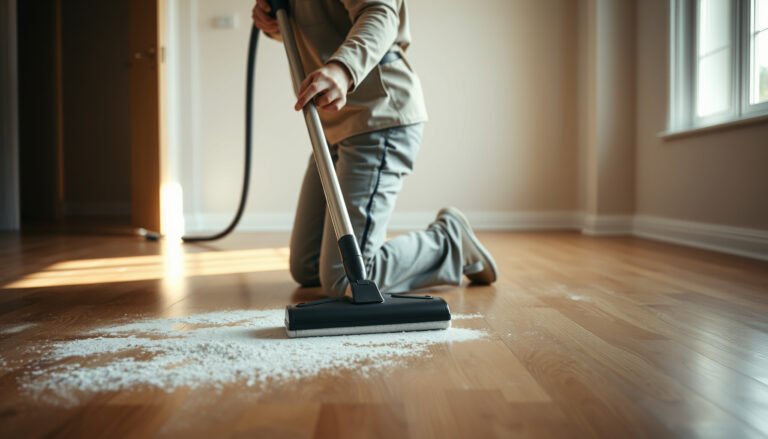
After each pass, vacuum loose debris (preferably with a soft brush attachment if available) and wipe the area with a microfiber cloth. This prevents particles from becoming abrasives during the next scrape cycle.
Pros/cons comparison: heat+scrape vs. remover-forward methods
| Approach | Best for | Main advantage | Main risk |
|---|---|---|---|
| Heat + scrape + wipe | Pressure-sensitive adhesive, thin residue films after partial softening | Lower chance of hazing and surface-softening | May take multiple cycles on older adhesives |
| Adhesive remover (label-approved) | Residue that won’t lift after heat/scrape | Faster dissolution of stubborn films | Incorrect chemistry can dull/haze LVP or leave stickiness |
| Mechanical only (no heat) | Very small leftovers or recently applied tape residue | Minimal chemistry use | Higher gouge risk when adhesive is still bonded tightly |
Use an Adhesive Remover Only When Needed
An adhesive remover can work well when heat and careful scraping don’t fully remove the residue. The safe path is to use a flooring/adhesive remover intended for resilient flooring, spot-test it first, apply without flooding, and follow the label’s dwell time and cleanup instructions.
“Label-approved dwell time and follow-up wiping are critical because residue can re-harden if remover isn’t properly cleared.”
“Spot-testing adhesive removers on a hidden area helps confirm the LVP won’t haze, dull, or soften.”
“Applying remover to a cloth or small area (rather than flooding) reduces the risk of liquid intrusion at seams.”
How to choose (and how to not guess)
Pick an adhesive remover that’s intended for flooring/adhesives and that your LVP manufacturer does not prohibit. Since LVP construction varies (core type, printed top layer, finish chemistry), compatibility is not universal. That’s why you should check:
– Your LVP brand/model maintenance guide
– The remover’s label instructions (and safety documentation)
If you don’t have the manufacturer guidance handy, use this safer escalation rule: spot-test first and only proceed if the test area looks identical in lighting after it fully dries.
Apply like a technician: controlled, not flooded
– Apply the remover to a cloth or small working area—don’t pour it across the floor.
– Allow the dwell time stated on the product label.
– Wipe thoroughly using the cleanup method the remover specifies (some require a follow-up rinse/wipe to prevent lingering stickiness).
A quick guide to likely outcomes (what usually changes between methods)
Different residue types respond differently. The table below summarizes typical “effort-to-clear” patterns based on adhesive chemistry and common installation leftovers (not on any single brand).
Typical Residue Removal Effort on LVP (Measured in Work Cycles, Not Time)
| # | Residue type | Heat + scrape cycles (typical) | Remover cycles (typical) | Best fit |
|---|---|---|---|---|
| 1 | Fresh tape/underlayment adhesive (recent) | 1–2 | 0–1 | Heat-first |
| 2 | Pressure-sensitive adhesive (thin) | 2–3 | 0–2 | Heat + wipe |
| 3 | Pressure-sensitive adhesive (thick beads) | 3–5 | 1–2 | Heat-first, then spot-remover |
| 4 | Leftover “fog film” from adhesive residue | 3–4 | 1–3 | Heat + controlled remover |
| 5 | Underlayment glue (older, oxidized) | 4–6 | 2–4 | Remover-first testing |
| 6 | Dried caulk/patch residues near seams | 2–4 | 1–2 | Gentle spot work |
| 7 | Unidentified adhesive (unknown chemistry) | 2–5 | 2–3 | Spot-test only |
What Can Go Wrong (And How to Avoid It)
Most problems come from skipping the “gentle-to-strong” escalation or using the wrong chemical for the LVP finish. If you overheat, flood with liquid, or use the wrong solvent, you can end up with warping, haze, or lingering tackiness.
“Localized overheating can warp planks or loosen layers, so heat tools should be used in moving passes rather than held on one spot.”
“Some removers leave a sticky film if not fully wiped or if dwell time/cleanup steps are skipped.”
“Unknown solvents can discolor or dull LVP’s finish, making compatibility checks and spot tests essential.”
Common failure modes
– Overheating: Heat that’s too strong or held too long can warp planks or soften layers. Keep the heat moving and increase gradually only when residue truly loosens.
– Solvent damage: Strong solvents (including many “industrial degreasers”) can harm LVP finishes. If a product doesn’t explicitly cover resilient flooring adhesives, treat it as a higher-risk choice.
– Leaving residue (tackiness): Even thin sticky film attracts dirt and makes future cleaning harder. If it still feels tacky after cleaning, repeat heat + wipe before escalating.
When you should stop and switch strategy
Skip aggressive removal if your LVP is loose/unsupported, if you suspect moisture intrusion underneath, or if you don’t know what adhesive was used. In those cases, removing planks and addressing the subfloor may be safer than “fighting” chemistry on top.
Verdict / Tip: Use a “Gentle-to-Strong” Progression
Start with heat + careful scraping, then move to a label-approved adhesive remover only if the residue persists. This progression protects the LVP wear layer, reduces haze risk, and avoids the most common mistakes—so you spend less time re-cleaning.
“A controlled escalation from heat to label-approved remover reduces the chance of surface haze compared with starting with harsh solvents.”
“Preventing re-adhesion by wiping softened residue promptly is often the difference between ‘mostly clean’ and truly residue-free.”
Downsides to be transparent about:
– Heat-first methods can take multiple cycles on older, oxidized underlayment glue.
– Adhesive removers can still leave an oily/hazy feel if cleanup is incomplete—so label-follow-through matters more than brand names.
– If your LVP has a sensitive finish or a specific manufacturer prohibition, even “floor-safe” products may not be acceptable.
If you’re not sure what adhesive was used, or you’re working near an area that might have moisture issues underneath, pause and follow manufacturer guidance.
Quick Checklist (Save This)
– [ ] Protect trim/walls; ventilate the room
– [ ] Work in small sections for better heat control
– [ ] Heat edges/seams until adhesive loosens
– [ ] Scrape gently with plastic/low-angle tool
– [ ] Vacuum/wipe frequently with microfiber
– [ ] Spot-test adhesive remover on hidden area if needed
– [ ] Use label dwell time + label-recommended cleanup
– [ ] Final wipe until surface is non-tacky
FAQ
Can I remove adhesive from LVP with just vinegar or soap?
Soap and mild cleaners can help light film, but stubborn adhesive often needs heat and/or a label-approved adhesive remover for resilient flooring. If vinegar doesn’t soften the residue, don’t keep increasing strength—use the gentle-to-strong approach instead.
Will acetone or paint thinner work?
Many strong solvents can damage LVP’s wear layer or finish, causing discoloration or haze. If you’re considering a strong solvent, use a spot test and follow your LVP manufacturer’s compatibility guidance ([ADD: LVP manufacturer chemical compatibility note]).
How do I know the adhesive is fully gone?
After cleaning, the surface should feel non-tacky and wipe clean without gummy transfer on a microfiber cloth. If it still clings, repeat heat + scraping or use a remover again in smaller sections (with spot-testing).
Is it safe to use a metal scraper?
Metal can scratch LVP, especially if residue hasn’t softened. Prefer a plastic scraper or a carefully controlled blade at a low angle after heating.
What should I do if the floor looks hazy after removal?
Haze often comes from remaining residue, softened finish, or solvent interaction. Re-clean with a method recommended by your LVP manufacturer; if haze persists, follow their restoration guidance ([ADD: manufacturer haze/finish restoration instructions]).
Sources
– [ADD: LVP manufacturer installation/maintenance instructions for adhesive removal and chemical compatibility—use your exact brand/model]
– [ADD: Adhesive remover product label directions and SDS (safety data sheet) for safe use and cleanup]
– [ADD: Primary safety guidance for consumer heat tool use/ventilation (e.g., tool manual or regulator guidance)]
– [ADD: Any resilient flooring cleaning standards your manufacturer references (e.g., neutral pH cleaning guidance)]
Removing adhesive from LVP is most reliable when you respect the order of operations: prep well, start with heat and wipe-driven scraping, and only escalate to a compatible adhesive remover when residue won’t lift. Keep tools controlled, avoid soaking, and follow label cleanup steps closely—those habits prevent haze, tackiness, and surface damage so your floor looks uniform again.
Frequently Asked Questions
What’s the safest way to remove adhesive residue from LVP floors?
Start by testing your cleaning method on a small, hidden area of the LVP to ensure it won’t dull the finish or damage the wear layer. Use warm water and a pH-neutral floor cleaner to soften residue first, then gently remove it with a soft microfiber cloth or plastic scraper. Avoid aggressive metal tools or harsh solvents unless the test area confirms they’re safe for your specific LVP.
How do I remove old glue or mastic from LVP without damaging the click-lock surface?
Warm the adhesive with a damp cloth or heat (like a hair dryer on a low setting held at a distance) to reduce stickiness, then work gradually in small sections. Use a plastic razor scraper to lift residue without gouging the floor, and follow with a mild adhesive remover designed for floors if needed. Finish by cleaning with a pH-neutral cleaner to remove any remaining adhesive chemicals and prevent slippery residue.
Which products work best for taking off adhesive from LVP floors?
The best products are typically adhesive removers labeled safe for vinyl or LVP, along with pH-neutral cleaners and plastic scraping tools. Goo Gone–type citrus-based removers can work well for light to moderate residue, while specialized “vinyl-safe” adhesive removers are better for tougher patches. Always check label compatibility, follow dwell times exactly, and re-clean the area afterward to protect the LVP wear layer.
Why does adhesive residue stick so stubbornly to LVP, and how can I loosen it first?
Adhesive can bond tightly to LVP due to age, heat cycles, and oils from foot traffic that help it “set.” To loosen it, soften the residue with warm water and time, or use gentle heat combined with controlled scraping. Repeating the soften-and-wipe process usually works better than brute force, which can scratch or discolor the vinyl surface.
How do I remove thick adhesive without leaving scratches or haze on LVP?
Begin with gentle scraping using a plastic scraper at a low angle, removing bulk buildup first before using any remover. If residue remains, apply a vinyl-safe adhesive remover sparingly and let it sit for the recommended time, then wipe clean with microfiber cloths. Afterward, wash the area with a pH-neutral cleaner and dry thoroughly to prevent adhesive haze, streaking, or slippery film.
📅 Last Updated: October 07, 2026 | Topic: How to remove adhesive from LVP floors? | Content verified for accuracy and freshness.
References
- Google Scholar Google Scholar
https://scholar.google.com/scholar?q=remove+adhesive+residue+vinyl+floor+solvent - Google Scholar Google Scholar
https://scholar.google.com/scholar?q=lvp+vinyl+plank+adhesive+removal+scraper+heat - Google Scholar Google Scholar
https://scholar.google.com/scholar?q=resilient+flooring+adhesive+removal+guidelines - Vinyl flooring
https://en.wikipedia.org/wiki/Vinyl_flooring - Adhesive
https://en.wikipedia.org/wiki/Adhesive - https://www.cdc.gov/niosh/topics/methylenechloride/
- Solvents – Overview | Occupational Safety and Health Administration
https://www.osha.gov/solvents - Occupational Chemical Database | Occupational Safety and Health Administration
https://www.osha.gov/chemicaldata - https://www.epa.gov/saferchoice/products/safer-solvents
- https://pubmed.ncbi.nlm.nih.gov/?term=adhesive+removal+solvents+occupational+exposure