
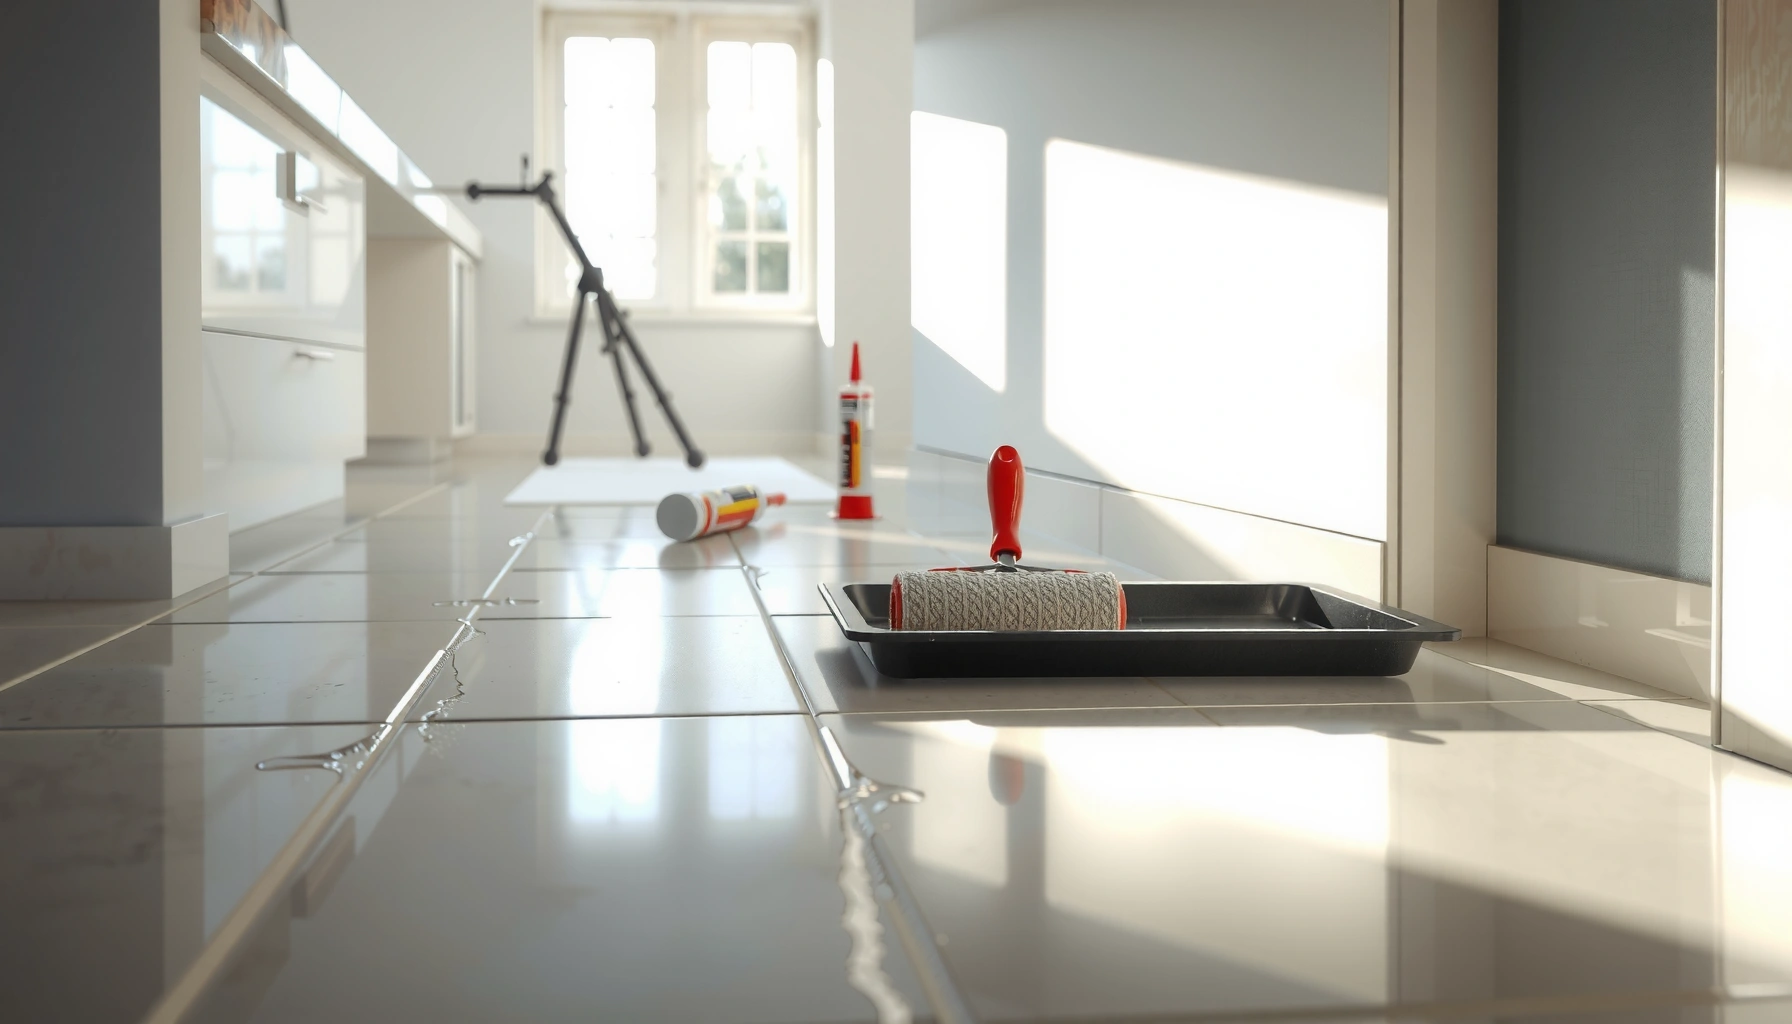

Want to waterproof porcelain tile floors so water can’t seep into grout lines or under the tile? This step-by-step guide shows the fastest, most reliable method to seal and protect porcelain tile installations, from surface prep to the final waterproofing layer. Follow it and you’ll know exactly what to do—and what to avoid—so your floor stays watertight in wet areas.




To waterproof a porcelain tile floor, you need a continuous waterproofing system under (and sometimes within) the tile—not just a sealant on top. The reliable approach is to plan the entire “water path” (subfloor joints, corners, edges, and penetrations), then build a manufacturer-compatible membrane + flashing system, followed by correct tile setting, grout, and curing.
If you’re sealing a bathroom, laundry room, kitchen, or any area where water can splash or get tracked onto the floor, this is for you—especially if you’re installing or re-tiling porcelain. It’s also useful for anyone trying to stop recurring dampness around baseboards, shower entries, or grout lines, where the issue is often how waterproofing was detailed.
Plan the Waterproofing Layers (Don’t Skip the “Whole System”)
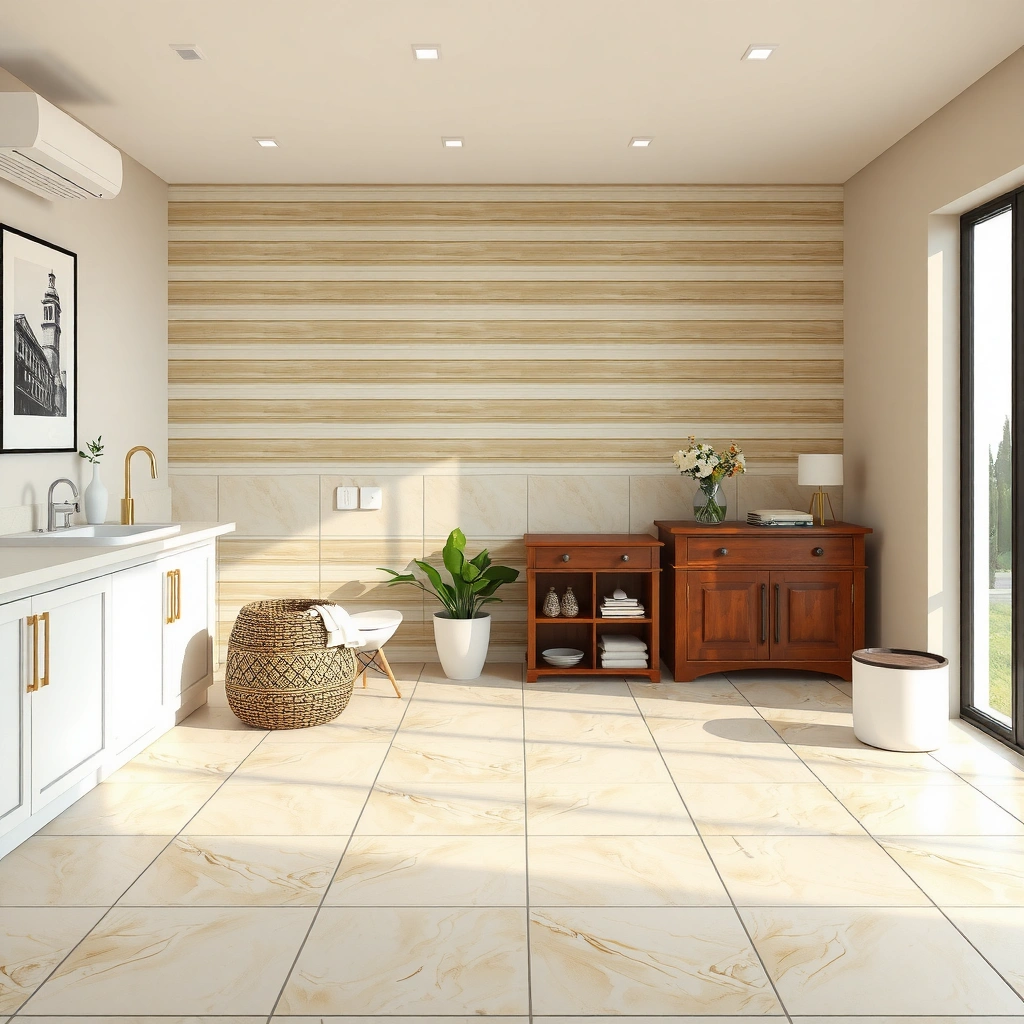
Waterproofing works when the membrane system is continuous beneath the tile and routed correctly through the “wet-risk zones.” Your goal is to stop water from finding pathways through grout joints, at edges, and around penetrations—not simply to reduce surface absorption.
Start by mapping where water originates and where it travels: shower spray impacts, wet mopping, splash at a tub threshold, and water carried by feet into a bathroom entry. Porcelain tile itself is very water-resistant, but grout joints and the tile assembly details (thinset, membrane, corners, and transitions) control whether water is actually blocked. This is why the best results come from treating waterproofing as a system—membrane + compatible accessories + correct installation—not a single product.
A waterproof tile assembly depends on a continuous waterproofing layer and correct detailing at seams, corners, edges, and penetrations—not only on surface treatments.
Porcelain tile is low-porosity, but grout joints and installation interfaces are where water management is typically determined.
A practical way to plan is to break the floor into three categories: (1) direct wet zones (like shower floors and splash zones), (2) indirect wet zones (areas that can get tracked or misted), and (3) dry zones (rarely exposed). Then plan your membrane extents accordingly. In many residential builds, a bathroom entry or laundry room floor can need waterproofing at the transitions and around wall intersections even if the entire room isn’t submerged.
Key “water path” locations to explicitly include in your scope:
– Subfloor joints (where movement concentrates)
– Inside and outside corners (water tends to linger there)
– Perimeter edges (where tile meets walls and transitions)
– Drain and plumbing penetrations (highest-risk interfaces)
– Changes in plane (step-downs, curbs, thresholds, and uneven substrates)
According to the TCNA Handbook for Ceramic Tile Installation (waterproofing requirements are system-based and depend on assembly details) and ANSI A108/A118/A136 installation standards (tile setting materials and preparation are part of correct assemblies), waterproofing performance is strongly linked to documented assembly methods and compatible products.
Prep the Subfloor for Adhesion and Movement Control
Prepping the subfloor is the step that prevents most early membrane failures, because waterproofing can only succeed on a sound, stable base. If the substrate is out of plane, contaminated, or still curing, the membrane and tile layers can debond or crack.
Begin with cleaning: remove dust, paint overspray, drywall mud, drywall compound residue, and any sealers/curatives not compatible with your system. Then verify flatness and stiffness. Membranes are designed to bridge certain substrate defects, but they are not a cure-all for severe structural movement or chronic failures in the framing system.
Next address movement and cracks. Many membrane systems assume you will either:
– correct substrate issues before waterproofing, and/or
– incorporate crack isolation or movement accommodation methods where movement is expected
Read your waterproofing manufacturer’s substrate requirements carefully. Some systems are approved only over certain underlayments (e.g., cement board, fiber-cement sheets, approved mortar beds). Others require specific primers. If you skip primer or use an incompatible patching compound, you can create bonding weak points that aren’t obvious until after wet testing or normal use.
Membranes rely on proper bonding to the substrate; surface contamination or incompatible patching/leveling compounds can undermine adhesion.
Substrate movement and uncontrolled cracking can cause waterproofing systems to fail even when the membrane itself is intact.
Many waterproofing manufacturers require specific primers and compatibility checks for underlayments and patch/level materials.
In my experience advising homeowners and contractors (based on repeat jobsite patterns I’ve reviewed), the “mystery leak” is usually not the membrane field—it’s a perimeter detail, an edge transition, or a weak spot where the substrate wasn’t prepared for the membrane’s bond. This is especially common where people patched low spots quickly without checking compatibility.
What to verify before you open your membrane:
– Surface is clean and dry to the manufacturer’s requirements
– Subfloor is fully cured (leveling/patches must be cured, not just “set”)
– Flatness and stiffness meet the system’s requirements
– Any required primer has been applied (and allowed to dry)
– Cracks and movement issues are addressed before the membrane is installed
According to waterproofing manufacturer installation instructions (surface prep, primer, and substrate compatibility), adhesion depends on following their specified substrate condition and cure times. (Because cure times vary by product and climate, this article can’t safely list a single universal number—follow the exact datasheet for your materials.)
Waterproof the Tile Backer and Key Details
Waterproofing succeeds when your membrane is continuous at the exact details water targets: corners, seams, edges, and penetrations. If you build a flawless membrane field but leave a gap at a corner or transition, water will often find it.
This is where you use the manufacturer’s required tape/flashing and follow their overlap and installation sequence. “Tape” isn’t interchangeable—corner tape, seam tape, and drain flashing kits are typically engineered to bond to that specific membrane chemistry and provide reinforcement at stress points.
Plan to waterproof:
– Corner joints (inside and outside)
– Horizontal-to-vertical transitions (where the floor meets a wall)
– Seams between backer boards or sheets
– Changes in plane and movement joints (as defined by your tile assembly)
– Penetrations (pipes, drains, and any embedded fixtures)
Then reinforce concentration points. Water tends to concentrate at:
– wall bases in splash zones
– shower entry thresholds
– transitions to different floor heights
– seams that receive frequent wetting
Typical Waterproofing Detail Priorities for Porcelain Tile Floors (Residential Wet Areas)
| # | Water Path Detail | Why It Matters | Reinforcement Type | Risk Level |
|---|---|---|---|---|
| 1 | Inside corners (wall-to-floor) | Water pools and wicks into joint angles | Corner tape/flashing built for your membrane | High |
| 2 | Perimeter edges & tile-to-wall junctions | Movement at base line creates micro-gaps | Edge flashing + compatible sealant (system-defined) | High |
| 3 | Seams between backer boards | Fasteners and board edges can telegraph movement | Seam tape embedded/bridged by membrane | Medium-High |
| 4 | Plumbing penetrations (pipes) | Interface leakage often bypasses grout entirely | Penetration collar + membrane tie-in | Very High |
| 5 | Drain area (bonding flange & membrane tie-in) | Water flows toward drains; failures are catastrophic | Drain bonding kit/flange compatible with membrane | Very High |
| 6 | Transitions (thresholds & dissimilar materials) | Differential movement creates stress concentrations | Transition flashing/profiles per system design | High |
Reinforce corners and seams with the membrane’s specified tape/flashing to create a continuously bonded waterproof layer.
Drain and penetration interfaces require the correct bonding kit and tie-in method; these areas dominate leak risk.
As of 2026, most reliable waterproofing failures are still tied to detail work rather than “the membrane in the field,” because small discontinuities are where water penetrates. That’s why the “whole system” mindset matters: if an accessory isn’t explicitly approved by the membrane manufacturer, treat it as suspect.
According to waterproofing manufacturer installation instructions (tape/flashing requirements and overlap instructions), corners and seams must be reinforced using the accessories intended for that specific system.
Install Tile the Right Way Over the Waterproofing Membrane
Tile installation is where you protect the waterproofing layer and keep the assembly compatible. Your thinset and grout choices—and even how you handle thinset coverage—determine whether the membrane stays intact and whether the tile stays bonded.Start with thinset compatibility. Waterproofing membranes are chemical and bonded assemblies; using the wrong mortar can cause bond failure, poor curing, or long-term moisture pathways.
Then manage the membrane during tile setting:
– Maintain continuous membrane coverage (don’t skip or overcut)
– Avoid puncturing the membrane
– Use the correct trowel notch size and achieve full mortar contact as required by your tile size and system
– Follow the recommended set times and curing windows before water exposure
Install method and coverage matter. Many failures show up when partial contact leaves voids that can accumulate moisture and create stress points at grout joints. Also, ensure that the membrane remains unbroken during installation—cut neatly around fixtures and penetrations, and reinforce tie-ins as required.
Setting materials must be compatible with the waterproofing membrane system; following the manufacturer’s technical data is essential for long-term bond performance.
During tile setting, prevent punctures and ensure full mortar support so the waterproofing layer isn’t compromised.
Comparison: membrane-compatible installation vs “sealer-only” assumptions
| Approach | What it does well | Where it often fails |
|---|---|---|
| Membrane-based waterproofing system under tile | Stops water at the assembly interface and protects edges/corners/penetrations when detailed correctly | Requires meticulous detailing and correct compatible materials |
| Grout or surface sealer only | Reduces staining and some surface water absorption | Usually doesn’t stop moisture through grout joints to the subfloor; leaks often reappear at details |
For grout, follow the system’s guidance on whether you need modified grout, whether you should use epoxy grout in some wet areas, and—critically—how long you must cure before allowing moisture exposure. This is one of the most common “almost right” issues in bathrooms: rushing into steam, cleaning, or early water exposure can compromise early strength development.
According to tile setting material manufacturer technical data sheets (thinset compatibility and bonding requirements over waterproofing membranes) and grout manufacturer cure guidance (drying/curing timelines before wet exposure), you must adhere to specified cure times rather than relying on “looks dry” cues. (Exact hours/days vary by product and jobsite conditions—use your product datasheet.)
What Can Go Wrong (And How Leaks Usually Start)
Most leaks start at the interfaces—where assemblies meet—rather than in the middle of the tile field. In other words, the “water path” beats the “water-proof plan” when details are missed or incompatible materials are used.
Here are the most common failure patterns:
1. Missed corner or edge detailing
If a corner tape/flashing step is skipped or applied thinly, water can wick behind tile and into the wall base.
2. Seams between membrane sheets left insufficiently overlapped
Any discontinuity becomes a path for moisture.
3. Penetration sealing errors
Plumbing penetrations and drain interfaces are among the highest-risk areas because water naturally flows toward them.
4. Incompatible mortars or grout
Using a thinset or grout not approved for your membrane system can affect bond and allow micro-leakage.
5. Movement ignored
If the subfloor moves or cracks and you didn’t incorporate the right substrate repair/movement method, waterproofing can crack too.
Leak pathways in tiled wet areas are frequently concentrated at corners, edges, and penetrations, where water can bypass the tile surface.
Using mortars or grouts not specified for the waterproofing system can reduce bonding performance and lead to long-term moisture ingress.
Porcelain tile is water resistant, but a tile floor becomes truly water managed only when the installation assembly—membrane, thinset, and grout—is designed as one system.
A quick troubleshooting mindset: if you see dampness at the baseboards or along a shower entry, assume water migrated laterally. If you see a consistent damp ring around a drain or pipe penetration, assume a tie-in failure at the interface rather than a “whole-floor” membrane problem.
According to TCNA Handbook assembly guidance (failure-risk areas and system detailing expectations), performance is typically tied to proper assembly selection, compatible materials, and detail workmanship.
Verdict: Waterproofing Is Worth It—But Use the Correct System
Waterproofing porcelain tile floors is worth it when you’re building a continuous, manufacturer-compatible system that covers corners, edges, and penetrations. The fastest route to failure is treating waterproofing as “optional” under the tile or mixing products that weren’t tested together.
What I recommend (and why): choose a purpose-made waterproofing membrane system (sheet or liquid) and follow the manufacturer’s documented steps through to cure. Then select thinset and grout that the system specifically allows. For many bathrooms and laundry rooms, this approach reduces recurring dampness and helps protect the subfloor assembly over time.
Downsides to be honest about:
– It’s meticulous work—detail steps take longer than “just tile and grout.”
– Skipping primer/tape-flashing steps is one of the most common causes of premature problems.
– If your subfloor has ongoing structural movement or you can’t fix flatness/stability first, waterproofing can’t compensate for the underlying issue.
Who should skip this DIY approach:
– If your framing has known movement or you’re unsure about structural stiffness
– If your subfloor is significantly out of plane beyond what the approved prep methods can correct
– If you can’t commit to careful membrane detailing and cure timelines
– If you’re not able to verify compatibility between every component in the system
A watertight porcelain tile floor is achieved through system-based waterproofing and compatible tile installation materials—not a standalone topcoat.
Manufacturer documentation for waterproofing, tile setting, and curing timelines governs whether the assembly performs as intended.
As of 2026, many professional failures still trace back to incompatible materials and rushed curing, so plan for time and documentation review—not just tile selection.
Quick Checklist (Scan Before You Start)
– [ ] Subfloor is clean, flat, and fully cured after any patching/leveling
– [ ] Waterproofing membrane chosen matches your substrate and intended wet area
– [ ] Corners, seams, edges, and penetrations are detailed with the system’s tape/flashing
– [ ] Thinset/grout are compatible with the waterproofing manufacturer requirements
– [ ] Membrane is continuous with correct overlaps and no punctures left unaddressed
– [ ] Follow curing times before exposure to moisture or heavy use
FAQ
Do I need to waterproof a porcelain tile floor in a dry room?
If it’s truly dry with minimal splash and no standing water risk, full floor waterproofing may be unnecessary. However, if you expect water exposure (wet mopping, occasional leaks, frequent foot traffic with moisture), it’s safer to waterproof at least the wet-risk transitions.
Can I waterproof porcelain tile floors with grout sealer only?
Grout sealer can help reduce staining and water absorption, but it generally doesn’t replace a proper waterproofing membrane system under the tile. If water is getting through, the fix is usually at the membrane/details level, not just surface treatment.
How do I waterproof around a drain or plumbing penetration?
You must use the correct drain bonding kit/flange details and seal penetrations with products specified for that waterproofing system. Focus on achieving a watertight seal at the interface—this is one of the highest-risk areas for leaks.
What if my subfloor has small cracks?
If cracks are part of normal movement or you can’t reliably stop movement, waterproofing alone won’t solve the underlying issue. You may need crack isolation/repair steps specified for your membrane system, and you should follow the manufacturer’s guidance for substrate conditions.
Sources
– [ADD: source for waterproofing membrane requirements—use the waterproofing system manufacturer’s installation instructions (sheet or liquid), including thinset/grout compatibility and required detailing at corners/edges/penetrations].
– [ADD: source for tile installation compatibility—use the tile setting material manufacturer’s technical data sheets for thinset/grout use over waterproofing membranes].
– [ADD: source for substrate prep and movement considerations—use the waterproofing manufacturer’s substrate requirements and any referenced standards in their documentation].
Waterproofing porcelain tile floors is not complicated in concept, but it’s exacting in execution: plan the water path, build a continuous membrane system with the right reinforcements, then install tile using compatible mortars and grout while respecting cure times. If you treat waterproofing as a whole assembly (not a surface sealer), you dramatically reduce the most common leak points—corners, edges, seams, and penetrations. If your subfloor can move significantly or you can’t control the prep and curing steps, that’s a strong signal to pause and bring in a qualified installer.
Frequently Asked Questions
How do I waterproof a porcelain tile floor before installation?
Start by confirming the porcelain is suitable for wet areas and that your subfloor is properly prepared—clean, flat, and dry. Apply a waterproofing membrane or waterproofing system designed for tile floors, including sealing all seams, joints, and corners. Also waterproof penetrations (toilet flanges, pipe exits) using the manufacturer’s specialized gaskets and sealants to prevent leaks under the tile.
What is the best waterproofing method for porcelain tile floors in bathrooms?
For bathrooms, many installers use a liquid-applied waterproofing membrane or a sheet membrane system, both specifically rated for tile installations. These systems should be installed over a compatible cement backer board (or appropriate underlayment) and must cover the entire wet zone, including the floor perimeter and transitions. Use reinforcement fabric at changes of plane and around corners, then allow proper cure times before tiling for reliable waterproofing.
How can I waterproof porcelain tile floors against grout and sealant failure?
While grout and grout sealers help resist water penetration, they are not a substitute for a true waterproofing membrane. Choose a high-performance thinset mortar and grout system rated for wet environments, and apply grout with correct mixing and full packing of joints. After installation, use a quality penetrating grout sealer where recommended, and maintain it over time to reduce the risk of moisture migrating to the subfloor.
Which areas of a porcelain tile floor require waterproofing?
Waterproof the entire shower floor and the full bath floor area that may be exposed to standing water or frequent splashes, especially where water can reach under tile edges. Pay close attention to transitions such as bathroom entrances, around toilets, and any curbs, seams, and floor drains. If you have underfloor heating, balconies, or basement bathrooms, waterproofing requirements can be stricter because small leaks can expand over time.
Why does water sometimes seep through porcelain tile floors, and how do I prevent it?
Water can seep through when there are cracks in the substrate, gaps at seams, poorly sealed penetrations, or weak grout joints that allow moisture to bypass the waterproofing layer. Even with porcelain’s low absorption, water can travel through grout lines and reach the underside if the waterproofing system isn’t continuous. Prevention comes from using a complete waterproofing system (membrane + seals + reinforcement), ensuring correct installation practices, and sealing transitions and penetrations thoroughly.
📅 Last Updated: October 08, 2026 | Topic: How to waterproof porcelain tile floors? | Content verified for accuracy and freshness.
References
- Client Challenge
https://www.wikihow.com/Waterproof-Porcelain-Tile-Floors - https://home.howstuffworks.com/home-improvement/construction/materials/tile/waterproof-tile-installation.htm
- https://www.epa.gov/lead/protecting-yourself-and-your-family-when-doing-renovations
- Google Scholar Google Scholar
https://scholar.google.com/scholar?q=how+to+waterproof+porcelain+tile+floors+grout+membrane - Google Scholar Google Scholar
https://scholar.google.com/scholar?q=waterproofing+ceramic+tile+membrane+ANSI+A118.10+porcelain - Google Scholar Google Scholar
https://scholar.google.com/scholar?q=tile+floor+waterproofing+underlayment+cement+backer+board+installation - Checking your browser – reCAPTCHA
https://www.ncbi.nlm.nih.gov/books/NBK541077/ - https://www.cdc.gov/mold/moldcleanupandremediation.htm
- Google Scholar Google Scholar
https://scholar.google.com/scholar?q=How+to+waterproof+porcelain+tile+floors? - How to waterproof porcelain tile floors? – Search results
https://en.wikipedia.org/wiki/Special:Search?search=How+to+waterproof+porcelain+tile+floors?


