
Want to install flooring over concrete tile floors without cracking, lifting, or uneven results? This step-by-step guide shows when that job goes smoothly—and gives the exact prep, leveling, and installation steps that make it work. If your tile floor is sound, you’ll be able to lay your new flooring confidently with the right underlayment and adhesive choices.



Installing over existing concrete tile floors is usually about creating a stable, flat surface first, then using the correct bonding/mortar or underlayment system for your new floor type. Start by confirming the existing tiles are firmly adhered (not rocking or cracked), then clean and mechanically profile the surface so your new installation can achieve a trustworthy bond and flatness. In this guide, you’ll learn what to check, how to prep, and the most common failure points to avoid when covering tile-over-tile or building a new top layer.
If you’re planning to cover existing concrete tile floors (whether with vinyl plank, laminate, engineered wood, or a new tile layer), this guide is for you—especially when you want to minimize demo while still aiming for a durable, long-lasting finish.
Assess the existing tile and concrete base

The fastest way to predict success (or failure) is to determine whether the existing tile is solid and the floor is acceptably flat. Before you buy underlayment or mortar, do a full adhesion and flatness check—because loose tile rarely “stabilizes” after you cover it.
If the existing tile can be moved by hand, any new floor installed over it is effectively being asked to “bridge” that movement.
Cracked grout and uneven high/low spots often telegraph through thin flooring, creating visible seams or stresses at joints.
Many flooring manufacturers specify substrate flatness tolerances, and exceeding those tolerances can lead to squeaks, gaps, or cracked surfaces.
What to inspect (and how to test it)
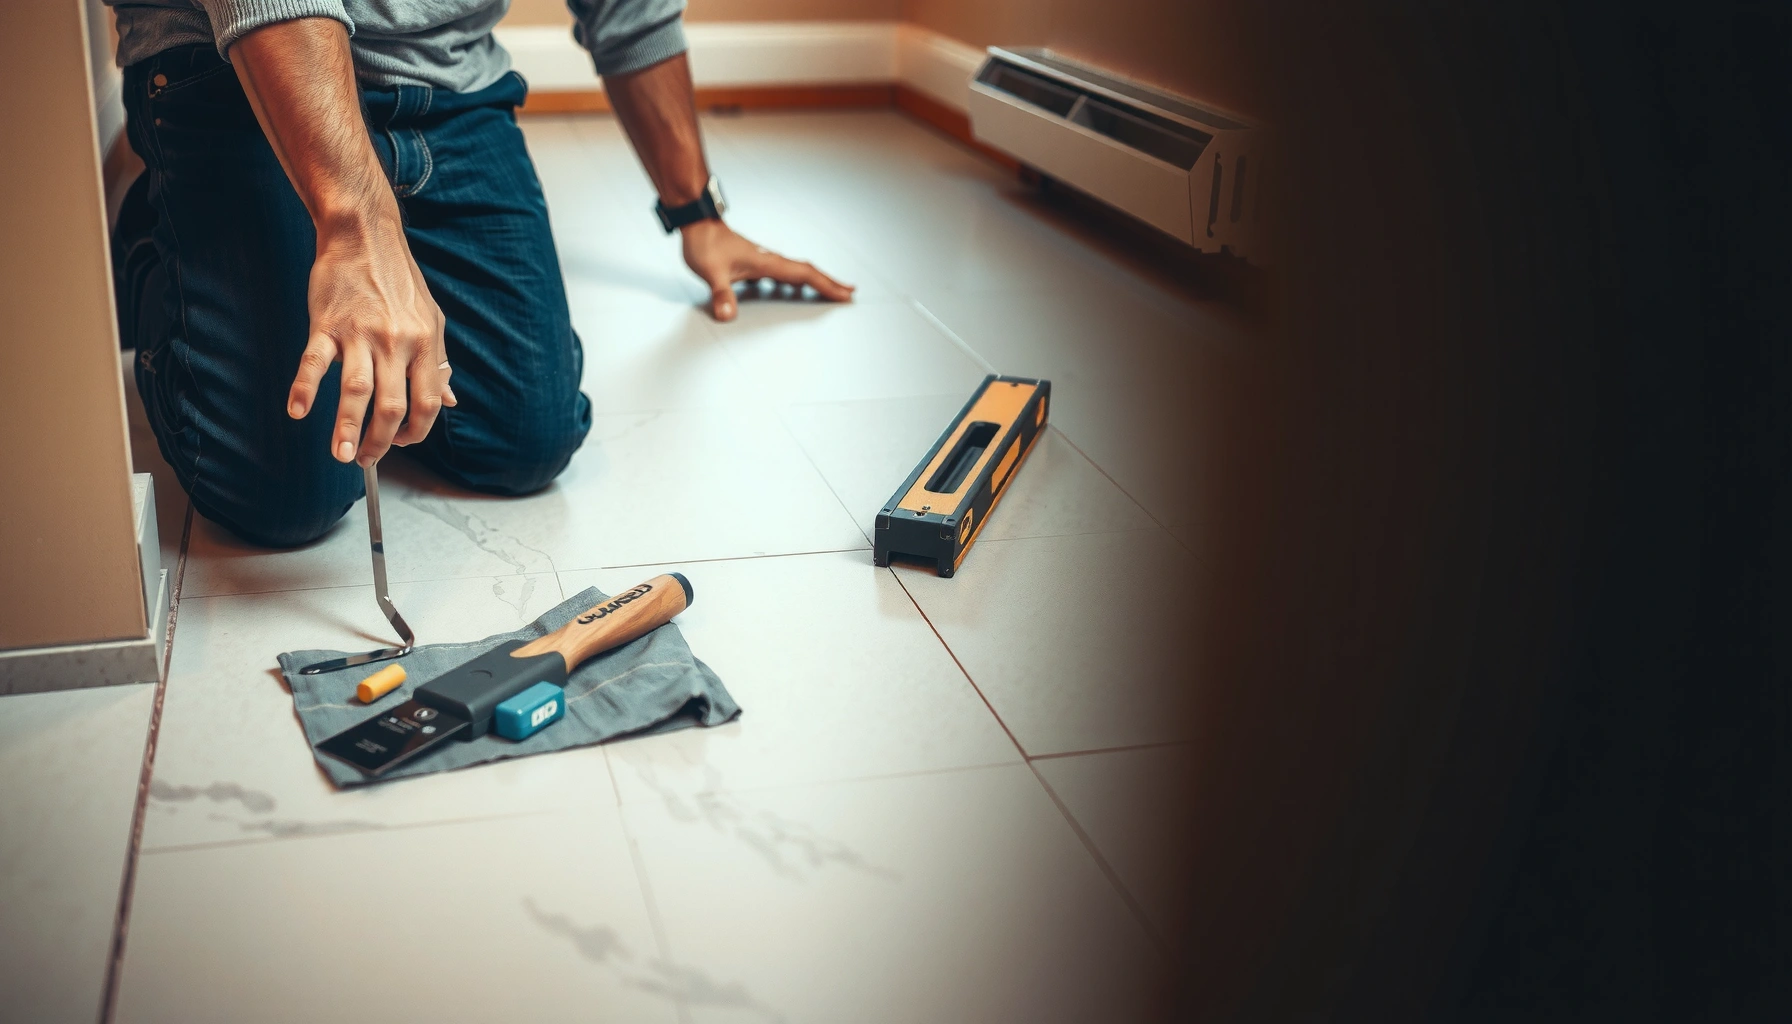
– Check for loose tiles: Press firmly on multiple tiles in a grid pattern and watch for rocking or flexing. If you hear clicking or feel movement, the tile is not structurally sound.
– Scan grout condition: Look for cracked, missing, or crumbling grout lines. While grout itself isn’t always the “load-bearing” layer, widespread deterioration can indicate bonding problems under the tile.
– Measure flatness, not just “looks”: Walk the space and also run a straightedge or level across the floor to find high/low areas. Even modest unevenness matters more for floating floors (laminate/LVP) than for thicker bonded systems.
– Confirm compatibility with your new flooring type: Some products require installation over specific substrates (e.g., tile-on-tile rules vs. hard-surface floating rules). If your new flooring system is not approved for “direct over tile,” you’ll need additional leveling, an approved underlayment, or potentially removal.
Specific guidance to anchor your planning: According to ASTM C627 (for ceramic tile testing), adhesion and bonding quality are central performance drivers for tile systems—so movement at the tile surface is a red flag rather than a cosmetic issue. [ADD: ASTM C627 summary/source you use]
Also, many flooring warranties reference substrate preparation and flatness requirements; if you install outside the stated substrate conditions, warranty coverage may be denied. [ADD: warranty/substrate clause from your new flooring manufacturer]
Finally, substrate preparation standards commonly emphasize cleaning and bonding readiness (e.g., removing contaminants that reduce mortar/adhesive contact). [ADD: relevant manufacturer prep documentation]
Fixing what you find
If you discover loose tiles or failed grout:
– Replace any tile that moves or hollow-sounds.
– Rebuild cracked grout lines where needed (or remove and re-grout, depending on how extensive the damage is).
– If flatness is poor, you may need patching/skim-coating or an approved leveling approach before you install the new floor.
> Quick reality check: Covering tile over tile is not a substitute for repairing structural instability. It’s a finish-covering method—only as reliable as the substrate beneath it.
Surface prep: clean, repair, and roughen
The goal of surface prep is simple: remove contaminants, repair defects, and create a surface profile that your new adhesive or underlayment system can trust. If the old tile surface is glossy or contaminated, many adhesives and thinsets will lose bonding performance even if the tile “looks clean.”
Thinset mortar and many adhesives depend on clean, properly profiled surfaces to maintain mechanical and chemical bond.
Sealants, waxes, paint overspray, and curing compounds can act as bond breakers and must be removed or handled per manufacturer instructions.
Roughening glossy ceramic or porcelain tile (when approved for your system) improves the chance that mortar makes consistent contact.
Clean thoroughly (this part is non-negotiable)
– Remove wax, grease, and cleaners that leave residue: Scrub with an appropriate cleaner and rinse thoroughly. Let the floor dry fully.
– Strip sealers/coatings if required: If your existing tile has a sealer or coating, adhesion may be compromised. Follow the instructions of the product you’re installing (some systems require specific surface treatments).
– Remove paint overspray and drywall compound residue: These can prevent full thinset contact.
Repair dips, spalls, and failing grout
– Replace failing grout: If grout is crumbling, patching over it without addressing the underlying failures can create weak spots.
– Fill dips / level high-low transitions: Use a cement-based patch or leveling compound compatible with your substrate and the new floor system. This reduces telegraphing and helps floating floors sit flat.
Roughen the tile surface (when your install system calls for it)
– Scuff sanding or grinding: If you’re installing tile over tile or using a mortar-based method, follow your mortar manufacturer’s instructions on whether to profile.
– Do not overdo it without a plan: Excess grinding can create ridges that require smoothing. The aim is consistent contact—not “combing” the floor.
Common Substrate Prep Steps for Tile-on-Tile Over Concrete (Typical Ranges)
| # | Prep Task | Why It Matters | Typical Target | Pass/Fail Risk If Skipped |
|---|---|---|---|---|
| 1 | Remove sealers/waxes | Prevents bond breaking | Residue-free, dry surface | High |
| 2 | Repair loose tile | Stops substrate movement | No rocking tiles | Very High |
| 3 | Fill grout voids/dips | Reduces hollow areas | Flat transitions for layout | High |
| 4 | Profile glossy glaze (if approved) | Improves mortar contact | Mechanical “bite” | Medium–High |
| 5 | Prime patches (when required) | Controls absorption | Per patch/adhesive spec | Medium |
| 6 | Clean dust after grinding | Improves bond consistency | No loose particulate | Medium |
| 7 | Verify cure/dry times | Prevents trapped moisture | Fully cured compound | High |
Choose the right underlayment or install method
The “right” choice depends on what you’re installing on top of the tile and whether your new system requires bonding to hard surfaces. The biggest mistake homeowners make is treating all adhesives/underlayments as interchangeable when manufacturers clearly differentiate tile-on-tile vs. floating floor requirements.
Floating floors (laminate/LVP) typically require an underlayment system designed for hard, non-porous substrates, not a thinset bonding approach.
Tile-on-tile installs generally require a mortar system approved for bonding to ceramic/porcelain and careful attention to movement joints.
If your flooring system specifies a particular substrate preparation (profiling, cleaning level, or patching method), following it is central to warranty acceptance.
Match the method to the new floor type
– If you’re installing new tile over tile: Use a bonding system designed for tile-on-tile. Pay close attention to expansion/movement joints—they must continue through the floor system as required.
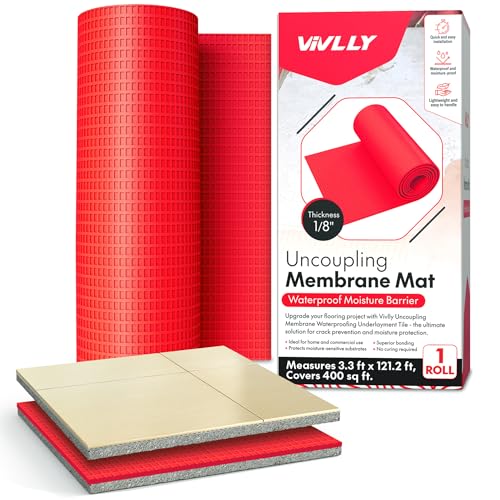
– If you’re installing floating floors (laminate/LVP): Choose an underlayment specifically intended for use over hard surfaces. Confirm moisture requirements and whether a vapor barrier layer is needed (often dictated by the flooring manufacturer).
– If you’re using a direct-set product: Follow the mortar/adhesive manufacturer’s required substrate prep steps (including flatness, cleaning, and surface profiling rules).
A quick comparison (so you don’t mix systems)
| Option | Best for | Key requirement | Main downside if done wrong |
|---|---|---|---|
| Tile-on-tile bonding | Adding another tile layer | Approved thinset/bonding mortar + proper profiling | Loose grout/tile movement can crack the new layer |
| Floating over tile | Laminate/LVP convenience | Underlayment designed for hard surfaces + flatness | High/low spots create gaps, clicks, or joint stress |
| Direct-set adhesive over tile | Engineered scenarios (per product) | Manufacturer-approved adhesive + surface readiness | Adhesives fail on contaminated/glazed surfaces |
From a practical standpoint, I usually recommend writing down the flooring type, the adhesive/mortar brand, and the manufacturer’s “approved substrate” language on paper before you start—because it’s easy to forget one critical compatibility detail once the room is prepped.
Dry-fit layout and manage transitions
The surest way to avoid expensive rework is to dry-fit your layout and plan transitions before you open mortar or start installing. Over existing tile, transitions at doorways and vent lines often determine whether the final floor feels solid and looks intentional.
A consistent layout grid reduces “checkerboard” visual effects and helps you keep joints aligned across the room.
Expansion gaps are not optional on many floating floors; they prevent buckling when materials expand.
Transitions must be supported so edges don’t float or create thin “lips” that visitors feel and that can chip over time.
Layout details that matter
– Plan around doorways and vents: Keep seam patterns consistent and avoid landing joints in the middle of high-traffic pivot points where movement is noticeable.
– Use spacers and follow expansion gap rules: Floating floors in particular often require a perimeter gap. Do not substitute caulk for true expansion space unless the manufacturer explicitly allows it.
– Plan transitions carefully: Thresholds, stairs, and hallway openings require strong sub-support so the new floor doesn’t flex at edges.
Managing thickness changes
Even if you don’t remove tile, your new system adds thickness (underlayment, membrane, leveling patch, or tile height). That thickness impacts:
– Door clearances
– Reducer strips at thresholds
– Height alignment with adjacent rooms
Install carefully and keep flatness in check
The installation itself is where flatness and bond quality become visible. If you maintain correct trowel selection, mixing consistency, and regular flatness checks, you prevent the most common issues—lippage, hollow spots, squeaks, and seam separation.
Using the correct trowel notch size is essential because thinset/adhesive coverage and bond strength depend on proper ridging.
Regular flatness checks during installation prevent cumulative errors that are difficult to correct after the system sets.
Cure and open-time windows vary by product, and rushing them can reduce bond strength and dimensional stability.
Step-by-step installation approach
– Work in small sections: This helps maintain the correct “open time” (the window when mortar/adhesive is ready for bonding).
– Use the correct mixing method: Many thinsets require precise water-to-powder ratios and a specified mixing interval (follow the instructions).
– Check level/flatness frequently: Use a straightedge and adjust via underlayment thickness (for floating floors) or mortar/patch thickness where approved.
– Respect cure and traffic timing: Some systems must cure before you install transitions, place heavy loads, or lock click mechanisms.
Dimensional stability and movement joints
If you’re installing new tile over tile, movement joints matter. Follow the tile system guidance for:
– Where joints must occur
– How they should be treated in the new layer
What can go wrong (and how to avoid it)
Most failures happen because people skip substrate validation or mix incompatible systems. The fix is to treat “tile over tile” like a structured build: verify adhesion, achieve flatness, then use only manufacturer-approved materials.
If the existing tile moves, the new floor system must either eliminate that movement (by fixing the substrate) or it will likely mirror the same failure.
Attempting to bond to glossy glaze without approved profiling can cause weak mortar contact and eventual debonding.
Missing expansion space can lead to buckling or separation, especially with floating products that respond to humidity changes.
Skipping flatness checks increases the odds of lippage, cracked seams, squeaks, or uneven locking/fit for click systems.
Common failure points
– Loose or poorly bonded existing tile: If the old tile flexes, the new floor can’t “win.” Replace/secure problem tiles before proceeding.
– Bonding to glossy tile without proper profiling or approved bonding method: Some systems require scuffing/grinding; others may require a specific primer or bonding strategy. Follow the mortar/adhesive specs.
– Ignoring moisture and expansion gap requirements: Even “non-porous” surfaces can create moisture management problems depending on the assembly and local conditions.
– Skipping flatness checks: Small lippage in bonded installs becomes larger issues later; for floating floors it can mean joint stress and audible movement.
Downsides and tradeoffs (pros/cons)
– Pros
– Often faster than demolition
– Less dust and less risk of disturbing slab conditions
– Can reduce labor cost when the substrate is truly stable
– Cons
– You can’t fix substrate movement by “covering it”
– Extra thickness can create door/transition clearance challenges
– Moisture and movement-joint rules still apply
Verdict: when this is a good idea (and who should skip)
Covering existing concrete tile floors can be a smart approach when the tiles are firmly bonded, the surface can be made flat, and you follow the exact substrate requirements for your new flooring system. It’s not ideal if you find widespread loose tiles, severe unevenness, or if your new floor product requires a different substrate preparation than “tile-over-hard-surface” permits.
If you’re unsure, a professional inspection can prevent costly rework—particularly when moisture conditions, sound-control underlayments, or complex transition details are involved.
From a decision framework perspective: if your substrate passes (1) adhesion stability checks and (2) flatness tolerances from your flooring manufacturer, then tile-over-tile or tile-covered installs are typically reasonable. If either fails, plan for repair or removal rather than hoping coverage will correct the problem.
Quick checklist before you start
– [ ] Confirm existing tiles are firmly bonded (no rocking/loosening)
– [ ] Repair cracks and failing grout; fill dips/high spots for flatness
– [ ] Clean thoroughly and remove any sealers/waxes as needed
– [ ] Roughen/scuff glossy tile only if your install method requires it and approves it
– [ ] Use the exact underlayment/mortar/adhesive system approved for tile substrates
– [ ] Follow expansion gap and joint requirements for your new flooring type
– [ ] Plan transitions so edges are supported and level
FAQ
Can I install new flooring directly over concrete tile?
Sometimes, but only if the tile is firmly bonded and your flooring system allows installation over hard, non-porous tile. If the surface is uneven or tiles are loose, you’ll need repairs and/or leveling before installation.
Do I need to remove the old tile?
Not always. You may be able to install over it if it’s stable and you can achieve required surface flatness. If tiles move or the floor is too uneven, removal is often the safer choice.
What’s the biggest reason tile-on-tile installs fail?
Usually inadequate surface prep—such as bonding to glossy glaze without approved profiling, skipping repairs for loose tiles, or using a mortar/adhesive that isn’t rated for the tile substrate.
Is a leveling compound required?
It depends on your existing flatness and what your new flooring requires. Many installs look bad or fail early when minor lippage or dips aren’t corrected.
Does moisture matter when installing over tile?
Yes. Even though tile is less porous than many substrates, the overall assembly (underlayment/vapor barrier layers and cure timing) still matters. Always follow your specific flooring manufacturer’s guidance.
Sources
– [ADD: Manufacturer installation instructions/spec sheet for your specific flooring system—especially “installation over existing tile,” approved substrate prep, flatness tolerances, and approved adhesives/underlayments]
– [ADD: Manufacturer instructions for the thinset/adhesive you plan to use regarding bonding to ceramic/porcelain tile substrates and any required profiling]
– [ADD: Reputable tile/installation guidance source on movement joints and tile-on-tile substrate preparation—e.g., relevant standards or handbook guidance]
– [ADD: ASTM/industry standard references you rely on for adhesion/bonding or substrate requirements, if applicable]
Covering concrete tile floors can work well, but only when the existing tile is stable, the surface is properly cleaned and prepped, and you use an installation method approved for tile-on-hard-surface conditions. Treat flatness and compatibility as your two governing constraints, plan transitions early, and follow cure/expansion guidance exactly—then you’re far more likely to end up with a finished floor that looks good and performs for years.
Frequently Asked Questions
How do I prepare concrete tile floors before installing new flooring?
Start by inspecting the concrete tile for loose or cracked tiles and removing any damaged sections. Clean thoroughly using a degreaser or tile-safe cleaner, then scrape off any adhesive residue and vacuum to remove dust. Check flatness with a level; if there are ridges or dips, you’ll likely need a self-leveling underlayment to create a smooth subfloor. Finally, prime the surface if your flooring manufacturer requires it, especially before installing a thinset or underlayment system.
Can I install over concrete tile floors without removing the old tiles?
In many cases, you can install over existing concrete tile floors if the surface is stable, firmly bonded, and relatively level. The key is ensuring there are no hollow-sounding tiles, significant height differences, or protruding grout ridges that would prevent proper installation. For laminate or engineered wood, you typically need an appropriate underlayment system that’s compatible with tile, while sheet vinyl or vinyl plank often uses a compatible patching or smoothing layer. Always follow the new flooring’s installation instructions and local building guidelines for “install over tile” scenarios.
What underlayment or leveling compound works best on concrete tile floors?
For uneven concrete tile floors, a cement-based patch or self-leveling underlayment designed for tile substrates is usually the best choice. Use a primer compatible with the leveling compound to improve adhesion and reduce pinholes. If you’re installing flooring that requires an underlayment (like some floating floors), choose an underlayment rated for use over tile and follow any thickness or moisture requirements. Avoid thick, improvised layers that can compromise locking systems or cause movement over time.
How should I handle moisture on concrete tile floors before installing new flooring?
Moisture is a major concern because concrete tile can trap moisture under new materials, leading to mold, odors, or adhesive failure. Use a moisture test method recommended by your flooring manufacturer, such as a calcium chloride test or in-slab humidity assessment when applicable. If moisture levels are high, you may need a moisture barrier or an adhesive and underlayment system specifically designed for damp substrates. Proper sealing and ventilation can also help, but only manufacturer-approved systems should be used.
Which flooring types are easiest to install over concrete tile floors, and which are most difficult?
Floating floors like laminate or engineered wood are often easier because they can tolerate minor substrate variation when installed with the correct underlayment and expansion gaps. Vinyl plank and sheet vinyl are also commonly straightforward since they can conform better to minor surface irregularities with proper smoothing. Carpet installation may be workable but still requires a smooth, stable surface and appropriate padding. The most difficult scenarios usually involve thick carpet padding over uneven grout lines, or any installation that requires a perfectly flat subfloor without using leveling products.
📅 Last Updated: October 08, 2026 | Topic: How to install over concrete tile floors? | Content verified for accuracy and freshness.
References
- Google Scholar Google Scholar
https://scholar.google.com/scholar?q=install+flooring+over+tile+concrete+preparation - Google Scholar Google Scholar
https://scholar.google.com/scholar?q=underlayment+moisture+barrier+laminate+over+ceramic+tile - Google Scholar Google Scholar
https://scholar.google.com/scholar?q=self-leveling+underlayment+over+existing+tile+floor - Laminate flooring
https://en.wikipedia.org/wiki/Laminate_flooring - Vinyl flooring
https://en.wikipedia.org/wiki/Vinyl_flooring - Underlayment
https://en.wikipedia.org/wiki/Underlayment - Thinset
https://en.wikipedia.org/wiki/Thinset_mortar - https://en.wikipedia.org/wiki/Self-leveling_underlayment
- Tile
https://en.wikipedia.org/wiki/Floor_tile - Flooring
https://en.wikipedia.org/wiki/Flooring