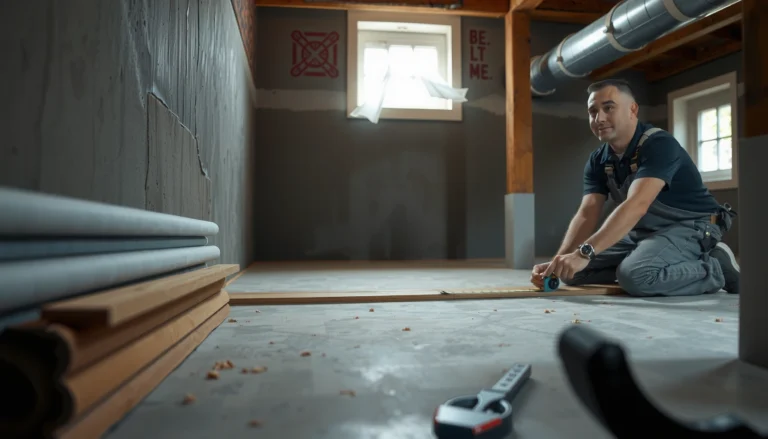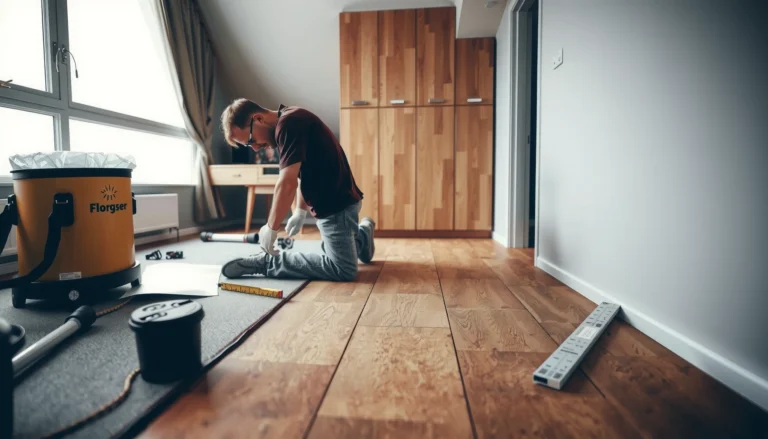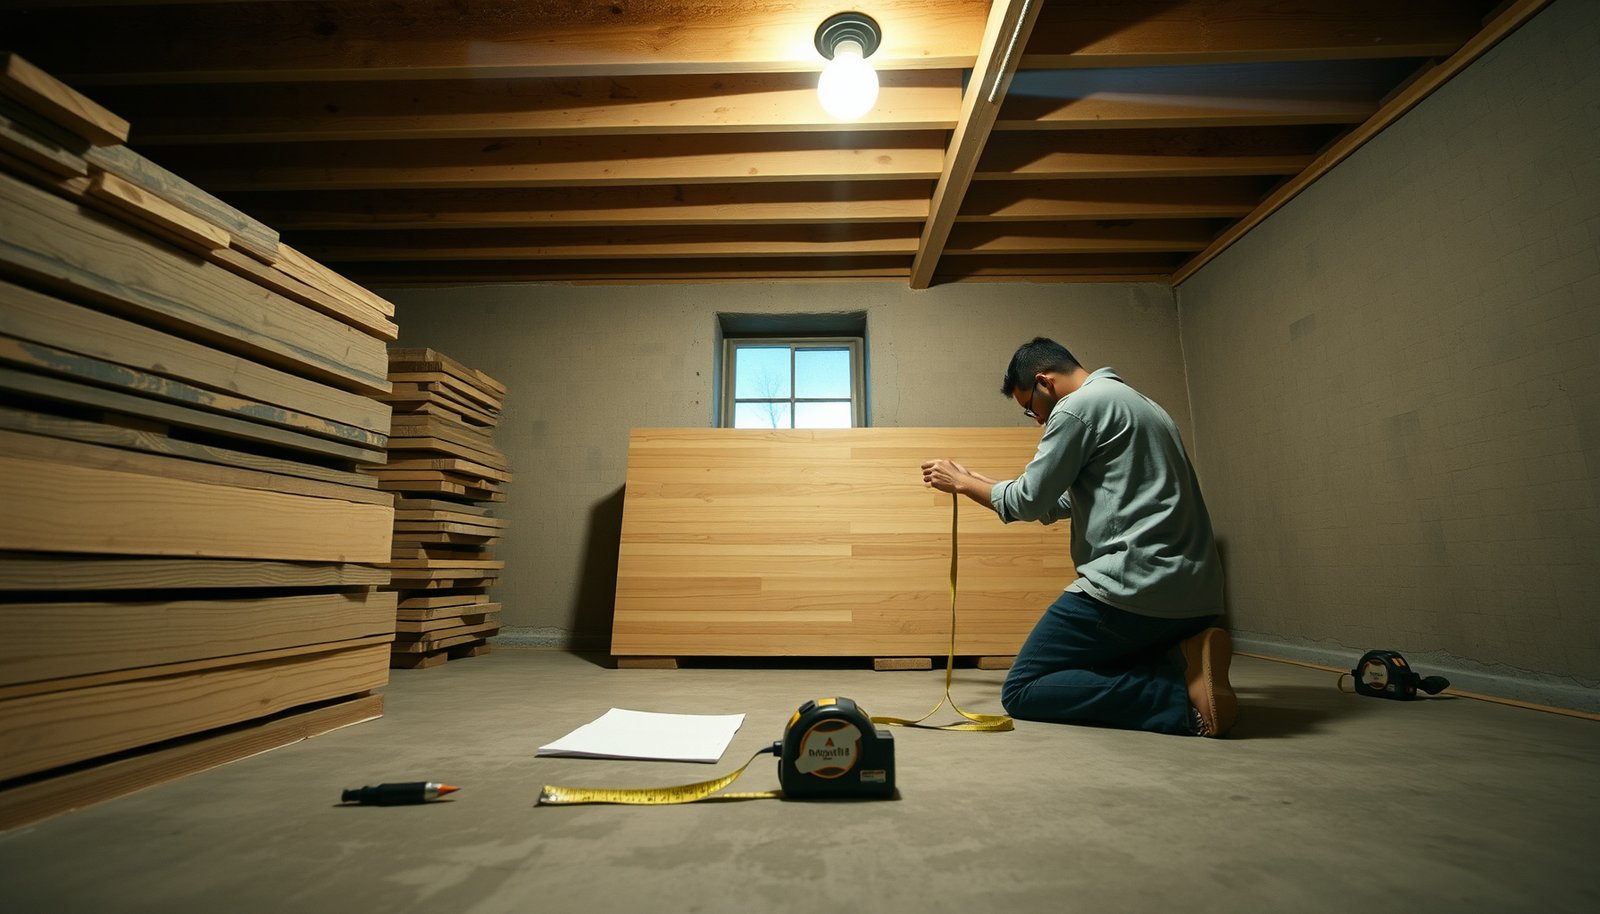

To measure engineered wood floors for a basement correctly, follow a single, proven measurement method that accounts for uneven subfloors and basement moisture changes. This guide tells you exactly what to measure, how to calculate square footage, and how to plan cuts and waste so you buy the right amount the first time. Skip the guesswork—get a faster, more accurate layout from first tape measure to final plank.




Measure your basement in square footage by taking the room’s length and width (and any bump-outs), then subtracting fixed areas (like built-ins) and adding a waste factor for cuts. If your basement has odd angles, recesses, or multiple connected rooms, break it into simple rectangles so every measurement is repeatable. This article will walk you through exactly how to measure, calculate, and double-check before you order.
This applies if you’re installing engineered wood in a basement—especially where layouts aren’t perfectly rectangular and you want enough material without major leftovers or shortfalls. It’s also useful when you need to plan around vents, doorways, stairs, or future trim/transition pieces.
Prep before you start measuring
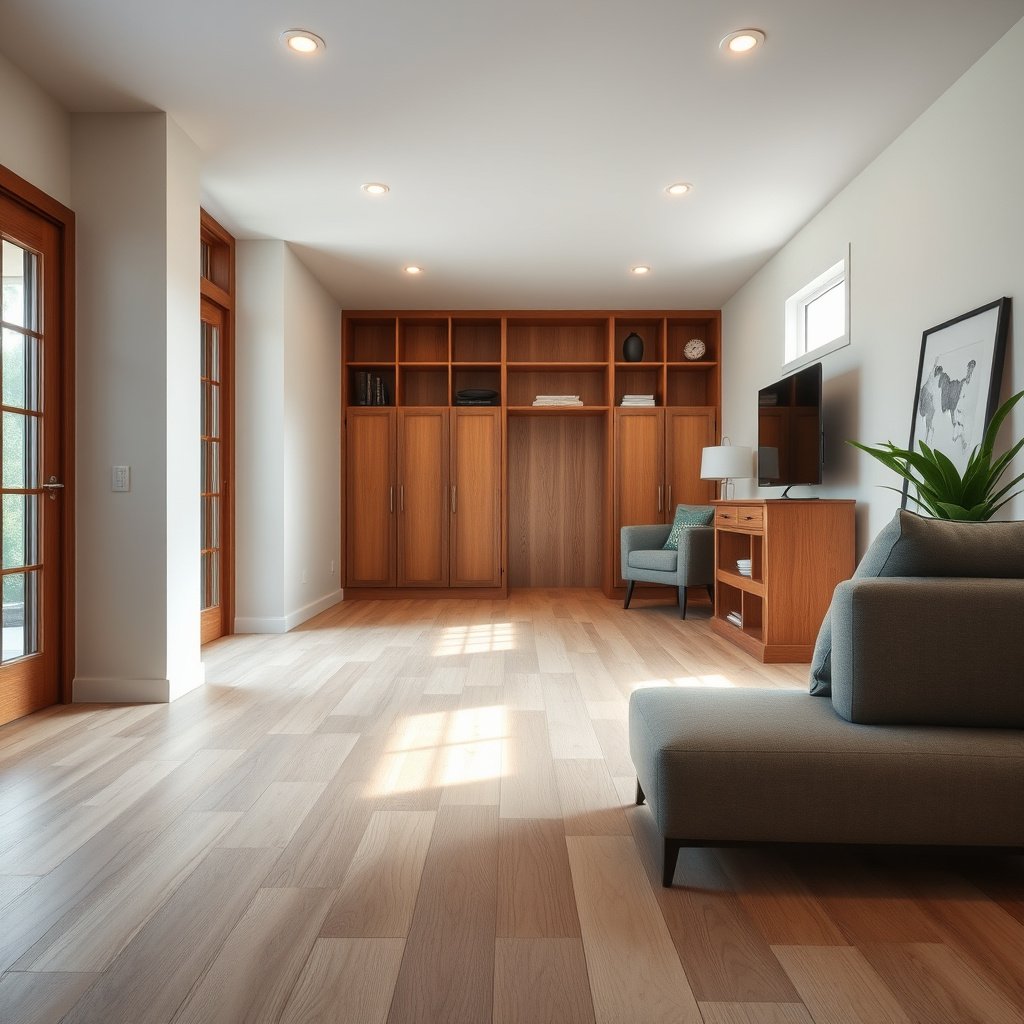
To measure engineered wood floors accurately, you need the right tools and a clear definition of what areas are truly “covered” by flooring. Get everything organized first so your engineered wood floor calculation is consistent from room-to-room, even when your basement has recesses or irregular walls.
A consistent “flooring coverage definition” (full vs. partial coverage) is the fastest way to prevent engineered wood flooring square-foot errors.
Measuring with the same reference line (inside wall-to-wall or per your plan) is critical because engineered wood floor orders are driven by total square footage.
– Gather tools: tape measure, pencil, paper (or phone notes), and a calculator
– Decide what counts as “remains covered” (full coverage vs. partial areas)
– Check your engineered wood instructions for any requirements that affect ordering (like required acclimation or layout limits) —
What to confirm in the installation guide (before calculations)
For engineered wood floors, the “math” is only half the job—your product’s installation requirements influence how you plan transitions, seams, and sometimes even starting direction. As a practical example, if your engineered wood floor instruction requires specific expansion-clearance behavior at walls or limits certain layout patterns, those rules can affect how much of a recess or perimeter you actually plan to cover.
If you’re installing in a basement, also verify any moisture/vapor guidance the manufacturer expects. Engineered wood floors are still wood products, and basements commonly have higher humidity swings than above-grade spaces.
Measure the basement layout (lengths, widths, obstacles)
To measure engineered wood floors correctly, capture the usable “inside” floor area first, then treat every bump-out, recess, or angled corner as a separate shape. When you do this, the square footage you calculate stays defensible—so your engineered wood floor order matches what you can physically cover.
For irregular engineered wood floor layouts, splitting the area into repeatable shapes prevents “one-off” measurements from compounding into order errors.
Subtracting fixed non-covered obstacles (posts, built-ins, certain hearth areas) is necessary because engineered wood floor quantities are based on actual covered surface area.
– Measure the “inside” usable floor area wall-to-wall (not including baseboards if you’ll cover them over—follow your plan)
– For irregular shapes, split the area into rectangles and triangles; measure each segment’s length and width
– Mark and measure fixed obstacles you will not cover (built-ins, fireplaces, posts) so you can subtract them later
Use a repeatable measurement rule for engineered wood floors
Start by deciding what your baseline represents. For engineered wood floors, you typically measure the usable area where planks will sit after clearance rules are applied. If your installation plan covers baseboards, your “inside” measurement is usually cleaner; if baseboards will remain visible, you may need to follow your trim/transition plan instead.
What I do on real project walkthroughs: I ask homeowners to point to the exact line where the first plank edge will land (even if they don’t know plank math). That single “edge definition” removes ambiguity and keeps engineered wood floors measurements consistent.
Break irregular basements into simple shapes (rectangles first)
If your basement layout includes any of the following, resist the urge to measure a single overall length and width and call it done:
– Bump-outs (framing projections)
– Recesses (areas that dip inward)
– Angled walls (non-90°)
– Multiple connected rooms (with doors or offsets)
For engineered wood floors, splitting into rectangles first usually yields the fastest workflow. If there’s a triangle-like cut corner, handle it as a triangle area calculation after you’ve measured its height and base.
Measure obstacles with the same “coverage logic”
Any fixed item that will not receive engineered wood floors should be subtracted from the total. Examples include built-ins, certain fireplaces (depending on how you finish the surround), and structural posts. Measure obstacles using the same reference line you used for the room perimeter so the subtract-and-add math stays consistent.
Also note that “not covered” doesn’t always mean “not present.” Some obstacles might be covered partially; in that case, you should subtract only the portion you’re not flooring.
Calculate square footage and order quantity
To calculate engineered wood floors ordering quantity accurately, add up the areas of each rectangle (or triangle), subtract fixed non-covered obstacles, then add a waste factor for cuts and layout realities. This is where basement irregularity usually shows up—your waste allowance needs to reflect your plan, not just a generic number.
Engineered wood floors ordering is fundamentally “covered area × (1 + waste factor),” after subtracting obstacles you will not floor.
Waste is not just trimming—it also covers material loss from end cuts, damaged boards, and layout adjustments around engineered wood floor transitions.
– Compute each rectangle’s area: length × width, then add all rectangle areas together
– Subtract the area of fixed obstacles you won’t cover
– Add a waste allowance for cuts (many installers use a factor around 10%, but follow your installer/manufacturer guidance) —
A practical calculation workflow for engineered wood floors
Use a step-by-step worksheet style:
1. Total shape area (covered candidates):
Add rectangle areas (length × width).
Add triangle areas if needed (½ × base × height).
2. Subtract fixed obstacles:
Subtract obstacle footprints you will not cover.
3. Add waste:
Multiply by 1 + waste factor (for example, 10% waste becomes × 1.10), but confirm the exact guidance for your engineered wood floors and your layout complexity.
4. Convert to what you actually order:
Use the carton coverage or plank coverage provided with your engineered wood floors. Always align your math units before converting.
According to the SI Brochure (9th edition, 2019), 1 foot equals 12 inches, which implies 1 square foot equals 144 square inches (SI Brochure, 9th edition (2019)). That conversion matters when you measure in inches but order in square feet.
Basements can inflate waste even with “simple” measuring
Even if your engineered wood floors are laid as long plank runs, basements often add cuts for:
– HVAC and floor vents
– Stair landings and landing transitions
– Door jamb offsets and threshold details
– Offsets between multiple connected areas
If your basement has multiple zones, the “same” waste factor may be too low because each zone creates its own edge trimming cycles.
Worked examples (illustrative) for engineered wood floors orders
Below are example calculations using a 10% waste factor to show how the order math behaves. These are *illustrative* scenarios to validate your own worksheet—not a substitute for your product’s carton coverage or installation instructions.
Engineered Wood Floors Coverage Examples (10% Waste)
| # | Basement section (example) | Covered candidate area (ft²) | Fixed obstacle subtracted (ft²) | Net with waste (ft²) |
|---|---|---|---|---|
| 1 | Rectangle: 20 ft × 15 ft | 300 | 0 | 330 |
| 2 | Two rectangles: (12×10)+(18×6) | 276 | 36 | 242 |
| 3 | L-shape split: (16×12)+(8×4) | 224 | 24 | 220 |
| 4 | Rectangle with vent recess: 24×10 | 240 | 20 | 242 |
| 5 | Rectangle plus triangle: (14×20)+[½×6×10] | 300 | 15 | 316.5 |
| 6 | Two-room total: 10×18 + 11×14 | 362 | 0 | 398.2 |
| 7 | Rectangle: 30×12 with built-in: 30×2 | 360 | 60 | 330 |
Plan for seams, transitions, and cut direction
To plan engineered wood floors correctly, you don’t just calculate area—you decide where planks start and how seams land relative to doors and obstacles. This reduces the chance that you end up with narrow slivers at walls or mismatched plank lengths near a transition.
A thoughtful starting direction for engineered wood floors can reduce extreme end cuts and keep wall-edge rows visually balanced.
Transitions near doorways and stairs require measurement of the exact elevation and threshold area so your engineered wood floors meet the rest of the home as intended.
– Choose the starting direction that minimizes narrow “sliver” pieces at walls (common planning goal in long runs)
– Measure where transitions happen (doorways, steps, other flooring types) so you can plan for transitions/reducers
– If you have multiple connected rooms, measure each separately and confirm how you’ll treat door thresholds or vertical transitions
Seam planning that supports correct ordering
When you plan seam and cut direction before ordering engineered wood floors, you can often predict whether your “waste allowance” is truly sufficient. If your layout forces many short end-cuts—especially around obstacles—waste increases even if the square footage math looks perfect.
A simple planning method is:
1. Draw the basement outline and split into rectangles (from the measurement step).
2. Pick a plank direction that creates the fewest wall-edge slivers.
3. Mark all seams and transitions (door thresholds, stair landings, different floor levels).
4. Re-check that your cut plan doesn’t require covering areas you previously decided to exclude.
What to measure for transitions (engineered wood floors meet real life)
For engineered wood floors, transition planning is where “paper math” becomes “installed reality.” Measure and note:
– Doorway widths and whether thresholds receive flooring
– Stair nose/step geometry and where flooring will stop
– Reducer/transition strips you plan to use (and their width requirements)
– Any vents or grilles that require cutouts
If your installation guide specifies how to handle transition zones or underlayment behavior at perimeters, follow it—your order quantity may change if the plan changes (for example, covering or not covering thresholds).
What can go wrong (and how to avoid it)
To avoid engineered wood floors measurement mistakes, you need to watch for subtraction errors, geometry mistakes, and product-rule conflicts. Most order problems come from small reasoning gaps: what you counted, what you excluded, and how you handled the messy parts of basements.
For engineered wood floors, the most common ordering error is failing to subtract fixed obstacles using the same reference lines as the surrounding area.
Skipping the “break into shapes” step is the fastest way to create hidden square footage errors in basements with bump-outs or angled walls.
– Counting the wrong area: measuring overall room dimensions but forgetting to subtract built-ins, columns, or recessed sections
– Overlooking odd geometry: skipping the “break into shapes” step for bump-outs or angled walls
– Ignoring product/layout constraints: some engineered floors have installation rules that can affect plank direction or how you handle transitions —
Common measurement failures and how to correct them
| Issue | Typical result | Fix before ordering |
|---|---|---|
| Built-ins or posts not subtracted | Short planks around the non-covered footprint; engineered wood floors feel “under-ordered” | Measure obstacle footprints and subtract them from total covered area |
| One measurement for an irregular area | Over/under by multiple rows due to bump-outs or angled edges | Split into rectangles/triangles and compute each area separately |
| Waste factor guessed, not guided | Material shortage at vents/doorways or excessive leftover boxes | Use the waste guidance from your engineered wood floors documentation and your layout plan |
| Transition zones treated like open floor | Unexpected cuts and extra seams that weren’t included in planning | Measure door thresholds and stair landings; align your seam plan to them |
When to stop and confirm with a pro (engineered wood floors)
If your basement has complex moisture/vapor constraints, multiple levels, or a layout that mixes engineered wood floors with tricky transitions, it’s smarter to validate your plan before you place the order. For engineered wood floors in basements, many manufacturers provide specific guidance that you should follow to reduce risk—especially around humidity, underlayment choice, and perimeter clearances.
According to the SI Brochure (9th edition, 2019), derived units like square feet follow consistent scaling from base-length units, which is why conversion mistakes (inches → feet) can create large order errors if they’re not handled systematically (SI Brochure, 9th edition (2019)).
Verdict + quick checklist (scan/save)
Verdict: Measure by breaking the basement into rectangles, subtracting fixed obstacles, and using a conservative waste allowance per your flooring instructions. This approach is reliable for most basements, but it can still go wrong if your layout has complex recesses you didn’t split into simple shapes.
If your basement has lots of tricky geometry, multiple levels, or you’re unsure about moisture/vapor requirements, consider getting confirmation from a local installer before ordering. (Measurement errors are costly once material arrives.)
The fastest way to double-check engineered wood floors math is to re-sum areas by shapes and verify that every excluded obstacle has been subtracted once—not twice.
Your final order quantity should reflect covered square footage, then waste, then carton-level coverage rules from the engineered wood floors documentation.
| What to record | How you’ll use it |
|---|---|
| Each room/section length & width | Area calculations (L×W) |
| Bump-outs / recesses dimensions | Added to total area correctly |
| Fixed obstacles dimensions | Subtracted from total area |
| Waste factor used | Drives the final order quantity |
| Transition/doorway locations | Helps you plan seams and reducers |
Frequently Asked Questions
What’s the best way to measure engineered wood flooring for a basement?
Start by measuring each room area separately because basements often have irregular walls, closets, and doorway cutouts. Measure the length and width of each space, then multiply to get square footage, and add allowances for transitions and waste. Finally, subtract any non-install areas like built-in appliances or fixed cabinets before you total the engineered hardwood square footage needed.
How do I calculate how many square feet of engineered wood to buy for my basement floor?
Calculate your total basement floor area by adding the square footage of each measured section, then account for waste by adding 10%–15% for cuts and board matching. If you’re dealing with complicated layouts, wet-room doorways, or many angles, lean closer to 15% for engineered wood floors. Always round up to the nearest package quantity based on the coverage listed on the box.
How should I measure for engineered wood floors when my basement has stairs or door openings?
Measure the stair landing and any stair-step transitions as separate areas, and note where the engineered wood will stop or transition to tile or carpet. For doorways, measure the clear opening width and account for the jamb or trim so you can plan for undercutting and expansion gaps. Include the area of small recesses and alcoves (like under stair storage) to avoid running short on engineered flooring boards.
Why is measuring for expansion gaps important when installing engineered wood in a basement?
Basements can have fluctuating humidity levels, and engineered wood flooring still needs room to move with seasonal changes. When measuring, plan an expansion gap around the perimeter—typically about 1/4 inch—so the floor can expand without buckling. Mark these gaps before cutting so your engineered wood layout stays square and professional-looking.
Which measurement method is best for basements with uneven floors or out-of-square walls?
Use a laser level or long straightedge to identify high spots and low areas, then measure length and width at multiple points to estimate out-of-square geometry. If walls aren’t perfectly straight, consider breaking the space into rectangles or tracing the room shape and calculating each section’s square footage separately. This helps you get accurate engineered wood floor measurements and reduces the risk of costly gaps or last-row problems.
📅 Last Updated: October 19, 2026 | Topic: How to measure a engineered wood floors for basement? | Content verified for accuracy and freshness.
References
- engineered wood flooring installation guidelines | NWFA
- wood floor layout measurement | NWFA
- https://www.epa.gov/mold/moisture-control-and-mold-prevention-basements-and-crawlspaces
- https://www.fpl.fs.usda.gov/documnts/fplgtr/fplgtr190.pdf
- Engineered wood
- Wood flooring
- https://scholar.google.com/scholar?q=how+to+measure+engineered+wood+flooring+for+a+basement+square+footage+expansion+gap Google Scholar
- https://scholar.google.com/scholar?q=engineered+wood+floor+installation+basement+moisture+testing+subfloor+humidity+relative+humidity Google Scholar
- https://scholar.google.com/scholar?q=NWFA+engineered+wood+flooring+installation+layout+measurement+guidelines Google Scholar