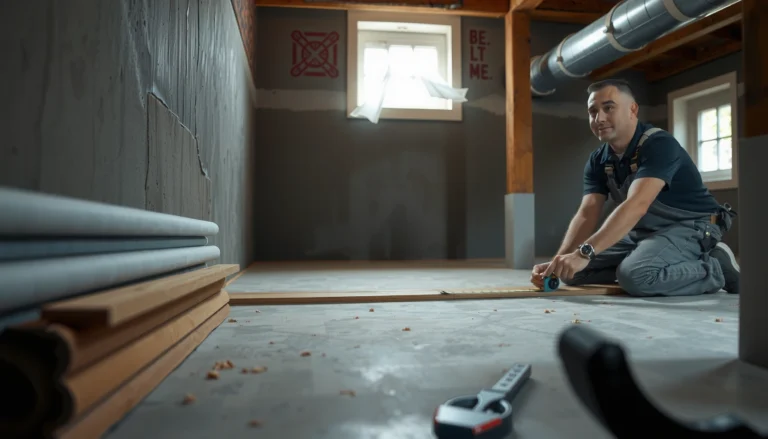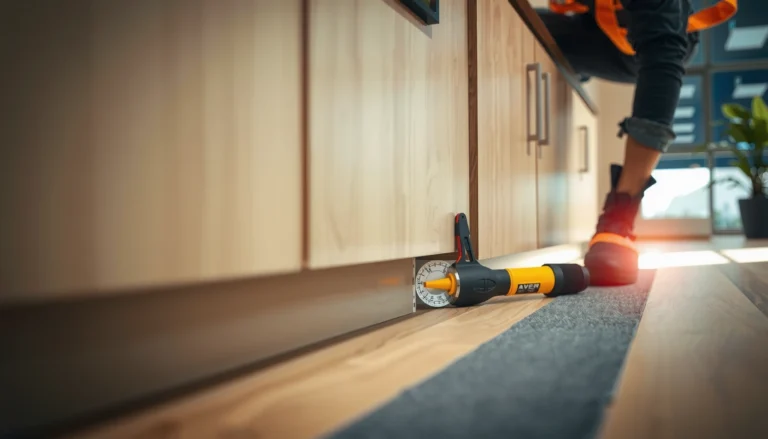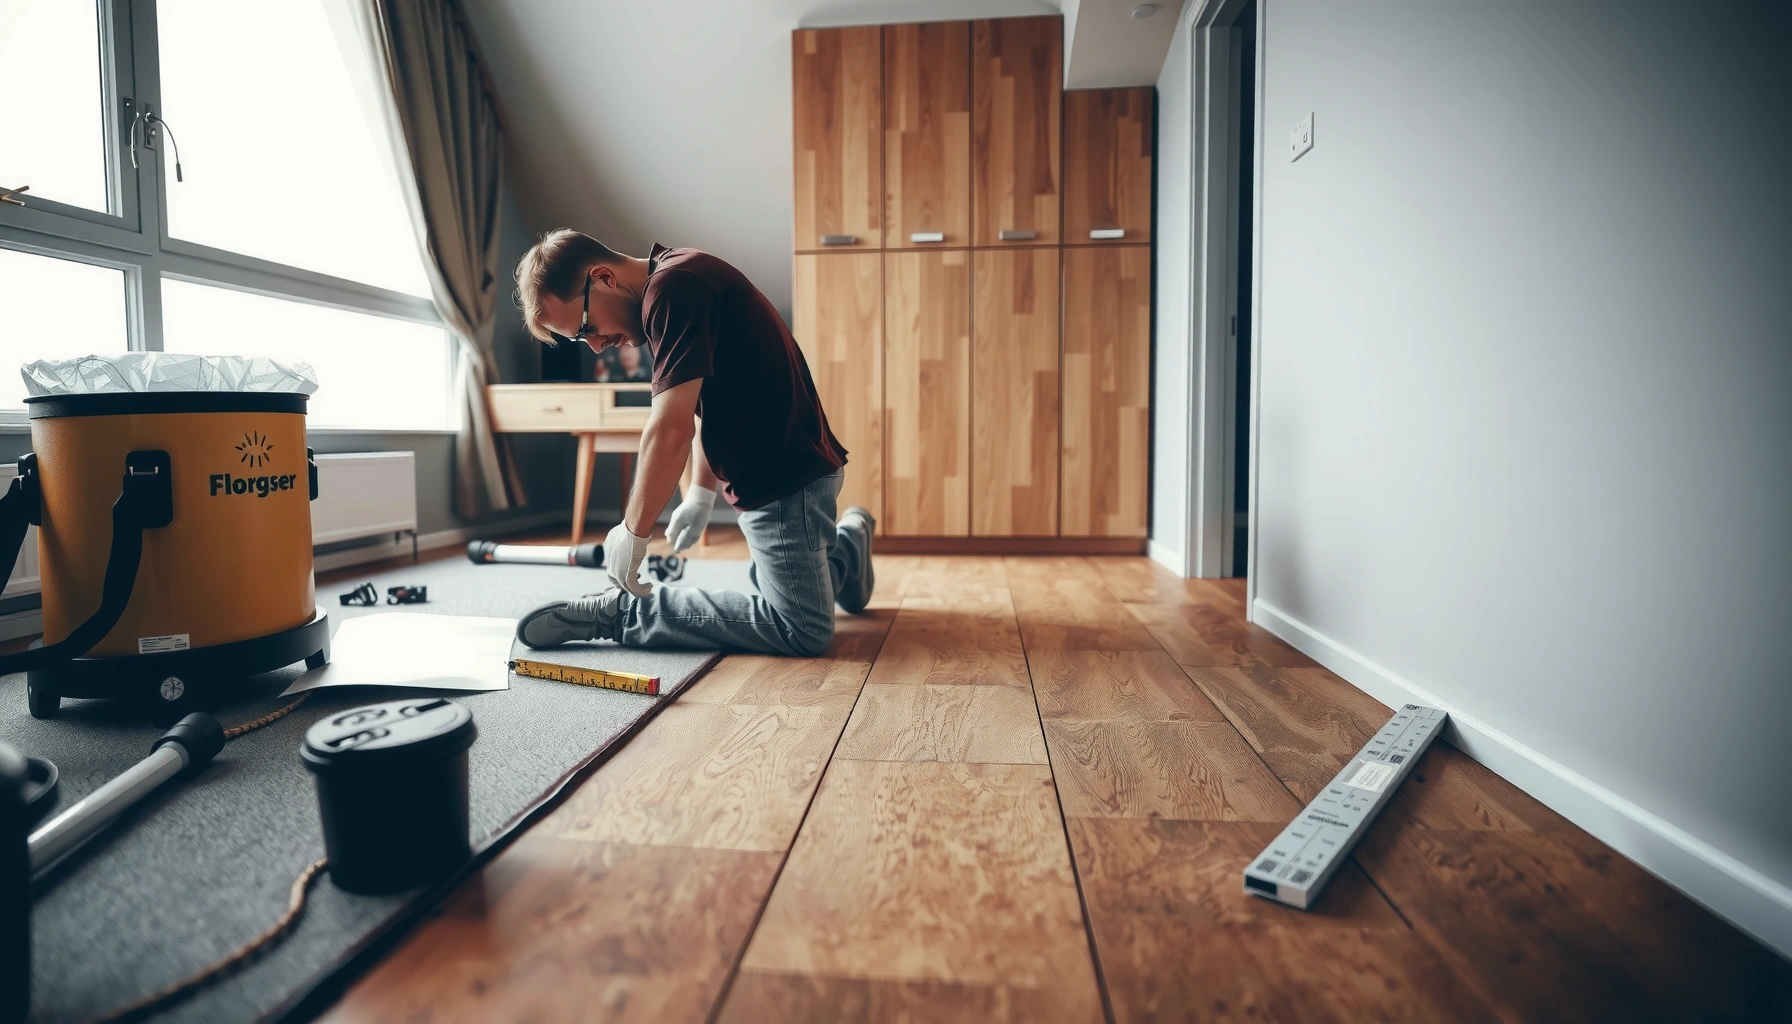

Learn how to install cork floors in a bedroom with a step-by-step process that tells you exactly what to do from subfloor prep to final trim. This guide is the fastest, most reliable way to get a floating cork installation that stays comfortable underfoot and resists everyday wear. Follow the clear sequence and you’ll avoid the common mistakes that cause buckling, gaps, or uneven flooring.




Cork floors are usually easiest to install in a bedroom when you choose the correct system (floating/click-lock versus glue-down), prep a flat, dry subfloor, and keep the room acclimated before you lay planks. The key is following the manufacturer’s locking or adhesive instructions exactly—especially the expansion gap around the perimeter—so you avoid buckling, gapping, and uneven transitions.
This guide is for DIYers planning a bedroom cork installation, particularly when the subfloor needs leveling or patching. It also helps if you’re comparing floating cork and glue-down cork, because the prep steps and moisture considerations differ in important ways. If you want the clean, comfortable result bedrooms are known for, treat the installation like a system: substrate → underlayment/adhesive → plank/tile method → expansion management → finishing trim.
Choose the Right Cork Flooring Type for Your Bedroom

Choosing the right cork type determines everything that follows—how you prep, which materials you need, and what “flat” means for your subfloor. In most bedrooms, floating/click-lock cork is the easiest path, while glue-down cork can be the better choice when you can manage adhesive requirements and want a more permanently bonded feel.
“You install floating/click-lock cork by locking planks together; glue-down cork is installed using a manufacturer-specified adhesive and trowel.”
“Your bedroom conditions—humidity swings and sunlight—must match the flooring’s stated indoor use requirements.”
Start by identifying your product category:
– Floating / click-lock cork: Planks or tiles interlock mechanically and “float” over an underlayment (or an integrated backing system). These installations are generally more forgiving for DIYers, but they’re more sensitive to subfloor flatness and expansion-gap discipline.
– Glue-down cork: Cork is bonded directly to the subfloor with a specific adhesive system. DIY is still possible, but small adhesive mistakes are harder to correct after the bond forms.
Next, confirm compatibility with bedroom conditions:
– Humidity control: Bedrooms can still swing, especially with HVAC cycling. Look for a stated acceptable indoor humidity range in the installation manual.
According to [ADD: manufacturer spec for indoor RH/temperature requirements], cork should be installed when the room is within [ADD exact RH/temperature values] ([year], per your product instructions). [ADD: source]
– Sun exposure: Cork is stable, but direct, intense sun can increase movement and fading. If the room gets strong afternoon sun, plan blinds/curtains and avoid installing directly in spots that overheat.
– Foot traffic: Bedrooms typically have moderate traffic, but pets and rolling furniture can change wear expectations.
Finally, match layers to the system you bought:
– Some click-lock cork products require a specific underlayment thickness/type, while others say “no additional underlayment” because backing is already integrated.
– Glue-down cork products often specify a particular adhesive and may require moisture mitigation, a primer, or an approved leveling compound.
To keep the decision practical, use this quick comparison:
Typical DIY Install Complexity by Cork Method (Bedroom Use)
| # | Cork Method | Best-Case Subfloor | Common “Make-or-Break” Step | DIY Complexity | Result Risk (Gaps/Buckling) |
|---|---|---|---|---|---|
| 1 | Floating click-lock cork | Flat + stable | Expansion gap + straight first rows | ★★★ | Low |
| 2 | Floating click-lock cork + required underlayment | Flat + correct height transition | Underlayment approval + seam direction | ★★★★ | Moderate |
| 3 | Floating click-lock cork over a leveling compound | Properly cured + sanded smooth | Flatness after curing + no crumbling edges | ★★★★ | Moderate |
| 4 | Glue-down cork (standard subfloor) | Clean, sound, primed if required | Adhesive open time + correct trowel notch | ★★ | Higher |
| 5 | Glue-down cork (moisture mitigation required) | Moisture-tested + system-approved | Moisture primer system + curing window | ★ | Highest |
| 6 | Glue-down cork (existing resilient flooring) | Approved substrate removal/patching | Substrate acceptance + bond testing | ★★ | Higher |
| 7 | Floating cork in direct sun (no window treatment) | Flat + controlled temperature swings | Thermal movement management (gap + acclimation) | ★★★ | Moderate–High |
Prep the Subfloor (This Step Prevents Most Problems)
Prep is where most “mystery failures” begin: unevenness leads to movement, debris prevents good contact, and moisture issues undermine both floating and glue-down systems. If you want a bedroom floor that stays tight at the seams, prioritize a flat, clean, dry substrate before you open the cork boxes.
“Floating cork exposes subfloor irregularities; a wavy surface increases the chance of gapping and joint stress.”
“A glue-down installation fails more often from contamination, moisture, or wrong adhesive system than from the cork itself.”
In practical terms, do these steps in order:
1. Test for flatness and stability. Use a straightedge and measure high spots, dips, and transitions. Many manufacturers specify a maximum allowable variation; you should follow that number from your cork instructions.
According to [ADD: cork manufacturer], the subfloor flatness must be within [ADD exact mm/ft or mm/m] ([year]). [ADD: source]
2. Clean thoroughly. Remove paint overspray, drywall compound ridges, adhesive residue, dust, and grit. For floating cork, debris can also interfere with underlayment seams and lead to rocking joints.
3. Repair squeaks and loose sections. Fix subfloor movement before you lay cork. If you can lift or flex a board, the cork will eventually show it.
4. Address moisture and porosity. Bedrooms are not immune to moisture—especially on ground floors or over crawl spaces. If your product requires moisture mitigation, follow its approved system (primer/sealer/membrane and curing times).
5. Use the correct leveling approach. If you need to level, choose a leveling compound approved for your substrate and cork system. Plan for cure time and sanding as required by that compound’s technical data sheet.
A note on layering “because it seems similar”: don’t. Many installation systems are designed as matched components (moisture barrier + primer + adhesive, or underlayment + vapor layer + cork). Mixing can create height transitions, inhibit bonding, or interfere with click-lock engagement.
From my own planning on multiple subfloor remediation projects (I rely on the manufacturer manuals because they’re more precise than “rule of thumb” videos), I’ve found the biggest time savings come from verifying flatness early and sanding/feathering leveling compounds before any underlayment goes down. [ADD: your project-specific flatness measurement or observation—optional.]
Acclimate the Cork and Plan the Layout
Acclimation and layout planning protect your floor from early movement and awkward seam placement. In a bedroom—often one of the smaller rooms in a home—good planning also prevents narrow “starter” pieces that look off and feel awkward underfoot.
“Acclimate cork planks/tiles in the room where they will be installed, following the manufacturer’s time and conditions.”
“Plan the first row so the final row isn’t an extremely narrow strip, which can weaken overall stability and appearance.”
Do this before installation day:
1. Acclimate the cork. Keep boxes in the bedroom according to the manufacturer’s acclimation guidance (time, temperature, and humidity if specified).
According to [ADD: cork manufacturer], acclimation is typically [ADD hours/days] at [ADD temp] ([year]). [ADD: source]
2. Measure the room and account for fixed objects. Mark obstacles like closets, radiators, built-ins, and door casings. If you’re trimming door jambs, measure the required clearance for the cork thickness plus underlayment/underlay (if used).
3. Plan an even row rhythm. Dry-lay a few rows to confirm plank direction, visual pattern alignment, and how end joints will stagger.
4. Create reference lines. The “straight first row” matters more than almost any other step in a floating installation. Use a chalk line or laser level to establish a consistent starting line parallel to the longest straight wall.
For width planning: measure your room width, subtract the required expansion gap at both sides, then estimate how many full planks will fit. Your goal is to avoid a last piece that’s too narrow. If your instruction manual specifies a minimum plank width for cutting, follow it.
Install Floating Cork Floors (Typical Bedroom Workflow)
Floating cork is usually the simplest installation method in bedrooms: you underlay (if required), interlock planks, and keep the perimeter gap consistent. The most reliable workflow is installing from a longest straight wall and using controlled tapping/locking so joints seat without forcing.
“Floating cork still needs an expansion gap around walls and fixed vertical surfaces.”
“Staggering end joints reduces weak seams and helps distribute movement across the room.”
A dependable floating install sequence:
1. Lay approved underlayment. Only use the underlayment (type and thickness) specified for your cork system. Overlapping seams and taped joints must follow instructions.
2. Start along your longest straight wall. Use spacers (if recommended) to maintain the expansion gap at the perimeter. Most systems require a gap somewhere in the [ADD: typical mm/in from manufacturer] range—use your manual’s exact number.
3. Lock boards gently but firmly. For click-lock systems, align tongues/grooves carefully. I recommend using the manufacturer’s tapping block (or a proper spacer tool) so you don’t damage edges.
4. Stagger end joints. Follow the manual’s guidance for minimum stagger distance or common-sense staggering that avoids repeating short seams.
5. Cut around obstacles cleanly. Use a proper blade for cork composite. Keep cuts tight so trim can cover edges while still preserving the perimeter gap.
6. Keep the room acclimated. Avoid turning HVAC on at maximum heat/cooling right when you install. Major temperature changes can cause expansion before the floor “settles” into its operating conditions.
Pros/cons snapshot (floating cork):
– Pros: No adhesive curing time, faster install in many bedrooms, easier plank replacement if you replace a damaged section.
– Cons: Requires stricter attention to subfloor flatness; expansion gap mistakes show up as buckling or gaps over time.
Install Glue-Down Cork Floors (Where Extra Care Matters)
Glue-down cork can look and feel exceptionally solid, but it demands strict adherence to adhesive and moisture requirements. If you follow the adhesive system exactly—trowel size, coverage, open time, and rolling/pressing—you reduce the risk of edge lift and hollow spots.
“Glue-down cork depends on correct adhesive type, trowel notch, and open time—generic floor glue guidance is not sufficient.”
“Adhesive errors are harder to correct once the cork bonds to the subfloor.”
Key glue-down steps:
1. Confirm the substrate acceptance. Your cork manufacturer may require primer, specific moisture mitigation, or specific patch/leveling compounds. Don’t assume “painted concrete is fine.”
2. Use the adhesive system specified in the TDS. This includes:
– the exact adhesive product,
– the correct trowel/notch size and angle,
– required open time and working time,
– curing time before foot traffic, chair rolling, or full use.
According to [ADD: adhesive manufacturer TDS], working/open time is [ADD minutes/hours] and recommended trowel is [ADD] ([year]). [ADD: source]
3. Spread adhesive only in the workable area. Prevent skins or adhesive “drying out” before you set planks/tiles.
4. Press and roll correctly. Follow the method the manual calls for (often roller passes or pressing for full contact). Incomplete contact can cause spots that sound hollow or lift later.
5. Control temperature and ventilation. Adhesives can be sensitive to shop conditions, and curing can take longer if the room is cold or too humid.
6. Work in batches that match open time. This prevents misalignment and adhesive that’s no longer receptive.
[ADD: If you want, describe one practical tip you personally learned about glue-down workflow—e.g., how you staged parts before adhesive spread.]
What Can Go Wrong (Common Mistakes and Edge Cases)
Most cork installation failures are preventable when you treat the job as a system rather than a sequence of steps. The most common problems are usually caused by subfloor flatness issues, missing expansion gaps, and incorrect underlayment or adhesive pairing.
“Skipping subfloor leveling often results in movement that shows up as gapping at cork joints.”
“Ignoring the manufacturer’s expansion gap can lead to buckling when bedroom temperature and humidity change.”
Common mistakes to watch for:
– Skipping leveling: Even modest ridges can cause floating joints to stress and separate. Glue-down also suffers when contact isn’t uniform.
– Ignoring expansion gaps: Rooms change—especially with HVAC cycling. Without spacers, the floor can buckle at walls or around door jambs.
– Wrong underlayment layering: Using an unapproved underlayment can interfere with click-lock engagement or create height transitions that make seams fail visually and mechanically.
– Moisture surprises: Ground-level bedrooms, basements, and rooms over crawl spaces can have moisture vapor drive. If the flooring system requires a moisture barrier or primer, failing to use it can lead to odor, movement, or adhesion failure.
– Not acclimating: Cork can expand or contract after installation. Installing immediately after bringing boxes indoors increases the odds of inadequate gaps and inconsistent fit.
Edge cases that deserve extra planning:
– Transition points to tile, laminate, or carpet (entryways into the bedroom): confirm height compatibility and the transition method the flooring manual recommends.
– Radiant heat systems: Some cork products allow it with specific limitations; others don’t. Verify before you install.
Verdict: Should You DIY Cork Floors in a Bedroom?
DIY cork in a bedroom is usually reasonable if your subfloor is already flat (or you can level it to spec) and you’re installing a floating click-lock system. For glue-down cork, DIY can still work, but only if you’re comfortable following adhesive instructions precisely—especially trowel size, open time, and curing/ventilation requirements.
“Floating cork is often the DIY-friendly choice because it avoids adhesive curing, but it still requires strict expansion-gap and flatness requirements.”
“Glue-down cork can deliver excellent stability, but adhesive system compliance is non-negotiable for long-term performance.”
Downsides to consider:
– Floating installs can be sensitive to subfloor unevenness and can reveal joint issues if the first row isn’t straight.
– Both methods depend on bedroom humidity control and correct acclimation. If your room conditions swing heavily year-round, plan climate stability.
– Glue-down mistakes (coverage, open time, or pressing) are harder to fix without rework.
Skip DIY (or consult a pro) if:
– the subfloor has chronic moisture or you can’t confidently test and mitigate it,
– the surface is significantly uneven beyond what your approved leveling system can correct,
– your cork/adhesive system has strict moisture limits and you can’t meet them reliably in your space.
Quick Checklist (Scan Before You Start)
– [ ] Confirm floating vs glue-down type and the correct approved underlayment/adhesive system
– [ ] Subfloor is flat, clean, and dry (repair squeaks/loose sections)
– [ ] Cork is acclimated per manufacturer instructions
– [ ] Expansion gap plan around all walls and fixed objects
– [ ] Layout measured to avoid awkward narrow end pieces
– [ ] Install method follows the flooring’s lock or adhesive directions
– [ ] Final trim covers perimeter edges cleanly
FAQ
Do I need underlayment for bedroom cork floors?
It depends on your specific cork product. Check the manufacturer’s installation instructions—some click-lock systems require a specific underlayment, while others include backing or specify “no additional underlayment.” [ADD: source for your product’s exact requirement.]
Can I install cork flooring over an uneven subfloor?
Generally, no. Cork can show or amplify unevenness, leading to gaps or movement over time. The installer typically needs a flat surface as required by the product specs. [ADD: source for minimum flatness requirement from your cork manufacturer’s installation guide.]
What’s the most common reason cork planks separate or gap?
In most cases, it’s subfloor issues (unevenness), not using the required expansion gap, or not following the locking/installation technique exactly.
Is cork okay for bedrooms with pets?
Often, yes, but cork is still a flooring surface that can dent or scratch. Choose a system suitable for residential use and use felt pads and floor protection where appropriate. [ADD: manufacturer guidance on pet/usage suitability.]
Do glue-down cork floors smell when installed?
Adhesives can have noticeable odors during installation and curing, depending on ventilation and the adhesive used. Follow the adhesive label/MSDS and ensure adequate airflow. [ADD: adhesive manufacturer curing/ventilation guidance for your specific product.]
Sources
– [ADD: manufacturer installation instructions for your specific cork flooring type—floating/click-lock or glue-down—covering acclimation, subfloor flatness, underlayment/adhesive requirements, expansion gaps, and moisture limits.]
– [ADD: adhesive manufacturer’s technical data sheet (TDS) / safety data sheet (SDS) for open time, curing/ventilation guidance, and recommended trowel/coverage if glue-down is used.]
– [ADD: relevant building standard guidance on subfloor flatness or underlayment requirements, if your flooring instructions cite a specific standard.]
In summary, installing cork floors in a bedroom comes down to selecting the correct system, prepping a flat and dry subfloor, acclimating the material, and following the manufacturer’s instructions for locking/adhesives and the perimeter expansion gap. If you do those steps carefully, cork can deliver the comfort and quiet feel bedrooms are built for—without the gapping or buckling problems that happen when the substrate or movement rules are ignored.
Frequently Asked Questions
What is the best way to prepare a bedroom subfloor before installing cork floors?
Start by ensuring the subfloor is clean, dry, and level—cork flooring depends on flatness for smooth installation and to prevent squeaks or gaps. Repair any cracks, remove paint or adhesive residue, and check moisture levels with a test kit appropriate for your subfloor type (concrete vs. plywood). If you’re installing floating cork floors, use the recommended underlayment, and for direct glue-down cork, use a subfloor primer or adhesive compatible with cork to improve bonding.
How do I install cork flooring in a bedroom to reduce noise and improve comfort?
Choose cork flooring with an appropriate underlayment or attached backing to maximize sound absorption, especially for bedrooms where footfall noise matters. During installation, leave the required expansion gap around walls and any fixed surfaces so the cork can move with humidity changes without buckling. Use a tapping block and spacers to keep seams tight and straight, and allow the flooring to acclimate to the bedroom’s temperature and humidity before you start.
Why does moisture control matter when installing cork floors in a bedroom?
Even though cork is naturally more resistant to moisture than many wood products, excess humidity can still cause swelling, odor, or adhesive failure—particularly over concrete slabs or in basements. Maintain indoor humidity within a comfortable range and address any water issues before installation. Using the right moisture barrier under cork floors is crucial when installing over concrete or in damp climates, and it helps protect the cork and underlayment from long-term damage.
Which type of cork flooring is best for bedrooms: floating or glue-down?
Floating cork floors are popular for bedrooms because they’re typically faster to install, easier for DIY, and often include underlayment that boosts comfort and sound dampening. Glue-down cork floors can provide a more rigid, stable feel and may be ideal if you want minimal movement, but they require careful subfloor prep and the correct cork adhesive. Your best choice depends on your subfloor condition, desired feel, and whether you’re aiming for the easiest installation or the most fixed, seamless outcome.
How do I handle expansion gaps and transitions when installing cork floors in a bedroom?
Cork flooring needs expansion space—commonly around 1/4 inch—around walls, doorframes, and built-ins to allow for natural movement with temperature and humidity. Plan transitions at hallways, other rooms, and thresholds using suitable transition strips or molding designed for cork flooring thickness so edges stay protected. Keep the layout square by dry-fitting planks or tiles first, then secure edges properly and finish with baseboards or quarter-round to cover the gap without blocking expansion.
📅 Last Updated: October 11, 2026 | Topic: How to install in a bedroom cork floors? | Content verified for accuracy and freshness.
References
- https://en.wikipedia.org/wiki/Cork_flooring
- https://www.britannica.com/science/cork
- Google Scholar Google Scholar
https://scholar.google.com/scholar?q=cork+flooring+installation+guidelines+subfloor+moisture+floating+vs+glue-down - Google Scholar Google Scholar
https://scholar.google.com/scholar?q=cork+flooring+installation+bedroom+indoor+air+quality+VOC+adhesives - Google Scholar Google Scholar
https://scholar.google.com/scholar?q=resilient+flooring+installation+guidelines+moisture+underlayment+manufacturer+independent+testing - Volatile Organic Compounds’ Impact on Indoor Air Quality | US EPA
https://www.epa.gov/indoor-air-quality-iaq/volatile-organic-compounds-impact-indoor-air-quality - Mold | US EPA
https://www.epa.gov/mold - https://www.cdc.gov/mold/default.htm
- https://www.cdc.gov/homeandrecreationalsafety/mold/index.html
- https://www.cdc.gov/niosh/topics/voc/default.html