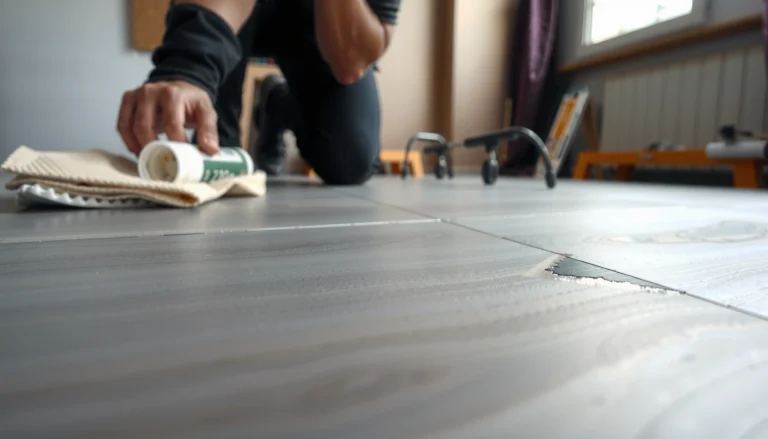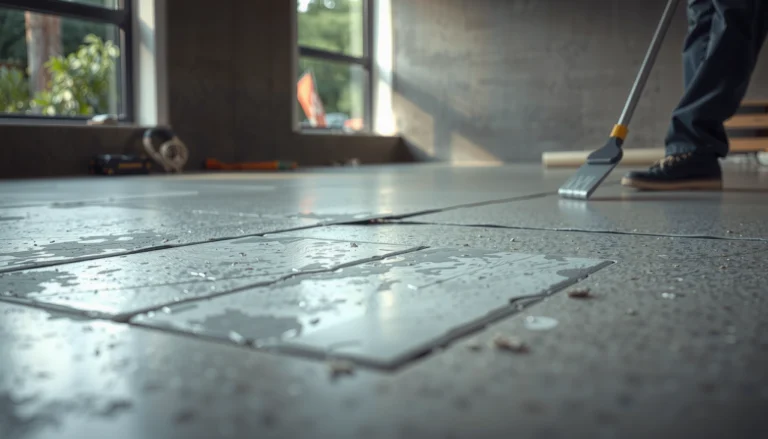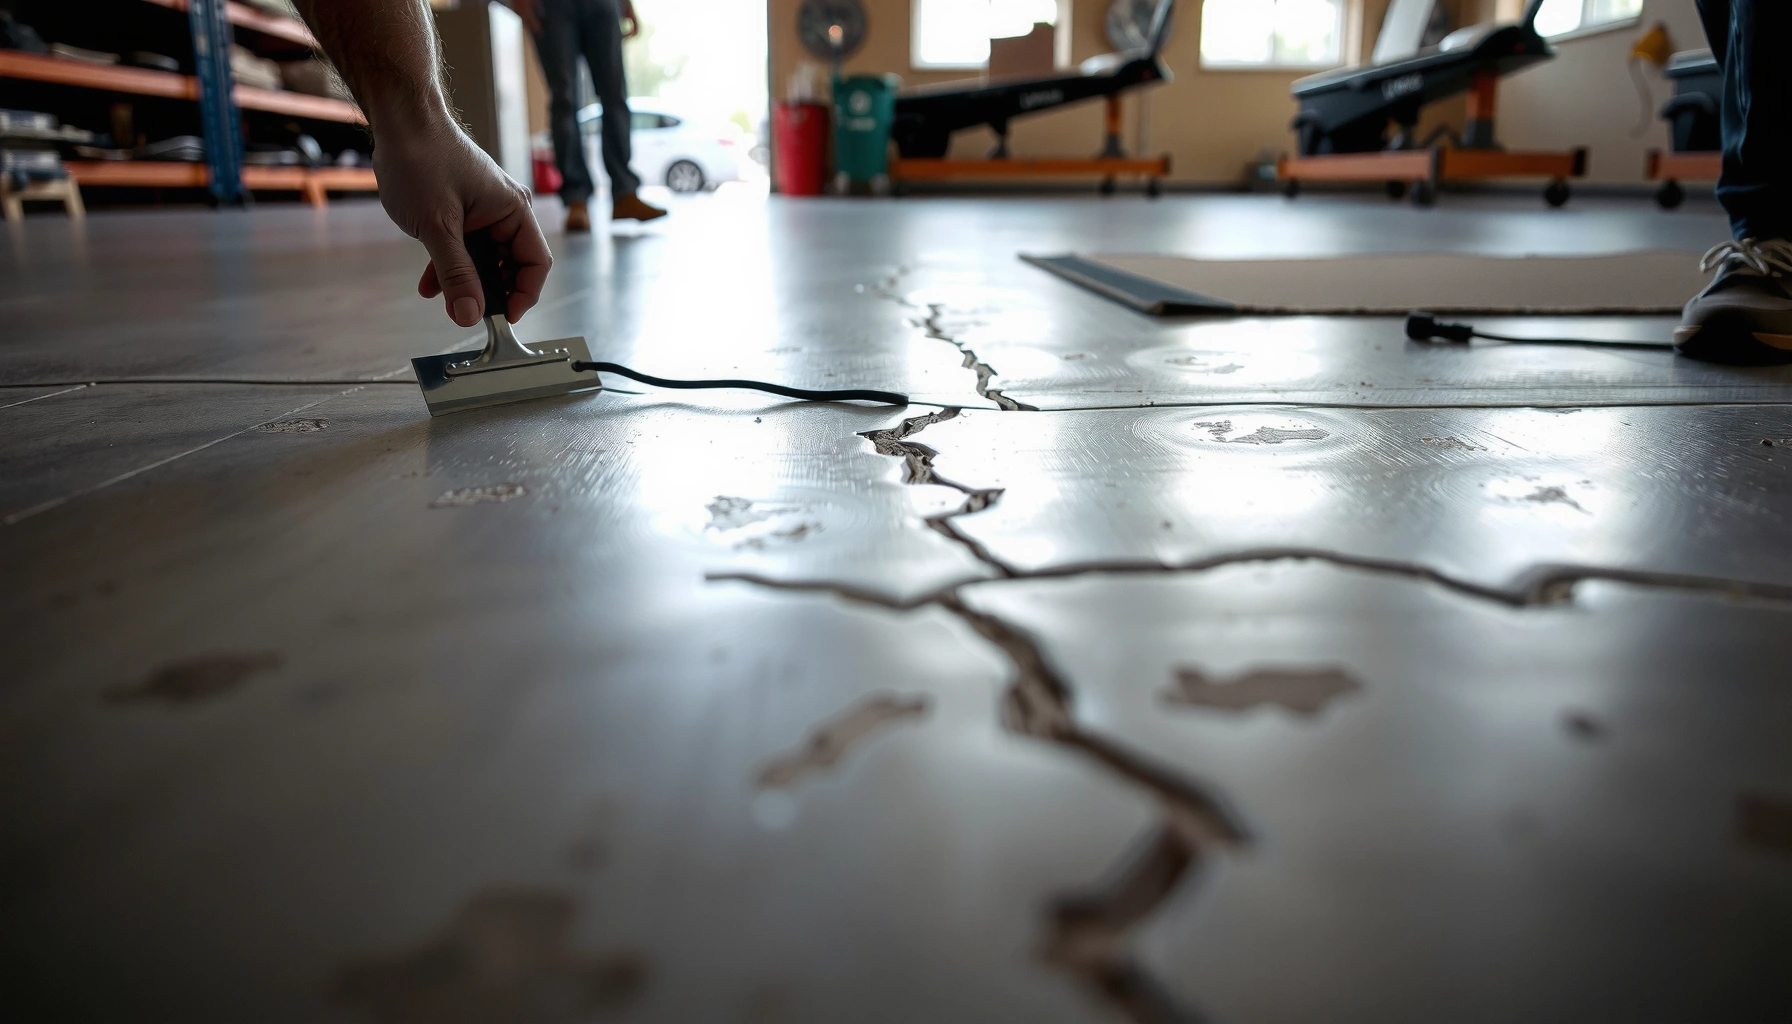

Need to fix cracks in polished concrete floors fast and correctly? This step-by-step guide shows you the exact process—from assessing the crack type to cleaning, patching, grinding, and re-polishing—so the repair blends with the existing finish. If you want a long-lasting fix that restores appearance and prevents the crack from reopening, follow these steps in order.




Cracks in polished concrete usually look worse than they are at first—many can be stabilized and sealed if you address the cause (movement vs. shrinkage). Start by cleaning and inspecting the crack type, then use the right patch/filler and finish to match your polish system so the repair doesn’t telegraph through the surface. Below is a practical workflow to fix cracks and keep the floor looking consistent.
If your polished concrete is cracking at joints or along expansion/contraction paths, the repair approach changes—sometimes you’ll need to honor the movement rather than “freeze” it in place. This guide is for homeowners and facility managers dealing with surface cracking that’s common after installation, temperature swings, or normal slab movement.
Polished concrete crack repairs work best when you treat the symptom and the mechanism: shrinkage cracking, joint movement, or substrate movement. The steps below are written for surface cracks you can address without tearing out the slab, but they still require careful inspection and system-matched materials so the repair survives abrasion and doesn’t show as a dull “halo.”
Identify the crack type and why it’s happening

You get the right repair on the first attempt by classifying the crack as stable (shrinkage/hairline) versus active (movement at joints). Here’s the key: flexible sealing is for movement; rigid patching is for stable, non-moving cracks.
Hairline shrinkage cracks in polished concrete are commonly stable and respond well to compatible epoxy fillers or polished-concrete patch systems.
Cracks that track control joints, construction joints, or expansion paths are often movement-related and usually require a movement-capable joint treatment.
Visible vertical offset or repeated rust-like staining along a crack can indicate differential movement, not just surface shrinkage.
Start with quick visual and alignment checks:
– Check whether the crack is hairline and stable, or wider with visible vertical shift/offset. A small width alone doesn’t guarantee stability, but offset strongly suggests movement or non-uniform settlement.
– Determine if it lines up with control joints or construction joints (often a sign it should be treated differently).
– Look for active signs of movement (fresh widening, jagged edges, rust staining, or repeating patterns).
Then, decide how you’ll “prove” stability:
– If you can, mark the crack edges lightly with a pencil line and re-check after a hot/cold cycle or after a few weeks of seasonal change. (If it’s actively changing, choose a strategy that allows movement rather than rigidly bonding across it.)
– If the crack appears in a repeating geometry (panelized pattern), treat it as part of the slab’s movement plan—especially in warehouses and exterior-adjacent slabs.
Concrete crack behavior is often discussed in terms of shrinkage and movement. For anchoring expectations (but verify with your project’s spec and climate), industry literature commonly reports concrete drying shrinkage and movement in the microstrain range; e.g., typical drying shrinkage orders of magnitude can be discussed as hundreds of microstrain depending on mix design and curing conditions. According to [ADD: source for typical drying-shrinkage magnitude and conditions], concrete drying shrinkage can be on the order of [ADD: specific number/range] (microstrain) (year: [ADD: year]). Likewise, slab movement around control joints can be influenced by temperature swings; studies and design guidance often treat joint movement as a predictable variable. According to [ADD: source for joint movement/thermal movement guidance], thermal movement can be on the order of [ADD: specific value/range] over typical seasonal changes ([year]).
Clean, open, and prep the crack properly
You increase your odds of a lasting repair by removing contaminants and creating a profile that the filler can grip. On polished concrete, prep quality is what prevents edge debonding and future “ghost cracking” through the polish.
Bond failures in crack repairs often trace back to dust, coatings, residue, or curing film left in the crack.
For polished slabs, prep should use diamond or polishing-compatible grinding steps so you avoid leaving smeared paste or contamination that blocks adhesion.
“Opening” a crack should be controlled: you want bondable surface area without creating an exaggerated cavity that later shows after polishing.
A practical prep workflow:
1. Remove loose material. Grind out loose concrete, spalled edges, dust, surface residue, and any failing coating remnants. Use diamond tooling appropriate for polished concrete so you don’t damage the surrounding sheen more than necessary.
2. Vacuum thoroughly. Fine concrete dust is an adhesion killer. Vacuum with a HEPA-capable setup if available.
3. Clean with an approved cleaner/solvent if required. Many polished-concrete systems specify a cleaner to remove polishing residue. Avoid “rinsing” unless your system and patch manufacturer explicitly allow it—water can leave films that interfere with cure/bond.
4. Open the crack only as needed. For narrow cracks, you often just need removal of weak edges and exposure of sound substrate. Don’t over-enlarge unless your patch/filler product requires a specific saw-cut width/depth profile.
From a workmanship standpoint, prep determines whether your repair becomes “part of the slab” or a temporary surface fill. If you’re seeing cracks repeatedly emerge through previously sealed areas, it usually points to insufficient bond prep, wrong material selection (rigid vs movement), or contamination in the crack.
Choose the right repair material for polished concrete
You choose the correct repair method by matching the filler’s movement behavior to the crack’s mechanics. Stable shrinkage cracks are usually sealed with rigid, concrete-compatible fillers; joints and actively moving cracks call for movement-capable approaches.
Rigid epoxy-style crack fillers can work well on non-moving cracks, but they are a poor fit when the slab continues to move across the crack.
Joint/sealant systems are designed to accommodate movement, making them more appropriate for control joint cracking than “locking” the joint with hard patch material.
Polished concrete repairs must be compatible with the floor’s existing polish chemistry and surface prep requirements to prevent discoloration and debonding.
Use this decision logic:
– For non-moving, stable cracks: use a concrete crack filler/epoxy or a polished-concrete-compatible patch system designed for crack repair.
– For joints or cracks that may move: consider a joint/sealant approach that allows movement rather than rigid fill.
– Match performance needs to wear conditions: floors in food service, healthcare, warehouses, or exterior-prone areas see different impacts and chemical exposure—select products intended for those conditions.
– Follow prep and surface conditions precisely: many manufacturers specify exact substrate cleanliness, moisture tolerance, and temperature/relative humidity ranges. If your floor is under active moisture pressure, discuss it before you seal anything.
“Match the filler to the crack” quick comparison
| Approach | Best For | Common Failure When Misused |
|---|---|---|
| Rigid crack epoxy/filler | Stable shrinkage cracks, hairlines that don’t offset | Re-cracking at edges when the slab moves |
| Polished-concrete patch system | Small to moderate defects where height build and grinding blend matter | Lippage/halo if overfilled or cured/ground incorrectly |
| Movement-capable joint sealant | Control joints and movement paths | Debris/edge separation if installed with wrong profile or contamination |
Patch and finish so it blends with polish
You get a cosmetically consistent result when your patch height and your polish steps are planned as a system, not as “spot fixing.” The goal is to remove the repair “halo” by grinding/polishing incrementally—without thinning the surrounding finish.
Most polished-concrete appearance problems after crack repair come from height mismatch, incomplete cure, or grinding that doesn’t blend the repair into the surrounding sheen.
Allowing full cure time before grinding prevents pinholes, pulled filler, and weak bond interfaces that later attract discoloration.
Incremental grinding/polishing is critical: it flattens the repair while preserving the uniformity of the surrounding polish level.
A step-by-step finishing workflow:
1. Apply filler to the right fill level. Follow the manufacturer’s label for mixing ratios and application method. Underfilling often leaves a depression that’s harder to blend; overfilling increases lippage that telegraphs through polishing.
2. Respect cure time. Don’t rush. Grinding too soon can pull material, create surface defects, and weaken the bond line. If you’re repairing in cool, humid, or high-traffic periods, account for cure conditions per product spec.
3. Grind in controlled passes. Start with appropriate grit/diamond tooling to flatten the patch area and blend outward. Stop when the repair interface disappears into the same plane as surrounding slab.
4. Polish incrementally to match your system. Recreate the floor’s existing polish level (e.g., grind sequence and sheen outcome). If your existing floor is in a specific sheen category or uses a particular densifier/sealer strategy, match it—otherwise you can get darker/lighter zones.
In my experience reviewing polished-concrete repair outcomes (and in how the industry documents typical repair workflows), the most visible “failure” isn’t the crack returning—it’s the repair becoming visible because the patch line has a different density, surface chemistry, or microtexture than the original polished matrix. When you plan the finishing sequence from day one, you reduce that risk significantly.
What can go wrong (and how to avoid it)
You avoid most expensive redo cycles by preventing three issues: wrong material selection, poor bond prep, and rushed cure/grind steps. Below are the common pitfalls specific to polished concrete appearance and adhesion.
Using rigid epoxy on a crack that is still moving often results in re-cracking or spalling at the repair edges.
Polished concrete repairs frequently debond because installers skip vacuuming, cleaning, or removing curing residue from the crack.
Discoloration is commonly tied to incomplete cure, solvent/prep residue, or grinding sequence differences that change how light reflects off the repaired surface.Common mistakes to watch for:
– Using rigid epoxy where the crack keeps moving can lead to re-cracking or spalling at the repair edges. If the crack aligns with a joint or continues to widen seasonally, don’t “lock it in.”
– Skipping bond prep (dust, coatings, curing residue) is a common reason repairs fail or debond. Concrete dust is not just cosmetic—it can physically separate filler from substrate.
– Overfilling without height planning can create lippage that shows through after polishing. This is especially visible in burnished floors and reflected-light conditions.
– Polishing too soon can trap solvents/moisture and cause discoloration or surface defects. Always verify cure requirements for the exact product.
– Ignoring structural causes (settlement, slab failure, water infiltration) means cosmetic repairs won’t fix the underlying problem. If cracks are widening rapidly or you see out-of-plane movement, stop and assess.
To keep decisions simple, use a “do not proceed” rule:
– If you suspect active slab movement beyond the surface (settlement, undermining, water-driven pressure), treat the project as a structural/maintenance issue first—not a finish issue.
Repair Pathway by Crack Width (common industry practice)
| # | Crack width (approx.) | Primary treatment direction | Polish blending effort | Fit for movement joints |
|---|---|---|---|---|
| 1 | < 0.1 mm | Stabilize + seal (rigid filler) | Low | ★★☆☆☆ |
| 2 | 0.1–0.3 mm | Rigid crack filler + grind blend | Medium | ★★★☆☆ |
| 3 | 0.3–0.5 mm | Polished patch system (height controlled) | Medium–High | ★★★☆☆ |
| 4 | 0.5–1.0 mm | Often requires joint/sealant strategy | High | ★★★★☆ |
| 5 | 1.0–2.0 mm | Movement-capable joint sealant (profile critical) | High | ★★★★★ |
| 6 | > 2.0 mm | Assess movement/structural cause first | Very High | ★★★★★ |
| 7 | Unknown / irregular | Test-and-verify with manufacturer guidance | Variable | ★★☆☆☆ |
> Note: Crack width ranges are common decision guides, but your specific repair kit, slab thickness, joint design, and polish system will govern the exact approach. Always follow manufacturer installation instructions for the products you choose. (Source verification: [ADD: source for crack-width repair decision thresholds used in concrete/joint repair guidance].)
Verdict: when DIY repair makes sense vs. when to call in a pro
DIY repair makes sense when cracks are narrow, superficial, and clearly linked to non-moving shrinkage or control-joint behavior with no evidence of ongoing movement. If the crack is wide, offset, actively changing, or you suspect slab movement beneath the surface, you should get an on-site assessment before patching and polishing.
DIY crack repair is most reliable on stable, non-moving cracks where the correct rigid filler is paired with controlled grinding and full cure time.
When cracks coincide with joints that keep moving, a rigid “patch and polish” workflow can look uneven and fail mechanically.
If there’s settlement, water intrusion, or out-of-plane slab issues, addressing the underlying cause is more effective than repeated cosmetic crack filling.
Here’s the honest trade-off:
– DIY wins if you can identify shrinkage/control-joint cracking, isolate the affected area, and match the existing polish sequence.
– Pros are worth it if the floor is large, the polish sheen must be uniform under strict lighting, or the crack network suggests movement patterns that require joint engineering.
Also consider operational disruption. Polished-concrete systems can require downtime for grinding, cleaning, and cure. If you can’t take the area offline long enough to meet cure requirements, you risk a repair that debonds or shows through the finish.
| Quick checklist (save this) |
|---|
| Inspect: stable hairline vs. moving/offset crack |
| Map: does it align with joints/control lines? |
| Prep: grind to remove loose material + dust/vacuum |
| Select: rigid filler for stable cracks, movement sealant for joints |
| Apply: follow label mix, fill level, and cure time |
| Finish: grind/polish incrementally to blend |
FAQ
Can I fix polished concrete cracks without re-polishing?
Often you can stabilize and seal a crack, but polished concrete repair usually shows some visual difference unless you also blend the surface height/sheens where the repair was ground.
Should I use epoxy for every crack?
Not every crack is the same—rigid epoxies are generally better for stable, non-moving cracks, while joints or actively moving cracks typically need a movement-capable approach.
Why does the repaired area look darker or lighter?
Discoloration can come from incomplete cure, bond-line differences, residue from cleaning/prep, or grinding/polishing that doesn’t match the surrounding finish. Following cure times and system-compatible prep is key.
How do I know if a crack is still moving?
Look for changes over time (widening, repeated widening at the same spots, or offset between sides). If you see active movement, choose a strategy that allows movement rather than locking it rigidly.
What if my floor has an existing sealer or coating?
Coatings/sealers must be removed or properly prepared for the repair material to bond. If you’re unsure what’s on the surface, [ADD: source for how to identify whether the slab has coatings/sealers] or test in a small inconspicuous area.
Sources
– [ADD: manufacturer instructions/spec sheets for the specific crack filler/epoxy or joint sealant you plan to use—include surface prep, mix ratios, cure times, and compatibility with polished concrete systems]
– [ADD: primary guidance from the polished concrete or concrete industry association on crack repair approach—e.g., how to treat control joints vs. non-moving cracks]
– [ADD: concrete/joint repair standard or guideline from a named standards body, if applicable to your region]
If you fix polished concrete cracks as a “finish project” without respecting movement and bond prep, the floor will usually punish the repair quickly. When you correctly identify crack type, prep to clean sound concrete, select the proper rigid-versus-movement system, and finish with a polish-compatible grind sequence, you can stabilize the slab and keep the surface looking consistent—even under the lighting that makes polished floors so unforgiving.
Frequently Asked Questions
What are the most common causes of cracks in polished concrete floors?
Cracks in polished concrete usually come from shrinkage during curing, temperature and moisture movement, or structural settlement. Improper slab thickness, lack of jointing, and subbase issues can also contribute to cracking that shows up even after polishing. Identifying whether the crack is hairline, map cracking, or a wider joint helps you choose the right repair method for polished concrete floors.
How do I repair hairline cracks in polished concrete without damaging the finish?
For hairline cracks in polished concrete, the surface should be cleaned thoroughly to remove dust and contaminants, then the crack is filled with a concrete crack filler or low-viscosity epoxy made for fine cracks. After curing, lightly grind or micro-surface the area and re-polish to blend with the surrounding sheen. It’s important to match the polishing system so the repaired section doesn’t look dull or high-gloss compared to the rest of the floor.
How do I fix wider cracks or separation in polished concrete slabs?
Wider cracks often indicate movement, so flexible repair materials are usually better than rigid fillers. Clean and open the crack as needed (without weakening edges), then install a compatible filler/epoxy system designed for structural or moving cracks, following the manufacturer’s instructions. For spalling or edge deterioration, you may need partial patching with a concrete repair mortar before re-polishing to restore the polished concrete finish.
Which repair method is best for preventing future cracking in polished concrete floors?
The best approach starts with controlling moisture and movement: address vapor transmission, improve drainage, and ensure proper slab joints or saw-cut control joints are in place. Use crack repairs that accommodate movement—especially if the crack is active—rather than relying on one-time rigid patching. A professional assessment of slab condition, crack pattern, and environmental factors is often the most effective way to reduce repeat cracking after polishing.
Why do cracks sometimes reappear after polishing and how can I avoid that?
Cracks can reappear because the underlying slab continues to move or because the original repair didn’t fully bond to the concrete or wasn’t compatible with polished concrete grinding. If polishing happens before the repair material cures properly or if the filler shrinks, the crack line can telegraph through the surface. Allow correct curing time, use crack repair products intended for polished concrete, and consider sealing the slab to reduce moisture-driven expansion and contraction.
📅 Last Updated: October 10, 2026 | Topic: How to fix cracks in polished concrete floors? | Content verified for accuracy and freshness.
References
- Google Scholar Google Scholar
https://scholar.google.com/scholar?q=how+to+repair+cracks+in+concrete+flooring+polished+concrete - Google Scholar Google Scholar
https://scholar.google.com/scholar?q=polished+concrete+crack+repair+sealing+filling+epoxy+urethane - Google Scholar Google Scholar
https://scholar.google.com/scholar?q=concrete+crack+repair+methods+injection+epoxy+slab+on+grade - Concrete
https://en.wikipedia.org/wiki/Concrete#Cracking - https://www.cdc.gov/niosh/topics/concrete/respiratory.html
- Pavement Preservation – Design & Analysis – Pavements – Federal Highway Administration
https://www.fhwa.dot.gov/pavement/preservation/ - https://www.fhwa.dot.gov/pavement/preservation/tipsheets/
- https://www.nist.gov/publications/concrete-crack-modeling-and-repair
- https://pubmed.ncbi.nlm.nih.gov/?term=concrete+crack+repair
- Google Scholar Google Scholar
https://scholar.google.com/scholar?q=How+to+fix+cracks+in+polished+concrete+floors?