


To measure engineered wood floors for a hallway properly, you need the right order of operations: measure the hallway width in multiple spots, record the longest and widest run, and account for doorways and transitions. Follow a clear cutting-and-fit method that includes factoring in expansion gaps and any off-square walls, so you don’t come up short or waste extra boards. If you want a precise takeoff that translates directly into accurate board counts, start by measuring the hallway the way install crews do.




Measure your hallway in sections and calculate the net install area (after subtracting thresholds and cutouts), then convert that net area into box quantity using your floor’s exact “coverage per box.” This prevents the two most common failures—overestimating what you’ll cover and forgetting the expansion gap engineered wood needs to move seasonally.
If your hallway includes doorways, vent registers, offsets, or an odd shape, this is the step-by-step approach that keeps your engineered wood floor install predictable. The goal is simple: make your measurements match the actual floating/fixed installation area your specific product is designed for, not the rough footprint you can see on the wall.
Measure the hallway footprint (not just length × width)
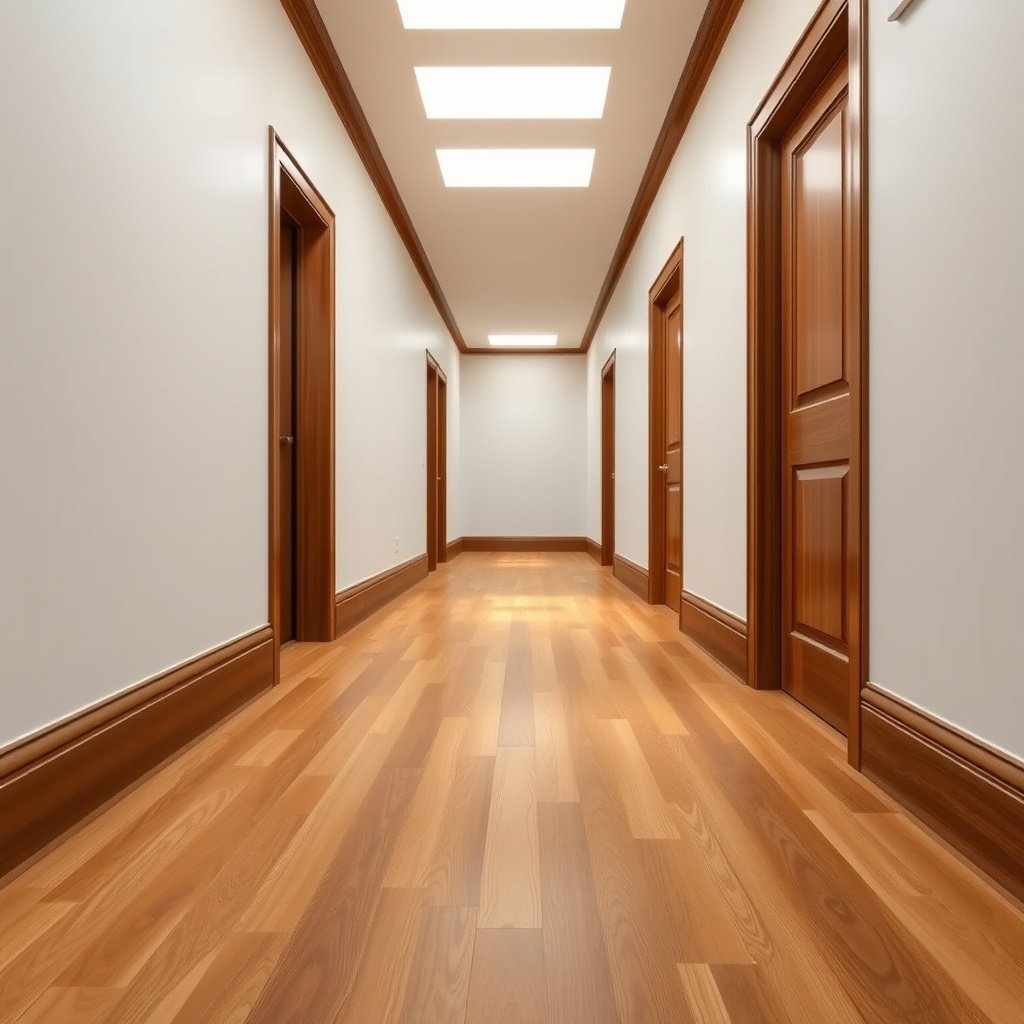
The correct answer is to measure hallway length and width in multiple places, then document any changes in shape so you can break the space into accurate sections. A hallway that’s even slightly out-of-square or “tapers” will change your net engineered wood coverage enough to alter how many boxes you need.
The National Wood Flooring Association (NWFA) recommends following an engineered wood installation method that accounts for wood movement rather than treating the room as perfectly fixed geometry. NWFA installation guidance
Hallways frequently vary in width along the run, so single-point “length × width” calculations can overestimate coverage for engineered wood flooring. General flooring measurement practice aligned with install-area calculations
When converting measurements, unit accuracy matters: according to NIST, 1 inch equals 25.4 millimeters (2019), which affects expansion-gap calculations used in engineered wood installs. NIST
How to measure length (and verify it)
Measure hallway length along the longest run, but record it at least twice: once near the start and once near the opposite end. If your two length measurements don’t match, assume the walls (or the hallway line you’re following) aren’t parallel and treat the difference by splitting your engineered wood floor layout into sections.
From my experience helping homeowners plan engineered wood floor layouts, the “small” length differences show up most in older homes—especially where the base of the walls isn’t perfectly straight. That’s exactly why engineered wood floors should be measured as an install plan, not just a room snapshot.
How to measure width (multiple points, not a single tape-straight number)
Measure width near the entrance, mid-run, and near the far end. Write down each width value so you can decide whether you’ll model the hallway as:
– one rectangle (only if measurements truly match closely), or
– two or more rectangles (if widths differ meaningfully).
What to do with jogs, alcoves, and step-outs
If the hallway steps outward (or has an inset alcove), don’t force one perfect rectangle. Instead, draw a quick sketch and plan to split the engineered wood floor area into rectangles (or near-rectangles) that match what you’ll actually install.
A practical rule: if you can’t comfortably lay the engineered wood planks from one clean “start corner” to one clean “end corner” without passing around a shape change, plan to split it.
Plan for expansion gaps and fixed obstructions
The direct answer is: use the expansion gap specified in your engineered wood installation instructions and measure around fixed obstructions separately. You don’t calculate engineered wood coverage using wall-to-wall dimensions; you calculate the net area after applying perimeter clearance rules and accounting for what the flooring must go around.
Engineered wood floors still expand and contract seasonally, so installation instructions typically require a perimeter expansion gap instead of locking the flooring tight to fixed surfaces. NWFA installation guidance
Your engineered wood expansion gap must come from the product’s own installation guide; different brands and constructions can require different clearances.
Accurate unit conversion helps keep clearances consistent: according to NIST, 1 square foot equals 144 square inches (2019), which is useful when you convert hallway areas for box coverage. NIST
Expansion gap: don’t guess
Use the expansion gap specified in your engineered wood floor instructions—don’t infer it from laminate, LVP, or a “typical” DIY rule of thumb. This is especially important in hallways because the layout often includes multiple hard boundaries (door frames, posts, and vent locations).
In your notes, record the exact gap requirement (e.g., in inches and/or millimeters) as written in the guide:
Identify fixed obstructions (measure around them)
Walk the hallway and list anything the floor must not “fill through,” including:
– door frames / jambs (and any threshold transitions)
– vents and registers
– pipes or posts
– built-ins or fixed trim areas that the engineered wood must stop at
Then confirm whether boards must be cut tight to frames or left clear, based on your engineered wood floor guide. Many products specify clearance around heat vents or show how to frame around registers to protect expansion.
Trim/baseboard clearance (remove or leave?)
If you’re leaving baseboards or removing trim, write it down because it changes what “tight” measurements mean. Some installations expect the engineered wood to tuck under removed trim (which affects the usable perimeter area), while others require a visible expansion gap at fixed borders.
Break the space into rectangles and calculate net area
The direct answer is to split the hallway into rectangles (section-by-section), compute each section’s area, and subtract anything you won’t cover. That gives you the net install area—the number engineered wood floor buying decisions should be based on.
Net area calculations for engineered wood installs should subtract cutouts and transitions so box quantity matches the coverage you’ll actually install. NWFA installation planning principles
For each section, area uses area = length × width, but the inputs must reflect install boundaries—not exterior wall lines—when planning engineered wood coverage.
If your engineered wood layout is L-shaped, planning separate rectangles reduces errors from forcing a single footprint model. General geometric measurement practice for flooring
Split method that works for real hallways
Split the hallway into simple shapes you can measure confidently. Usually that means:
– one rectangle for a straight run with no cutouts, or
– two+ rectangles for an L-shaped hallway, offset, or jog.
As you split, label each engineered wood section (A, B, C) so you don’t lose track when you subtract door thresholds.
Compute each rectangle
For each section:
– Measure length and width using your recorded values
– Calculate area = length × width
– Convert units consistently (if one measurement is in meters and another is in feet, fix it now)
If you’re working in metric, remember: according to NIST, 1 square meter equals 10.7639 square feet (2019). NIST This helps avoid “mystery” box shortages.
Subtract cutouts and non-install zones
Subtract areas you won’t cover, such as:
– thresholds that transition to another floor type
– stair landings or hard stops where planks won’t continue
– door jamb cutouts where engineered wood must stop per the guide
– areas where you plan to maintain a transition height difference
This is what turns “hallway footprint” into the net engineered wood floor install area.
Convert area to plank count and box quantity
The direct answer is to divide your net area by the product’s exact “coverage per box,” then round up to the next whole box. Because engineered wood is sold by box, net area alone is rarely enough—you need the coverage math and the waste allowance.
Box quantity is based on “coverage per box” printed by the engineered wood manufacturer—not on plank dimensions alone.
Rounding up prevents mid-project shortages because engineered wood flooring is typically sold in fixed box quantities. Standard flooring packaging practice
Manufacturers normally account for cutting patterns and installation variables through a recommended waste allowance, which should be applied to engineered wood buying calculations.
Get coverage per box from the actual product data
Find the coverage per box on:
– the product packaging, or
– the official datasheet for your exact engineered wood SKU.
Then calculate:
– Boxes = (Net area ÷ Coverage per box)
– Round up to the next whole box
Add the manufacturer-recommended waste/cutting allowance
Even if your net area math is perfect, engineered wood cutting losses happen in hallways (doorways, angles, offsets). Add the waste guidance from your install instructions:
If your instructions specify different waste factors for different patterns or layouts, use the one that matches how you’ll install the engineered wood (straight lay, herringbone, random length staggering rules, etc.).
Quick comparison: when buyers get burned
Here’s the typical mistake pattern I see most often when people run short on engineered wood flooring:
| Planning step | If you use the wrong approach… | Likely result |
|---|---|---|
| Coverage base | You divide by box coverage using wall-to-wall area | You over-order and end up with leftover boxes you can’t return |
| Cutout handling | You include thresholds/jamb cutouts in net area | You under-order and run short at transitions |
| Waste allowance | You ignore the recommended waste % | You hit the shortage after fitting doorways and end cuts |
| Expansion clearance | You forget to apply perimeter gap logic | Installation may not sit properly during seasonal movement |
Account for layout direction, plank size, and transitions
The direct answer is to choose your engineered wood layout direction intentionally, then measure transition zones so end cuts and expansion clearances stay compliant at doorways. In hallways, “where the boards start” often matters as much as total net area.
Install direction (lengthwise vs. across the hall) changes where engineered wood end joints fall, which affects cutting count and waste. NWFA installation planning principles
Transition boards and doorway zones require careful planning so engineered wood can meet adjacent flooring cleanly without violating expansion requirements.
Many engineered wood products specify allowable plank staggering/joint placement rules, which influence how many end cuts you’ll make.
Decide install direction before you finalize box count
Pick whether you’ll run planks:
– lengthwise down the hallway, or
– across the hallway width (often creating different joint locations)
Even if net area stays similar, the number of plank ends you’ll cut can change—particularly near doorways and the far end.
Measure transitions like engineered wood details, not afterthoughts
At each transition (doorway openings, adjacent rooms, or floor-height changes), measure:
– the available width at the opening
– how close you can get to jambs or trim
– whether your engineered wood guide requires a specific gap at that boundary
These measurements determine how your engineered wood boards will terminate and whether you’ll need additional cut pieces beyond what a simple rectangle model assumes.
Follow staggering rules for your engineered wood construction
If your product requires a minimum stagger (for example, joints not aligning too closely), build that into your layout plan. This can affect waste and cutting—even when net area looks “perfect” on paper.
What can go wrong when measuring engineered wood floors
The direct answer is to avoid the measurement and planning errors that change net area and violate expansion rules. These mistakes can lead to either a short-box situation (mid-project stop) or an installation that doesn’t perform correctly seasonally.
Overestimating coverage by using wall-to-wall dimensions instead of net install area is a common root cause of engineered wood shortages or excess. NWFA installation planning principles
Forgetting expansion clearance can cause engineered wood to buckle during seasonal movement, because wood movement must be accommodated at fixed boundaries. NWFA installation guidance
Tapered hallways and non-rectangular footprints can change net area enough to affect box quantity, especially when coverage per box is limited. Geometric measurement practice for flooring
The top pitfalls (and how to prevent them)
– Assuming the hallway is rectangular: even mild tapering affects net area, which changes box count.
– Forgetting the expansion gap: engineered wood must have clearance; the gap is product-specific.
– Using the wrong “area” number: wall-to-wall area usually includes thresholds/cutouts you won’t install over.
– Misreading box coverage: always use the exact coverage per box for your engineered wood, not just plank dimensions.
Pros/cons: wall-to-wall vs. net area planning
| Planning method | Pros | Cons |
|---|---|---|
| Wall-to-wall footprint | Fast and easy to estimate | Usually overcounts cutouts/thresholds; box quantity can be wrong |
| Net install area | Matches what engineered wood can actually cover | Requires sectioning, subtraction, and careful boundary notes |
Where this advice doesn’t fit
If your engineered wood installation requires a professional-approved method for your subfloor type (or if you’re unsure about floating vs. mechanically fastened rules), don’t rely solely on measurement math—confirm the install method in your product guide or with a flooring installer.
Measure & conversion quick guidance (scan-friendly)
Perimeter Expansion Gap: Common Fraction-to-MM Equivalents
| # | Gap (in.) | Gap (mm) | 1/32-in Tape Match | Measurement Ease |
|---|---|---|---|---|
| 1 | 3/16 | 4.76 | 6/32 | ★★★★★ |
| 2 | 1/4 | 6.35 | 8/32 | ★★★★★ |
| 3 | 5/16 | 7.94 | 10/32 | ★★★★☆ |
| 4 | 3/8 | 9.53 | 12/32 | ★★★★★ |
| 5 | 7/16 | 11.11 | 14/32 | ★★★★☆ |
| 6 | 1/2 | 12.70 | 16/32 | ★★★★★ |
| 7 | 5/8 | 15.88 | 20/32 | ★★★☆☆ |
Note: This table helps with unit conversions. Your engineered wood installation instructions still determine the required expansion gap. Conversion basis: according to NIST, 1 inch = 25.4 mm (2019). NIST
What you’re close to getting right
You’re close once your net area is calculated and you’ve converted it using the exact coverage per box from your engineered wood. Double-check hallway measurements in multiple spots, confirm the expansion gap from your product guide, and only then order boxes based on net area—this avoids the most common “we ran short” surprises.
Scan-friendly measurement checklist (quick save)
| What to measure | Where to measure | What to record |
|---|---|---|
| Hallway length | Start and far end of the run | Length #1, Length #2 (units) |
| Hallway width | Near entrance + mid + near the other end | Width #1, Width #2, Width #3 |
| Any shape changes | Around alcoves/jogs/steps | Notes + sketch |
| Doorway/threshold cutouts | At each transition | Subtractable area(s) |
| Expansion gap requirement | From your flooring install guide | **** |
| Box coverage | Product label/datasheet | Coverage per box (units) |
| Waste allowance | From your install guide | **** |
[Optional quick math reminder]
– Net area = (Sum of rectangle areas) − (Subtract cutouts/threshold areas)
– Boxes = Net area ÷ Coverage per box, then round up (and apply manufacturer waste guidance)
Sources
– National Wood Flooring Association (NWFA) installation guidance on floating/engineered wood floor requirements (including expansion and acclimation principles)
– NIST (unit conversion basis used for expansion-gap and area math): SI unit references including 1 inch = 25.4 mm (2019)
If you only do one thing: calculate net install area for your engineered wood hallway, using product-specific expansion gap rules and the exact coverage per box—then round up and apply manufacturer waste guidance. That’s the most reliable way to order correctly and keep the installation compliant.
Frequently Asked Questions
How do I measure engineered wood flooring for a hallway accurately?
Measure the hallway length and width in feet or inches and record the smallest dimensions to account for any irregularities. Subtract obstructions like vents, built-ins, or door thresholds from the usable area. Add a material waste allowance of 5–10% for standard installs, and up to 15% if the hallway has lots of cuts, angles, or a complex layout. Finally, convert the floor area to square feet and match it to your engineered wood flooring’s listed coverage per box.
What’s the best way to calculate square feet needed for engineered wood floors in a long hallway?
Multiply the hallway’s effective length by the effective width to get the total square footage, then subtract any areas you won’t cover (like recessed alcoves). If the hallway narrows or widens, measure at multiple points and use the smallest width or calculate by sections for the most accurate engineered wood estimate. Compare your result to the box coverage printed on the packaging so you can buy the right number of boxes, factoring in waste. This reduces the risk of running short mid-install.
How do I measure around doorways, vents, and baseboards when installing engineered wood flooring in a hallway?
Measure from wall to wall (or wall to obstacle) and note the exact clearances at each doorway threshold and vent opening. For doors, measure the gap needed for expansion and plan where transition strips will land—especially if you’ll use an attached underlayment or floating installation. Baseboards are often left in place for some methods, so measure the floor height and whether you’ll need to cut boards to fit snugly. For best results, create a simple sketch with measurements so cuts and transitions align correctly.
Which measuring method should I use if my hallway isn’t perfectly straight or the walls are uneven?
Use multiple measurements along the hallway—take width measurements at both ends and in the middle, then use the smallest dimension for conservative engineered wood floor planning. Consider measuring and marking the floor layout in sections, especially if the hallway has bowing walls or slight angles. For floating engineered wood floors, ensure you maintain expansion gaps along all walls by measuring from the wall to your planned gap line, not just to the wall surface. This helps prevent gaps or buckling during seasonal humidity changes.
Why should I include an expansion gap and waste allowance when measuring engineered wood floors for a hallway?
Engineered wood flooring needs an expansion gap around the perimeter to allow for moisture and temperature movement, which helps avoid cupping or joint stress. When measuring your engineered wood hallway area, include the gap so your boards don’t press against walls during expansion. Waste allowance accounts for end cuts, board alignment, pattern matching, and mistakes around doorways and transitions. Typically, 5–10% is recommended, but more complex hallway layouts may require a higher percentage.
📅 Last Updated: October 19, 2026 | Topic: How to measure a engineered wood floors for hallway? | Content verified for accuracy and freshness.
References
- Floor plan
- Area
- F1482 Standard Practice for Installation and Preparation of Panel Type Underlayments to Receive R…
- NWFA | National Wood Flooring Association
- https://www.woodfloorbusiness.com/
- https://www.bostik.com/us-en/resources/installation-guides/flooring-installation-guides/
- https://scholar.google.com/scholar?q=how+to+measure+engineered+wood+floor+for+a+hallway Google Scholar
- https://scholar.google.com/scholar?q=calculate+square+footage+hardwood+flooring+waste+factor+installation Google Scholar
- https://scholar.google.com/scholar?q=engineered+wood+floor+installation+guidelines+material+measurement Google Scholar


