
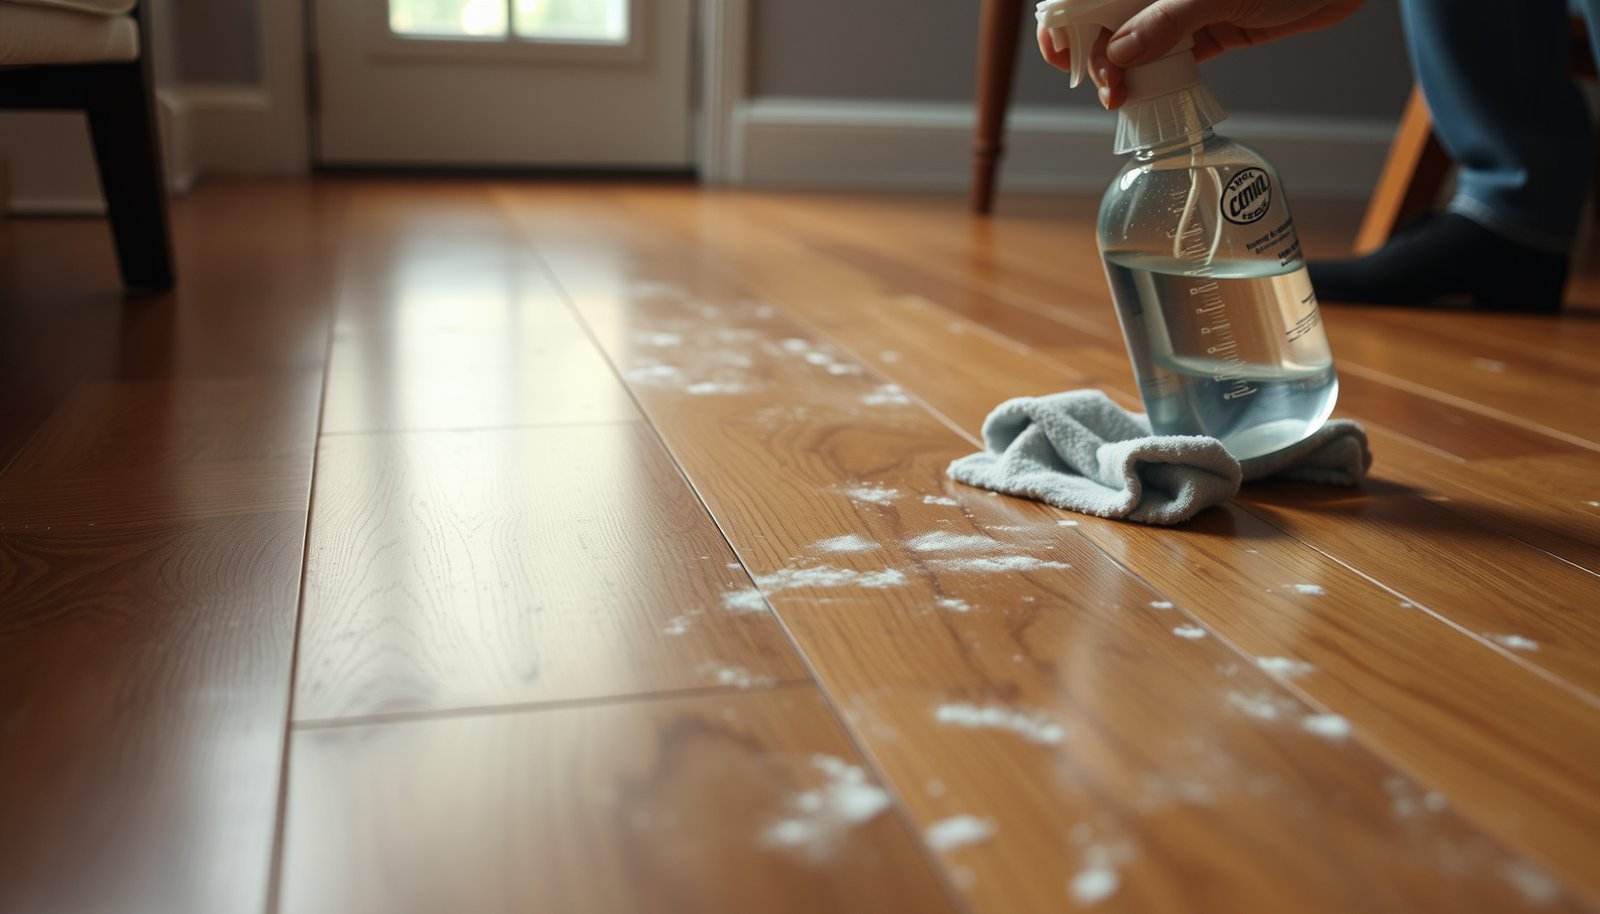

Hard-water deposits on hardwood can leave cloudy spots that make floors look dull, and it is frustrating to worry that scrubbing will damage the finish. You can safely dissolve and lift those deposits with the right cleaning agents, gentle technique, and a careful drying routine, restoring a clearer look without harsh abrasion. Expect to spend about 30–60 minutes for most areas, using only common supplies like microfiber cloths, a pH-neutral hardwood cleaner, and distilled-water vinegar solution in the correct dilution.




Hard-water deposits on hardwood usually come off best with gentle cleaning first, then a carefully diluted, finish-safe mineral-removal step. Start by removing grit and using a pH-neutral cleaner on a barely damp cloth, not soaking the floor. If spots remain, use a product or DIY solution that’s meant for sealed wood—and always test it in an out-of-the-way area first.
This is for sealed (polyurethane/urethane-finished) hardwood floors with white/gray mineral spots from humidifiers, sprinklers, or wet cleaning. If your floor is unfinished, oiled, or you’re not sure what finish it has, take extra care or stop and follow the manufacturer’s guidance.
Check your hardwood finish and the type of deposits

If you identify the finish and the deposit type correctly, you can remove hard-water marks with minimal risk to the coating. Here’s the fast way to decide what’s happening on your sealed hardwood: minerals behave like a chalky film, while many other “spots” are actually residue from soaps or cleaners.
Start by looking closely at the deposits in good light. Hard-water “scale” typically looks hard and chalky (often white or gray) and may look slightly raised. Cleaner or soap residue tends to be sticky or smears and can appear after repeated mopping with the wrong formula. Then confirm the finish on the floor—if it’s sealed polyurethane/urethane-finished hardwood, the coating can often be cleaned with pH-neutral products and treated with finish-safe mineral removers. If it’s unfinished, oiled, or you can’t confirm the finish, the safest route is to follow the flooring manufacturer’s care instructions or pause DIY mineral removal.
Also pay attention to where the spots appear. On sealed hardwood, hard-water deposits often form in predictable patterns: near HVAC vents with humidifier discharge, under plant trays, around mop paths, or along sprinkler overspray lines. That pattern is a clue that minerals are being carried with moisture and then left behind during evaporation—exactly the situation where sealed hardwood cleaning must be both controlled and finish-safe.
Gather what you need and protect the floor
Use soft tools and controlled moisture to clean hard-water deposits without scratching or weakening the finish. This matters because sealed hardwood looks “durable,” but its topcoat is still vulnerable to abrasives, steam, and over-wetting.
Use:
– Soft microfiber cloths (several), plus clean, dry buffing towels
– A vacuum with a soft brush attachment, or a broom with non-abrasive bristles
– A pH-neutral hardwood floor cleaner
– Distilled water (helpful if your tap water is hard)
– A bucket and wringer (so cloths stay barely damp)
Avoid:
– Steam mops and handheld steam cleaners (heat + moisture can damage coatings)
– Steel wool, abrasive pads, and stiff scrub brushes
– Undiluted vinegar or other acidic cleaners unless the product is explicitly approved for sealed hardwood
– “All-purpose” degreasers, heavy alkaline cleaners, or harsh spot removers not intended for hardwood finishes
Before you start, remove loose grit. Put a dry towel at doorways and manage airflow so the floor dries quickly after each pass. In 2026, we’re still seeing the same failure mode on sealed hardwood: people soak the floor “just to get it moving,” then the minerals re-deposit as water evaporates.
Quick decision comparison: what to use vs. what to skip (sealed hardwood)
| Method | Why it can work | Key risks on sealed hardwood | Best use case |
|---|---|---|---|
| pH-neutral cleaner + barely damp cloth | Lifts residue without attacking most finishes | Too much liquid can still spread minerals | Every cleaning pass, after dry removal |
| Finish-safe hard-water/mineral remover (label-safe) | Targets scale chemistry (the mineral film) | Overuse/contact time can dull or haze coatings | Stubborn chalky spots after pH-neutral cleaning |
| Distilled-water rinse/spray (prevention) | Reduces mineral load from evaporation | Doesn’t remove existing etched scale | Preventing repeats from hard tap water |
| Steam mop / hot steam | Not designed for mineral removal on wood coatings | Moisture + heat can warp and harm topcoats | Generally avoid for hardwood |
| Undiluted vinegar / strong acids | May dissolve some minerals | Can haze/strip finishes if it’s not approved for sealed wood | Avoid unless manufacturer-approved |
Start with dry removal and pH-neutral cleaning
Start with grit removal and pH-neutral cleaning to prevent scratching and residue spreading. For sealed hardwood with hard-water deposits, the first pass often removes enough soil and film that the remaining mineral scale is easier to treat safely.
Vacuum or dry-sweep first. Grit acts like sandpaper; if you wipe it across the floor, you can permanently mar the finish. Then dampen a microfiber cloth with pH-neutral cleaner (or dilute per the product label) so it’s *barely* damp—no pooling, no wet trails. Wipe in sections and immediately buff dry with a separate towel. A key technique is cloth rinsing: if your cloth gets loaded with loosened residue, it can spread “spotting” and make mineral marks look worse.
If your spots are coming from humidifiers or sprinklers, you may also see a faint haze surrounding the chalky spots. That haze can be a mix of residue and minerals, which is exactly why the pH-neutral step first is so important on sealed hardwood floors.
Lift mineral buildup safely (for sealed hardwood)
Lift stubborn scale only after you’ve cleaned gently, and only with methods that are explicitly safe for sealed hardwood. Hard-water scale removal works chemically, but the same chemistry can dull or etch some coatings if contact time is too long.

Test first: choose a hidden spot and apply your mineral-removal method lightly for a short time, then wipe and dry. This spot test is not optional—finish systems vary even within “sealed” hardwood categories.
For stubborn chalky scale, use a finish-safe commercial “hard-water/mineral deposit remover” only if the label states it’s safe for sealed hardwood. Follow dilution and contact time exactly; mineral removers are often formulated to reduce the risk of coating damage, but they still need strict timing.
If you use a DIY option, only use a finely diluted approach and stop quickly if the finish looks dull or tacky—acids can haze or strip finishes if left too long.
To better understand why timing matters, consider how mineral concentration behaves as water evaporates. The “same” water can deposit different amounts of scale depending on hardness: according to the USGS unit conversion guidance, 1 grain per gallon (gpg) ≈ 17.1 mg/L as CaCO₃ (USGS water hardness unit conversion guidance). That means harder water leaves more mineral residue during drying, so any cleaning liquid that runs or lingers can increase buildup.
Hard-water hardness bands that correlate with stronger spotting risk
This table summarizes common water hardness ranges reported for drinking-water contexts and shows how “gentle cleaning only” tends to fail more often as hardness increases on sealed hardwood (because scale load is higher).
Water Hardness Levels & Expected Need for Mineral Removal (USGS ranges)
| # | Hardness band (grains/gal) | mg/L as CaCO₃ | USGS descriptor | Need mineral remover (★/5) |
|---|---|---|---|---|
| 1 | 0–1 gpg | 0–17 | Soft | ★0 |
| 2 | 1–3 gpg | 17–51 | Slightly hard | ★1 |
| 3 | 3–5 gpg | 51–86 | Moderately hard | ★2 |
| 4 | 5–7 gpg | 86–120 | Moderately hard | ★3 |
| 5 | 7–10 gpg | 120–171 | Hard | ★4 |
| 6 | 10–15 gpg | 171–257 | Very hard | ★5 |
| 7 | 15+ gpg | 257+ | Very hard | ★5 |
*Notes:* mg/L values use the USGS conversion (1 gpg ≈ 17.1 mg/L as CaCO₃) (USGS water hardness unit conversion guidance). The “Need mineral remover” star level is a practical indicator for when pH-neutral cleaning often stops being enough for sealed hardwood.
Dry, polish, and prevent hard-water deposits returning
Dry thoroughly after every pass—hard-water deposits often get worse when moisture sits and evaporates. On sealed hardwood, prevention is frequently more effective than repeating stronger chemistry.
Switch to distilled water for mopping or spray-bottling if your tap water is very hard. Even if you use pH-neutral cleaner, the water itself can carry minerals that re-deposit as the floor dries. If you’re dealing with recurring white/gray spots near humidifiers, check whether the humidifier uses treated or mineral-heavy water. If you’re dealing with plant trays, use felt pads or waterproof barriers so water never contacts the coating.
From a building-performance perspective, controlling indoor humidity can also reduce how often you’re adding water to the air (and how much mineral-rich aerosol you may be depositing). According to the U.S. Environmental Protection Agency, indoor relative humidity is commonly recommended around 30–50% to help prevent moisture-related problems (U.S. EPA guidance on indoor relative humidity). While that’s not “floor chemistry,” it supports a lower moisture load that drives fewer mineral deposits in the first place.
What I can’t confirm without your specific site conditions:
What can go wrong (and when to stop)
If you see haze, dullness, streaks, or sticky residue, stop and reassess before the coating is permanently affected. With sealed hardwood, mineral chemistry and finish chemistry can conflict—especially when DIY acids are too concentrated or contact time is too long.
Common issues:
– Finish haze or dullness: happens when acidic/strong cleaners react with the coating. Stop immediately and switch to only pH-neutral cleaning, then follow the floor’s care guide.
– Swirls and streaking: usually from too much liquid, not drying right away, or spreading loosened residue from the cloth. Use smaller sections and separate towels for wet wiping vs. dry buffing.
– Damage on unsealed floors: if the hardwood isn’t truly sealed, the same approach can pull color/finish. Skip DIY and follow the manufacturer’s instructions.
– Embedded/etched deposits: if spots look “etched into” the surface finish (not just sitting on top), repeated chemical attempts may worsen the problem. Stop and evaluate refinishing or professional restoration.
Stop and call a pro if you notice bubbling, lifting, or bare-wood exposure—those are signs the topcoat is failing, not merely dirty.
Quick scan checklist (save this)
| Step | What to do | Pass/Don’t |
|---|---|---|
| 1 | Identify finish (sealed vs unsure) | Don’t guess if you can avoid it |
| 2 | Dry-sweep/vacuum first | Don’t scrub grit into the finish |
| 3 | Clean with pH-neutral cleaner on barely damp cloth | Don’t soak or steam |
| 4 | Treat deposits only if needed (finish-safe product) | Don’t use abrasives |
| 5 | Dry and buff immediately | Don’t leave moisture to evaporate |
| 6 | Prevent repeats (distilled water, faster cleanup) | Don’t keep using hard water if it’s the cause |
Sources
– USGS (U.S. Geological Survey) water hardness unit conversion guidance (grains per gallon to mg/L as CaCO₃)
– U.S. Environmental Protection Agency (EPA) indoor relative humidity guidance (commonly cited 30–50%)
Hard-water deposits can often be cleared without damaging your hardwood if you (1) start with dry removal and pH-neutral cleaning, (2) treat stubborn mineral scale only with finish-safe methods, and (3) dry thoroughly every time. If you’re unsure about your floor’s finish or the spots won’t lift after careful cleaning, pause DIY steps and follow the flooring/manufacturer care guidance—or get professional help.
Frequently Asked Questions
What’s the best way to remove hard-water deposits from hardwood floors without damaging the finish?
Start by softening the mineral buildup with a manufacturer-safe solution rather than scrubbing aggressively. Use a pH-neutral hardwood floor cleaner or a diluted white vinegar solution (typically 1:1 with water) on a damp microfiber cloth, then blot—don’t soak—until the haze lifts. Immediately dry the area with a clean, dry towel to prevent water absorption into the wood. If the finish is old or thin, test the solution in an inconspicuous spot first.
How do I clean hardwood floors that have white spots or cloudy film caused by hard water?
Begin with regular cleaning using a pH-neutral cleaner to remove dust and grime, then target the white film with a mineral-safe approach. Apply the diluted vinegar mixture lightly with a microfiber cloth and let it sit for a few minutes, then wipe and buff dry. For tougher deposits, repeat in small sections and avoid steel wool or abrasive pads that can dull or scratch the finish. Once the deposits are gone, dry thoroughly and consider using a hardwood floor polish recommended for your finish type.
Which cleaning solution works best for hard-water stains on sealed hardwood floors?
For most sealed hardwood floors, pH-neutral hardwood floor cleaners are the safest first choice for hard-water residue. If the residue remains, a diluted vinegar solution can help dissolve calcium and lime deposits, but only use it sparingly and wipe/dry right away. Avoid harsh acidic cleaners, ammonia, or vinegar-soaked mops that can degrade certain finishes over time. Always follow the wood floor finish manufacturer’s guidance to prevent damage.
Why do hard-water deposits keep coming back on hardwood floors, and how can I prevent them?
Hard-water minerals can leave a residue whenever water sits on the surface, especially near windows, bathrooms, or humid areas. To prevent recurrence, wipe up spills immediately and avoid wet mopping—use a damp microfiber mop and a pH-neutral cleaner instead. Installing a dehumidifier, improving ventilation, and using a water softener can reduce mineral content in the water you use for cleaning. Periodically buff dry to prevent lingering moisture from creating new hard-water marks.
How do I safely remove limescale buildup from hardwood floors around showers, windows, or high-splash areas?
Use a microfiber cloth to apply a small amount of diluted vinegar (or an approved hard-water deposit remover) directly to the affected area, then gently wipe—never saturate the wood. Allow brief dwell time (about 2–5 minutes) to loosen limescale, then rinse-wipe with a clean water-damp cloth and immediately dry completely. Avoid abrasive tools and prolonged moisture, which can compromise the seal and cause dullness or swelling. For extensive or repeated etching, consult a flooring professional about refinishing or re-sealing to restore the protective layer.
📅 Last Updated: October 31, 2026 | Topic: How to clean hardwood floors covered in hard-water deposits? | Content verified for accuracy and freshness.
References
- Hard water
- Hard water
- Limescale
- Descaling agent
- https://www.usgs.gov/special-topics/water-science-school/science/hard-water
- https://www.epa.gov/ground-water-and-drinking-water/basic-information-about-water-hardness
- https://www.britannica.com/science/hard-water
- https://scholar.google.com/scholar?q=hard+water+deposits+cleaning+hardwood+floors Google Scholar
- https://scholar.google.com/scholar?q=limescale+removal+calcium+carbonate+from+wood+surfaces Google Scholar
- https://scholar.google.com/scholar?q=water+stains+hardwood+floor+mineral+deposits+cleaning Google Scholar


[…] Removes Soap Scum, Toilet Rings & Water Spots In Stock View on Amazon › Hard-water deposits on hardwood floors usually lift by gently dissolving the mineral scale, then wiping off residue with a barely […]
[…] depending on how widespread the deposits are. You’ll need microfiber towels, distilled water, a pH-neutral hardwood cleaner, and a small amount of white vinegar only if your finish can tolerate it—then you can restore the […]
[…] then rinse lightly with clean water and dry immediately to prevent streaking. You’ll need soft microfiber cloths, a pH-neutral floor cleaner for the final wash, and a nylon brush for tiny crevices—so you can […]