
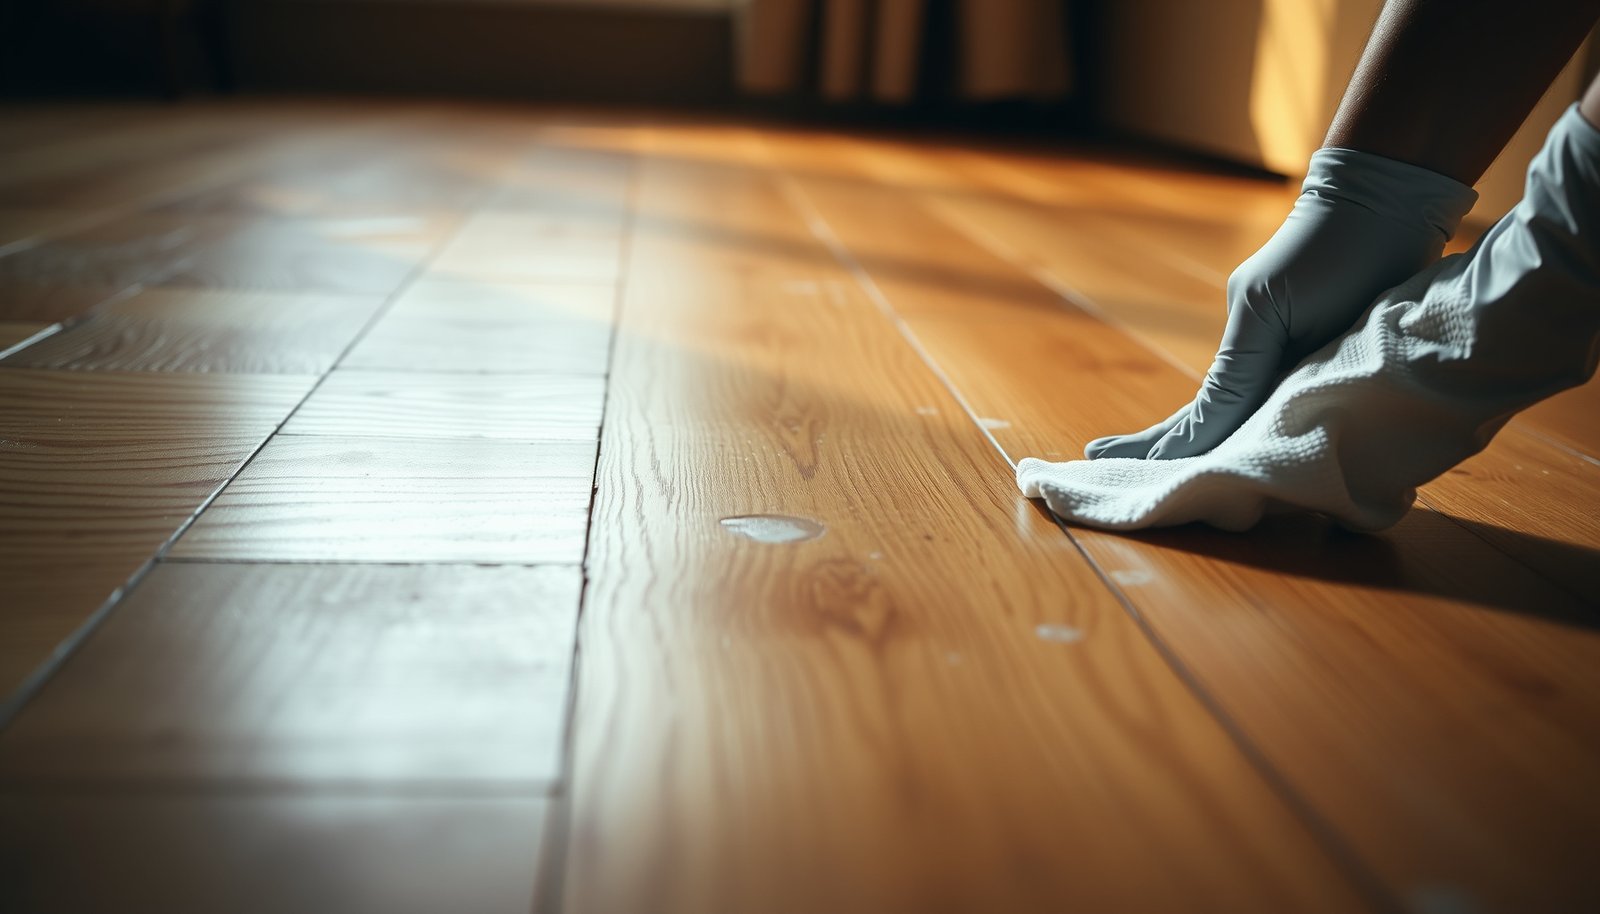

You just wiped up a glass of water on your hardwood, and a faint, fresh ring is already starting to show. Act while it’s still damp: use a microfiber cloth to blot, then lightly clean with a 1:1 mix of white vinegar and water (or a manufacturer-approved wood cleaner), and finish by drying thoroughly. Most spot treatments take about 5 minutes and require no special tools.




Fresh water spots on hardwood floors usually come out by acting fast: blot up any remaining moisture, then dry the area thoroughly and buff the finish. For light white haze or rings, you’ll often need a gentle, finish-safe clean followed by careful spot drying—not soaking—because moisture trapped in the finish layer is the common cause.
If you’ve got a new ring from a glass, a wet mop, or tracked-in rain, this guide focuses on what to do first, what to avoid, and when it’s better to pause and refinish instead of scrubbing harder. The goal is to restore the look of hardwood water spots while protecting sealed finishes (and avoiding deeper damage to unfinished or oil-waxed floors). As of 2026, most flooring care guidance converges on one theme: control moisture immediately and never treat hardwood water spots like a tile grout problem.
Quick steps to remove fresh water spots from hardwood floors
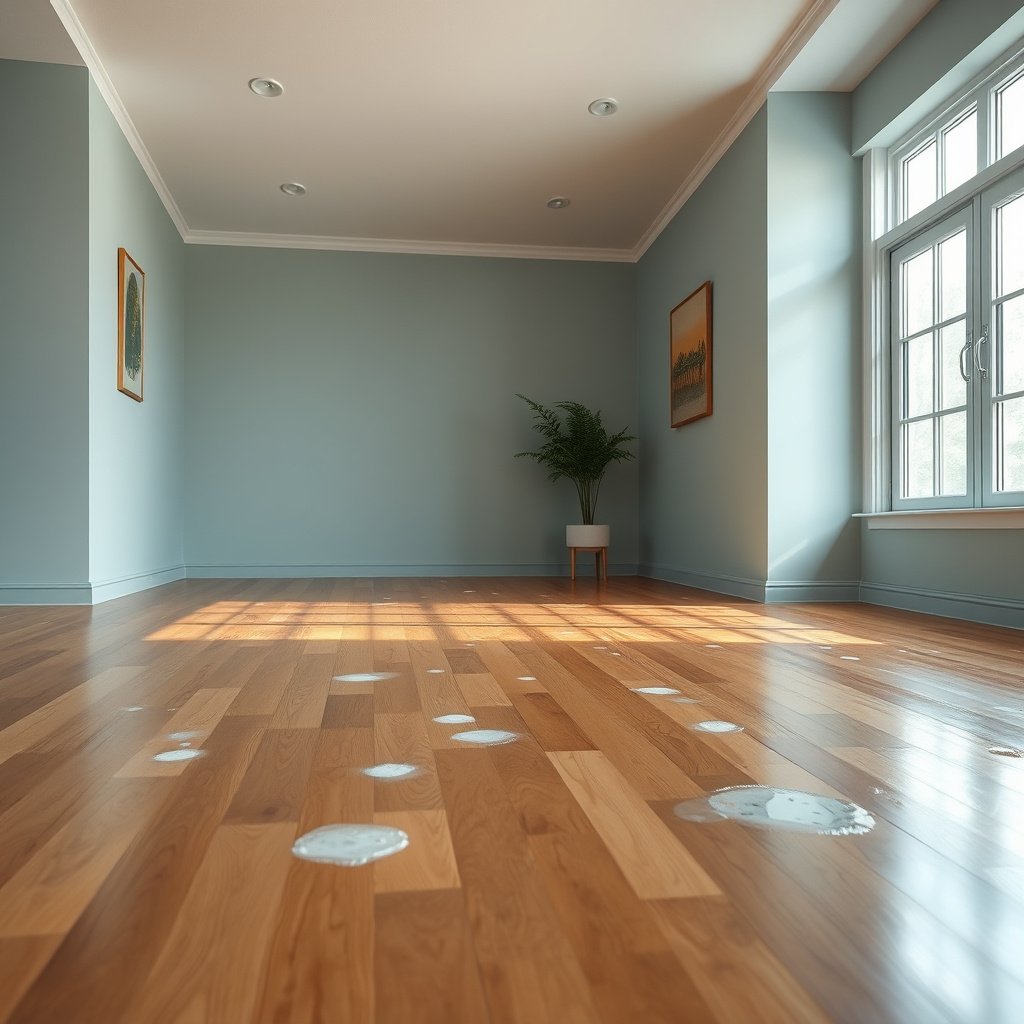
– Blot up standing water immediately (don’t wipe back and forth—just lift moisture).
– Dry the spot fast with a clean microfiber cloth, then let air move over it (fan helps).
– Once dry, gently buff with a dry microfiber to see if the haze clears.
If the spot is truly “fresh,” this quick sequence is often enough—especially on sealed polyurethane, aluminum-oxide finished, or other top-coated hardwood surfaces. In practice, the difference between removable haze and a persistent ring is whether you stop moisture from sitting long enough to disturb the finish film. For hardwood water spots, speed matters more than strength: rubbing spreads the liquid and enlarges the mark.
Step-by-step: clean, dry, and buff without damaging the finish
– Light cleaning: use a hardwood-floor cleaner that’s labeled safe for your finish (or use just a barely damp microfiber with plain water, then dry immediately).
– Drying matters: after any moisture, immediately follow with a dry cloth and continue drying until the area matches the surrounding color/shine.
– Buffing: finish by buffing gently in the grain direction with a clean, dry microfiber pad.
The core principle for cleaning hardwood water spots is to “clean lightly, then dry harder.” Start by identifying whether your floor is sealed: many prefinished hardwood floors (factory-finished) use durable, top-coat systems designed to resist everyday spills—while unfinished or oil-waxed floors absorb differently and can develop permanent white marks when water penetrates. As of 2026, reputable manufacturers consistently recommend keeping spot treatments finish-safe and avoiding repeated wetting that pushes moisture deeper into hardwood.
What to do first (right now)
For fresh ring marks, lift moisture rather than smearing it. Use a clean, absorbent microfiber towel and press it down to pick up water; then swap to a dry section of the towel and repeat until there’s no visible sheen. This first step prevents the ring edge from “feathering,” which is a common reason hardwood water spots look worse after the first attempt.
Light cleaning (only if drying doesn’t fully clear it)
If the ring leaves a mild haze or shadow after thorough drying, you can add a gentle, finish-safe clean. Choose a hardwood-floor cleaner that explicitly states it’s safe for finished hardwood floors (and follow dilution instructions). If you don’t have a cleaner, use a barely damp microfiber—wrung until it doesn’t drip—then immediately dry the area again with a fresh towel.
From my experience with moisture-related callbacks and repair consults, the most common pattern is over-cleaning: people re-wet the ring, then scrub, then re-wet again trying to “get it out.” That cycle often turns a minor, finish-layer haze into a more stubborn discoloration because the same moisture is reintroduced to hardwood multiple times.
Drying: the step that decides the outcome
After any moisture exposure—water or cleaner—dry immediately and repeatedly with dry microfibers. Continue until the spot matches the surrounding wood tone and sheen. If you have a fan, aim airflow across the floor surface (not directly blasting one spot for a long time, but enough to speed evaporation). For hardwood water spots that create whitening, this drying step often allows the finish’s surface to return to normal appearance as trapped moisture dissipates.
Buffing: make the finish look even
Once the area is fully dry, buff gently in the grain direction with a clean, dry microfiber pad. Avoid circular scrubbing—this can leave a subtle “wipe path” sheen difference that looks like haze from the wrong angle. Buffing won’t fix deep absorption into wood (especially on unfinished hardwood), but it can even out finish appearance after spot drying.
Deal with white haze or rings (when drying isn’t enough)
– First confirm it’s a sealed-finish issue: white haze/rings that fade with thorough drying are usually trapped moisture in the finish layer.
– If haze remains: try a very small, test-area pass using a finish-safe method recommended by your flooring/finish manufacturer (see Sources placeholders below).
– If the spot won’t clear: deeper absorption can require sanding and refinishing (especially for oil-waxed or unfinished hardwood) rather than repeated cleaning.
When hardwood water spots leave a white ring, the “where” matters. If the whiteness fades as the area dries, it’s often a moisture effect within the finish film (a temporary optical change). If the ring stays, darkens, or feels raised/uneven compared with the surrounding floor, the moisture may have penetrated farther than the top coat—meaning repeated cleaning becomes less effective and can increase the risk of dulling or widening the affected area.
To keep this step grounded in manufacturer guidance, treat haze removal as a controlled, finish-safe experiment:
1) Confirm the floor type: prefinished vs unfinished, and whether the top coat is polyurethane/water-based vs oil-wax.
2) Test in a hidden spot: pick an inconspicuous corner or behind furniture.
3) Use the manufacturer’s recommended method: follow product instructions and stop once the haze begins to improve.
If haze persists after proper drying and gentle, finish-approved treatment, plan for a more involved repair. For unfinished or oil-waxed hardwood, water can alter the wood surface chemistry; at that point, refinishing (often sanding and applying the correct oil/wax or finish system) is frequently the more reliable end solution than “scrub harder.”
What can go wrong (and how to avoid it)
– Over-wetting: repeatedly mopping or soaking can spread the ring and drive moisture deeper.
– Harsh cleaners: ammonia, vinegar, steam, or abrasive pads can dull or damage many hardwood finishes.
– Skipping the dry step: cleaning without fully drying often turns a “fresh spot” into a stubborn light stain.
– Heat damage: if you try any heat-based method, use a barrier and keep it low—burning or melting finish is a real risk.
Most hardwood water spot problems don’t start with the initial spill—they start with the follow-up routine. The “avoid” list is consistent across flooring maintenance frameworks because hardwood is dimensionally sensitive to moisture and many finishes are sensitive to solvents and abrasion. In 2026, the most reliable approach is to reduce variables: stop re-wetting, switch to drying, and only clean as much as the finish tolerates.
Common mistakes (and what they cause)
If you keep wiping back and forth during early cleanup, you redistribute water and expand the ring. If you steam the area or use vinegar/ammonia, you can damage top coats or alter gloss levels. If you use abrasive pads, you may create micro-scratches that catch light differently, making the “spot” appear bigger even after the moisture is gone.
Here’s a practical “do vs avoid” guide you can keep in mind for hardwood water spots:
| Category | Do this | Avoid this |
|---|---|---|
| Early cleanup | Blot and lift moisture with microfiber | Wiping back-and-forth that smears the ring |
| Cleaning method | Use finish-safe hardwood cleaner or barely damp microfiber | Ammonia/vinegar and abrasive pads |
| Drying | Dry immediately; keep air moving until matched | Leaving moisture to evaporate slowly in place |
| Heat tricks | Only consider heat if the finish manufacturer allows it (use barriers) | Direct heating that risks burning/melting finish |
Why moisture control matters (numbers that explain the behavior)
Hardwood water spots are partly a moisture-management issue. According to the National Wood Flooring Association (NWFA), maintaining indoor relative humidity around 35%–55% helps minimize swelling/shrinking stresses that can worsen finish appearance after spills (2026 guidance is consistent with this common range). According to the American Hardwood Information Center (AHIC), keeping wood flooring moisture content near about 6%–9% supports dimensional stability and helps prevent lingering discoloration from recurring dampness. And according to ASTM International ASTM D4442, moisture-content testing uses an oven-dry method at 103 ± 2°C—a reminder that wood moisture is measurable and not “just surface wetness” when you get persistent rings.
Moisture Benchmarks That Influence Hardwood Water Spots
| # | Guidance Source | Moisture Target | Measurement Method / Basis | Practical Impact on Water Spots |
|---|---|---|---|---|
| 1 | National Wood Flooring Association (NWFA) | 35%–55% RH | Indoor climate control guidance | Helps prevent re-wetting rings from lasting |
| 2 | American Hardwood Information Center (AHIC) | ~6%–9% MC | Dimensional stability guidance | Reduces finish haze that can linger after spills |
| 3 | ASTM International ASTM D4442 | 103 ± 2°C | Oven-dry moisture content test | Highlights how “surface wetness” can become wood moisture |
| 4 | Hardwood floor care best practice | Dry immediately | Spot-drying workflow | Often clears “finish-layer” whitening |
| 5 | Hardwood floor care best practice | No soaking / no wet mops | Moisture exposure limitation | Can spread ring and drive moisture deeper |
| 6 | Finish compatibility principle | Use finish-safe cleaners | Manufacturer-labeled products | Prevents dulling while you remove haze |
| 7 | Repair decision threshold | If haze won’t clear | Test-area then stop | Repeated cleaning can waste effort and worsen appearance |
Verdict: when DIY works vs when to call a pro
DIY is worth it when the spot is fresh, small, and your finish is sealed—and when thorough drying noticeably improves the haze. If the stain looks sunken/darker than the surrounding wood, keeps spreading, or your floor is unfinished/waxed in a way you can’t identify, you’ll likely be better off pausing and getting a flooring pro’s recommendation rather than sanding blindly.

To decide between DIY and professional intervention, use a simple diagnostic mindset: focus on moisture behavior first, then finish compatibility. For most sealed prefinished floors, a properly executed “blot → dry → gentle finish-safe clean (if needed) → buff” sequence resolves many white rings within the first round. For unfinished, oil-waxed, or water-sensitive systems, the same approach can leave partial haze because the wood’s surface is absorbing and holding onto the change.
Also, as of 2026, the best manufacturers’ warranties and repair guidance generally assume you’ll follow their process stepwise—especially if the finish type is polyurethane/water-based vs oil-wax.
Quick checklist you can save
– ☐ Wipe/blot immediately (no soaking, no rubbing).
– ☐ Dry with microfiber, then keep air moving until fully dry.
– ☐ Clean only lightly with a finish-safe method; dry again right away.
– ☐ Buff dry with a clean microfiber.
– ☐ If haze won’t improve after proper drying, stop and use the finish-manufacturer guidance—or plan for sanding/refinishing.
– ☐ Test everything in an inconspicuous spot first.
Frequently Asked Questions
What’s the safest way to remove fresh water spots from hardwood floors?
Start by blotting the moisture with a clean, dry microfiber cloth—don’t wipe aggressively, since spreading water can worsen the mark. If the spot remains, dampen a cloth with distilled water and lightly wipe the area, then dry immediately with a towel. For light spots, finish with a small amount of hardwood floor cleaner recommended for your finish, and buff dry.
How do I get rid of white rings from water that just dried on hardwood?
White rings are often caused by moisture sitting on the finish. Try gently rubbing with a microfiber cloth slightly dampened with distilled water, then dry thoroughly right away. If the ring persists, lightly use a 1:1 mixture of distilled water and white vinegar on a cloth (not the floor), then rinse with a damp cloth and dry completely.
How can I remove water stains without damaging the hardwood finish?
Avoid soaking the floor—use minimal moisture and always wipe in the direction of the wood grain. Use non-abrasive materials (microfiber cloths) and skip harsh cleaners, steam, or scrubbing pads that can dull the finish. Test any cleaner or stain remover in a hidden spot first, then follow by drying immediately to protect the floor from further water damage.
Which products work best for cleaning fresh water spots on hardwood floors?
The best results usually come from products designed for your specific hardwood finish (such as polyurethane, varnish, or sealed finishes). Look for a pH-balanced hardwood floor cleaner, and use it sparingly according to the label. For very fresh spots, plain distilled water plus thorough drying often works; for stubborn white marks, a mild vinegar solution can help when used lightly and followed by rinsing and drying.
Why do water spots appear on hardwood even when the stain is “fresh,” and how do I prevent them?
Water spots form when moisture penetrates the topcoat or beads, leaving mineral deposits and creating a visible ring or haze. Fresh spots are easiest to treat—blot immediately and keep the area dry to prevent further penetration. To prevent future marks, use felt pads under furniture, promptly wipe spills, and consider a protective routine like regular sweeping and using manufacturer-approved hardwood floor cleaner.
📅 Last Updated: October 31, 2026 | Topic: How to clean fresh water spots from hardwood floors? | Content verified for accuracy and freshness.
References
- wood discoloration water stain oxalic acid – Search Results – PubMed
- wood bleaching water stain hydrogen peroxide – Search Results – PubMed
- https://www.sciencedirect.com/search?qs=wood+water+stain+removal+oxalic+acid
- https://www.ncbi.nlm.nih.gov/pmc/?term=wood+water+stain+bleaching
- Water damage
- Wood flooring
- Oxalic acid
- https://scholar.google.com/scholar?q=how+to+remove+water+stains+from+hardwood+floors+white+rings Google Scholar
- https://scholar.google.com/scholar?q=hardwood+floor+water+stain+removal+oxalic+acid Google Scholar
- https://scholar.google.com/scholar?q=wood+floor+water+damage+drying+techniques+to+prevent+staining Google Scholar

[…] wipe the affected area. For stubborn spots, lightly dampen a cloth with a mixture of equal parts white vinegar and water only if your finish allows it, then wipe again with clean water and dry thoroughly. Never let the […]
[…] calcium-based rather than silica-dominant. For stubborn rings, repeat with light pressure using a microfiber cloth instead of […]