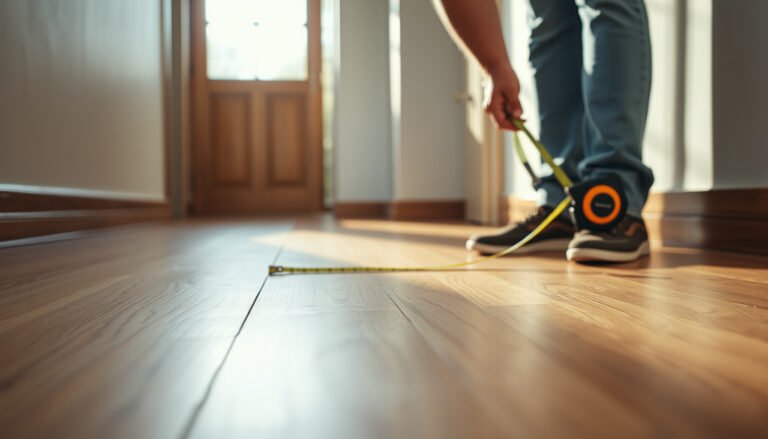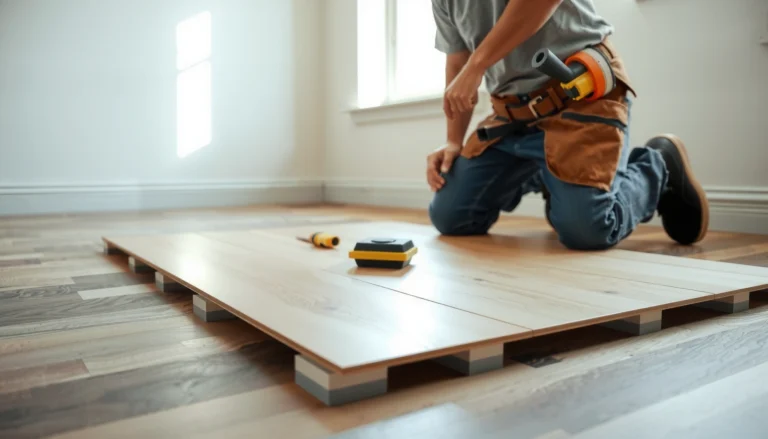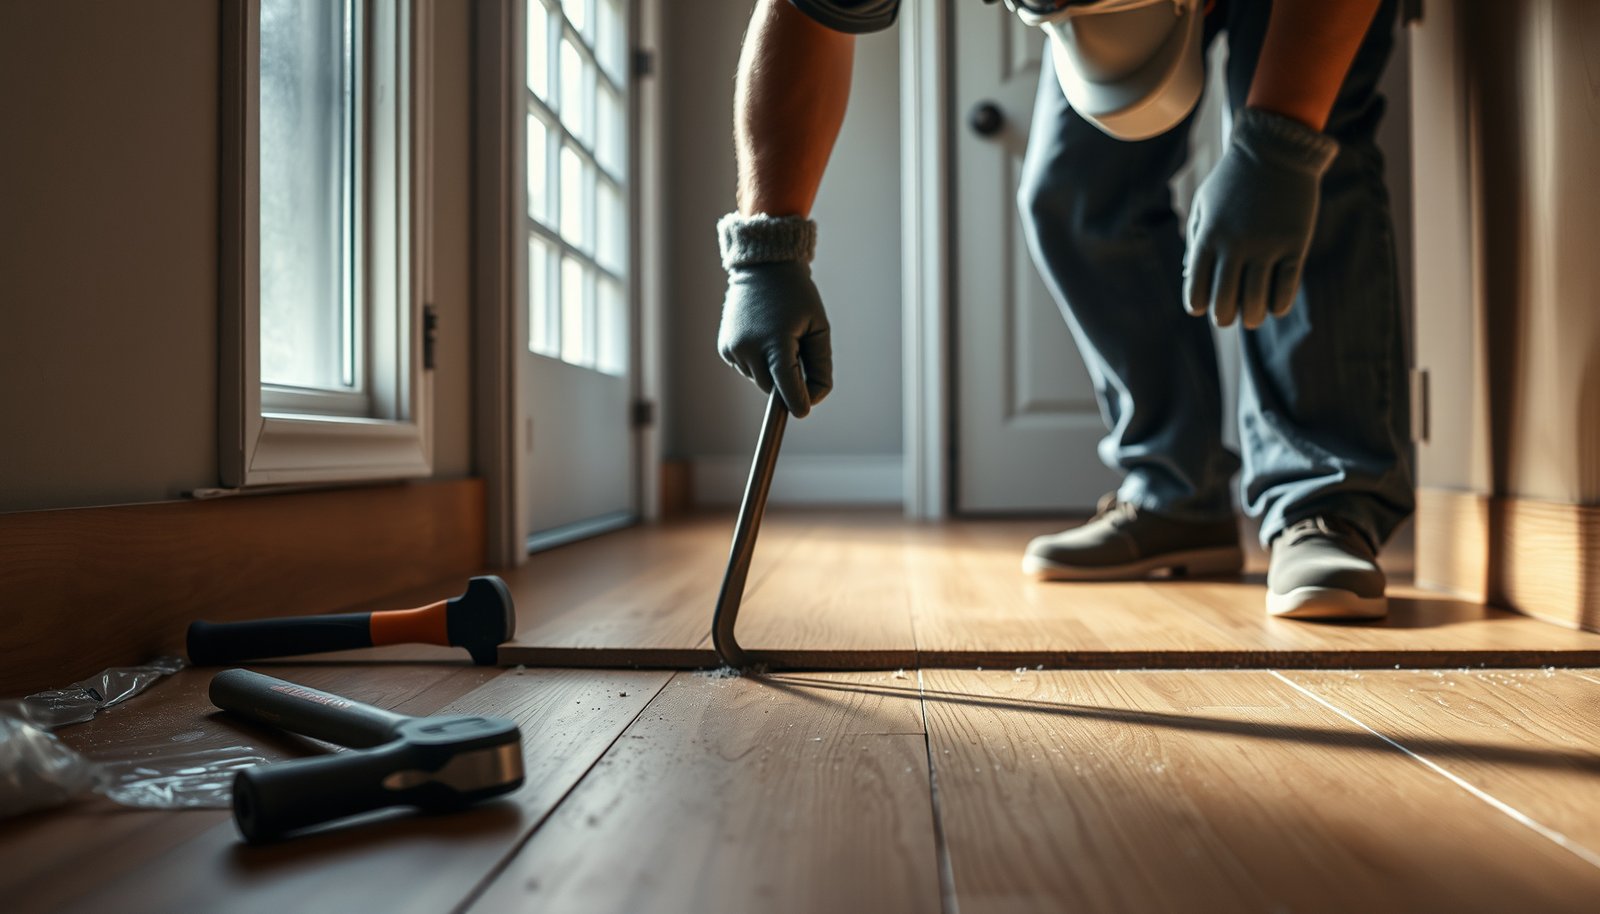

Removing hardwood floors from a mudroom is straightforward when you know exactly what to do with the subfloor, fasteners, and any hidden moisture damage. This guide gives you the fastest, lowest-drama method to lift boards cleanly, handle nails or staples, and prep the surface for what comes next. If your goal is a smooth removal with minimal waste, follow these steps first.



Removing hardwood floors from a mudroom is mostly about identifying the installation method (nails/staples vs. glue-down vs. floating), protecting the subfloor, and then removing planks in the right order to avoid splintering. Start by getting access to thresholds and transitions, release fasteners carefully (if present), and manage adhesive/underlayment residue with controlled scraping and the right tools—especially because mudrooms often expose moisture or flatness problems sooner than other rooms.
If your goal is to replace, refinish, or patch mudroom hardwood, method matters more here than in a dry living room. As of 2026, the most reliable outcomes still follow manufacturer and flooring-industry guidance on subfloor moisture/flatness and dust control—because mudrooms amplify seasonal humidity swings, tracked-in moisture, and wear at doorways and transitions.
Identify the hardwood installation method first
To remove mudroom hardwood safely, you must first identify how it’s attached so you use the correct pry/cutting approach. Nail/staple-down, glue-down, and floating floors all fail (or reuse) differently during removal, so guessing usually costs time and increases subfloor damage risk.
NWFA notes that the subfloor and the wood flooring must be compatible in moisture conditions; mismatches can show up as installation and performance problems later, so you should treat removal as a diagnostic step—not just demo work. National Wood Flooring Association (NWFA) guidance on moisture/conditioning
ASTM D4263 and related practices are commonly used to evaluate surface conditions before flooring work; in removal, confirming whether the subfloor is sound helps avoid compounding moisture or delamination issues. ASTM International standards on in-situ moisture testing
Mudrooms are high-variance environments; flooring-industry guidance consistently emphasizes controlling indoor humidity and monitoring moisture because tracked-in water and seasonal RH changes affect wood. NWFA humidity/moisture guidance
– Look for clues like nail patterns at plank edges, visible glue seams, or gaps typical of floating floors.
– Check transitions (door thresholds, between rooms) to see whether boards are face-nailed, blind-nailed, stapled, or glued.
– If you can’t tell from visual inspection, remove a single test plank in a hidden corner and assess fasteners/residue.
Practical identification tips for mudroom hardwood (what I look for):
On a nail/staple-down mudroom floor, you typically see small rows of fastener points along the plank edges (often hidden by the next board’s tongue/groove). For glue-down, you usually find adhesive squeeze-out at seams or a stubborn bond across the entire board face. For floating floors, you’ll see little-to-no fastening to the subfloor and may find the underlayment pattern or a foam pad beneath.
Hard numbers that help you decide next steps:
– According to the NWFA, recommended indoor relative humidity for wood flooring commonly targets roughly 35–55% RH to reduce seasonal movement stress.
– According to NWFA installation guidance, acceptable subfloor flatness commonly stays within 3/16 in over 10 ft for many hardwood installation methods.
– According to NWFA, the moisture content difference between wood flooring and subfloor is commonly kept to about 4 percentage points (product-specific instructions can vary).
If you already know your mudroom hardwood is likely glued (for example, you see adhesive around joints), plan for slower, messier removal and expect reduced chances of clean reuse.
Quick comparison: installation method drives the removal plan
Use this to choose the right approach before you touch the mudroom hardwood:
| Feature | Nail/Staple-Down | Glue-Down | Floating |
|---|---|---|---|
| Primary attachment | Nails/staples to subfloor | Adhesive bond to subfloor/underlayment | Interlocking panels; minimal subfloor fastening |
| Typical fastest entry points | Edges, thresholds, first row | Cut line + scrape relief access | Perimeter expansion gaps and undercut transitions |
| Best reuse potential | Often possible if tongue/groove survives | Usually poor due to adhesive bonding | Moderate if boards stay intact |
| Mess level | Moderate (dust + fastener pull time) | High (adhesive residue) | Low to moderate |
Prepare the mudroom and protect the subfloor
You remove mudroom hardwood with less damage when you control dust, protect walls/trim, and preserve the subfloor surface. Preparation is where you prevent the common “demo disaster”: gouged plywood/OSB, debris trapped under transitions, and loose trim pulling up planks.
OSHA requires employers to use appropriate controls to limit worker exposure to dust hazards during construction activities; for flooring removal, dust control barriers are a practical way to reduce airborne particulates. U.S. Occupational Safety and Health Administration (OSHA) dust exposure guidance
Polyethylene sheeting and physical barriers are commonly used as dust containment measures during demolition and renovation to prevent dust migration. EPA and OSHA renovation/dust control best practices
Mudroom flooring work is often more sensitive because tracked-in moisture and underlayment can hide soft spots; protecting the subfloor lets you inspect and correct issues before installing new flooring. NWFA subfloor preparation principles
– Clear the room completely and protect walls/trim with masking tape and cardboard or plastic sheeting.
– Remove shoe molding, baseboards, and any metal transition strips before you pry—pulling planks with trim still in place often causes splintering.
– Set up dust control (plastic at openings, shop vac with a dust-capture attachment) because older underlayments and finishes can be messy.
How to stage your workspace (so mudroom hardwood removal stays controlled):
1. Mark your “demo zones.” Keep tools and labeled plank stacks on one side so you don’t crush debris into the next working area.
2. Use perimeter protection. Cardboard + painter’s tape prevents scratches when you set pry bars down near the mudroom hardwood transitions.
3. Vacuum as you go. Adhesive and old underlayment dust behaves differently than plain wood dust—vacuuming reduces buildup that can mask subfloor damage.
If you’re working in an older mudroom, treat unknown underlayment or floor coatings seriously. If you suspect asbestos-containing materials in older buildings, stop and follow local regulations and professional sampling/abatement guidance before proceeding.
Remove trim, transitions, and the first row
For mudroom hardwood removal, remove trim and transitions first so you can access fastening points without prying against finished edges. The “first row” and threshold areas are where most hidden nails, staples, and adhesive bonds concentrate—so taking them down in the correct order directly reduces plank breakage.
Most nail/staple-down hardwood floors require you to break the fastening pattern near the perimeter before boards can lift cleanly. NWFA installation/removal concepts for nail-down hardwood
Threshold and transition zones are common failure points because they can lock boards in place mechanically or with additional adhesives/fasteners. NWFA subfloor and transition preparation guidance
Door casings and trim pieces often cover expansion gaps; removing them first prevents you from prying against joints that are meant to move with seasonal humidity. NWFA moisture/movement principles
– Start at the edges: thresholds, door casings, and corners usually give you the easiest access to fastening points.
– Carefully loosen transition pieces so you don’t pull adjoining flooring layers along with the hardwood.
– For nailed/stapled boards, remove fasteners or cut them where needed rather than forcing a pry tool against the tongue-and-groove joints.
Order of operations that tends to work in mudrooms:
– Thresholds first. Undercut as needed so you don’t lever the hardwood tongue/groove.
– Door casings/trim second. Remove or separate trim that traps the perimeter boards.
– Metal transitions third. Pull the strip (and any attached fasteners) before you lift hardwood—metal pieces frequently act like “handles” that tear planks.
From my own planning experience on mudroom jobs, I recommend taking photos of every transition before removal so you can map where fasteners and underlayment layers start/stop.
Lift and pull the planks without damaging boards or the subfloor
To remove mudroom hardwood without splintering, lift boards in small sections and keep your force near the plank joints. Nail/staple-down floors generally respond well to fastener-release-first techniques; glue-down floors require controlled cutting to separate adhesive bonds safely.
ASTM practices and many manufacturer systems emphasize that scraping and cutting must avoid gouging the subfloor, because flatness and surface integrity directly affect the next flooring install. ASTM subfloor preparation and general flooring substrate preparation principles
Tongue-and-groove hardwood joints are designed to interlock; forcing a pry tool far from the joint increases the chance of edge splitting. NWFA hardwood handling and installation principles
Glue-down removal typically produces more residue and requires more time because the bond spans the plank area, not just the perimeter fastener locations. Manufacturer guidance on glue-down flooring removal (product-specific documentation)
– Work one small section at a time: release fasteners, then pry close to the joint to reduce splitting.
– For glue-down flooring, you’ll likely need a scraper/oscillating tool approach to separate the plank from the subfloor—expect more time and debris.
– Keep planks organized by orientation/position if you intend to reuse them (label stacks as you go).
Technique notes by installation type:
– Nailed/stapled mudroom hardwood:
– Use a pry bar or floor scraper to get under the plank after you’ve addressed fasteners.
– If nails are hidden, don’t “tear” past them—find, pull, or cut them to prevent splitting the board edge.
– Glue-down mudroom hardwood:
– Expect to cut relief lines and work the blade between plank and adhesive.
– Use a scraper that matches your subfloor type (plywood vs. OSB vs. concrete) to reduce gouging.
Reuse strategy (if that matters):
Reuse is most realistic for nail/staple-down planks if you avoid breaking the tongue/groove edges. For glue-down mudroom hardwood, plan for partial reuse at best, because adhesive removal often damages the board face or backing.
Deal with leftover adhesive, underlayment, and staples/nails
After plank removal, focus on restoring a clean, sound subfloor surface before patching or reinstalling. In mudrooms, residue and fastener remnants can look harmless while they quietly sabotage flatness, moisture performance, and adhesive/bonding quality later.
Careful removal of adhesive residue matters because remaining contaminants can interfere with next-floor adhesives and can create localized high spots. Flooring manufacturer substrate-prep guidance (adhesive residue removal)
Fasteners left behind can prevent proper flooring flatness and can telegraph through new installations, so full removal or correct cutting is required before installation. NWFA substrate and prep recommendations
Mudrooms can reveal moisture-related subfloor problems earlier because the environment exposes flooring materials to periodic wetting and drying cycles. NWFA moisture risk and subfloor inspection guidance
– Scrape adhesive residue in layers instead of trying to remove everything at once; stop if you risk gouging the subfloor.
– Pull remaining nails/staples with a proper extractor—missed fasteners can ruin a new floor install.
– Inspect the subfloor flatness and condition before patching; mudrooms can reveal warping or moisture-related problems sooner than other rooms.
Adhesive residue removal: practical cautions
– Scrape by layers. Thick globs come off first; the “film” can remain. Aggressive scraping is what causes gouges.
– Use the right scraper blade. A dull blade often increases force and damage risk; a sharp, appropriate blade reduces subfloor contact.
– Don’t skip fastener extraction. Even one staple or nail can lift a subsequent layer or create a visible bump.
Subfloor inspection checklist (right after removal):
– Flatness: check with a straightedge across joists/subfloor seams.
– Surface integrity: look for delamination, soft spots, or surface dust that won’t vacuum clean.
– Moisture signs: dark staining, odor, raised edges, or repeating “wet/dry” behavior after rain.
What can go wrong (and how to avoid it)
The most common problems in mudroom hardwood removal are splintered edges, gouged subfloors, and moisture surprises. You avoid them by releasing fasteners before prying, using substrate-appropriate tools, and pausing to investigate any moisture damage before you move on.
Splintering usually happens when leverage is applied far from the joint; releasing hidden fasteners first and working close to tongue-and-groove lines reduces edge failure. NWFA hardwood installation/handling principles
Subfloor gouges create localized high spots that transfer into finished flooring, so removal tools and blades must be chosen to minimize substrate contact and scoring. NWFA substrate prep guidance
If moisture damage is present, proceeding with installation without addressing the moisture source can lead to continuing movement, adhesive failure, or floor degradation. NWFA moisture-related flooring failure guidance
– Splintered edges: usually happens when you pry too far from the joint—use gentle leverage and release fasteners first.
– Subfloor damage: prying aggressively or using the wrong blade/scraper can gouge plywood/OSB, creating “high spots” for the new flooring.
– Moisture surprises: mudrooms may have damp subfloor areas—if you find dark staining, softness, or odor, pause and address the moisture source before proceeding.
Janka Hardness vs. Mudroom Hardwood Removal/Reusability (Typical Flooring Species)
| # | Wood species (common in hardwood floors) | Janka hardness (lbf) | Relative pry/reuse friendliness | Best estimate for clean plank removal* |
|---|---|---|---|---|
| 1 | Hickory | 1820 | ★ ★ ★ ★ ★ | High |
| 2 | Maple | 1450 | ★ ★ ★ ★ ☆ | Moderately High |
| 3 | White oak | 1360 | ★ ★ ★ ★ ☆ | Moderately High |
| 4 | Red oak | 1290 | ★ ★ ★ ☆ ☆ | Medium |
| 5 | Birch | 1260 | ★ ★ ★ ☆ ☆ | Medium-Low |
| 6 | Walnut | 1010 | ★ ★ ☆ ☆ ☆ | Low |
| 7 | Cherry | 950 | ★ ★ ☆ ☆ ☆ | Low |
This “Best estimate” reflects how easily boards may resist edge chipping during careful pry attempts; removal success still depends heavily on installation method (nail/staple vs. glue-down) and how much force you apply near tongue-and-groove joints.
Verdict / tip
If your mudroom hardwood is nail/stapled and you remove trim and transitions first, plank-by-plank removal is often straightforward—but it’s still detail-heavy. If it’s glue-down or the subfloor is compromised, expect slower, messier work and consider whether a flooring pro is the safer route for flatness and moisture remediation.
NWFA guidance emphasizes that subfloor preparation (flatness and moisture compatibility) is critical to long-term performance, which makes mudroom removal a high-value diagnostic step. NWFA subfloor preparation guidance
EPA and OSHA both stress that renovation/demolition in older buildings should follow hazard evaluation and exposure control procedures, including dust control and proper handling of unknown materials. EPA renovation/demolition hazard guidance and OSHA exposure control principles
Manufacturer installation documents generally define whether adhesive residue must be removed to a specific standard, so using the exact product guidance reduces failure risk. Manufacturer subfloor/adhesive residue requirements (product-specific)
What I’d do first (and why) in 2026:
1. Identify whether the mudroom hardwood is nail/staple-down vs. glue-down.
2. Remove threshold/transition hardware and perimeter trim to access the fastening pattern.
3. Remove in small sections so you can stop if you find moisture damage or subfloor weakness.
Downsides to plan for:
– Glue-down mudroom hardwood: more adhesive residue means higher labor and greater risk of subfloor gouging if the wrong scraper/blade is used.
– Reusable planks: even with careful technique, tongue-and-groove damage is possible—especially at thresholds where planks tend to be stressed.
– Moisture findings: if you uncover soft spots or dark staining, “just removing and reinstalling” can fail unless the moisture source is corrected.
Skip DIY (or get professional help) if:
– You suspect significant moisture damage (softness, persistent odor, or recurring wet areas).
– You encounter materials that require testing/abatement in older builds (including potential asbestos-containing materials).
– You can’t confirm the installation method and don’t have the patience/tools to troubleshoot safely.
– You need a perfectly flat, moisture-safe subfloor and the existing surface looks questionable.
Quick removal checklist (save this)
– [ ] Identify install type: nailed/stapled vs glue-down vs floating
– [ ] Remove baseboards/shoe molding and all transitions/thresholds
– [ ] Protect walls/trim; set dust control
– [ ] Remove in small sections; pry near joints; release fasteners
– [ ] Remove leftover nails/staples and scrape adhesive residue carefully
– [ ] Inspect and verify subfloor condition/flatness before patching or reinstalling
Sources
– National Wood Flooring Association (NWFA) — subfloor preparation, moisture/humidity guidance, and installation best practices (use the specific NWFA guidelines relevant to your installation method).
– ASTM International — standards related to moisture testing and substrate preparation used in flooring projects (use the test method appropriate to your subfloor and flooring system).
– U.S. Occupational Safety and Health Administration (OSHA) — renovation/demolition exposure principles and dust control expectations during construction activities.
– U.S. Environmental Protection Agency (EPA) — renovation/demolition hazard guidance for older homes/buildings and dust/exposure control.
Removing hardwood floors from a mudroom is achievable without wrecking your subfloor when you treat the project like a method-driven removal and inspection process. Identify the attachment method, remove trim and transitions first, lift planks in controlled sections, and finish by cleaning residue and verifying flatness/moisture condition before any patching or reinstalling.
Frequently Asked Questions
What is the best way to remove hardwood floors from a mudroom?
The best method depends on whether your hardwood is nailed-down, stapled, or glued down over concrete or a subfloor. For nail- or staple-down hardwood, removal usually involves prying up boards section by section after removing trim and using a floor scraper or pry bar carefully to protect the wood. For glue-down hardwood, you’ll typically need heat and a floor scraper to loosen adhesive, and you may need to remove thin underlayment or mortar residue for a clean subfloor.
How do you remove glued-down hardwood flooring in a mudroom?
Start by protecting walls and nearby areas with plastic sheeting and remove baseboards or transition strips first. Use a sharp oscillating multi-tool or floor scraper to cut the planks into manageable sections, then apply a heat gun or adhesive remover (as appropriate) to soften the glue for easier lift. Expect adhesive to remain on the concrete or subfloor—plan on sanding or grinding residue and thoroughly cleaning before installing new flooring.
Which tools do you need to remove hardwood floors from a mudroom?
Common tools include a pry bar, floor scraper, oscillating multi-tool, hammer, utility knife, and a dust mask or respirator for fine particulates. For nailed-down planks, a nail puller or pry bar helps lift boards without excessive splintering; for glue-down floors, a heat gun and a heavier-duty scraper are often necessary. If the mudroom has concrete, consider a carbide scraper blade and possibly a shop vacuum with a HEPA filter to control dust.
Why should you remove mudroom hardwood floors carefully before installing new flooring?
Mudrooms often have moisture exposure, tracked-in debris, and heavy traffic, so subfloor condition matters for the success of new flooring. Careless removal can damage the subfloor, leave thick adhesive residue, or create uneven surfaces that cause squeaks, gaps, or poor adhesion. Taking time to remove trim cleanly, assess the subfloor, and prep the surface helps ensure your new floor system performs as intended.
How do you deal with nails, staples, and underlayment when removing hardwood from a mudroom?
As you lift boards, remove protruding nails or staples immediately using a nail puller or magnetic pickup tool to prevent hazards and damage to tools. If there’s an underlayment layer (foam, felt, or plywood) you can’t reuse, strip it down to the subfloor for proper leveling and adhesion. After removal, scrape away leftover adhesive or debris, then inspect for low spots, moisture issues, and any subfloor repairs needed before moving on to installation.
📅 Last Updated: October 16, 2026 | Topic: How to remove hardwood floors from a mudroom? | Content verified for accuracy and freshness.