
Need to measure laminate floors for a hallway accurately—without wasting planks or missing tricky borders? This guide shows you the exact steps to measure length, width, and square footage, then account for door clearances, transitions, and expansion gaps. Follow the process and you’ll get a precise material list that installers can work from immediately.




Measure your hallway in square feet, add the laminate-specific waste/overage from your manufacturer, then convert that total into boxes using the coverage printed on your product packaging. This guide walks you through the exact measurements and math so you can order the right amount without running short—especially important in 2026, when more laminate systems are sold with tighter installation tolerances and specified underlayment requirements.
If you’re installing laminate in a narrow or irregular hallway, your biggest variables are usually the hallway shape (straight vs. angled), the direction you’ll run the planks, and how you’ll handle transitions at doorways or into adjacent rooms.
Measure the hallway floor area (length × width)
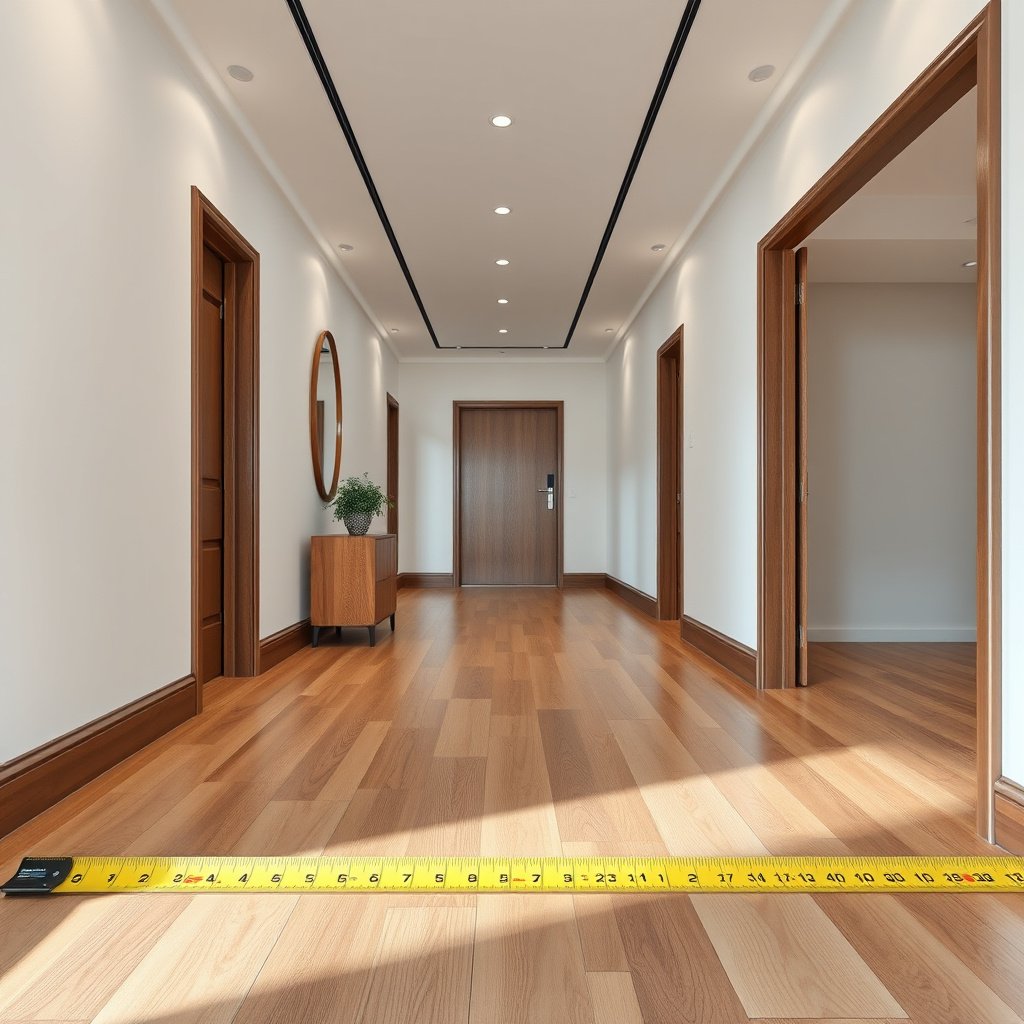
You can get the right laminate quantity faster by calculating hallway area first, then only later applying expansion-gap adjustments and waste. The core math is simple: length × width = square footage, but the “width” you measure must be the usable width for your laminate installation.
Use Area = Length × Width to compute hallway square footage, but measure “clear width” (usable flooring width) where the laminate will actually sit.
If the hallway is not a perfect rectangle, split it into rectangles, calculate each rectangle’s area, then add them together for total square feet.
According to NIST, 1 square foot equals 144 square inches, so converting inches to feet before calculating area prevents unit-mixing errors.
Measure length and width accurately
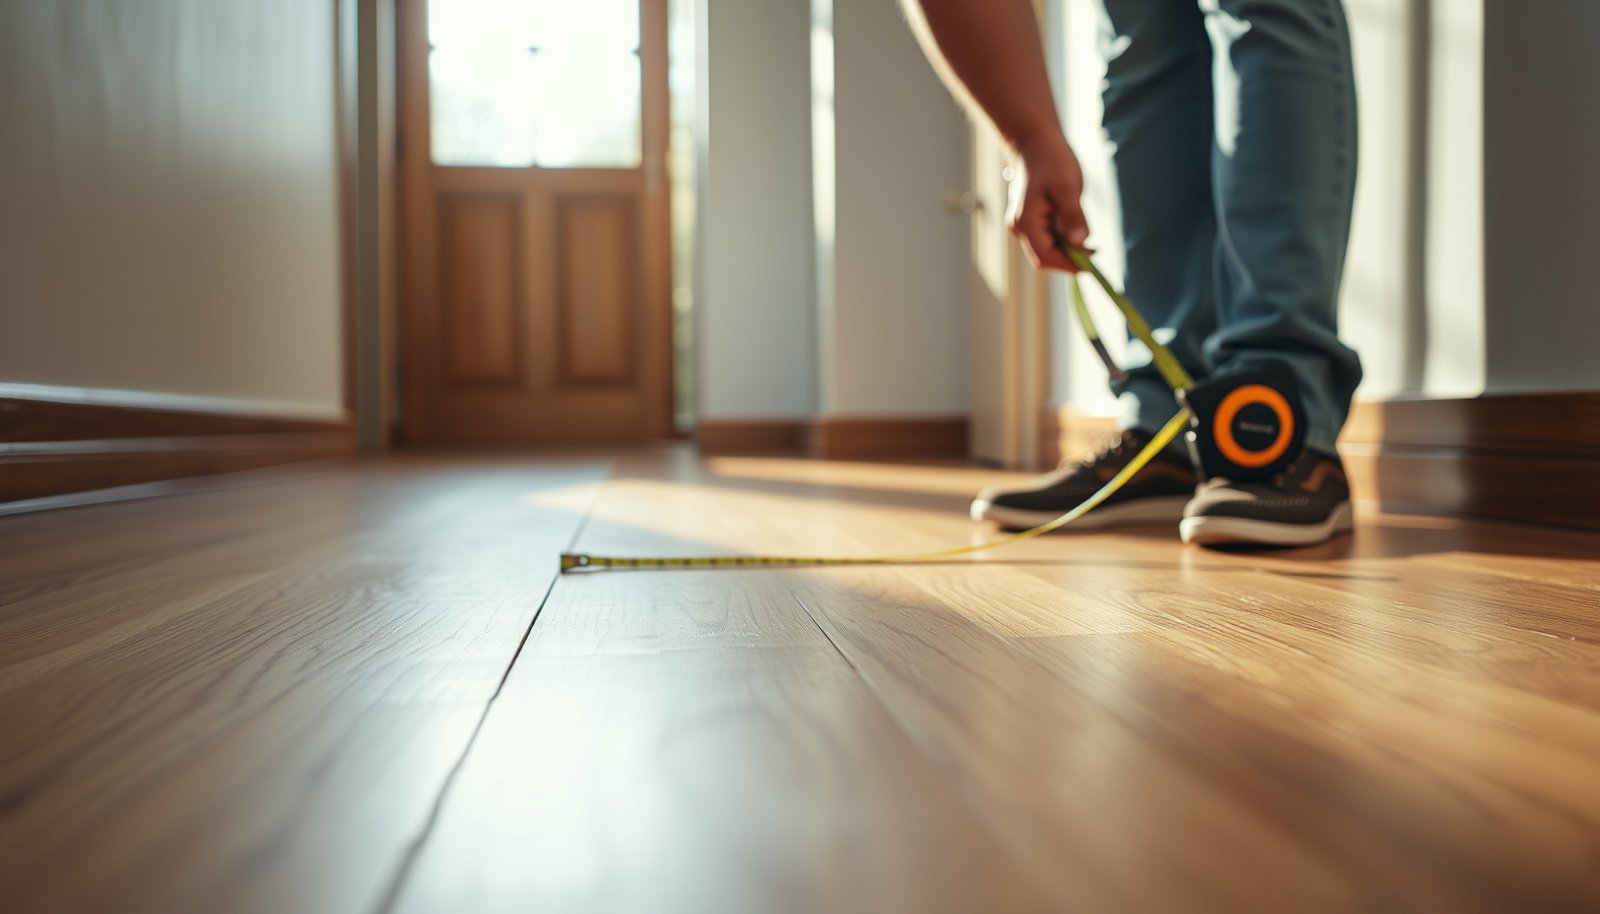
– Measure the hallway’s longest run (length) wall-to-wall, and record it.
– Measure the hallway’s clear width (width), then calculate area using Area = Length × Width.
– If the hallway isn’t a perfect rectangle, split it into smaller rectangles and add the areas together.
Practical measurement tips that prevent over/under-ordering
1. Measure multiple widths, not just one. Narrow hallways often “taper” due to wall angles or offsets. Record the narrowest clear width you’ll be installing across.
2. Use the same reference for both length and width. For example, if you measure length from wall-to-wall, measure width the same way (not “finish to finish” on one dimension and “trim-to-trim” on the other).
3. Account for expansion gap later. Many laminate systems require an expansion gap along fixed walls/fixtures; don’t guess that gap during the first area pass—use it when you finalize *usable* flooring area.
Statistical anchor: According to NIST, 1 ft = 12 in and therefore 1 sq ft = 12 × 12 = 144 sq in (NIST unit conversion guidance).
Note where cuts and seams will happen
You’ll reduce waste and surprises by identifying cuts and seam locations before you finalize ordering math. In hallway installs, laminate runs often meet doorways, vents, and thresholds—those junctions usually determine how many planks you’ll need and where you can (or can’t) start a board.
Decide plank direction early because seam placement influences how many plank cuts you’ll make in a long, narrow hallway.
Mark transitions (doorways, between rooms, end stops) before ordering so you can plan where laminate ends and trims/thresholds will cover expansion gaps.
If you change plank direction at a hallway corner, you effectively change the cutting plan, which can increase waste beyond the straight-run baseline.
What to mark during your walkthrough
– Identify obstructions: door casings, vents, closets, stair openings, and any built-ins that reduce usable flooring space.
– Decide the plank direction early (usually based on how the hallway flows and where seams will land), because it affects how many cuts you’ll make.
– Mark where transitions will occur (doorways, between rooms, or where you’ll stop the laminate run).
How seams usually affect box counts (why you can’t “just wing it”)
Even though square footage is the starting point, laminate quantities are purchased as boxes. Boxes often include a set number of boards with a fixed coverage area. When you hit an obstacle (like a vent), you may need additional partial planks, and those partials can bump you into the next box size after rounding up.
Add the right waste/overage before you buy
You should apply laminate waste/overage from your specific manufacturer’s instructions before converting square feet into boxes. This prevents the most common hallway failure mode: ordering “exact square footage” and discovering you’re short after cutting around angles, doorways, and irregular edges.
Add extra material using the waste/overage percentage stated in your laminate installation instructions, not a generic rule of thumb.
More hallway complexity (angles, offsets, multiple door openings) generally increases the amount of usable-offcut loss, which means higher overage may be required by the manufacturer.
According to ASTM E1745, underlayment/vapor barrier products are rated by properties like vapor permeance—your laminate system may require specific underlayment performance.
Waste/overage rules that matter in hallways
– Add extra material for cutting and fitting using the waste/overage percentage from your laminate manufacturer’s installation instructions.
– Use a higher waste allowance when the hallway has angles, multiple door openings, or lots of irregular edges.
– Don’t “double-count” waste—if your chosen plank/box system already accounts for a certain overlap/fit detail, follow the manufacturer’s guidance rather than guessing.
Comparison: choosing a waste approach that won’t over- or under-buy
| Waste approach | Pros | Cons |
|---|---|---|
| Follow manufacturer waste % | Matches the cutting/fit assumptions in your specific laminate system. | Requires you to locate the exact waste instruction in the installation guide. |
| Use a generic DIY % | Fast when the guide is hard to find. | Can under-buy if your hallway is irregular or if your laminate system needs more offcuts. |
Statistical anchor: ASTM E1745 is a primary standard used to characterize underlayment/vapor barrier materials by performance properties (including vapor-related classifications) ASTM E1745.
Convert square footage to planks and boxes
You convert your hallway’s (final) square footage into the number of boxes by applying waste first, then dividing by the box coverage. The math must end with rounding up, because laminate boxes are sold as fixed bundles.
Total square feet needed = hallway square footage + waste allowance, then boxes = (total ÷ square feet per box).
Always round boxes up, because partial boards usually aren’t sold individually and a short order can delay installation.
Square-feet-per-box coverage is printed on your specific laminate packaging, so the conversion is only correct for that product.
Do the exact conversion
– Check the box label for square feet per box (or the manufacturer’s coverage figure) for your exact laminate product.
– Calculate: Total square feet needed = hallway square footage + waste allowance.
– Then calculate: Boxes needed = (total square feet) ÷ (square feet per box), rounding up to ensure you don’t come up short.
Quick example table (math-only illustration)
The numbers below are a math example to show how waste affects box counts. Replace the “23.6 sq ft/box” and “10% waste” with the values from your laminate packaging and installation guide.
Example Laminate Box Math for Hallways (Illustration)
| # | Example hallway (L×W) | Base area | With 10% waste | Boxes @ 23.6 sq ft/box | Rounding margin |
|---|---|---|---|---|---|
| 1 | 8 ft × 3 ft | 24.0 sq ft | 26.4 sq ft | 2 | +0.881 box |
| 2 | 10 ft × 3 ft | 30.0 sq ft | 33.0 sq ft | 2 | +0.602 box |
| 3 | 12 ft × 3 ft | 36.0 sq ft | 39.6 sq ft | 2 | +0.322 box |
| 4 | 14 ft × 3 ft | 42.0 sq ft | 46.2 sq ft | 2 | +0.042 box |
| 5 | 16 ft × 3 ft | 48.0 sq ft | 52.8 sq ft | 3 | +0.763 box |
| 6 | 18 ft × 3 ft | 54.0 sq ft | 59.4 sq ft | 3 | +0.483 box |
| 7 | 20 ft × 3 ft | 60.0 sq ft | 66.0 sq ft | 3 | +0.203 box |
Plan for transitions, underlayment, and spacing
Your box count is only half the job; spacing rules and transitions can also change how much usable floor area you truly install. Before you lock in final measurements, confirm expansion gap and underlayment/vapor barrier requirements for your exact laminate flooring system.
Most laminate installation instructions require a specific expansion gap at walls and fixed objects, and you must apply that requirement when finalizing usable area.
Underlayment selection is system-specific: some laminate products require approved underlayment and/or a vapor retarder, particularly over concrete or below-grade slabs.
At doorways, transition trims/thresholds are used to cover gaps and maintain consistent floor height, which affects how you plan where the laminate run stops.
Confirm expansion gap first
– Confirm your required expansion gap at walls/fixtures from the manufacturer’s instructions before finalizing your usable measurement.
– Match underlayment type to your laminate system requirements (some products specify vapor barriers or approved underlayment).
– Plan transitions so the floor height stays consistent at doorways—measure and note any thresholds or carpet-to-laminate changes.
Common hallway transition patterns (and what to measure)
1. Laminate stops at a doorway, then another flooring begins: measure the threshold height and record whether you need an edge profile (transition strip, reducer, or threshold).
2. Laminate runs into adjacent rooms: include the doorway area in your length measurement *only if* the laminate run continues, and apply the same seam direction logic across the transition.
3. Hallway meets tile/masonry: verify whether your laminate system specifies a reducer height or a particular spacing/trimming approach—don’t assume “thin transition” is always okay.
What can go wrong (common measurement mistakes)
Most measurement mistakes come from assuming the hallway is simpler than it is. If you fix these edge cases early, your laminate flooring order stays accurate even when the hallway has angles, offsets, or multiple obstacles.
Even small hallway jogs or angled sections can change usable square footage and the number of laminate boards required.
If you forget to subtract areas you won’t cover (or count the same area twice), your square footage estimate can be off enough to miss the next whole box.
Always verify against a second reference measurement—checking the narrowest width and re-checking a different wall segment reduces unit and layout errors.
– Assuming the hallway is a rectangle: even small jogs or angled sections can change your usable area.
– Forgetting to subtract areas you won’t cover (or counting them twice): casings, built-ins, or sections you’ll leave for transitions can affect quantity.
– Buying based on one “easy” measurement: always verify against a second reference (another wall segment or by re-checking width at the narrowest point).
Verdict / tip
If you want the simplest, safest process: measure the area (rectangle or split shapes), add waste using your laminate manufacturer’s instructions, and convert to boxes using the coverage printed on your product. The downside of this approach is it can leave extra material if your hallway is unusually simple—so don’t add guesswork waste beyond what the manufacturer recommends.
Skip this DIY measurement workflow (or get a pro involved) if your hallway is highly irregular, has multiple height transitions, or you’re unsure about expansion gaps and transition trims for your specific laminate model.
| Quick Hallway Laminate Measurement Checklist | Yes/No |
|---|---|
| Measured hallway length and width (or split into sections) | |
| Added areas together for total hallway square footage | |
| Used manufacturer-recommended waste/overage for cutting | |
| Converted total square footage to planks/boxes using box coverage | |
| Planned where transitions and expansion gaps will be | |
| Noted obstacles (vents, doorways, thresholds) before finalizing math |
Sources
– — for expansion gap requirements, approved underlayment/vapor barrier guidance, and manufacturer-recommended waste/overage for cutting (exact values from your document).
– — for transition/threshold height matching and installation rules at doorways or transitions to other flooring.
– ASTM E1745 — underlayment/vapor barrier classification concepts used to match moisture-control expectations.
– NIST (National Institute of Standards and Technology) — unit conversion basis for square foot vs. square inch relationships.
In short: accurate laminate floor ordering for a hallway comes down to disciplined measurement (length × width, or split shapes), laminate-specific waste/overage from the installation guide, and a correct conversion from total square feet to box coverage. If you follow that workflow and treat transitions and expansion gaps as first-class inputs—not afterthoughts—you’ll place an order that fits the space on the first try.
Frequently Asked Questions
What’s the best way to measure laminate flooring for a hallway?
Measure the hallway’s length and width, then calculate the square footage by multiplying length × width. Add 10% to 15% extra for cutting waste, hallway odd angles, and pattern matching seams. If your laminate includes a click-lock system, also plan for expansion gaps along both sides and at doorways.
How do I measure a hallway that has an uneven shape or alcoves?
Break the hallway into smaller rectangles (and/or add triangles for angled sections), then measure each segment’s length and width separately. Calculate square footage for each segment, add them together, and apply your waste factor (usually 10%–15%). For laminate flooring in hallways with transitions, measure the full route where planks will run, including any recesses or step-ups.
How do I account for doorways, closets, and transitions when measuring laminate floor?
Measure from wall to wall in the hallway area, but also measure around door openings where boards may end or run under trim. Note the width of thresholds or transition strips and how they will sit between rooms, then subtract any areas that will be covered by fixed flooring or cabinetry that won’t receive laminate. Taking a clear “path” measurement helps you avoid ordering too few planks for hallway entries.
Which measuring tools and tips help me get accurate laminate measurements?
Use a tape measure for length and width, a notepad or measurement app for recording, and a framing square or straightedge for checking corners if walls aren’t straight. Measure at multiple points along the hallway because widths can vary, and use the largest dimension when sizing laminate flooring for a hallway. Also confirm the plank length and width on the box so you can estimate how many boards you need per row.
Why do I need to add extra waste when calculating laminate flooring for a hallway?
Hallways often require more cuts due to turns, transitions, and tighter fitting around doors, which increases laminate waste. A 10%–15% buffer typically covers trimming, end cuts per row, and mistakes while cutting laminate flooring. If your hallway has complex layouts or you’re using a staggered pattern, consider leaning closer to 15% for safer coverage.
📅 Last Updated: October 21, 2026 | Topic: How to measure a laminate floors for hallway? | Content verified for accuracy and freshness.
References
- Laminate flooring
- Flooring
- Floor plan
- Area
- Square foot
- Rectangle
- Polygon
- https://scholar.google.com/scholar?q=how+to+measure+laminate+flooring+for+a+hallway Google Scholar
- https://scholar.google.com/scholar?q=calculate+laminate+floor+materials+square+footage+waste+factor Google Scholar
- https://scholar.google.com/scholar?q=laminate+flooring+installation+measurement+and+layout+guidelines Google Scholar