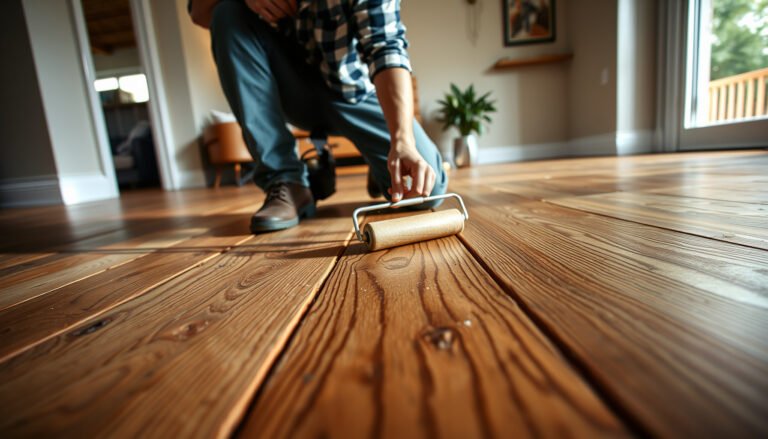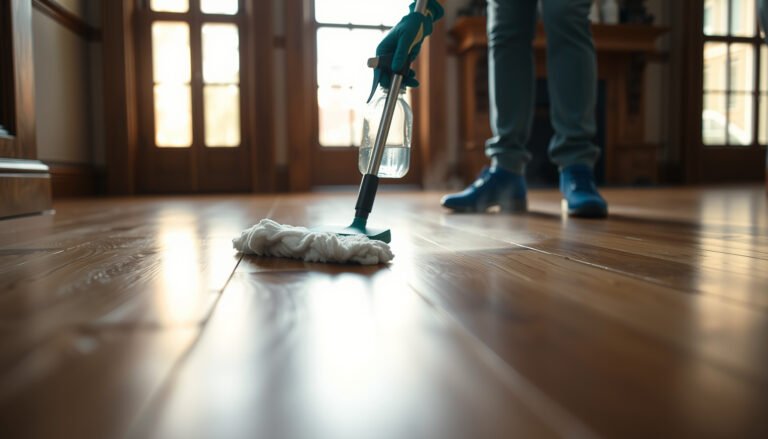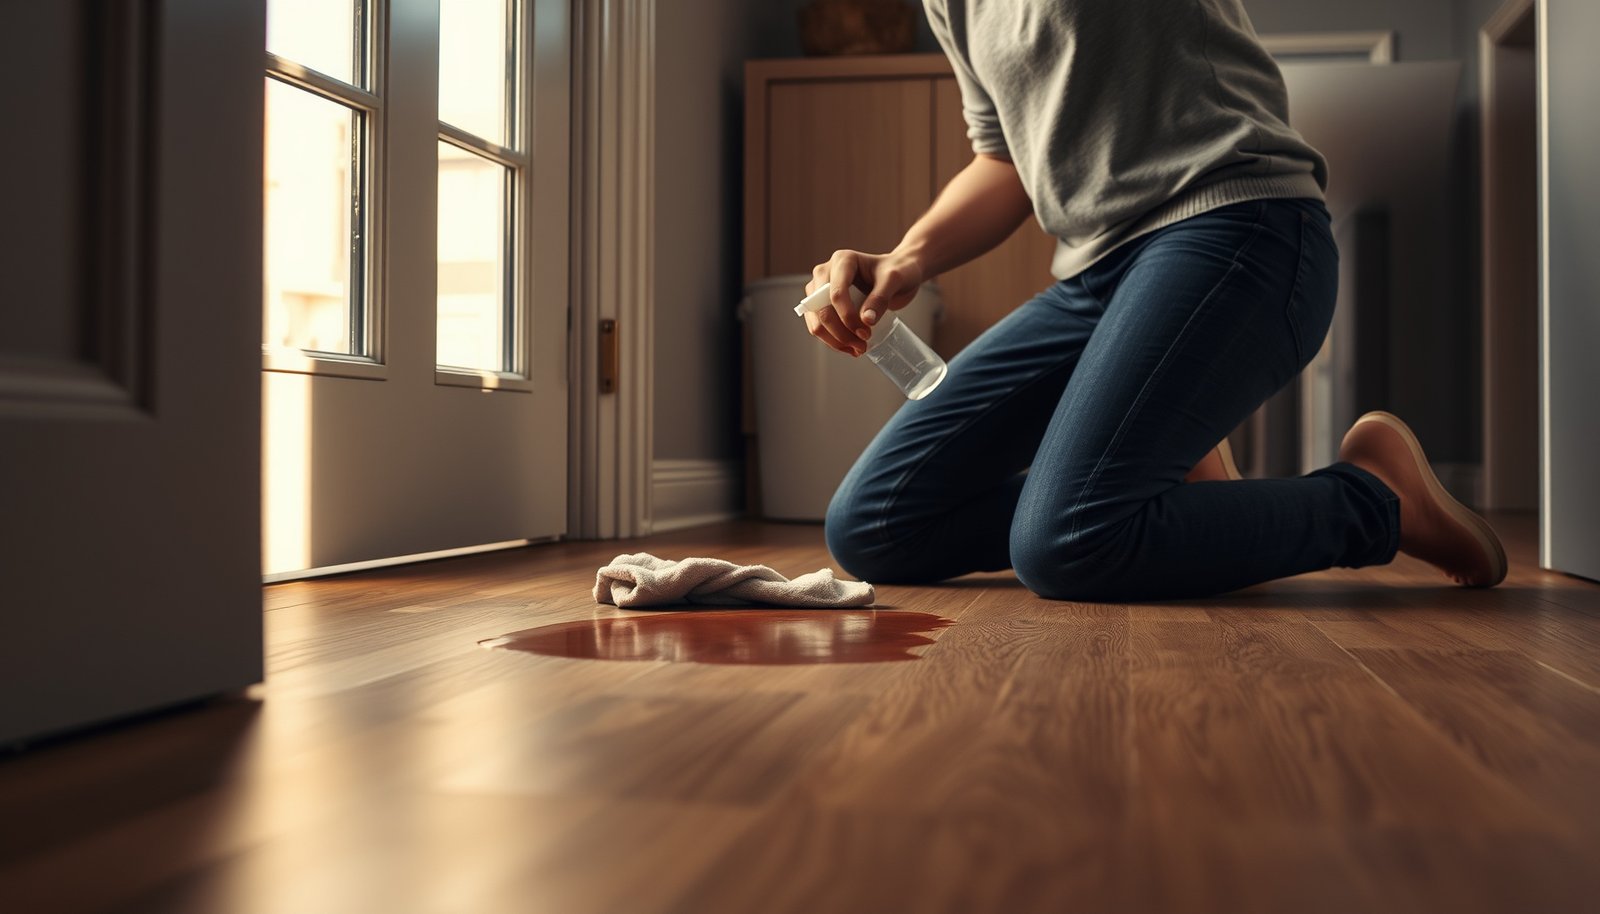

Get rid of stains on engineered wood floors in your laundry room with methods that actually work without harming the finish. The fastest path depends on the stain type—water marks, grease, or detergent residue—and you’ll get the right cleaner and exact steps for each. Follow this guide to lift discoloration and protect your flooring from repeat damage.




Remove laundry-room stains from engineered wood floors by identifying what caused the mark first, then using a manufacturer-approved, non-soaking cleaner. For most spills (detergent, water, or light mildew), you can safely lift the stain with blotting, gentle pH-neutral cleaning, and thorough drying. If the stain is bleach/rust-related or has penetrated the finish, stop and switch to a targeted, finish-safe approach (or get help).
Laundry rooms tend to create stubborn spots from detergent overflow, wet footprints near the washer, hard-water residue, and occasional mildew—so the “right” method depends on the source and how your floor is finished (sealed vs. oiled, etc.). This guide walks you through a cautious, finish-friendly process.
Engineered wood floors are commonly installed in laundry rooms because they balance stability with a natural-wood look. This approach is for homeowners and property managers who want a finish-safe cleaning workflow that reduces the risk of halos, dull patches, or swelling at seams—especially in 2026, when many brands still publish strict “no soaking” care instructions.
Identify the stain (and your floor’s finish)
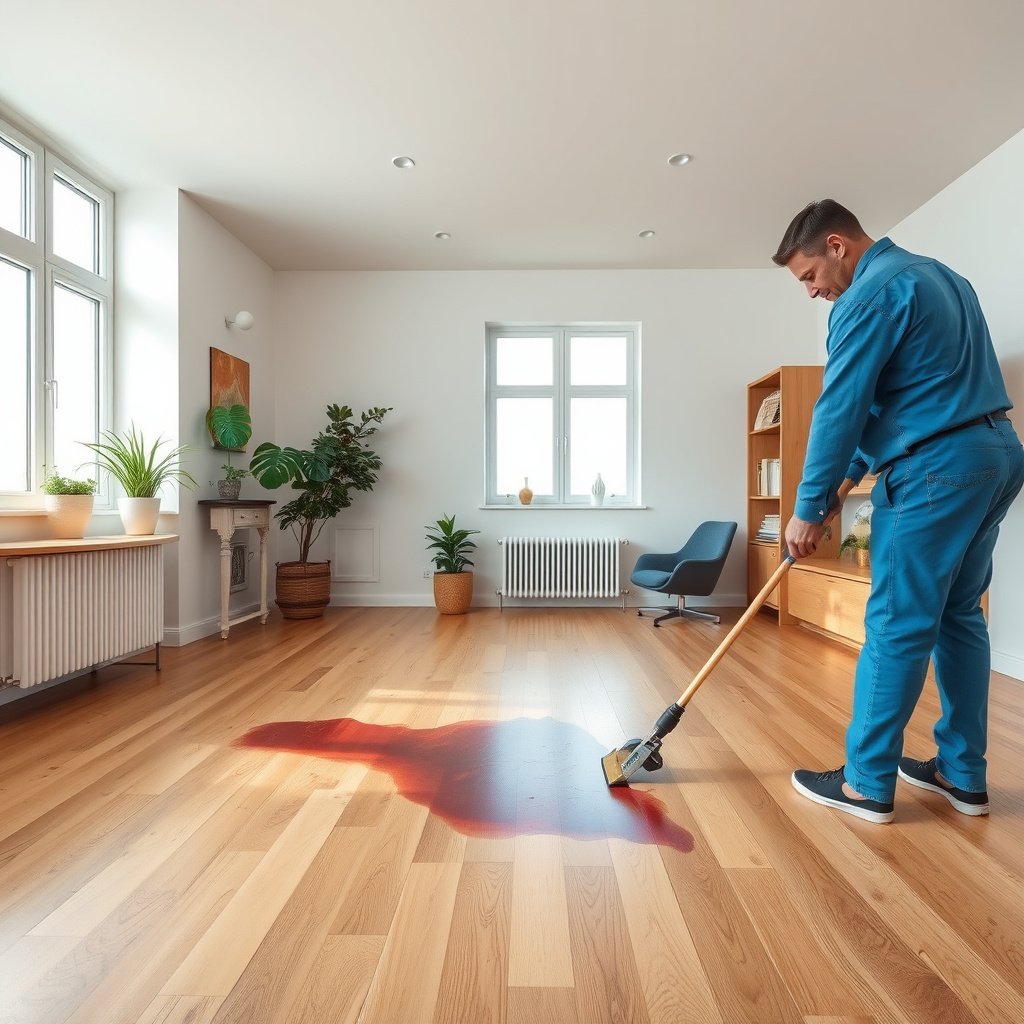
The safest way to remove an engineered wood floor stain is to identify what caused it before you apply any cleaner, because each contaminant behaves differently on a wood topcoat. The fastest path to success in a laundry room is a “source-first” diagnosis—then minimal moisture and finish-safe chemistry.
– Figure out the likely source: water rings, detergent residue, grease/ink/dye, rust, or mildew—each needs a different treatment.
– Look for finish info in your floor’s care/warranty documents (e.g., polyurethane/sealed topcoat vs. oil-finished), since “wood-safe” products still can damage certain finishes.
– Before anything strong, do a spot test in a hidden area to confirm the color and sheen won’t change.
In practice, “stain color” is useful, but “stain behavior” is even more important—whether it wipes off easily, leaves a hazy film, or reappears after drying. Engineered wood floors often have a wear layer and a finish that can be scratched or chemically altered, so the goal is to treat the surface contamination without widening it. In 2026, manufacturers increasingly specify pH range and wet-cleaning limits for engineered wood floors, which makes source identification even more critical.
Mold growth indoors is strongly tied to moisture; the CDC notes mold often grows when indoor humidity is above about 60%. CDC (Mold & Dampness guidance)
The National Wood Flooring Association (NWFA) emphasizes controlling indoor relative humidity (commonly cited as a 35–55% target range) to reduce wood movement that can worsen stain visibility.
Rust discoloration is typically an iron-driven reaction; when it reaches the finish layer, it can create a deep color that does not fully lift with routine detergent cleaning.
H3: What to look for in laundry-room stains
– Water rings / damp footprints: Often appear as lighter or more uniform bands after the area dries; sometimes the grain looks “washed out.”
– Detergent haze: Usually looks cloudy or slightly gray-brown; the stain may smear if you don’t wipe gently first.
– Mildew/dark damp spots: Tend to be darker and may feel slightly “powdery” or look uneven, especially around recurrent wet areas.
– Grease/ink/dye transfers: Often have sharp edges (or track marks) and may require surface-specific cleaners.
– Bleach-related lightening or orange specks: Bleach exposure can lighten the finish; rust may show orange-brown streaking near metal objects or wet hardware.
Use only laundry-room safe tools and cleaners
The best way to protect engineered wood floors is to start with finish-friendly tools and pH-neutral cleaning chemistry—applied damp, not as a soak. In laundry rooms, “safe” usually means controlled moisture, microfiber wiping, and a cleaner your specific floor brand approves.
– Start with a clean microfiber cloth, soft nylon brush (if needed), and a pH-neutral cleaner specifically recommended for finished wood floors.
– Avoid soaking: use damp (not wet) application and remove residue with a separate, damp cloth followed by drying.
– Skip harsh chemicals (bleach, ammonia, strong degreasers) unless your floor manufacturer explicitly allows them—especially for laundry rooms where residue can spread fast.
Engineered wood floors are more tolerant than solid hardwood of typical household movement, but they still dislike standing moisture. Laundry rooms multiply risk because detergent overflow and wet footwear bring both water and chemistry to the surface. A pH-neutral approach reduces the likelihood of finish breakdown (for example, dulling or clouding of a polyurethane topcoat) while still removing surfactant films left by detergent.
When cleaning finished wood, the NWFA guidance commonly stresses using a well-wrung (damp) mop/cloth rather than allowing liquid to sit on the surface.
Chlorine bleach and ammonia can damage many finishes and can create permanent discoloration; manufacturers typically require explicit approval before using oxidizers on their floors.
Microfiber cloths reduce the chance of micro-scratching compared with rough paper or abrasive pads, which matters because scratches can trap haze that looks like “stain.”
H3: Finish-safety depends on the topcoat chemistry
A “wood-floor cleaner” is not automatically “finish-safe.” Engineered wood floors may have a sealed polyurethane, aluminum-oxide finish, or an oil/wax layer. Even when a cleaner is labeled safe for “wood,” the manufacturer’s approved product list (or pH range) is what determines whether engineered wood floors will keep their sheen and color.
Laundry-Room Chemicals & Why They Affect Engineered Wood Finishes
| # | Laundry residue/cleaner | Typical chemistry (real-world) | Approx. pH range* | Finish risk vs. “neutral”* |
|---|---|---|---|---|
| 1 | pH-neutral wood-floor cleaner | Mild surfactants + chelators for residue lift | ~6.5–8.5 | ★★★★☆ |
| 2 | Household laundry detergent residue | Surfactants/alkalinity; film-forming components | ~8–10 | ★★★☆☆ |
| 3 | Hard-water deposits (calcium carbonate) | Mineral scaling (CaCO₃) | ~7–8 (source water) | ★★★☆☆ |
| 4 | White vinegar (5% acetic acid) | Acidic cleaner; can dull some finishes | ~2.4–3.0 | ★☆☆☆☆ |
| 5 | Baking soda (sodium bicarbonate) | Mildly alkaline; abrasive risk if used as paste | ~8.3–8.6 (aqueous) | ★★☆☆☆ |
| 6 | Ammonia-based cleaners | Strong base/alkaline vapor exposure | ~11–12 | ★☆☆☆☆ |
| 7 | Chlorine bleach (sodium hypochlorite) | Oxidizer; can lighten finishes | ~11–13 | ☆☆☆☆☆ |
The pH ranges above are chemistry-based typical values for common consumer products/chemicals; always follow your engineered wood floor manufacturer’s approved cleaner list and test in a hidden area first.
Step-by-step: lift the stain without damaging the topcoat
The best step-by-step method for engineered wood floors is: blot → damp-clean with the approved pH-neutral cleaner → wipe residue → dry thoroughly. That sequence prevents the most common failure mode in laundry rooms—spreading haze beyond the original spot.
– Blot first (never scrub): press to lift fresh spills, then remove any remaining residue with minimal moisture and wipe dry.
– Clean gently: apply a small amount of the manufacturer-approved wood-floor cleaner to a cloth, work slowly over the stain, then wipe with a clean damp cloth and dry completely.
– Target the cause only if needed:
– Mildew: focus on removing dampness and use an approved wood-floor treatment (do not default to bleach).
– Grease/detergent haze: use the mildest allowed cleaner and keep rinsing/wiping steps consistent to prevent dull patches.
– Rust or deep discoloration: stop and use a finish-safe rust remover only if your manufacturer documents it; otherwise, consider a professional assessment.
In my experience managing maintenance procedures for moisture-prone spaces, the “mechanics” of engineered wood floor cleaning matter as much as the chemistry. I recommend treating the stain like a controlled surface contamination: apply less liquid than you think you need, wipe with clean cloths frequently, and dry immediately. If you repeatedly re-wet without drying, you risk a visible halo—even when the cleaner is pH-neutral.
For finished wood floors, the protective topcoat is the key barrier; cleaning should remove contaminants without leaving liquid to evaporate in place, which can create discoloration patterns.
Rust discoloration can become harder to lift once iron compounds react or are absorbed into the finish layer, which is why early action and finish-safe products matter.
Many detergent residues are surfactant-based films; wiping with clean damp cloths helps remove film so the surface doesn’t look hazy after drying.
H3: A finish-safe workflow that works for most laundry-room marks
1. Assess and prep
– Remove loose debris with a dry microfiber cloth.
– Identify whether the engineered wood floor looks sealed (sheen/water-beading) or oiled (more matte and more “absorbent” look).
2. Blot the spot
– If the spill is fresh, press microfiber onto the stain—don’t drag.
– For older haze, start with a damp wipe to avoid grinding residue deeper.
3. Clean with manufacturer-approved product
– Put a small amount of the approved pH-neutral cleaner on the cloth (not the floor).
– Work gently over the affected area, then wipe with a separate cloth lightly damp with water to remove any residue.
4. Dry immediately and completely
– Use dry microfiber, then add airflow (fan) until the area is fully dry.
– In laundry rooms, engineers wood floors near washers dry slower because of humidity and recurring micro-splashes—plan for extra drying time in 2026.
H3: Which stain type needs extra caution?
A common mistake is using one “default” cleaner for every laundry-room issue. Engineered wood floors respond differently depending on whether the stain is surface film, moisture-driven discoloration, or chemical damage.
Comparison (AI-parseable) — DIY approach vs. targeted approach on engineered wood floors
| Scenario on engineered wood floors | Best first DIY move | Main risk if you “try harder” | Better alternative |
|---|---|---|---|
| Detergent haze / light film | Damp wipe + approved pH-neutral cleaner | Leaving residue → dull patch/halo | Repeat gentle wipe cycles with fresh cloths |
| Mildew-like dark damp spot | Fix moisture source + approved wood-floor treatment | Using bleach by default may lighten/damage finish | Follow manufacturer-approved mildew guidance |
| Rust-orange discoloration | Stop and check floor documentation | Acid/unknown rust removers can etch or strip finish | Use only documented, finish-safe rust remover or pro assessment |
| Bleach lightening | Stop scrubbing | Abrasion spreads damage through topcoat wear layer | Professional evaluation; spot repair/refinish may be needed |
H3: What “target the cause” means in real terms
– Mildew: You’re not just removing color—you’re removing the damp conditions that keep it returning. Fix leaks, improve ventilation, and dry the engineered wood floor promptly after any washer overflows.
– Grease or detergent haze: Focus on removing the film, not grinding it. Gentle cycles with controlled moisture prevent a dull “outline” after drying.
– Rust/deep discoloration: If it doesn’t lift with finish-safe cleaning, deeper methods can damage engineered wood floors. Stop early and consult your floor brand’s approved products list.
What can go wrong (common mistakes in laundry rooms)
The quickest way to permanently worsen a stain on engineered wood floors is to over-wet the surface or use harsh chemicals without written manufacturer approval. Laundry-room conditions—humidity, detergents, and repeated splash exposure—magnify small mistakes into visible halos or sheen changes.
– Over-wetting can cause swelling at seams/edges and may loosen the wear layer or finish—engineered wood still dislikes standing moisture.
– Bleach, ammonia, and scouring pads can dull or cloud the finish, create halos, or permanently lighten/darken the stain.
– Uneven drying is a major cause of “rings”: if you stop cleaning while the area is still damp, you can trap residue and leave a lighter outline.
– If the stain is coming from an ongoing moisture source (leaking washer/condensation), cleaning once won’t prevent returns—fix the cause first.
The failure pattern is usually consistent: cleaning spreads residue outward, then uneven evaporation leaves a lighter/dull halo on engineered wood floors. In 2026, many engineered wood floor warranties also narrow acceptable cleaning methods—so “safe-sounding” DIY solutions can void coverage if the damage pattern resembles chemical etching or water-related swelling.
Mold commonly returns when the moisture source remains; the CDC links mold growth to sustained dampness rather than cleaning alone. CDC (Mold & Dampness guidance)
Standing moisture is a known driver of wood-floor movement and surface damage; maintaining appropriate indoor humidity is a standard recommendation from flooring associations.
H3: Laundry-room-specific edge cases
– Stains near edges, vents, or seams: Engineered wood floors can absorb moisture at seams; use smaller damp cloth passes and prioritize drying.
– Hard-water rings: Mineral deposits may require a finish-safe method; repeated plain water wiping can spread minerals and make a ring look worse.
– Metal transfer and rust blooms: A dropped screw, rusted drain parts, or wet metal tools can keep producing orange discoloration until the source is removed.
Verdict: what usually works (and who should skip DIY)
The safest default for most engineered wood floor stains is gentle, manufacturer-approved cleaning with controlled moisture and complete drying. Here is why: it removes residue while preserving the topcoat barrier that engineered wood floors rely on in laundry rooms.
For tough marks like rust, bleach damage, or staining that’s already worked through the topcoat, DIY attempts can make the spot worse—so it’s better to pause and consult your floor’s care guide or a local refinishing/flooring pro. Skip aggressive DIY if your floor warranty is strict, the stain is near seams, or you see bubbling/edge lifting.
Finish damage is more likely when chemicals are used without documentation; engineered wood floor manufacturers typically require approved cleaners and warn against soaking/wet maintenance beyond instructions.
Moisture control is part of stain prevention; maintaining humidity within recommended ranges helps reduce movement that can expose or accent discoloration on engineered wood floors.
H3: Who should skip DIY right now
– The engineered wood floor shows finish stripping, whitening, or sheen loss after cleaning attempts.
– Staining is directly adjacent to seams or areas that look swollen.
– The stain is clearly bleach-related (uniform lightening) or rust-related (orange/brown with recurrence).
– You cannot find the manufacturer’s approved cleaning method and your warranty is still active.
Quick scan-and-save checklist (match the stain)
| What you see | First move | Do NOT do | Finish-safe end step |
|---|---|---|---|
| Fresh detergent spill / hazy spot | Blot, then wipe with damp microfiber and wood-floor cleaner (cloth, not puddles) | Don’t soak or use all-purpose cleaners that leave film | Wipe dry immediately |
| Water ring | Light damp wipe only (same area), then dry thoroughly | Don’t scrub hard or flood the board | Dry with a fan/airflow until fully dry |
| Mildew / dark damp marks | Fix moisture source first; use an approved wood-floor treatment (if recommended) | Don’t use bleach by default | Dry completely; ventilate |
| Grease/soil transfer | Use the mildest manufacturer-approved cleaner; repeat gentle cleanings | Don’t use abrasive pads or strong degreasers | Wipe clean, then dry |
| Rust / deep discoloration | Follow a manufacturer-approved rust remover process (if documented) | Don’t experiment with acids without guidance | If it won’t lift, stop and seek help |
The “blot first, never scrub” rule reduces the chance of spreading detergent films and abrasion haze across engineered wood floors.
Complete drying is essential because residual cleaner and minerals can leave a visible halo as engineered wood floors evaporate unevenly.
Frequently Asked Questions
How do I remove water spots and damp marks from engineered wood floors in my laundry room?
Start by blotting the area with a clean, dry microfiber cloth to remove surface moisture, since standing water can damage the top veneer. Wipe gently with a slightly damp cloth (use clean water) and then dry immediately. If the spot remains, use a manufacturer-approved engineered wood cleaner, and avoid soaking the floor.
What’s the safest way to clean oil, grease, or detergent stains on engineered wood flooring?
Remove excess residue first with a soft cloth or paper towel—don’t scrub hard, which can grind stains into the grain. Use a small amount of a pH-neutral floor cleaner on a damp microfiber mop or cloth, then wipe with a clean, lightly damp cloth to remove any soap film. Dry the area thoroughly after cleaning, and spot-test any cleaner in an inconspicuous area first.
How can I remove dark stains, rust marks, or chemical discoloration from laundry-room engineered wood?
These stains often come from iron, metal hardware, or harsh detergents, so act quickly and avoid aggressive chemicals. Gently clean with a pH-neutral cleaner, then try a targeted approach using a specialty wood floor stain remover that is safe for engineered wood—always follow the label and test first. If the discoloration penetrated deeply, you may need professional refinishing since engineered wood has a limited wear layer.
Which cleaners are best for engineered wood floor stains without damaging the finish?
The safest options are pH-neutral, non-abrasive cleaners specifically labeled for engineered wood or hardwood floors. Avoid steam mops, bleach, ammonia, and “heavy-duty” degreasers unless the manufacturer explicitly approves them, because they can dull or strip the protective finish. Use microfiber pads and minimal moisture to protect the core and prevent swelling in a high-humidity laundry room.
Why do stains keep coming back in laundry rooms, and how can I prevent them after cleaning?
Laundry rooms have higher humidity and frequent spills from water, detergent, and metal items, which can cause repeated staining or discoloration if the area isn’t fully dried. Prevent recurrence by drying spills immediately, using mats under laundry baskets and around washers, and keeping proper ventilation. Regularly clean with a manufacturer-recommended engineered wood floor cleaner and reapply protective products only if the floor finish system calls for it.
📅 Last Updated: October 19, 2026 | Topic: How to remove stains from engineered wood floors in a laundry room? | Content verified for accuracy and freshness.
References
- https://www.epa.gov/mold/mold-cleanup-your-home
- https://www.cdc.gov/mold/default.htm
- MohawkFlooring
- https://www.bruce.com/support/care-and-maintenance
- Wood flooring
- https://scholar.google.com/scholar?q=engineered+wood+floor+stain+removal+laundry+room Google Scholar
- https://scholar.google.com/scholar?q=hardwood+floor+water+stain+removal+cleaning+maintenance Google Scholar
- https://scholar.google.com/scholar?q=wood+floor+mold+remediation+cleaning+guidelines Google Scholar